
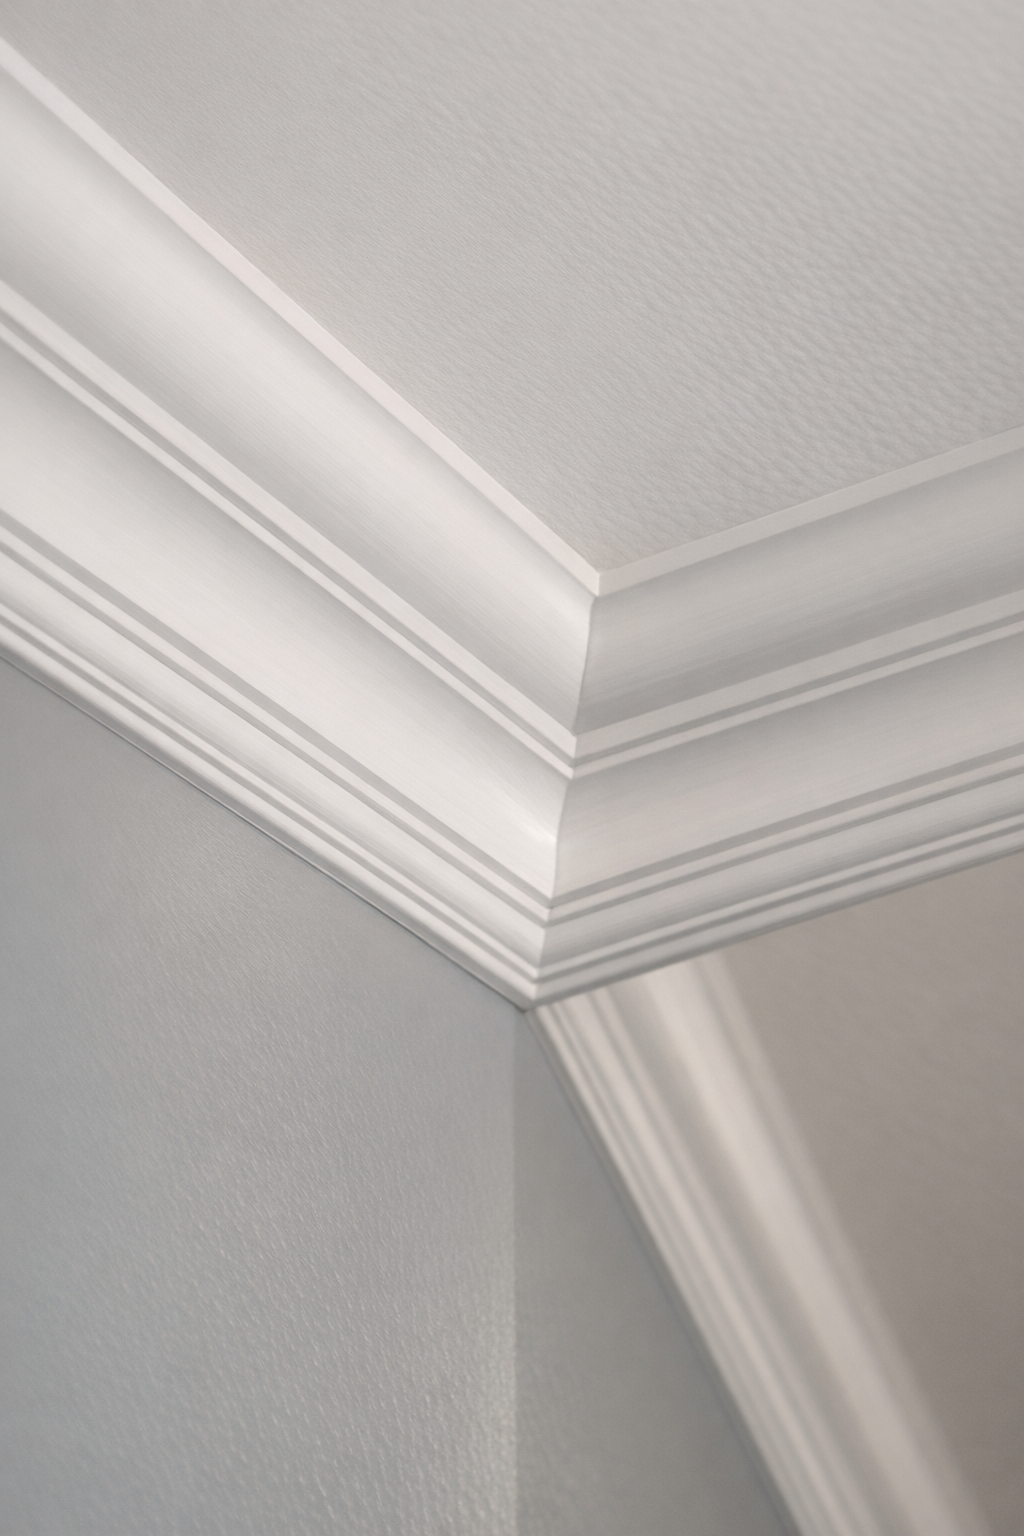
If you are looking for crown molding installation in Osprey FL, this page is for homeowners and property owners who want the work handled professionally, not a do-it-yourself walkthrough. Crown molding is one of those finish details that can make a room feel more complete by softening the line where the wall meets the ceiling and giving the space a more intentional, built-in look.
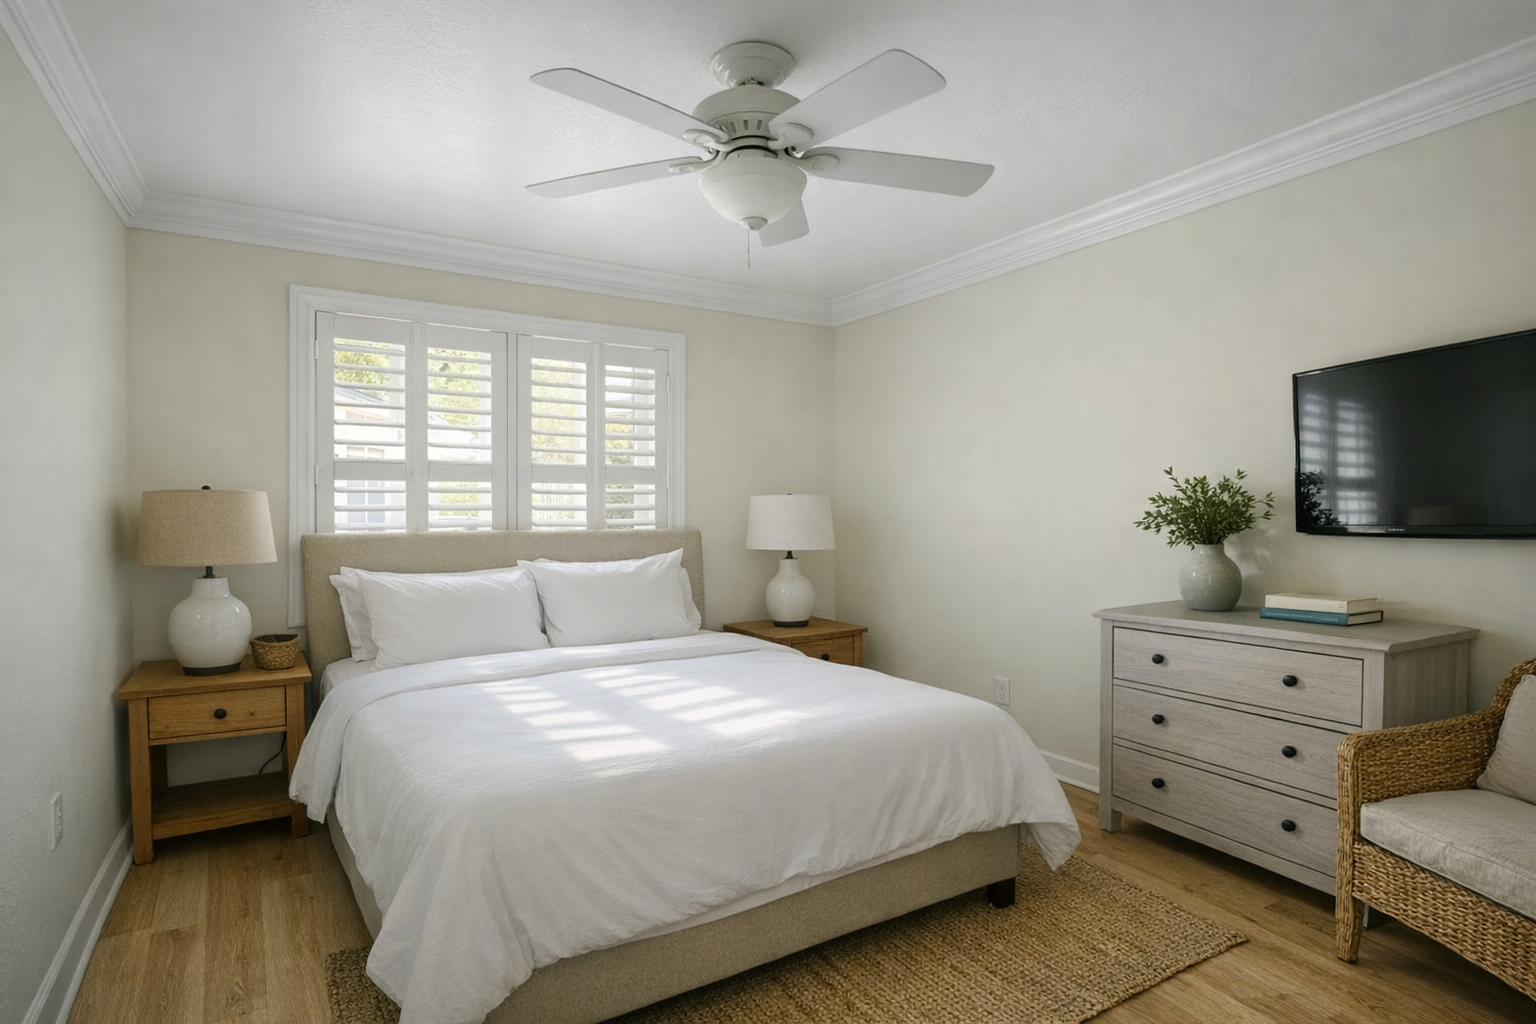
Professionally installed crown molding works well in living rooms, dining rooms, bedrooms, entryways, hallways, offices, and other interior spaces where a clean wall-to-ceiling transition would improve the visual finish. In a formal dining room, it can add a more polished architectural edge; in a bedroom, it can create a calmer finished border; and in an entryway, it can help the first view of the home feel more refined.
The value is in the fit as much as the trim itself. A professional crown molding installation in Osprey should account for the room's proportions, the profile style, the existing trim, and the finished appearance you want, so the molding looks like it belongs with the home rather than like an afterthought.
What Our Crown Molding Installation Service Includes
Our crown molding service Osprey starts with a room-by-room review so the installation plan matches the actual space, not just the molding profile. That includes measuring wall runs, noting ceiling height, looking at wall and ceiling conditions, and discussing whether the finished trim will be painted or stained.

Profile selection is part of the service because size and shape change the final look. A smaller, simpler profile can keep a lower ceiling from feeling crowded, while a deeper or layered profile may suit a larger formal room. Existing baseboards, door casing, cabinetry, and ceiling details also help determine what looks balanced.
Once the layout is set, installation includes cutting the molding to fit the room, handling inside corners and outside corners, placing seams where they make sense, and fastening each piece securely. The goal is a clean, continuous line around the room with joints that are prepared for a finished appearance.
Finish preparation typically includes caulking small gaps where the molding meets the wall or ceiling, filling nail holes, sanding filled areas, and getting the trim ready for a seamless painted or stained finish. The exact scope is confirmed after reviewing the room layout, chosen material, finish preference, and any existing conditions that may affect the fit.
Why Professional Installation Matters for a Finished Look
The spots that give crown molding away are usually the corners and long sight lines. Walls can wave slightly, ceilings can rise or dip, and inside corners are not always a perfect 90 degrees, so a professional approach focuses on making the trim read as one clean, continuous transition from wall to ceiling.
This is where finish carpentry matters. A miter cut joins two angled pieces, often at outside corners where both edges are visible. Cope joints are commonly used at inside corners because one piece is shaped to follow the profile of the other, helping the joint stay tighter when the corner is not perfectly square. The practical takeaway is simple: the right joint choice affects whether the corner looks crisp or patched together.
Secure fastening also changes the final appearance. Crown molding sits at an angle between the wall and ceiling, so weak fastening can leave small separations, uneven shadow lines, or movement that shows up after finishing. A careful Osprey FL crown molding installer looks for solid attachment points, keeps pieces aligned through the room, and avoids relying on caulk to hide poor fit.
Clean seams and consistent reveals are just as important. A reveal is the visible edge or shadow line created by the molding; when it stays even, the trim feels intentional. When it wanders, the eye catches every gap, hump, heavy caulk line, or profile that looks too large for the room. Professional installation helps the molding complement the space instead of drawing attention to installation flaws.
Crown Molding Materials and Profile Options
The material you choose affects the look, finish, and installation approach, so profile selection should happen before any cutting starts. Wood, MDF, and polyurethane can all work for crown molding, but they behave differently once they are fastened, caulked, painted, or stained.
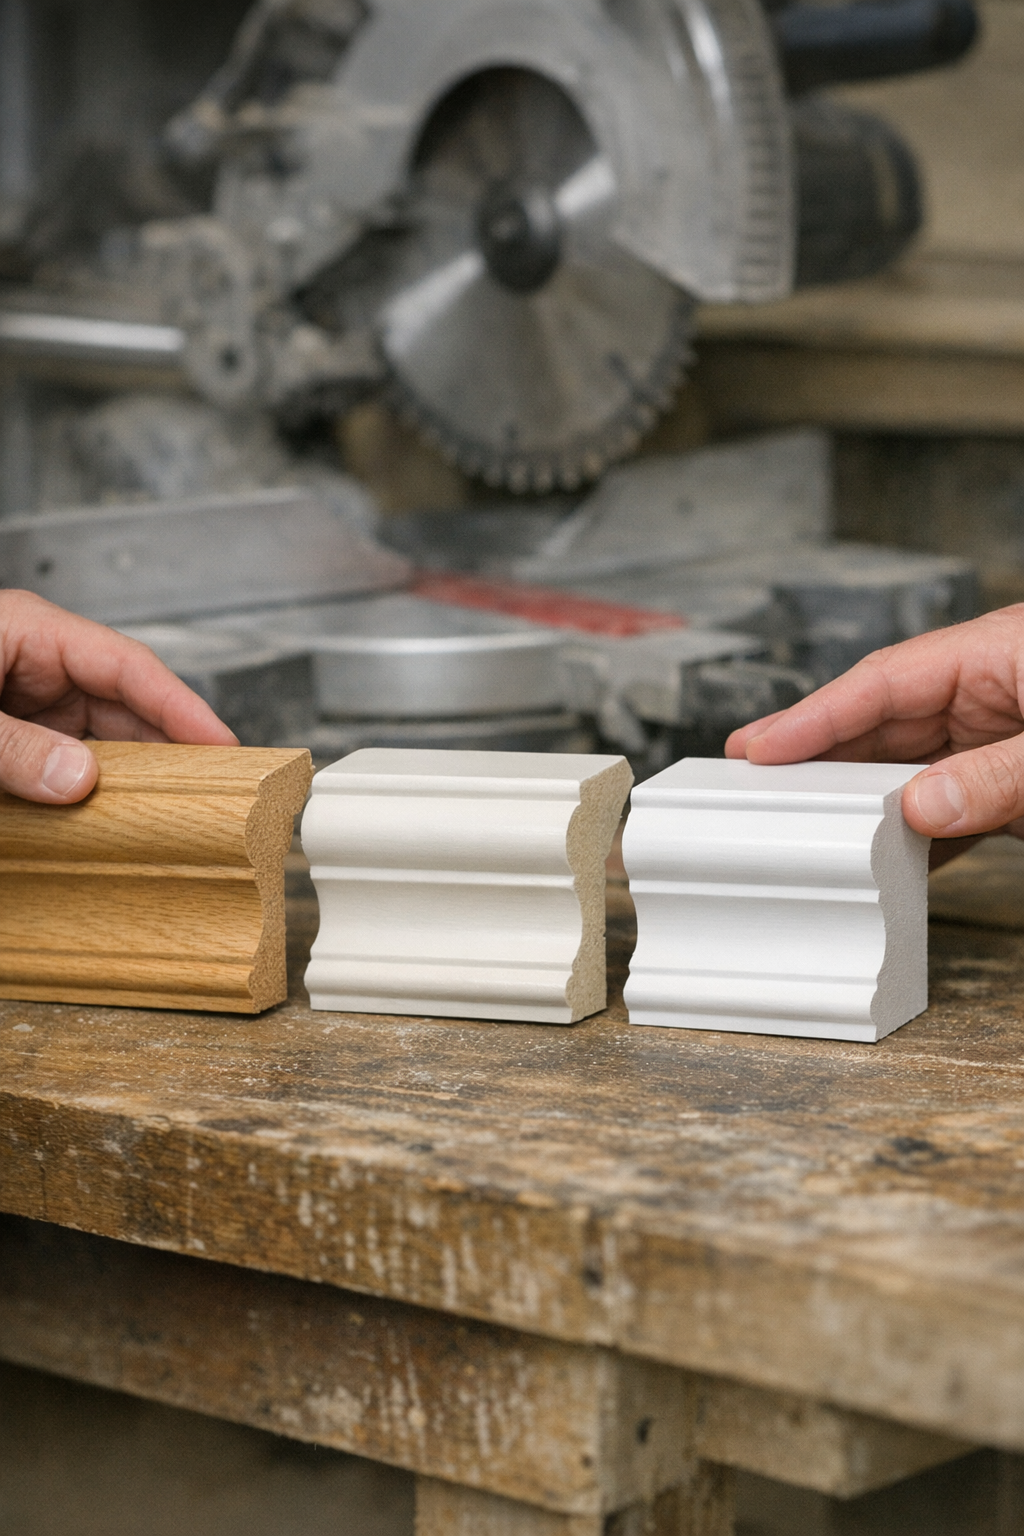
- Wood crown molding is a good fit when you want a traditional trim material, especially if the molding will be stained instead of painted. Stain-grade wood shows grain and color variation, so the pieces need to be selected and joined carefully. It can also be a strong choice for formal rooms where the trim is meant to feel like part of the home's architecture.
- MDF crown molding is commonly used for painted interiors because it has a smooth, consistent surface. For paint-grade molding, that smoothness helps create a clean finished line without visible wood grain. It is often best suited to dry, conditioned interior rooms rather than areas where repeated moisture exposure is a concern.
- Polyurethane crown molding is lightweight and can be useful where moisture tolerance is part of the decision, such as in some coastal Florida homes or rooms where humidity is harder to control. It is typically painted, not stained, and the main consideration is choosing a profile that still looks appropriate with the surrounding trim.
Profile size matters just as much as material. A simple, smaller profile can look cleaner in rooms with lower ceilings because it adds definition without crowding the wall. Taller ceilings, dining rooms, entryways, and more formal living spaces can often carry a larger or layered profile because there is more vertical space for the detail to breathe.
For custom crown molding Osprey FL projects, the best profile selection usually balances three things: the ceiling height, the existing baseboards and door casing, and the finish you want. The goal is not to pick the most ornate molding available; it is to choose a material and shape that look intentional once the crown molding installation in Osprey FL is complete.
Choosing Crown Molding That Fits Your Room
A good room choice starts by looking at what the eye notices first: the height of the walls, the size of the space, the existing trim, and how much natural light hits the ceiling line. Crown molding can create a cleaner wall-to-ceiling transition in living rooms, dining rooms, bedrooms, entryways, and similar spaces, but the right profile should support the room instead of competing with it.

Room proportions and ceiling height are the biggest design cues. In a smaller bedroom or den, a narrow, simple crown can add polish without making the walls feel shorter. In a formal dining room, foyer, or taller living area, a deeper or layered profile can make the space feel more complete because the molding has enough visual room to stand out. If the profile is too heavy for the wall height, the room can feel crowded; if it is too small for a large open area, it may disappear.
Style matters just as much as size. A clean, stepped profile usually fits a more casual or coastal interior, while a curved or more detailed profile can suit a traditional room with heavier casing, paneled doors, or formal furnishings. Wall color and natural light also affect the final look: bright rooms and high-contrast paint can make every shadow line more noticeable, while softer colors tend to make the molding blend in more quietly.
Not every room needs the same crown molding. A primary suite may look best with a calm, refined profile, while an open living area may need enough definition to separate the ceiling plane from the walls. For interior trim installation Osprey FL homeowners are considering, the better goal is a consistent home-wide style with room-by-room adjustments, not simply choosing the most ornate option available.
Considerations for Osprey and Coastal Florida Properties
Local planning matters because Osprey properties are not all used the same way. A primary residence may need trim that blends with daily-use rooms, while a vacation home, rental property, or pre-listing update may call for a durable, paint-grade profile that refreshes the space without overcomplicating future touch-ups.
For Florida homes, indoor climate is part of the installation conversation. Humidity, air conditioning cycles, and periods when a seasonal property sits closed can influence how trim is selected, fastened, caulked, and finished. The practical takeaway is simple: the molding should be chosen and installed for the room's real conditions, not just for how the sample looks in isolation.
Existing construction details also affect the plan. Ceiling texture, out-of-square corners, older drywall repairs, cabinet runs, built-ins, and uneven wall lines can change where seams belong and how the profile should be fitted. A crown molding contractor in Osprey can review those details before cutting so the finished installation looks intentional in the nearby coastal setting.
What to Expect During the Installation Process
The first checkpoint is a measured room list, not a verbal guess. The process starts with a consultation, followed by measuring each wall run, noting corners and transitions, reviewing the selected material and profile, and discussing the finish you want. Those details shape the estimate before scheduling, so the scope is based on the actual rooms rather than a rough guess.

Pricing should be project-specific. Cost can change based on linear footage, material choice, profile complexity, number of inside and outside corners, ceiling height, prep work, painting or staining needs, and whether existing molding has to be removed. A simple paint-grade profile in a square room is a different project than a larger layered profile with many cuts, repairs, or finish requirements.
On installation day, the work typically moves from layout to cutting, fitting, fastening, caulking, filling nail holes, and preparing the molding for its final finish. After cleanup, a final walkthrough gives you a chance to review corners, seams, wall-to-ceiling lines, and any finish details before the project is wrapped up.
Request Crown Molding Installation in Osprey, FL
Once your room list and finish goal are set, ask for a project-specific estimate. The recommendation should treat material, profile, and finish as separate choices: material is the trim substrate and affects the paint or stain approach, profile is the shape and size that controls visual scale at the ceiling line, and finish determines how the new trim blends with existing details. If you are ready to move forward in Osprey, schedule a consultation for a room-based plan.
Plan crown molding installation in Osprey, FL
Compare the broader Crown Molding Installation service details, then use the Osprey, FL service area page if you want the local overview. When you are ready, request a crown molding installation estimate with the rooms, trim goals, and photos that help explain the scope.
FAQs
Can crown molding be added to an existing home in Osprey, FL?
Yes, crown molding can be installed in existing homes in living rooms, dining rooms, bedrooms, entryways, hallways, offices, and other interior spaces. The installation should account for ceiling height, wall and ceiling conditions, existing trim, and the desired painted or stained finish.
What is included with professional crown molding installation?
Professional crown molding installation includes measuring wall runs, reviewing ceiling height and room conditions, selecting the profile, cutting and fitting the molding, fastening it securely, and handling inside and outside corners. Finish preparation typically includes caulking small gaps, filling nail holes, sanding filled areas, and preparing the trim for paint or stain.
How much does crown molding installation cost in Osprey, FL?
Crown molding installation cost is project-specific and depends on linear footage, material choice, profile complexity, ceiling height, number of inside and outside corners, prep work, painting or staining needs, and whether existing molding must be removed. A simple paint-grade profile in a square room costs differently than a larger layered profile with many cuts, repairs, or finish requirements.
Should I choose wood, MDF, or polyurethane crown molding for a Florida home?
Wood crown molding works well for traditional or stain-grade trim, MDF is commonly used for smooth painted interiors in dry conditioned rooms, and polyurethane is lightweight and useful where moisture tolerance matters. For Florida homes, the best choice depends on humidity exposure, air conditioning cycles, ceiling height, existing trim, and whether the final finish will be painted or stained.