
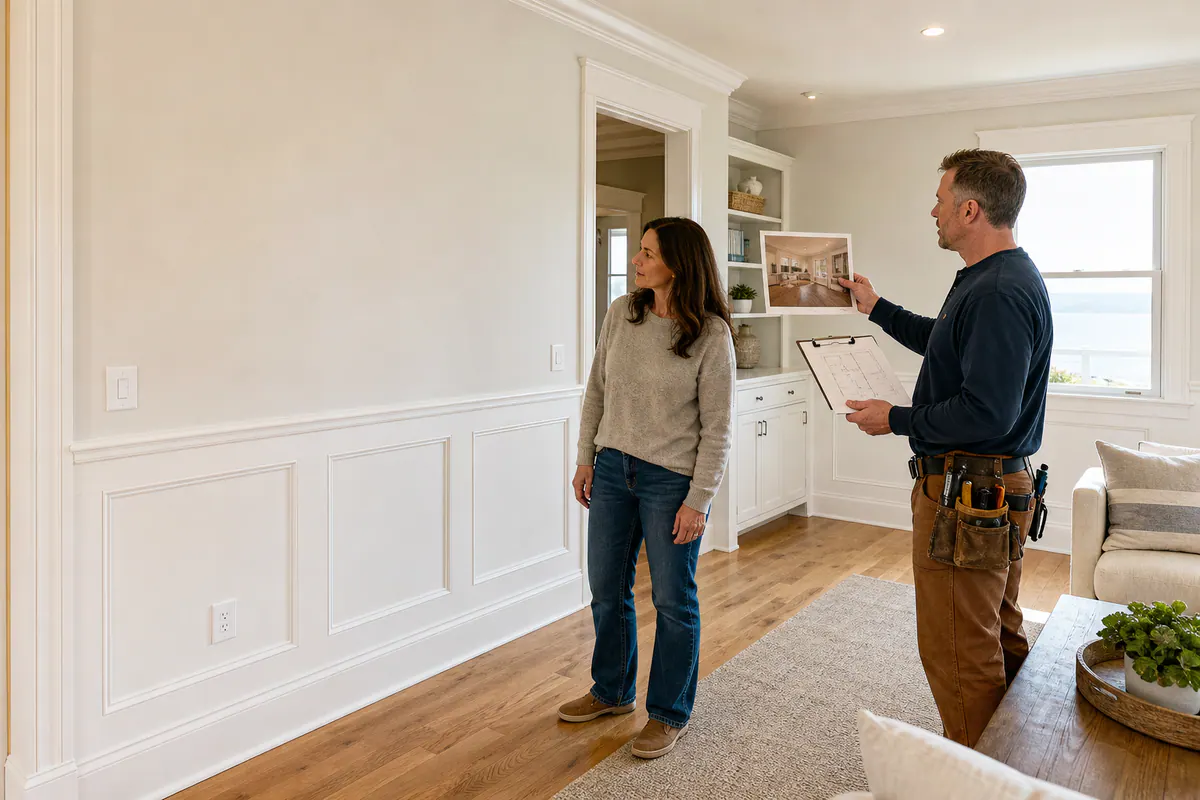
A useful trim estimate starts by turning an idea into a workable plan. Rather than treating the project as a single number, SuncoastTrim considers what trim will be installed, which rooms or walls are included, the material and finish direction, and the conditions that could affect installation. A simple baseboard update in an open room is a different scope from detailed wall paneling around windows, outlets, doors, and built-ins.
That is the practical answer to how trim estimates work: the clearer the scope, the more meaningful the estimate can be. Paint-grade material is intended for a painted finish, while stain-grade wood is selected when the natural grain will remain visible; that choice changes both the appearance and the preparation the project needs. Existing trim removal, uneven walls, limited access, and intricate layout details can also change the work involved.
A quick inquiry is enough to begin the conversation. To develop the scope further, it helps to share:
- Photos showing the full room, existing trim, and any areas of concern
- Rough room dimensions or an estimate of the walls involved
- Inspiration images that show the style and level of detail you want
- Your preferences for painted or stained trim and any known site limitations
Photos and dimensions can establish an early direction, but projects with more variables may need additional review or an on-site visit before the scope is finalized.
What to Send When You Request a Trim Estimate
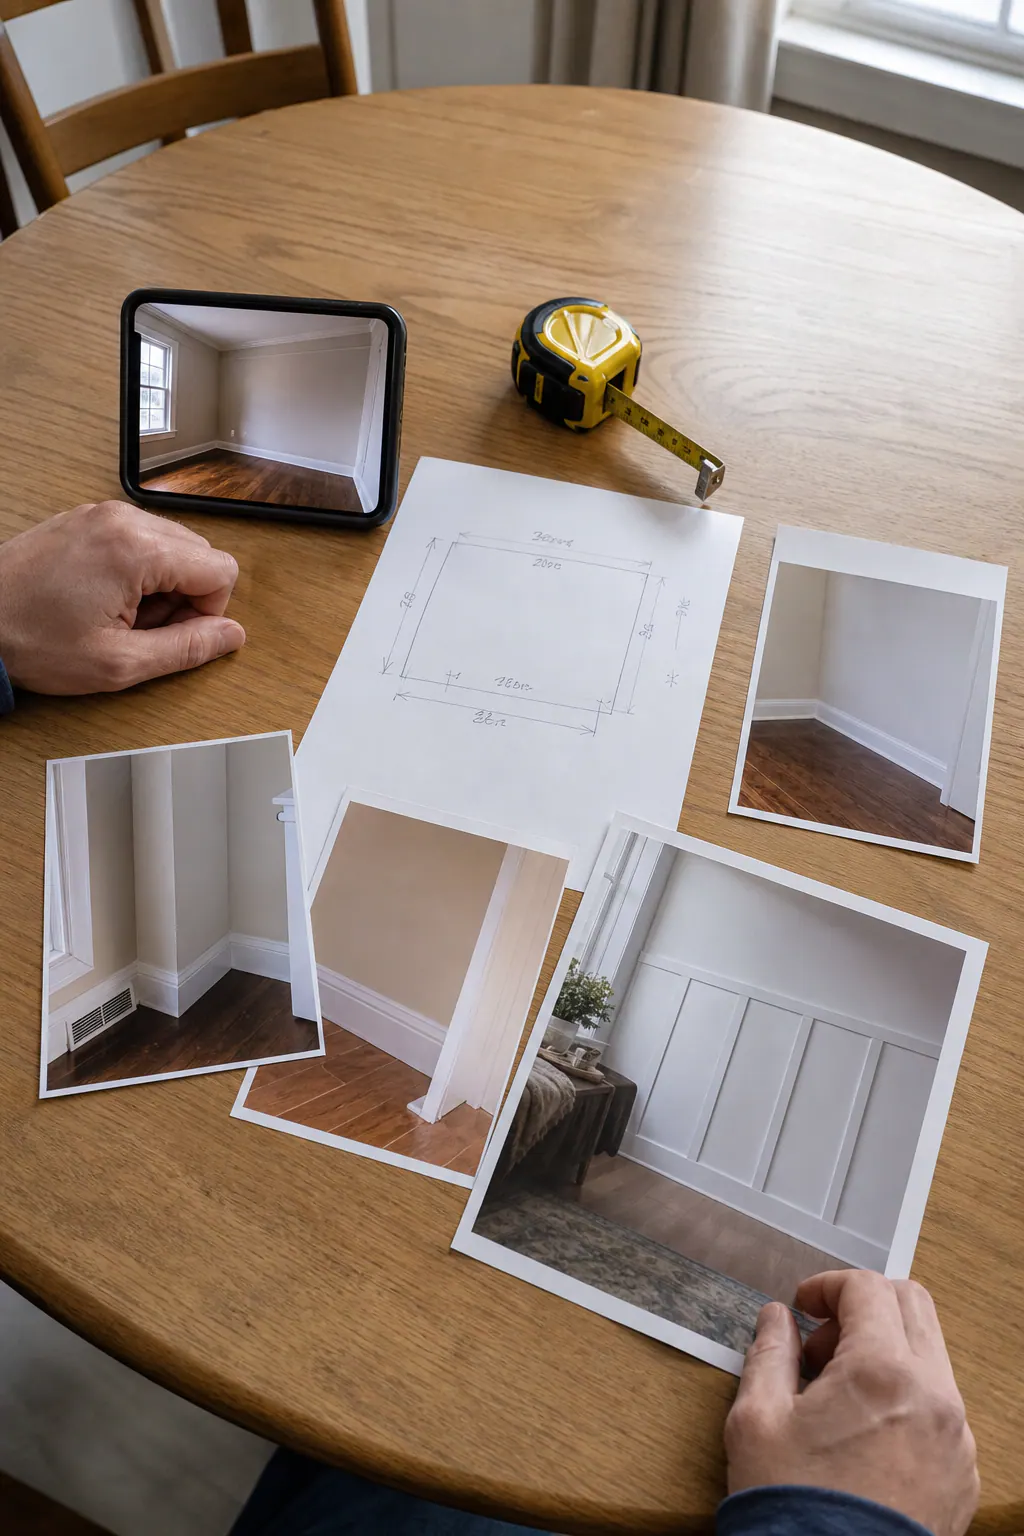
Start with the space as it is today, not just the finished look you have in mind. A few clear project photos give useful context: take wide shots from each corner of the room, then add close-ups of the existing baseboards, door or window trim, wall edges, and any trouble spots such as uneven surfaces, damage, built-ins, or tight corners.
- Strong: “Living room, all four walls; replacing baseboards and adding window casing.” Include one wide photo of each wall and a close-up of the two windows.
Less helpful: One tightly cropped photo of a baseboard with no indication of the room or adjacent features. - Strong: “Room is about 14 by 18 feet, with three doors and two windows.” Rough dimensions and opening counts help define the amount of trim and the number of interruptions in the layout.
Less helpful: “Average-size room.” Exact measurements are not required to request a trim estimate, but even an approximate size is more actionable. - Strong: Share an inspiration image and point out what you like: “I want this tall, simple baseboard profile, painted white,” or “I like the wall-panel pattern, but only on the dining-room feature wall.”
Less helpful: Sending a photo without saying whether you like its profile, color, spacing, or overall style.
Include your finish direction if you know it, painted trim, stained wood, or undecided, and describe the room’s current state. An occupied room may involve furniture and daily-use access, while a room under renovation may have exposed walls, flooring work, or other trades still in progress. It also helps to share the reason for the project and any desired completion context, such as preparing a room for move-in or coordinating with a remodel.
You do not need a perfect packet to begin. The best first message combines what you have: wide and detailed photos, rough dimensions, door and window counts, a clear inspiration reference, and a short description of the work you want done.
The Design Choices That Define Your Trim Scope
An inspiration photo becomes useful when you translate it into choices for your room. It can show the profile, the shaped edge and overall size of a molding, plus the intended height, panel spacing, where patterns stop and start, how trim meets doors or windows, and whether the finish is crisp painted white or natural stained wood. The same image may need a different layout around your ceiling height, outlets, existing openings, or a built-in cabinet.
A straightforward replacement scope might be new baseboards along the perimeter of one room, or new door and window casing around a defined number of openings. Those elements frame the floor and openings, so the key decisions are the profile, height or width, included rooms, and whether existing trim is being removed. This is different from adding crown molding, which runs at the wall-to-ceiling transition and introduces corners, ceiling lines, and connections to nearby trim.
More detailed work needs a design plan before it can become a useful custom trim estimate. Wainscoting adds a lower-wall treatment; wall paneling creates a repeated pattern or feature composition across a wall; and built-ins introduce fixed cabinets, shelving, or benches that trim must meet cleanly. For example, “panel the dining-room wall” leaves open important decisions. “Painted rectangular panels, 42 inches high, centered between the two windows, stopping at the adjacent doorway” identifies a layout that can be reviewed.
- Simple scope: Replace baseboards in a bedroom with a taller painted profile, keeping existing door casing.
- Custom scope: Create coordinated wall paneling across a living room, extend casing at several openings, add crown molding, and transition the design around windows and built-ins.
Reference images do not have to dictate an exact copy. Point to the features you want preserved, such as the wide casing, narrow panel spacing, or clean transition at a cabinet, and identify what can change. That gives the design discussion a practical target while leaving room to adapt the work to the actual walls, openings, and adjoining rooms.
What Affects a Finish Carpentry Estimate
Two rooms with the same perimeter can still involve very different work. Linear footage measures how much trim runs around a space, while piece count captures separate boards, returns, corners, transitions, doors, and windows. A long, open wall usually involves fewer cuts than the same footage divided by several openings, alcoves, and short wall sections.
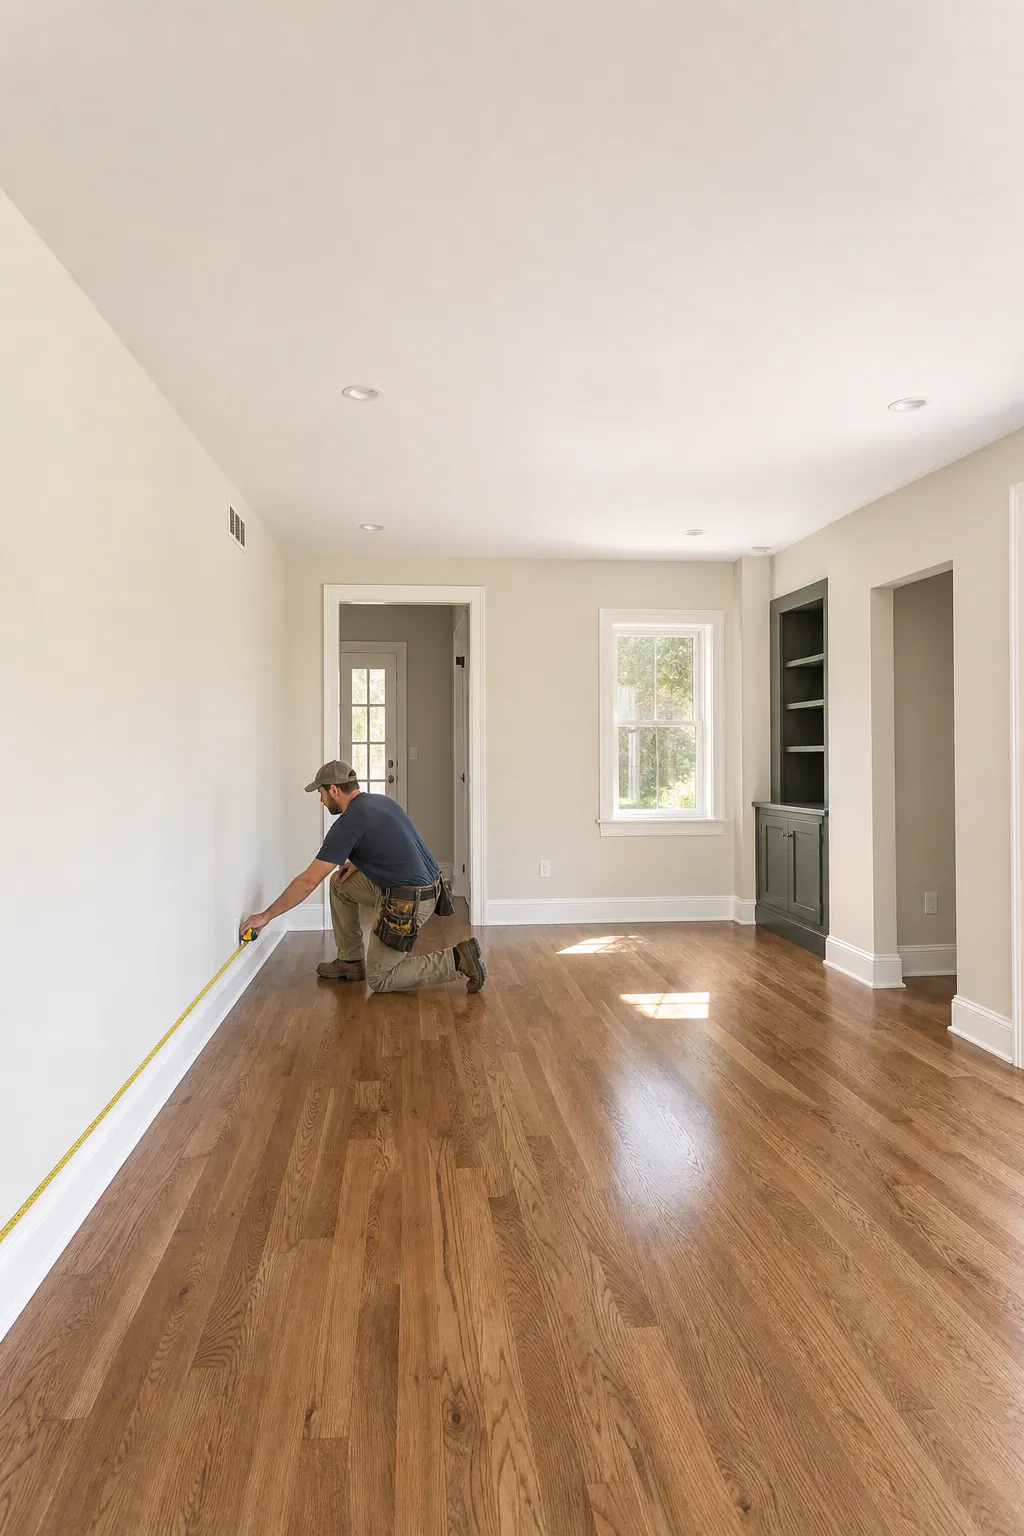
Profile, size, and material also shape a finish carpentry estimate. A simple, paint-grade baseboard made from MDF trim can suit a smooth painted look; taller or more detailed profiles change both the material selection and the work needed at corners and transitions. Stain-grade wood casing has a different expectation: the grain remains visible, so face quality, color consistency, joint fit, and handling matter more than they do when trim will be painted.
- Existing conditions: Removing old trim, dealing with uneven walls, patching damaged areas, or addressing gaps left behind can add preparation to the scope. Clear close-up photos of these areas help identify where the finished trim may need more than a direct replacement.
- Height and geometry: High ceilings affect crown molding and tall wall treatments; angled ceilings, stair runs, bays, curved areas, and out-of-square corners require more layout and fitting than a square room.
- Openings and obstacles: Each door and window can introduce casing, stool, apron, returns, and transitions. Built-ins, fireplaces, outlets, vents, cabinets, and flooring edges can likewise change where trim starts, stops, or must be modified.
- Access and protection: Furniture that remains in place, limited working room, occupied spaces, and surfaces that need protection all affect how the work can be staged. Let SuncoastTrim know what can be moved before installation and what must stay protected.
Coordination matters, too. If painting, flooring, drywall repair, cabinet work, or a broader renovation is underway, the estimate needs a clear sequence: what condition the room will be in when trim is installed, who handles patching and paint, and whether removal and disposal are included. Those decisions prevent a finish carpentry estimate from assuming work that belongs to another part of the project.
When Photos Are Enough and When a Site Visit Helps
A remote review is often a practical starting point for a defined, straightforward area. Clear room photos, rough wall lengths, opening counts, and a short description can show the general layout, the existing trim, likely access constraints, and the intended design direction. For example, replacing baseboards in one open, rectangular room is easier to assess from those details than a room with several interruptions or a custom feature.
A trim site visit becomes valuable when the finished result depends on details a camera cannot reliably reveal. Uneven or out-of-square walls, older homes with shifted surfaces, angled ceilings, bays, stair transitions, and other complex geometry can affect how trim fits. A visit allows field measurements and a closer look at corners, wall planes, flooring edges, and the places where new work must meet existing surfaces, reducing assumptions before a trim installation estimate is finalized.
- Detailed panel layouts: Wall paneling needs precise spacing around doors, windows, outlets, vents, and furniture placement. Field verification helps turn a reference image into a layout that looks intentional in the actual room.
- Large or connected projects: Multiple rooms can introduce changing ceiling heights, trim transitions, and different existing conditions that are hard to capture in a single set of photos.
- Built-ins and uncertain conditions: Custom cabinets, fireplaces, alcoves, damaged walls, concealed gaps, or trim that may be difficult to remove can change the fitting and preparation work.
The point of a site review is not to slow down a finish carpentry estimate. It is a chance to confirm the dimensions, layout points, and existing conditions that matter most when precise field verification will make the proposed scope clearer.
What Your Trim Estimate Should Clarify Before You Move Forward
Before you decide whether the proposed work matches your plans, the estimate should make the scope easy to picture in the room, not leave you interpreting a single total.
Look for the specific work areas and trim elements: which rooms, walls, doors, windows, or ceiling sections are included; whether the work is baseboard, casing, crown, panel molding, or another feature; and where the installation begins and ends. “Paneling in the dining room” is less useful than a description that identifies the wall or walls, intended height, and treatment around openings.
- Material and finish assumptions: The estimate should identify the assumed trim material and whether the plan is paint-grade or stain-grade. If a profile, board width, or paint responsibility has not been selected, that is an open decision, not a hidden detail.
- Preparation and removal: Clarify whether existing trim removal, disposal, wall patching, surface preparation, or moving furnishings is part of the proposed work. These tasks can be separate from installing new trim.
- Exclusions: An exclusion is work not included in the current scope, such as painting, drywall repair, flooring changes, electrical relocation, or repairs discovered after trim is removed.
- Allowances: If an allowance appears, it is a placeholder amount for a selection or task that is not fully defined yet. It helps move planning forward, but the final figure can change when that choice is made.
Questions and revisions are a normal part of the trim estimate process. Ask about any unclear boundary, unfinished selection, or assumption that does not reflect the room. As materials, layout details, and field conditions become known, the trim project estimate can become more specific. If the scope changes, adding another wall, changing materials, or expanding removal work, discuss the adjustment before work proceeds.
Start Your Trim Estimate With the Details You Have
A short project note is enough to open the conversation. When you request a trim estimate, share the photos you have, any approximate room or wall dimensions, an inspiration image, and a note about the work you want, such as replacing baseboards, adding crown molding, or creating wall paneling.
- Show the space: Include wide views and any conditions that may affect the work, such as built-ins, uneven walls, tight corners, furniture, stairs, or existing trim to be removed.
- Share your direction: A saved photo and a note such as “painted, simple profile” or “interested in stained wood” gives the conversation a starting point. Final material and profile selections can come later.
- Describe the boundaries: Identify the rooms, walls, openings, or ceiling areas you hope to include, even if the list is preliminary.
You do not need perfect measurements or a finished design to begin. SuncoastTrim can use the details available to determine the most useful next step: a preliminary discussion, a few follow-up questions, or a site review when the space needs closer evaluation. Send what you have, explain what you hope to change, and let the scope take shape from there.
Plan the next step
When you are ready, request a free estimate with the rooms, trim goals, city, and available photos.
FAQs
What information do I need to request a trim estimate?
Send wide room photos, close-ups of existing trim or problem areas, rough dimensions, and door and window counts. Include an inspiration image, the work you want done, your painted or stained finish preference, and any site limitations such as furniture, built-ins, or uneven walls.
Can I get a trim estimate from photos without exact measurements?
Yes. Clear photos, approximate wall lengths, opening counts, and a short scope description can establish an early direction for straightforward work such as baseboard replacement in one open room. Exact measurements are not required to start, but rough room size is more useful than describing a space as average-sized.
What affects the cost of a trim project?
Cost is affected by linear footage, piece count, trim profile, material, finish, existing conditions, and installation complexity. Doors, windows, corners, built-ins, high ceilings, angled walls, old-trim removal, furniture protection, and uneven surfaces can all add layout, fitting, or preparation work.
When is a site visit needed for a finish carpentry estimate?
A site visit is useful when precise field verification is needed for uneven or out-of-square walls, angled ceilings, bays, stair transitions, detailed panel layouts, built-ins, or multiple connected rooms. It allows measurements and inspection of corners, flooring edges, wall planes, and existing conditions that photos may not show reliably.
What should I look for in a trim estimate before choosing a contractor?
Look for specific included rooms, walls, openings, trim elements, materials, finish assumptions, and installation boundaries. Confirm whether old-trim removal, disposal, wall patching, painting, furniture moving, and other work are included, excluded, or listed as allowances.