

Residential Trim Installation That Makes Interior Spaces Feel Finished
That finished look does not require a whole-house renovation. Residential trim installation can focus on one bedroom with scuffed baseboards, a hallway with chipped door casing, a room where new flooring has left unfinished wall-to-floor edges, or a remodel that is waiting on its final visible details.
Finish carpentry for homeowners means the exposed trim that frames and connects the room. Baseboards cover the line where the wall meets the floor; door and window casing creates a deliberate border around each opening; crown molding finishes the wall-to-ceiling intersection; and decorative wall details, such as panel-style trim, add pattern across an otherwise plain wall. Each element changes a specific edge that can otherwise look abrupt, worn, or incomplete.
The sensible scope depends on the condition and the goal. Replacing one damaged casing board may suit a door with isolated chips or dents when adjacent trim still works visually. New baseboards are often a practical finishing step after flooring replacement, while a dated living room may benefit more from a coordinated profile at the doors, windows, and ceiling than from changing its layout. A repair solves a localized defect; a coordinated update changes how the room reads as a whole.
SuncoastTrim can start with the actual room: the existing profile, damaged areas, new floor height, number of doors and windows, and the details you want to stand out. That makes it easier to define whether the project is a repair, a single-room upgrade, remodel finish work, or broader home trim upgrades, without treating every interior improvement as an all-or-nothing project.
How to Plan a Trim Project Without Overcomplicating It
Start by naming the room and the decision you need to make there: is something damaged, does new flooring leave an unfinished edge, is a remodel missing its final details, or are you simply ready for a more intentional look? That distinction keeps trim installation for homeowners focused. A loose or lightly scuffed piece may suit a repair-focused scope; repeated damage, water staining, a profile that is no longer available, or trim that no longer works with the room’s updates can point toward interior trim replacement.
- Repair preserves a detail that still belongs in the room, limiting the work to the affected area when a sound, visually consistent result is practical.
- Replacement changes out worn, mismatched, or unsuitable trim, either in one location or across a connected room.
- Remodel completion coordinates trim with altered walls, doors, windows, or flooring so the changes meet cleanly.
- Decorative improvement adds detail for visual character rather than because something has failed.
Then set the detail level by looking at the room as a whole. A busy family room may call for a straightforward, easy-to-maintain look, while a formal dining room may support more visual definition. Ceiling height influences how substantial upper-wall details feel; existing door and window trim establishes a visual reference; and flooring affects the transition at the bottom of the wall. Paint color matters, too: a trim color that closely matches the wall reads quietly, while contrast makes the profile more noticeable.
Look beyond the room’s doorway before finalizing the scope. If adjacent spaces are open to it, a sharply different profile or color can feel abrupt; if they are separate, a room-specific choice may work well. Uneven walls, flooring changes, prior water damage, and discontinued profiles are useful intake details to share early because they can affect how targeted trim repair for homes is approached. One room, a phased plan, or a carefully selected replacement can each be the right answer when the scope follows the problem and the look you want.
Choose the Right Trim Elements and Profiles for Your Home
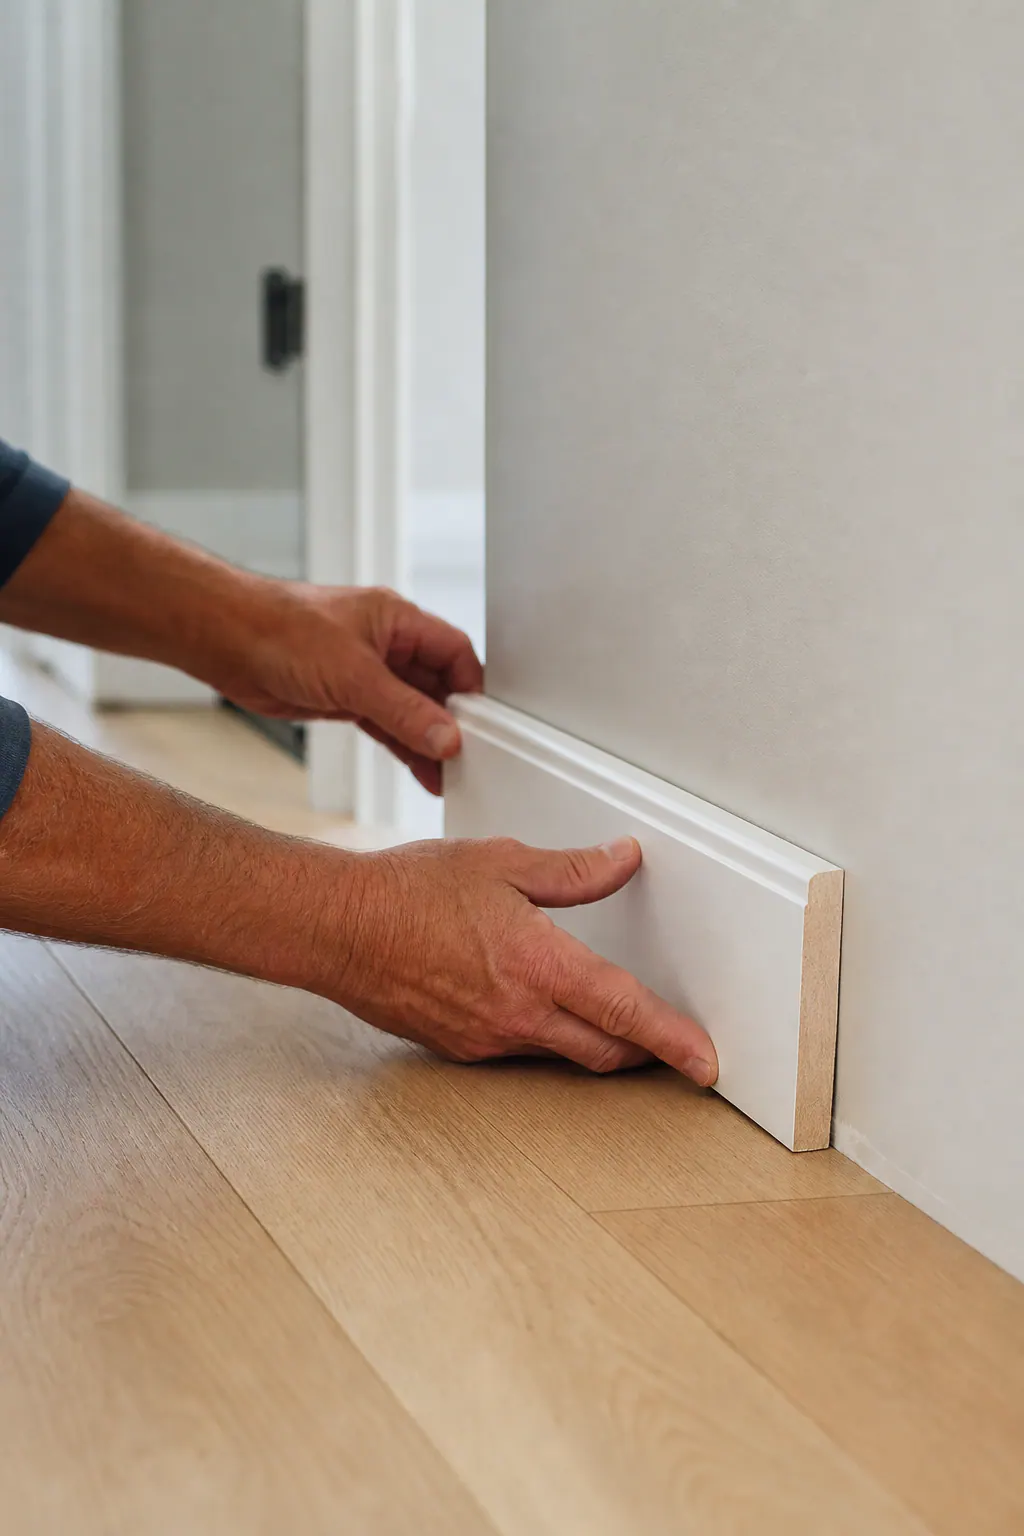
Think of each trim element as a line that directs the eye. Baseboards give the floor-to-wall transition a finished edge and are especially useful after a flooring change or where the current bottom edge looks undersized. Door and window casing frames openings, making a new door, refreshed window, or repaired wall opening feel intentionally integrated rather than simply cut into the wall.
Crown molding draws attention upward by defining the ceiling transition. It can add formality and visual height, but it is not required in every room: a low-ceilinged or compact space may feel cleaner without a large upper-wall detail. A chair rail creates a horizontal division on the wall and can provide a practical visual break in dining areas, hallways, or other high-contact spaces. Wainscoting and wall paneling go further, adding repeated pattern, shadow lines, and architectural interest to a feature wall or an entire room.
- Flat-stock or square-edge trim has broad, simple faces with minimal curves. It suits contemporary rooms, restrained interiors, and homes where clean lines matter more than ornament.
- Layered or decorative molding combines stepped edges, rounded profiles, or multiple pieces to create more depth. It often complements traditional architecture and can help new work relate to existing detailed casing or built-ins.
Scale matters as much as style. A wider baseboard or more substantial casing can hold its presence beneath taller ceilings, while an oversized, deeply layered profile may crowd a smaller room. In an older home, an exact match may not be available or necessary; a complementary profile can work when its width, thickness, and level of detail relate convincingly to the nearby original trim. For custom trim for homes, choosing a consistent visual language across the room usually matters more than adding the most elaborate option.
Before selecting trim profiles, compare a sample against the door openings, ceiling line, flooring, and any details that will remain. A profile that looks appealing by itself can read very differently once it meets existing casing or a narrow wall section. That side-by-side view helps keep the finished composition deliberate.
Select Trim Materials and Finishes for the Room and Look You Want
The finish you picture should guide the material conversation early. Paint-grade trim is intended to receive an opaque painted coating, so a smooth face and clean profile matter more than visible grain. Stain-grade wood is selected when the wood itself is meant to be part of the look; its grain, color variation, and joint placement remain visible after the finish is applied.
- MDF trim offers a consistently smooth, grain-free surface that can suit crisp painted baseboards, casing, and decorative wall details in stable, dry interior areas. It is a natural visual fit for a white or color-painted room, but moisture exposure and edge damage deserve attention when choosing where to use it.
- Solid wood trim makes sense when natural grain, a stained finish, or traditional wood character is central to the design. Because grain and color can vary from piece to piece, samples are especially useful when new work needs to relate to existing stained doors, built-ins, or older casing.
- Finger-jointed pine is a paint-grade wood option made from shorter wood sections joined together. Once painted, it can provide a wood-based trim choice without asking the finished surface to showcase uninterrupted grain.
Think about what the room will ask of the trim as well as how it should look. A dry bedroom or living area may leave more material options open than a location with recurring humidity, splashes, or past water damage. High-contact corners, lower baseboards, and busy hallways also make dents and scuffs part of the practical discussion. Wood can show grain and can move subtly with changing conditions; MDF presents a more uniform painted face. Neither is automatically the right answer, the intended finish and room conditions determine the better fit.
Matching existing work calls for a closer look than color alone. Painted trim can often be coordinated through profile, width, sheen, and paint color. Stained trim requires attention to wood species, grain direction, stain tone, and how new pieces will sit beside aged material. Bringing photos or a small sample into the selection conversation helps define whether the goal is a close continuation or a deliberate, complementary update.
Trim Repairs, Remodel Finish Work, and Custom Interior Details
A repair can be the right answer when the problem is localized: light scuffs, a small crack, a loose length of baseboard, an opened joint, or a missing short section of casing. The useful distinction is whether the trim still has a sound shape and enough intact material to blend back into the room. If it does, trim repair for homes can preserve the surrounding profile and limit disruption. Swollen edges, soft material after water exposure, repeated cracking, or damage spread across several pieces usually shifts the conversation toward replacement.

Interior trim replacement is also sensible when new pieces cannot relate convincingly to what remains. In an older home, a close profile match may be possible from a sample or measured dimensions, but an exact match is not always realistic when the original molding is discontinued, handmade, painted through many times, or paired with aged stained wood. A complementary profile can be the better visual choice: it deliberately echoes the existing trim’s width, scale, and level of detail instead of pretending to be identical.
Remodel finish work brings the changed parts of a room together. New drywall may leave unfinished opening edges; replacement flooring can expose a gap at the wall; updated cabinetry may change where baseboards stop and start; and a new door can need casing that aligns with nearby openings. Residential finish carpentry resolves those transitions so reveals look even, corners read cleanly, and the new work feels connected rather than added afterward.
Custom details can expand that same sense of coordination. Built-up casing combines multiple trim pieces for a deeper, more substantial door or window surround. Decorative molding adds a controlled accent at a ceiling, wall, or opening. Paneled walls use rails, stiles, or applied molding to create repeated rectangles or other patterns. For an open floor plan, carrying related baseboard, casing, and finish choices from room to room can create continuity; in a distinct room, a more decorative treatment can become an intentional focal point.
Photos of the affected area, nearby trim, flooring, doors, and any inspiration image make it easier to discuss whether the priority is a discreet repair, a coordinated replacement, remodel completion, or a custom update with SuncoastTrim.
What Professional Interior Trim Installation Should Address
The difference often shows at the edges: a casing that appears to lean, a corner that opens up, or a new baseboard that follows neither the floor nor the wall cleanly can make otherwise well-chosen trim feel out of place.
A thoughtful interior trim installation begins with measuring and layout, not simply cutting pieces to nominal lengths. Around doors and windows, the reveal, the narrow, intentional strip of jamb left visible inside the casing, should read consistently on each side. That even border makes an opening look balanced; a changing reveal can draw attention to the trim rather than the door or window.
Corner treatment matters, too. Miter joints are angled cuts that meet at an outside corner, while coped joints shape one piece to fit the face of another at an inside corner. Either approach should leave a close, deliberate-looking connection rather than a dark seam. Where walls, ceilings, or floors are not perfectly straight, scribe cuts let trim follow the surface more closely instead of leaving a conspicuous gap.
Fastening, filling, and finish preparation complete the visible work. Trim needs secure attachment without distracting damage; small fastener holes and minor joint imperfections can be filled before finishing. Caulk can soften narrow paintable gaps where trim meets a wall, but it is not a substitute for poor fit and is generally not part of a stained-wood look. Before paint or stain, surfaces and joints should be prepared for the chosen finish.
An interior trim contractor can help assess these details in proportion to the project, whether the work is one repaired opening or coordinated trim throughout a remodel. Close-up photos of joints, casing lines, and flooring transitions are useful signals of the level of finish you want discussed.
Work With SuncoastTrim on the Right Scope for Your Home
Start the conversation with the visual and physical clues: wide photos showing the room and doorway, close-ups of the existing profile and joints, and images that show the style you like. Note practical conditions such as a new floor sitting higher than the old one, a water-marked baseboard, a window casing that must align with nearby doors, or an open transition into a room with trim you plan to keep.
SuncoastTrim can help define a scope that fits that information: a localized repair preserves a sound surrounding run; a single-room upgrade changes the visible trim package in one space; remodel finish work connects new doors, flooring, or wall changes; and a custom interior detail, such as a decorative wall treatment, adds a focal point. Discuss the profile’s level of detail, whether the material will be painted or stained, the intended sheen, and which adjacent rooms should coordinate.
A useful project assessment identifies the rooms and openings included, the trim that will remain, and conditions such as uneven walls or damaged material that affect the finished connection. If you are considering residential trim installation, contact SuncoastTrim for a low-pressure conversation about your photos, priorities, and next step.
Plan the next step
When you are ready, request a free estimate with the rooms, trim goals, city, and available photos.
FAQs
What is included in residential trim installation?
Residential trim installation can include baseboards, door and window casing, crown molding, chair rails, wainscoting, and decorative wall paneling. It also covers finishing transitions around new flooring, doors, windows, drywall, and cabinetry.
What is the difference between trim carpentry and finish carpentry?
Trim carpentry focuses on visible interior elements such as baseboards, casing, crown molding, and wall details. Finish carpentry includes installing and refining those exposed details so joints, reveals, corners, fastening, filling, and finish preparation look clean.
How do I choose a trim profile for my home’s style?
Choose flat-stock or square-edge trim for contemporary spaces and clean, restrained lines, while layered or decorative molding suits more traditional interiors. Compare samples against the doors, ceiling line, flooring, and existing casing, and size the profile to the room and ceiling height.
Can new trim match existing trim in an older home?
New trim can often be closely coordinated by matching width, thickness, scale, and level of detail, even when an exact discontinued profile is unavailable. For stained trim, also compare wood species, grain direction, stain tone, and the appearance of aged adjacent material.
Should I repair or replace damaged baseboards and door trim?
Repair is appropriate for localized scuffs, small cracks, loose baseboards, opened joints, or a missing short casing section when the surrounding trim is sound. Replace trim when there are swollen or soft water-damaged edges, repeated cracking, widespread damage, or a profile that no longer works with the room.