
Request estimate
Request an Estimate
Ready to get started? Use the estimate request form to tell us about your trim project and request a project-specific estimate for your home.
Estimate details
What helps shape a useful estimate.
Request an Estimate for Custom Trim and Finish Carpentry
Ready to get started? Use the estimate request form to tell us about your trim project and request a project-specific estimate for your home.
Whether you are updating a single room or planning a larger renovation, your inquiry can cover interior trim, baseboards, crown molding, door and window casing, wall paneling, feature walls, repairs, or whole-home trim work. Baseboards finish the joint between wall and floor; crown molding creates a finished transition at the ceiling; casing frames doors and windows; and paneling or feature walls add architectural detail across a larger wall surface.
A helpful request includes the rooms involved, the kind of work you have in mind, and any preferred paint, stain, material, or profile direction. Photos are useful for showing existing conditions, corners, doorways, ceilings, and areas needing repair. Approximate room dimensions or linear footage can help when available, but you do not need perfect measurements to begin a trim estimate request.
Custom trim is quoted by the work in front of the installer, not by a one-size-fits-all public price. The amount of trim, profile selection, wall and ceiling conditions, removal work, access, finishing expectations, and repair needs can all change the scope. An initial review may identify questions that photos cannot answer, and an on-site review may be needed before a complete project estimate is prepared.
Trim Projects We Can Review and Estimate
Many trim projects begin with one visible problem, or one wall that feels unfinished, and grow into a more coordinated update. If your plans fall into any of the categories below, they are a good fit to discuss in an estimate request.
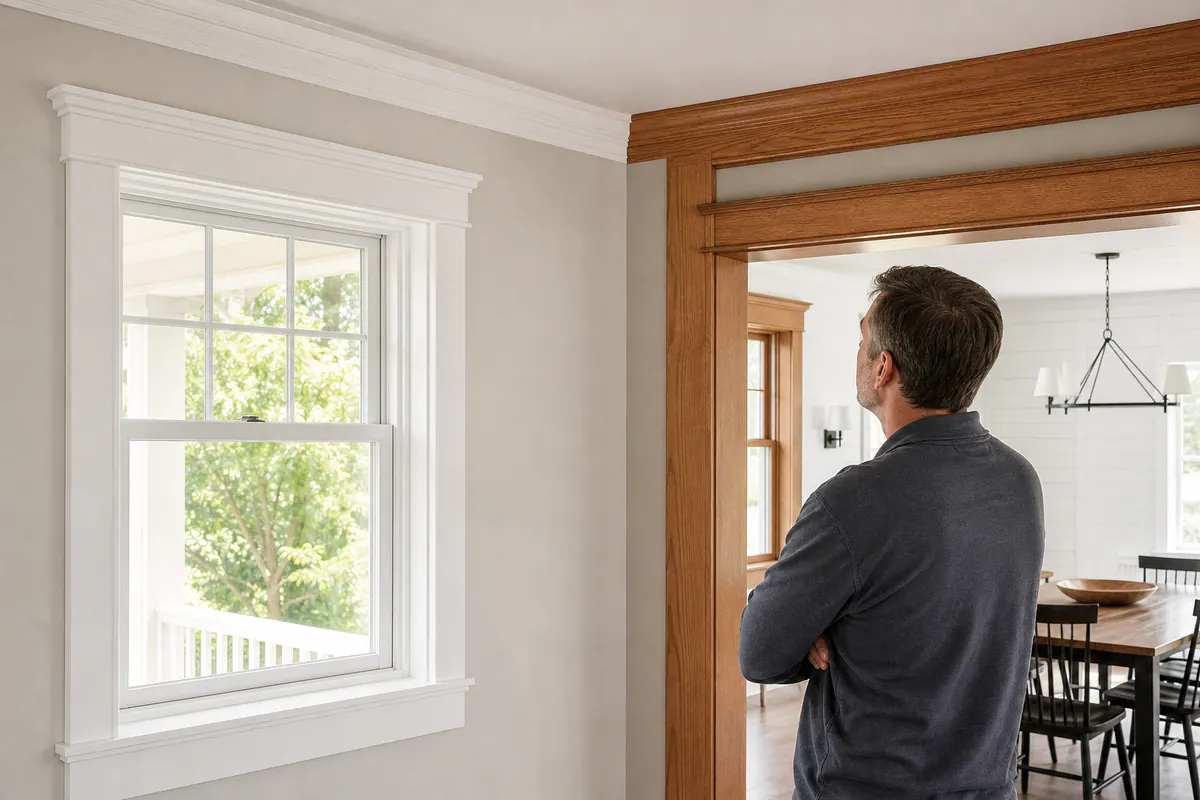
- Baseboards and crown molding: Replace dated or damaged baseboards, add taller boards for a stronger finished edge, or introduce crown molding to sharpen the wall-to-ceiling transition. A baseboard estimate or crown molding estimate can account for the profile you prefer and the number of corners, openings, and transitions involved.
- Door and window casing: Update the trim that frames openings, whether the goal is a cleaner match with new baseboards or a more substantial, decorative look throughout a room.
- Wainscoting, board and batten, and wall paneling: These treatments bring structure to a lower wall or full wall surface. Wainscoting typically creates a defined lower-wall treatment, while board and batten uses applied vertical and horizontal pieces for a more geometric pattern. A wall paneling estimate can start with the wall locations and the look you want to achieve.
- Accent and feature walls: Add a focal point with boxed molding, slat-style details, panel layouts, or another designed treatment on a single wall.
- Trim repairs and material upgrades: Address worn, loose, missing, or mismatched trim, or replace existing pieces as part of an interior refresh.
- Whole-home interior trim: Coordinate baseboards, casing, crown, and wall details across multiple rooms for a consistent finish.
The final scope depends on the existing walls, ceilings, openings, trim being removed or retained, and the design choices that emerge for the space. When photos and project details leave important questions unanswered, a site review may be needed to define the work accurately.
What to Include With Your Estimate Request
A few clear details can make your initial review more useful, but you do not need a complete plan before reaching out. Start with the project location, the rooms involved, and the trim or wall treatment you want to discuss.

- Room and project details: Name the spaces involved and whether the work is for one wall, one room, or several rooms. Include approximate room dimensions or linear footage if you know it; helpful measurements provide scale, but exact measurements are not required to request a finish carpentry estimate.
- Photos and inspiration: Share wide photos of the walls, ceiling lines, doors, windows, and existing trim, plus close-ups of any damage or repair areas. Inspiration photos help communicate the intended look, even when the same profile or layout will not be copied exactly.
- Materials and finish direction: Note any preferred material or profile. Paint-grade trim is intended for a smooth painted finish, while stain-grade material is selected when the natural grain will remain visible; that choice affects the appearance you are aiming for.
- Existing conditions: Mention trim that needs removal, loose or damaged areas, uneven walls, ceiling height, and any repairs you can see. Include furniture, narrow hallways, stairs, or other access considerations that may affect how the work is approached.
- Your timing: Tell us when you hope to begin and whether the trim work is tied to painting, flooring, a remodel, or another part of the project.
If some of those details are still undecided, send what you have. A short description and a few photos are a practical starting point for an interior trim estimate, and additional questions can clarify the scope as the project takes shape.
Why Trim Work Is Priced by Your Project Scope
A single price per room or per foot can miss the details that shape the actual work. Room count and linear footage establish the scale, but the profile, material, and finish determine what is being installed. A simple paint-grade profile is designed to be painted smooth, while stain-grade trim is selected for a visible wood appearance and calls for a different finish standard.
Installation conditions matter just as much as the trim itself. Taller ceilings can change handling and setup; corners, returns, transitions, doors, and windows add cuts and fitting. Walls and ceilings that are not straight may require more adjustment for clean-looking lines. Removing existing trim, addressing damaged surfaces, working around furniture in occupied rooms, and carrying materials through tight access points can also change the approach.
Coordination affects scope, too. Trim installed before painting may need a different finish plan than work being fitted around completed paint, flooring, cabinetry, or other renovation tasks. That is why an online price cannot reliably stand in for a project-specific finish carpentry estimate in Sarasota County.
An initial review can identify the details still needed to define the work. Depending on the project and the estimate process, that may mean follow-up questions, a preliminary range when one is offered, or an on-site assessment when photos and descriptions cannot show the conditions accurately. A formal estimate is most useful when it reflects the materials, preparation, installation, and finishing your home actually requires.
What Happens After You Submit Your Request
Your submission gives the conversation a starting point rather than locking you into every decision. The first step is an initial review of the project description, photos, measurements, and preferences you included.
- Clarify the picture. If important details are missing, you may be asked for additional photos, approximate dimensions, or a closer look at an existing condition. A wide room photo shows the overall layout; a close-up of a damaged corner, uneven ceiling line, or existing trim profile helps define the work itself.
- Discuss the project. A phone call or message exchange can help narrow down selections and priorities, such as whether you want to match existing casing or introduce a new profile throughout the room.
- Decide whether a site assessment is needed. An on-site visit may be recommended when remote information cannot show wall alignment, access, removal needs, surface preparation, or the transitions between trim and nearby flooring, cabinetry, or doors.
A preliminary range, when one is offered, is different from a formal project estimate. A range is a planning tool based on the information available. A formal estimate should reflect the confirmed scope: the selected materials and profile, preparation and repair needs, installation details, finishing expectations, and conditions identified during review.
That process keeps a trim estimate request practical without requiring you to have every answer before you reach out. Send the details you know, respond to any follow-up questions, and use the review to turn a general idea into a clearly defined finish carpentry project.
Tell Us About Your Trim Project
The most useful next move is simply to put the version of the project you have in mind into the estimate form. A small repair deserves the same clear description as a one-room refresh or a whole-home trim plan.
- Where the work is: Share the home’s location so the project can be reviewed in context.
- What you want to change: Name the project type, such as baseboards, crown molding, casing, wall paneling, a feature wall, or repair work, and note whether existing trim will stay, be matched, or be replaced.
- Which rooms are involved: List the spaces and indicate whether the work is limited to one area or continues through several rooms.
- The look you are after: Describe the direction in plain language: clean and simple, more traditional, painted, stained, designed to match existing trim, or something else.
- Photos and dimensions, if available: Room photos, close-ups, and approximate measurements can add useful context. Do not hold off because you have not measured every wall; a rough idea of the space is enough to begin the conversation.
- How to reach you: Include your name, preferred contact details, and the best way to follow up on the project.
Use the form to request a trim estimate when you are ready to share your scope. Whether the goal is repairing one damaged section, adding detail to a single room, or coordinating finish carpentry throughout the home, a clear starting description makes the next conversation easier.
Plan the next step
When you are ready, request a free estimate with the rooms, trim goals, city, and available photos.
FAQs
How do I request a trim installation estimate in Venice, FL?
Submit an estimate request with your home location, the rooms involved, the type of trim work you want, and your contact information. Include photos and approximate dimensions when available, but exact measurements are not required to begin.
What information do I need for a baseboard or crown molding estimate?
Provide the rooms involved, approximate dimensions or linear footage, preferred trim profile, paint or stain direction, and photos of walls, corners, doors, windows, and ceiling lines. Also identify existing trim that will be removed, matched, repaired, or retained.
Can I get a crown molding estimate from photos?
Photos can support an initial review, especially wide room photos and close-ups of ceiling lines, corners, and existing trim. An on-site assessment may be needed to confirm wall alignment, ceiling conditions, access, and fitting details before a formal estimate is prepared.
Why is there no public price list for custom trim work?
Custom trim pricing depends on the amount of trim, material, profile, finish standard, corners, openings, removal work, repairs, and site access. Tall ceilings, uneven walls, occupied rooms, narrow hallways, and coordination with painting or flooring can also change the installation scope.
Should I request an estimate for a small trim repair or wait until I have a larger project?
Request an estimate for either a small repair or a whole-home trim project. A clear description of the damaged area, photos, room location, and whether you want to repair, match, or replace the trim provides a practical starting point.
Next step