

Pre-Listing Trim Upgrades That Help a Home Look Cared For
That practical lens starts with the finish details people see at eye level and underfoot. Trim frames floors, doors, windows, and transitions between rooms, so even modest flaws can interrupt an otherwise tidy presentation in listing photos and during showings.
Useful pre listing trim upgrades are usually focused repairs: scuffed or chipped baseboards, separated corner joints, rough or cracked caulk, exposed nail holes, uneven paint sheen, and casing with dents or mismatched touch-ups. Swollen baseboards or water staining deserve a different response than cosmetic polish; replacing or repainting the trim without addressing the condition behind the damage can leave the underlying issue unresolved.
The aim is consistency, not a whole-home luxury remodel. A clean repair that matches the existing trim profile, height, color, and sheen often looks more intentional than introducing one upgraded element that clashes with the rest of the room. When several pieces in the same visible space are damaged or mismatched, a coordinated room-level refresh may make more sense. These home sale trim improvements help the home read as finished and cared for without promising a particular sale price or outcome.
How to Prioritize Trim Repair Before Selling
Start where attention naturally lands: the entryway, hallways, main living area, kitchen, bathrooms, primary bedroom, stairway, and the walls most likely to appear in listing photos. A chipped casing beside the front door or a gap running along a bright kitchen baseboard is usually a stronger trim repair before selling candidate than one small mark behind a rarely moved piece of furniture.
Use four filters to rank the work. Visibility means whether the flaw is seen from a doorway, walking path, or photo angle. Condition is the severity of the damage itself. Consistency asks whether one mismatched repair, color, profile, or sheen disrupts an otherwise coordinated room. Risk separates ordinary wear from damage that may have a cause beyond the trim.
- Leave or defer: a tiny scuff, shallow nail hole, or isolated paint nick in a low-visibility closet or behind furniture can wait when the surrounding finish is sound and consistent.
- Repair: fill and touch up visible nail holes; close failed caulk lines; address open seams, separated miters, chipped casing, and missing small trim sections. These defects draw attention because they break otherwise clean lines at doors, floors, and walls.
- Investigate first: swelling, soft material, recurring stains, rot, loose pieces, or damage concentrated near a bath, window, exterior door, or plumbing wall. Cosmetic paint cannot resolve moisture, leak, pest, or impact problems that may be affecting the trim.
A good rule for resale trim upgrades is to fix repeated flaws in the same room rather than scatter effort across hidden areas. Three rough baseboard joints along a photo-facing living-room wall read as a finish problem; repairing that run creates a more coherent result than replacing one unrelated piece elsewhere. If the damage is isolated and the profile, height, and finish still match, a localized repair is usually the proportionate choice.
Baseboards, Shoe Molding, and Damaged Trim Replacement
Floor-level trim often shows the cumulative wear of moving furniture, vacuuming, pets, and everyday traffic. Cleaning and a careful touch-up can handle surface scuffs, small dents, and narrow cracks where the baseboard meets the wall. Fill shallow damage, sand it flush, recaulk only the broken section, and repaint the repaired area so its color and sheen blend with the surrounding run.
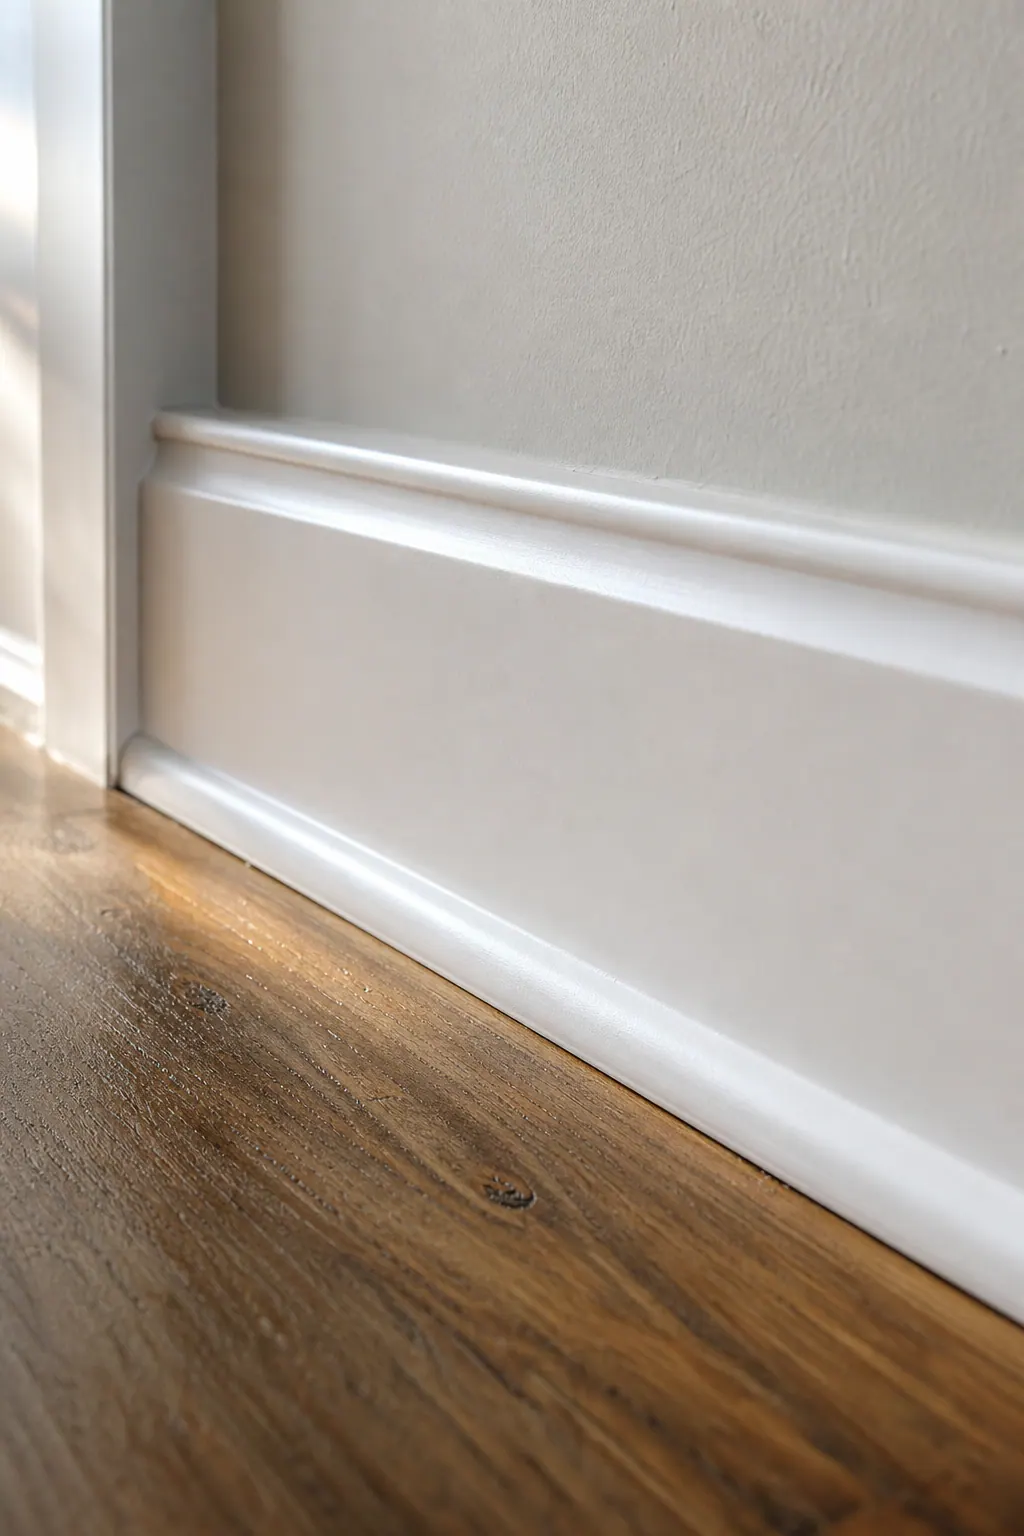
Damaged trim replacement is the cleaner choice when the material itself has lost its shape: a broken outside corner, a length pulled apart at a joint, MDF that is swollen or crumbling, wood that is soft or stained, or a patch that remains visible after preparation and paint. Replacing a short section works well when an identical profile is available and the new joints can land at a natural break, such as a doorway, corner, or existing seam. A repair ending in the middle of a long, uninterrupted wall can create a new line for the eye to find.
Missing shoe molding or quarter round deserves attention where it leaves an uneven gap at the flooring edge. These narrow pieces cover the floor-to-baseboard transition; they are not interchangeable stylistically. Match the existing shape, height, material, and paint finish, and keep the transition continuous rather than adding one different-looking segment beside the repair.
Consider baseboard replacement before listing along a full wall when several patches, mismatched replacement pieces, repeated open joints, or discontinued material make localized fixes look pieced together. The goal is not to replace sound trim unnecessarily. It is to choose the smallest scope that restores one clean, consistent line, using matching profile dimensions, material, joint placement, and paint sheen so the repair disappears instead of becoming the room’s newest visual distraction.
Repair Door Casing and Window Trim Where Buyers Notice It Most
A door opening is a natural sightline, so casing flaws tend to stand out as a person enters or looks across a room. Loose boards, cracked mitered corners, open joints, exposed nail holes, dents, failed caulk lines, and old hardware marks can make an otherwise clean wall look unfinished. Around large or bright windows, uneven reveals, the visible space between the trim and the window frame, are especially easy to spot in photos.

Door casing repair can be modest when the casing itself is sound. Re-secure a board that has pulled loose, close a small stable joint, fill holes and shallow dents, then prepare and repaint the affected area for an even finish. This approach keeps the existing profile intact and works best when the gaps are isolated rather than continuing through the wall or across several openings.
Choose isolated replacement when one casing leg or head piece is split, deeply gouged, warped, or marked by a removed latch, hook, or security device. Match its profile, the face shape and edge detail, along with width, thickness, material, color, and sheen. A close match lets the repair read as part of the original doorway rather than a patch.
Window trim repair needs a different pause when staining, swelling, soft material, or recurring separation appears near the window. Cosmetic filling should not hide signs that moisture or movement may still be affecting the opening. Once the underlying issue has been corrected, damaged trim can be replaced and finished to restore clean, straight lines.
Replace a full casing set when several pieces have incompatible profiles, repeated repairs have created mismatched edges, or a new single piece would make the doorway look more inconsistent. Keeping all casing within one room coordinated is usually the stronger presentation choice; a complete reset is worthwhile only when it creates that continuity.
Caulking, Filling, and Paint Touch-Ups: The Finish Details That Matter
The last pass is what makes a secured or replaced piece of trim look settled into the room rather than recently patched. Begin by cleaning dust and residue from the repair area. Set proud fasteners below the surface, or replace ones that no longer hold, then fill nail holes and small dents with a paintable filler. Once dry, sand the patch flush so it cannot be felt or seen as a raised spot in side light.
Caulking trim before selling is most useful for small, stable paintable seams: a narrow line where casing meets drywall or a minor gap along the top edge of a baseboard. A good caulk line is thin, continuous, and neatly tooled, with crisp edges that follow the trim rather than spilling onto the wall face. Thick beads, lumpy edges, and caulk smeared across the profile tend to attract more attention than the original gap.
Caulk is a finishing material, not a fix for a loose joint or failed board. Refasten movement first. Replace trim that is broken, swollen, soft, or deteriorated, and address water staining or recurring separation before applying paint. Paint alone should not be used to disguise material damage or an opening that continues to shift.
Prime filled areas and bare repair spots before painting, then use touch-up paint that matches both the color and the paint sheen. Sheen is the level of reflected light: flat, satin, semi-gloss, and gloss finishes can look noticeably different even in the same color. A paint touch-up for home sale can flash as a dull or shiny patch when the surface was not prepared evenly, the sheen differs, or the new paint is applied only in a hard-edged dab. For a more uniform result, feather the repair carefully and repaint the full trim piece or continuous run when a spot repair will remain visible.
Choose Trim Upgrades That Match the Home, Not a One-Size-Fits-All Trend
A room can look more deliberate after a small coordinated change than after one conspicuously “upgraded” detail. For trim upgrades before selling a house, keep sound, compatible trim when it suits the room; repair and repaint it rather than replacing it merely because a newer style is available. Original modest baseboards and simple casing can be the right fit in a straightforward ranch, condo, or smaller home when they are straight, clean, and consistently finished.
A coordinated update makes sense when inconsistency is the visible problem. For example, replace mismatched baseboards around one living room so the height and profile, the shaped face of the board, match from wall to wall. If several doorways in a key area have damaged, incompatible casing, standardizing those openings can make the room read as intentional. Carry the same paint color and sheen through the updated pieces; a bright-white replacement beside aged cream trim or a glossy casing beside satin baseboards can look like an unfinished partial remodel.
Larger decorative changes deserve a higher bar. Taller baseboards add a stronger visual border at the floor, while crown molding creates a finished transition between wall and ceiling. Both can suit a home with proportionate rooms, existing formal details, and a price point where comparable nearby listings show similar finish levels. In a low-ceilinged room, however, oversized profiles can feel imposed rather than tailored. Adding crown molding to only one room can create the same disconnect.
Use local listing comparisons, the listing agent’s read on the target buyer, and a qualified finish carpenter’s assessment to set the scope. The practical takeaway for pre listing trim upgrades is simple: repair what belongs, coordinate what is visibly inconsistent, and reserve decorative replacement for changes that genuinely fit the home.
A Practical Pre-Listing Trim Walkthrough
Set aside one daylight walk for the rooms that will carry the listing: entry, main living spaces, kitchen, baths, hallways, and primary bedroom. Stand where a visitor or camera would stand, then photograph each concern at normal height rather than inches away. Note baseboard scuffs, chipped casing, open seams, cracked caulk, separated miters, missing shoe molding, nail holes, water staining, and paint that flashes a different sheen.
- Group repeated defects by room and finish. Three rough joints on one visible wall call for a coordinated repair; one tiny mark in a concealed spot may not.
- Separate surface work from underlying trouble. A stable paint crack or shallow dent belongs on the repair list. Pause cosmetic work where there is active leaking, soft or swollen material, rot, pest damage, or trim that is loose enough to move; those conditions need the cause addressed first.
- Before removing a piece, record its profile, height, thickness, material, paint color, and sheen. A close visual match keeps an isolated repair from becoming the new distraction.
- Finish carpentry repairs, filling, sanding, and caulking before the final paint pass. Painting first can leave fresh work with visible edges or mismatched touch-ups.
Make one final circuit from normal showing distance, in daylight and in the photos you plan to use. The strongest home sale trim improvements are selective: repairs should disappear into surrounding finishes, leave joints clean, and make the room feel consistently maintained rather than newly patched.
Plan the next step
When you are ready, request a free estimate with the rooms, trim goals, city, and available photos.
FAQs
What trim repairs matter most before listing a home?
Prioritize visible flaws in entryways, hallways, living areas, kitchens, bathrooms, stairways, and primary bedrooms. Chipped casing, open seams, separated miters, failed caulk, exposed nail holes, and mismatched paint sheen are high-value repairs because they interrupt clean lines in photos and showings.
Should I replace baseboards before listing my home?
Replace baseboards when they are swollen, crumbling, soft, broken, repeatedly patched, or mismatched along a visible wall. For small scuffs, shallow dents, and narrow stable cracks, filling, sanding, limited recaulk, and matching paint are usually sufficient.
Should I caulk baseboards and door trim before selling?
Caulk narrow, stable paintable seams, such as minor gaps where casing meets drywall or along the top of a baseboard. Use a thin, continuous, neatly tooled line, and refasten loose trim or correct movement before caulking.
How do I match existing baseboard or door casing for a repair?
Match the existing trim profile, height, width, thickness, material, paint color, and sheen. Place replacement joints at natural breaks like doorways, corners, or existing seams instead of ending a repair in the middle of a long uninterrupted wall.
Should sellers repair water-damaged trim before putting a home on the market?
Address the underlying cause before repairing trim with swelling, soft material, rot, recurring stains, or separation near windows, bathrooms, exterior doors, or plumbing walls. Paint and filler should not be used to hide moisture, leak, pest, or movement problems that may still be active.