

Start with a visual checkpoint: a low-ceiling room can feel crowded beneath an oversized, layered crown assembly, while a simple profile can give it a clean, intentional finish. Custom finish carpentry uses those proportions, along with ceiling lines, door and window placement, existing finishes, and your preferred level of detail, to shape a result that belongs in the home.
The scope can range from a new crown-and-baseboard design to built-up casings that give an opening more presence, coordinated trim packages that carry one visual language through several rooms, and specialty layouts such as panel molding or a tailored feature wall. Profile matching is another distinct service: instead of placing an unrelated molding beside older details, it creates a compatible transition. This goes beyond replacing damaged basic trim with the nearest stock size.
Good decisions happen before installation. A more formal room may benefit from added depth and shadow lines, while paint-grade and stain-grade finishes create different visual priorities. Existing floors, doors, and cabinetry also influence what will look intentional. Custom finish carpentry services should define what is designed and installed on site versus what requires fabricated millwork, then align the scope, finish expectations, and layout details with the installer's demonstrated residential work.
What Makes Finish Carpentry Custom?
A cleanly installed stock baseboard is good finish work; it becomes custom trim installation when the decisions around it are tailored rather than simply repeated. The distinction is not whether every molding was made from scratch. A selected stock profile can be part of a custom result when its scale, edges, termination points, and relationship to the rest of the room have been deliberately resolved.
For example, a basic replacement might remove damaged three-inch baseboard and install the same height throughout, with standard casing at the doors. A coordinated package might use a taller base assembly made from a flat backer and cap molding, choose casing that shares its visual weight, and add crown with a compatible curve or step. The pieces create intentional shadow lines, the narrow recessed lines that make layered trim read with depth, rather than looking like unrelated moldings added one at a time.
Custom carpentry trim work also responds to the conditions that make a room less than perfectly square. Walls can bow, ceilings can vary in height, and older openings may have profiles that no longer match readily available stock. The work may involve measuring an existing molding's face width, depth, and shaped edges to source a close profile or reproduce the visible character with a built-up assembly. At doorways, floor changes, and cabinet edges, the layout determines whether trim dies into a clean transition, returns to the wall, or continues as part of a larger detail.
In practical terms, custom finish carpentry is a coordinated set of choices: what stays consistent, where a profile changes, how layers align, and how the installer adapts those choices to the actual house. That planning is what separates a polished trim package from a collection of individually installed boards.
Custom Trim and Architectural Millwork Options
A room does not need every available detail to feel finished; it needs the right details in the right places. Crown molding gives the ceiling line a deliberate edge and can suit living rooms, dining rooms, foyers, and primary bedrooms, while a low or visually busy ceiling may call for a slimmer profile, or none at all. Taller baseboards anchor the floor plane; built-up trim details add layered shadow lines when a room has the scale to support them. Door and window casing frames openings, whether the goal is a quiet, squared-off border or a more substantial surround that makes a key doorway feel architectural.
On the walls, wainscoting creates a lower-wall division that can add structure to dining rooms, halls, baths, and stair areas. Wall panel molding is typically more linear and decorative, using applied frames to give a broad wall rhythm; it works best when panel sizes relate to doors, windows, and furniture rather than being squeezed into every leftover space. A feature wall can concentrate that visual interest behind a bed, at an entry, or around a fireplace. Restraint is usually the stronger choice when the room already has patterned finishes, prominent cabinetry, or several competing focal points.
Overhead architectural millwork changes a room's perceived structure. Coffered ceilings use a grid of recessed fields to organize a larger ceiling, while beams create longer directional lines and can reinforce a vaulted or open-plan layout. Both need to be scaled to the ceiling and coordinated with lighting, vents, and adjacent trim; oversized coffers or beams can make an otherwise comfortable room feel crowded. Integrated trim around built-ins, cased openings, and pass-throughs is often what makes separate elements read as part of one design. The best custom trim work establishes a hierarchy, perhaps simple casing throughout, a stronger mantel wall, and one ceiling treatment, rather than turning every surface into a separate decorative statement.
Choosing Profiles, Proportions, and a Cohesive Trim Design
Visual hierarchy is the test: trim should make the room read more clearly, not compete with it. In a taller living room, a deeper crown and more substantial casing can hold their own against the wall height and larger openings. In a lower-ceiling bedroom or compact hall, a restrained profile with a modest reveal, the visible stepped edge between trim layers, keeps the ceiling line and doorways from feeling crowded. Oversized decorative molding above a short door, or casing that consumes too much wall beside a window, is usually a weak proportion even when the molding itself is attractive.

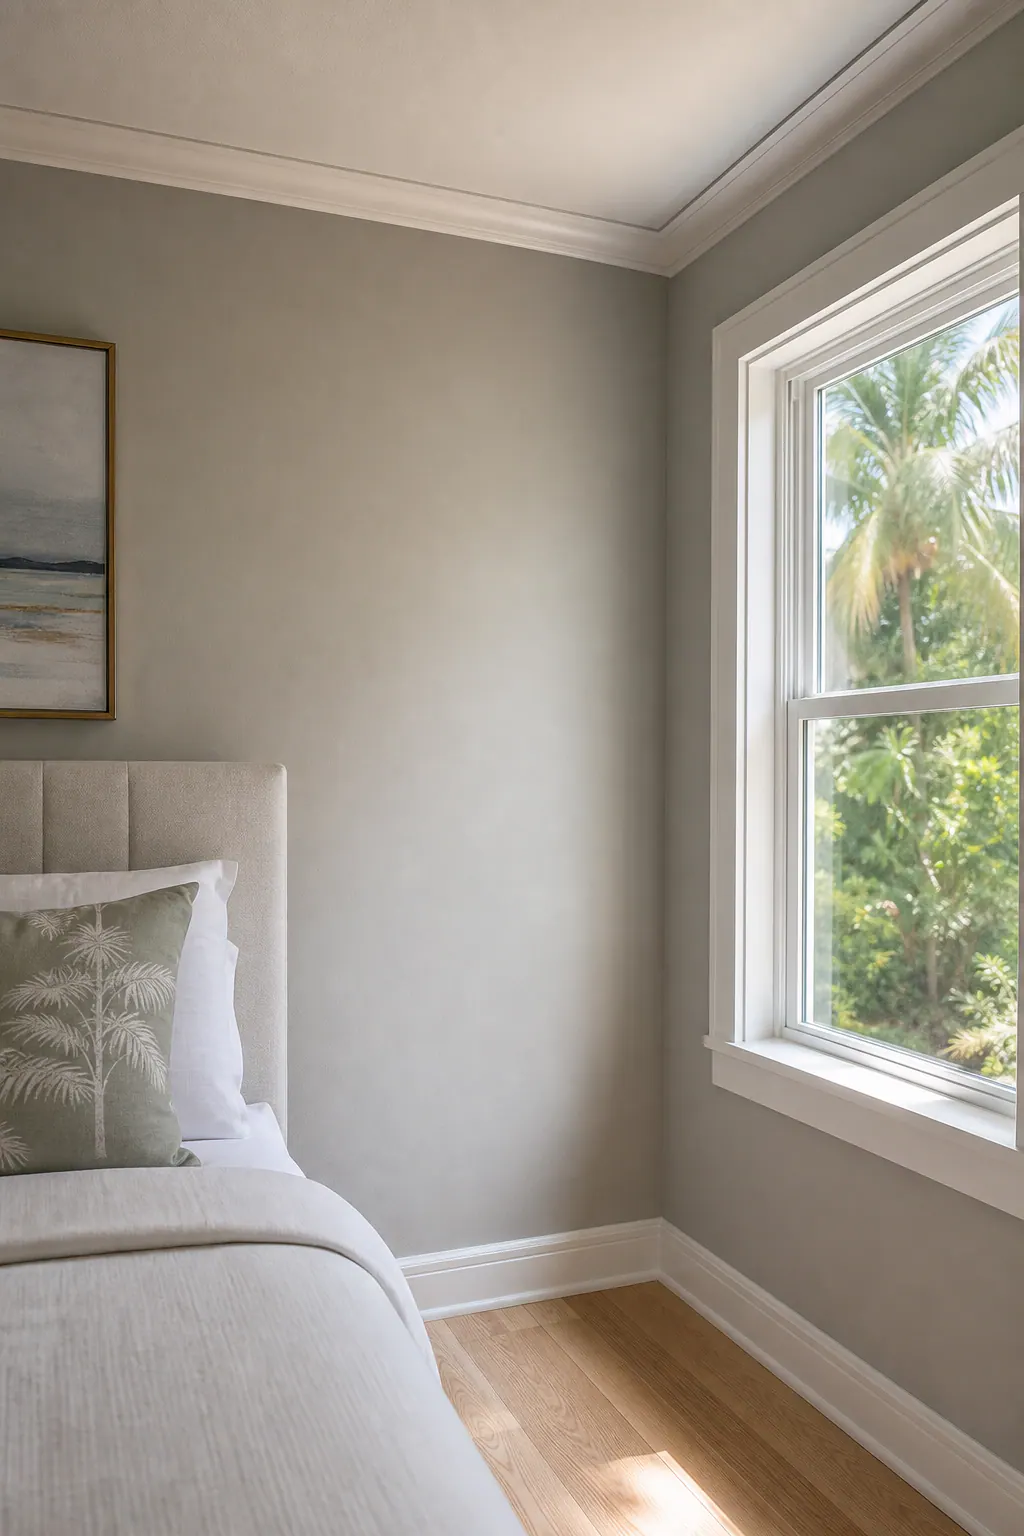
Custom trim design also considers how the floor plane meets the walls. Baseboard height, shoe molding, tile edges, and flooring thresholds need to resolve cleanly without making adjacent rooms appear to have been finished as separate projects. Across connected spaces, consistent casing widths and a repeated profile family create continuity; a feature room can carry more depth or a built-up header without abandoning that underlying language. Mismatched curves, square edges, and unrelated trim thicknesses from room to room tend to look accidental rather than collected.
Matching original trim makes sense when its profile is a defining part of the home or when an addition opens directly into older rooms. Custom profile matching may begin with a physical sample, measured dimensions, and elevation sketches that show how casing, baseboard, and crown meet at corners and openings. An intentional update can be the better choice when the existing trim is inconsistent or no longer suits the renovation. The transition should be deliberate: use a cased opening, a change in wall treatment, or a contained room boundary so the new designer trim package reads as a considered chapter rather than an almost-match.
Materials and Installation Details That Affect the Result
Finish material changes what the eye notices. MDF is commonly chosen for smooth paint-grade materials and crisp, repeatable profiles; it has no visible grain to manage beneath paint, but exposed edges and areas prone to repeated water contact deserve careful treatment. Paint-grade wood also accepts a painted finish while offering a different feel at edges and corners, with dents, movement, and touch-up expectations shaped by the species, finish system, and room conditions.
Stain-grade wood is selected when grain is part of the design rather than something to cover. Hardwood can bring depth and natural variation to a mantel surround, beam wrap, or prominent casing, but boards should be selected and arranged with color and grain direction in mind. A small finish sample beside the flooring, cabinetry, and wall color is more useful than declaring one material universally superior. Bespoke finish carpentry follows the location, desired appearance, profile, and future repair expectations.
Installation is what turns selected material into a composed result. Outside corners use accurately cut miter joints; inside corners are often coped, meaning one profile is shaped to fit over the face of the adjoining piece, which can keep the joint reading clean when walls are imperfect. Long runs may require planned seams, placed where they are less conspicuous and aligned with the molding's profile. Fasteners should be set and filled for the intended finish, while caulk belongs at paint-grade wall-to-trim transitions rather than as a substitute for a tight joint. Wood movement, consistent reveals, and unbroken shadow lines all need to be considered before the final coat makes every irregularity easier to see.
What Affects Custom Trim Installation Cost and Timeline?
A proposal becomes more useful when it separates the visible trim from the work required to make that trim fit the house. Design development, measuring rooms, resolving profile transitions, and approving drawings or samples, adds planning time before material is ordered. A readily available paint-grade profile is a different scope from matching an existing molding or fabricating a new knife for a distinctive profile. Material species and finish grade also change the selection and finishing work: painted assemblies prioritize smooth, consistent surfaces, while stain-grade work gives greater attention to board selection, grain direction, and color variation.
Quantity matters, but linear footage is only one part of custom trim installation. Ceiling height affects access and the handling of long crown runs; the number of doors and windows increases the cutting, fitting, and return details around openings. Demolition of existing trim, uneven walls, out-of-square corners, occupied rooms, furniture protection, and limited access can all expand the installation effort. Painting coordination matters as well: a package may be installed for a separate painter, or include preparation and touch-ups as part of one coordinated scope.
A single-room casing upgrade can be comparatively direct when the walls are ready and the selected profile is available. A whole-home package with coffered ceilings, matched historic profiles, multiple openings, and multi-piece built-up details requires more decisions, more material handling, and more sequencing between trades. Those are not simply "more trim" conditions; each layout creates additional intersections, alignment points, and finish transitions that need to read consistently from room to room.
A practical custom trim work sequence begins with a consultation and field measurements, followed by a defined design, profile, material, and finish approval. Material sourcing or fabrication comes next, then scheduling around site readiness, installation, and final filling, caulking, or paint touch-ups. A strong scope makes these milestones visible, identifies what is included in demolition and finishing, and notes the conditions that could require a decision before work proceeds.
How to Choose a Finish Carpenter in Sarasota County
The best hiring conversation gets specific before anyone discusses a final number. When evaluating a finish carpenter in Sarasota County, look for portfolio images of rooms comparable to yours: close views of corners, returns, built-up assemblies, panel spacing, transitions at doors, and the way trim meets existing flooring or cabinetry. A gallery of generic crown molding photos is weak evidence; project images that show the complete room as well as the detailed joinery give you a clearer basis for comparison.
Ask who takes field measurements, selects or matches profiles, and makes the layout decisions. A custom finish carpenter should be able to explain whether panel molding will be laid out from a centered focal point, aligned to openings, or adjusted around obstructions, and why that approach suits the room. For a matched profile or a more elaborate feature, request a physical sample, elevation drawing, or simple sketch before materials are ordered.
Compare written estimates by the work they describe, not the bottom-line total. The scope should identify the material and intended finish, the rooms and details included, preparation or removal work, and whether caulking, filling, primer, final painting, or touch-ups belong to the carpenter, a painter, or the homeowner. References from similar trim or millwork projects can also reveal how clearly the scope was managed.
If you are planning tailored trim, panel molding, built-up casing, or architectural millwork, schedule a consultation to review the space, take measurements, and develop a trim plan that fits your home.
Plan the next step
Compare the broader Custom Finish Carpentry service.
When you are ready, request a free estimate with the rooms, trim goals, city, and available photos.
FAQs
What is custom finish carpentry?
Custom finish carpentry is a coordinated trim design tailored to a home’s ceiling heights, openings, existing finishes, and desired level of detail. It can include crown molding, baseboards, door and window casing, panel molding, feature walls, and profile matching.
What is the difference between custom trim and standard trim installation?
Standard trim installation may replace damaged trim with the same stock size and basic casing. Custom trim installation deliberately resolves profile scale, shadow lines, transitions, termination points, and how baseboards, casing, and crown work together throughout the room.
Can a finish carpenter match existing crown molding or baseboards?
Yes. Profile matching can use a physical sample and measurements of the molding’s face width, depth, and shaped edges to source a close profile or recreate its visible character with a built-up assembly.
Is paint-grade MDF or hardwood better for custom trim?
Paint-grade MDF is suited to smooth, crisp, repeatable painted profiles because it has no visible grain, but its exposed edges and wet areas need careful treatment. Hardwood is better when natural grain is part of the design, such as for mantel surrounds, beam wraps, or prominent stain-grade casing.
What should I look for when choosing a finish carpenter in Sarasota County?
Review portfolio images of comparable rooms, including close views of corners, returns, panel spacing, built-up assemblies, and transitions to flooring or cabinetry. Choose a written scope that identifies materials, finishes, rooms, preparation, demolition, and responsibility for caulking, filling, primer, painting, and touch-ups.