
Board and Batten Walls: A Defined, Custom Wall Treatment
At its core, a board and batten wall treatment layers repeating vertical battens over a smooth wall surface to create a deliberate rhythm of raised lines and measured sections. A horizontal top rail commonly completes the composition; depending on the design, that rail can read as a simple cap, a chair-rail-height transition, or a shallow ledge.
That vertical structure is what separates board and batten walls from wall paneling in the broad sense. Beadboard relies on closely repeated grooves, while flat panels may emphasize wide fields or decorative molding. Vertical board and batten uses spaced battens and the wall between them as part of the pattern. The result can feel crisp and tailored, relaxed and coastal, or comfortably transitional without changing the treatment's basic character.
The layout is not one fixed look. A lower-wall installation can establish a grounded visual line beneath painted wall space, while a full-height design carries the battens toward the ceiling for a more architectural effect. Adding horizontal rails creates framed rectangles or squares; leaving the design as simple uprights keeps the emphasis on height and clean repetition. Wider, calmer sections generally suit an expansive wall, whereas too many narrow sections around doors, windows, and outlets can make the pattern feel crowded.
Professional planning turns those choices into a finished surface that belongs with the room. The work considers existing baseboards and crown molding, corners and openings, wall irregularities, outlet locations, transitions at adjacent walls, and the seams and caulk lines needed for a paint-ready finish. Those details allow the treatment to look integrated rather than applied as an afterthought.
Where Board and Batten Works Best in a Home
A wall with room to breathe usually gives this treatment its strongest visual effect. A board and batten accent wall is especially well suited to an uninterrupted span behind a bed, sofa, dining table, or entry console, where the repeated lines can read as one composed feature rather than compete with surrounding details. Taller ceilings can support a stronger vertical emphasis, while a modest-height room may benefit from a quieter, lower-profile application.
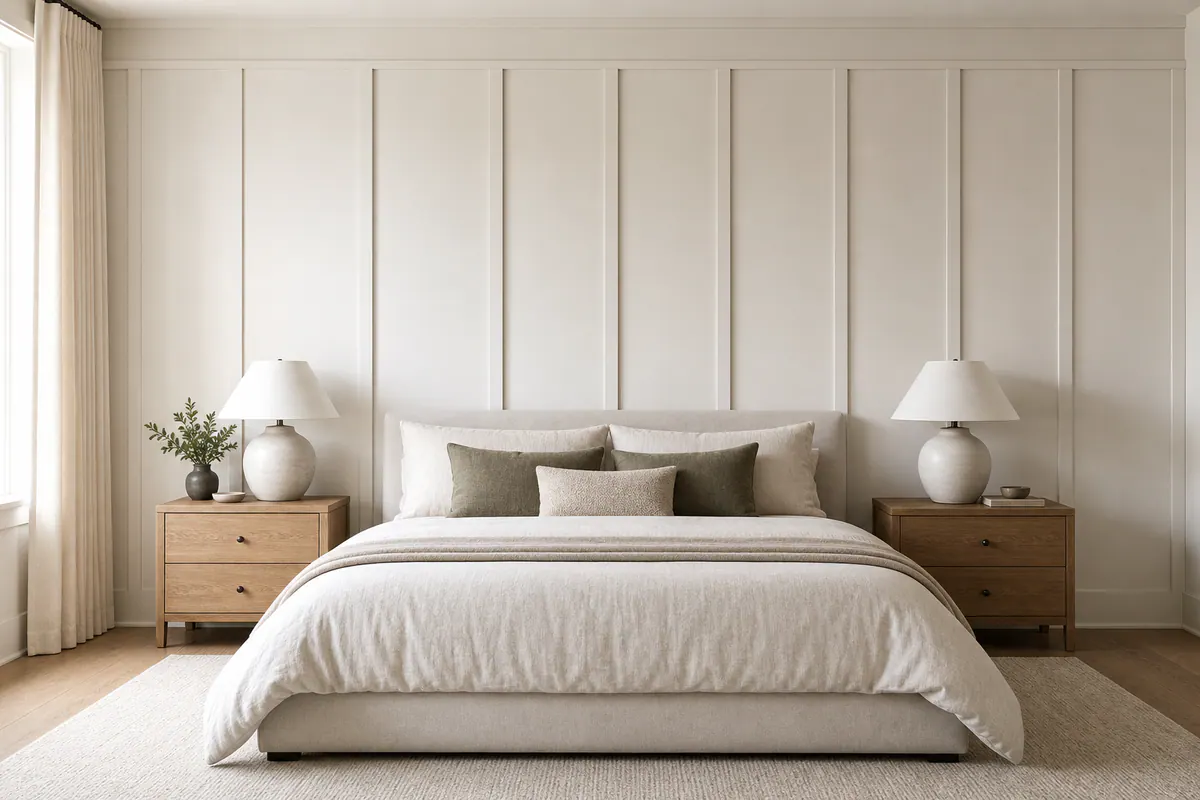
For bedroom board and batten, the wall behind the headboard is often the natural focal point. It gives the bed a defined backdrop without requiring the same treatment on every wall. Windows, bedside sconces, and outlets do not rule it out, but their placement should shape the layout so the sections appear balanced on both sides of the bed rather than arbitrarily cut off.
An entryway board and batten treatment can bring order to a space that is seen immediately on arrival. It works particularly well along a tall foyer wall, beside a staircase, or in a mudroom-style drop zone where the wall needs a clear visual boundary. In higher-traffic areas, a restrained pattern is often easier on the eye than a dense grid competing with hooks, benches, doors, and everyday movement.
Dining room walls are another strong candidate because a table creates a natural centerline for the composition. A room-wide treatment can connect several walls when doorways and windows align cleanly; a single feature wall may be the better choice when the room has several openings. Walls broken into very narrow strips by doors, returns, switches, or large windows can look busy if every fragment receives a panel. A simplified run of battens, or a different finish altogether, may create a calmer result.
Existing conditions matter before a layout is chosen. Uneven baseboards or crown, heavily textured drywall, and mismatched trim can interrupt the crisp lines that make the design feel intentional. Addressing those transitions and preparing the surface first helps the finished wall read as a unified part of the room rather than an added layer.
Choose the Right Height, Grid, and Wall Coverage
Proportion begins with the coverage line. A half-wall treatment uses a top rail at chair-rail height or another deliberate lower division, grounding a dining room, hallway, or entry without making the wall feel heavily built out. Taking the treatment to roughly two-thirds height creates a more pronounced backdrop and leaves a calm band of wall above. Full-height coverage carries the vertical pattern to the ceiling, which can suit a tall, minimally interrupted feature wall but may feel visually busy when combined with elaborate crown molding, large furniture, or several openings.
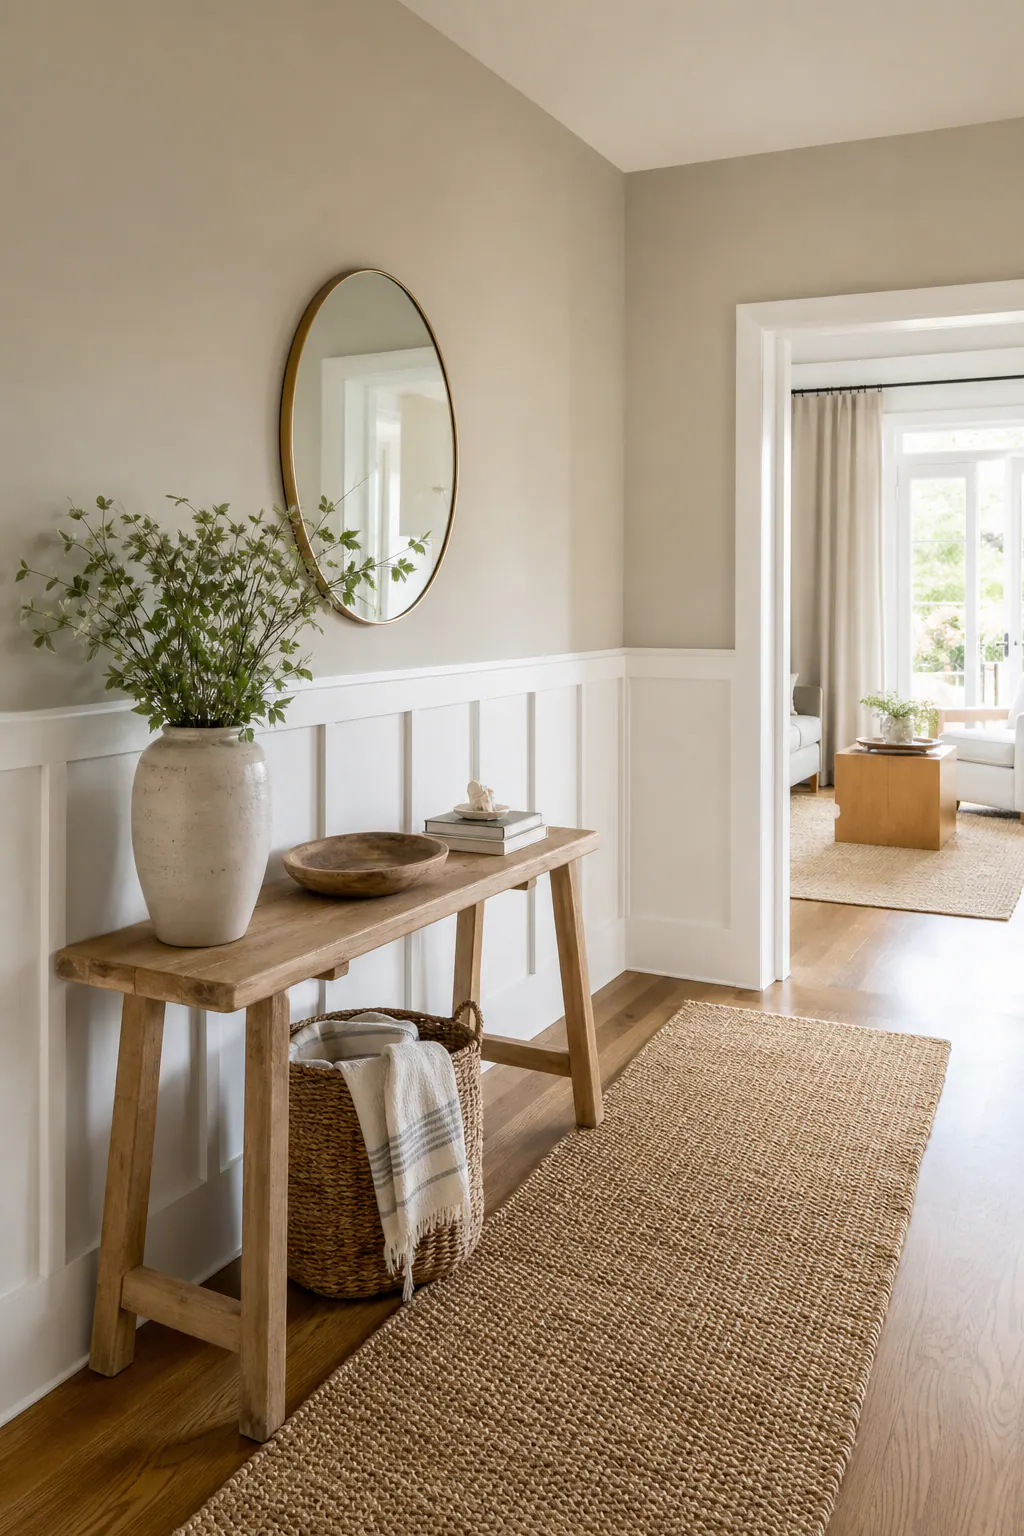
The top rail should look connected to the room rather than dropped onto it. Its placement can align with an existing chair rail, window detail, or nearby architectural line; where it functions as a shallow ledge, its projection and height also need to make sense beside furniture. At the floor, battens may terminate cleanly at the existing baseboard, or the baseboard can be incorporated into the composition. Either approach can work, but mixing unrelated trim profiles tends to make a board and batten wall look pieced together.
Grid choice changes the character of the treatment. Simple vertical battens create a quieter, more open rhythm and can be a strong fit for a narrow hall or a wall with a lower coverage height. A framed grid adds horizontal rails that form rectangular panels, giving a larger wall more structure but also increasing the number of lines around windows, switches, and doors. Wider panel fields generally read calmer in a spacious room; very narrow fields can add energy, yet become fussy when the wall is already fragmented.
Coverage is equally consequential. A single board and batten feature wall concentrates attention behind a bed or dining table, while a room-wide wrap makes the trim an architectural layer that must resolve neatly at every corner, doorway, and return. Ceiling height, the visual weight of a headboard or console, and the actual width of each wall should guide the choice, not a copied spacing pattern. Scaled drawings or mockups allow the rail height and panel count to be adjusted before the layout is committed, so the final pattern lands intentionally around interruptions rather than merely filling the available space.
Style and Paint Options for a Cohesive Finish
Paint and trim detailing determine whether the pattern recedes into the architecture or becomes the room's main graphic element. Wider battens, open spacing, and a simple cap rail can support an airy coastal or cottage-inspired direction, especially beside relaxed furnishings and natural textures. More refined trim profiles, crisp edges, and disciplined spacing lean transitional or classic. A tailored contemporary interpretation often keeps the details spare, flat battens, minimal ledges, and a restrained palette, so the lines feel intentional rather than decorative.
A monochromatic treatment uses the same or closely related color on the battens and wall field. It lets shadow and texture reveal the design quietly, making it a useful choice when furniture, art, or a patterned rug already carries visual interest. Contrast paint separates the raised trim from the background, making each panel and vertical line more apparent. That approach can give a feature wall stronger presence, but it also draws attention to every transition, so clean caulk lines and carefully resolved edges matter more.
The right paint finish depends on the look of the room and the surrounding surfaces. Matte softens reflected light and can make board and batten walls feel calm; eggshell offers a gentle, low-luster finish; satin catches more light and gives the trim a clearer outline. Nearby baseboards, door casings, cabinetry, hardware, and upholstery should inform the selection. Viewing samples in daylight and evening lighting helps reveal whether the chosen color and sheen blend naturally with the finishes already in the space.
What Professional Board and Batten Installation Includes
A clean result starts before any trim is attached. Professional board and batten installation begins with site measurement and a drawn layout that accounts for wall width, ceiling line, corners, doors, windows, and existing trim. Straight reference lines establish the pattern's visual baseline; spacing is then adjusted so the end sections do not become awkwardly narrow beside an opening. That planning is what allows the vertical rhythm to look centered and deliberate rather than simply repeated across the wall.
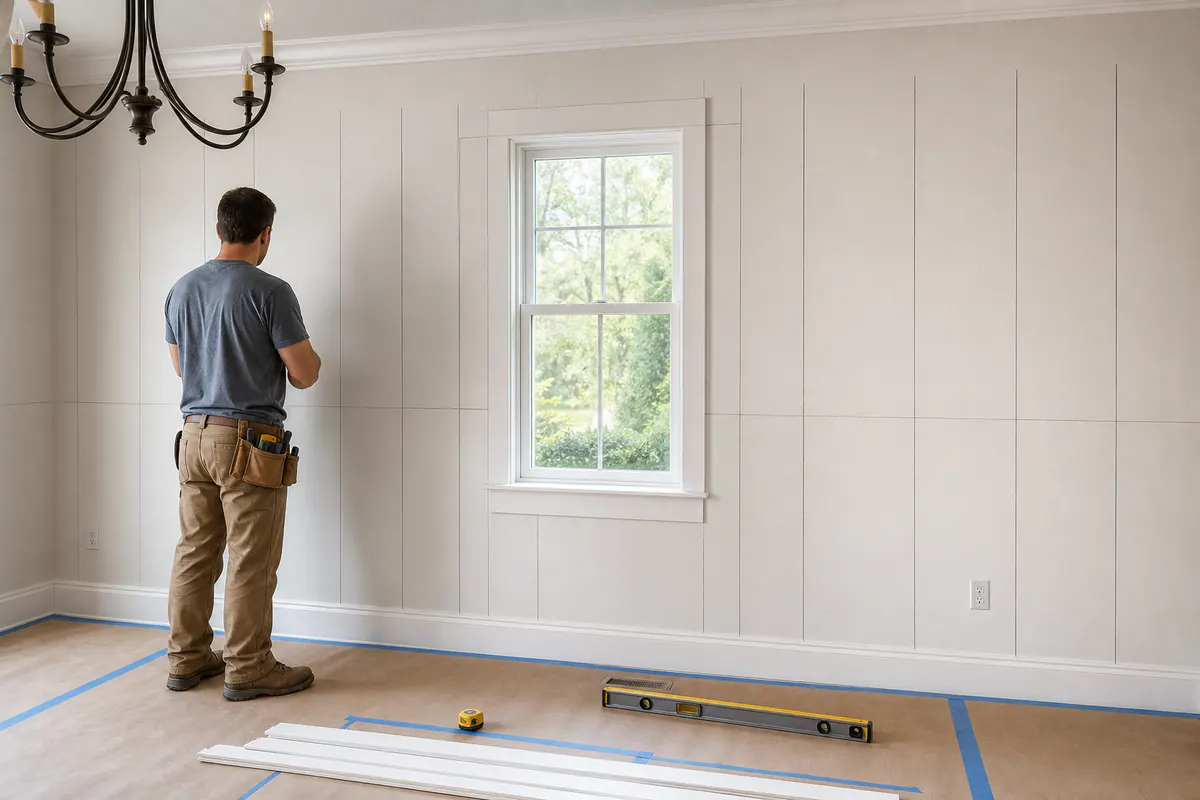
The work area should be treated as part of the scope, not an afterthought. Adjacent floors, furnishings, and nearby finished surfaces are protected while the wall is evaluated for texture, old patching, waviness, or damage. A smooth, sound wall may need relatively little preparation, while pronounced texture or uneven areas can require project-specific surface work to keep the battens from telegraphing irregularities. Wall condition, baseboard integration, and conflicts with crown, door casing, or window trim can also affect whether trim is adapted, extended, or replaced for a cohesive transition.
Details around outlets and switches deserve the same attention as the open portions of the wall. Their cover plates, along with door and window casings, interrupt the layout and need to appear intentionally framed rather than squeezed between battens. Secure attachment helps keep each piece stable and aligned; filled seams, tight joints, and smooth caulk lines remove the small gaps that become highly visible once paint is applied. Priming and paint-ready preparation unify the wall field and added trim, so the final finish reads as one composed surface rather than a collection of separate pieces.
What to Decide Before Starting a Board and Batten Project
Start by marking the exact wall or walls to receive the treatment, and the areas that should remain visually quiet. One focal wall concentrates the pattern in a chosen zone; extending it around a room means every corner, opening, and trim transition becomes part of a continuous composition.
- Record each wall's width, ceiling height, and any changes in depth or ceiling line.
- Share photos showing beds, sofas, consoles, artwork, mirrors, and window coverings. A headboard or large artwork can influence where the most balanced panels should land.
- Mark doors, windows, vents, outlets, switches, baseboards, crown molding, and nearby casing. These interruptions affect where battens begin and end, helping avoid cramped sections.
- Choose the coverage direction: a half-wall treatment creates a lower architectural band, while a full-height wall treatment makes the vertical pattern a stronger part of the room.
- Decide whether paint should blend with the wall color for a quieter architectural effect or contrast with it to outline the raised trim.
A consultation can turn these inputs into a room-specific layout rather than applying a one-size-fits-all grid. Finish selections and trim-transition decisions can be settled before work begins; repairs, seam filling, caulking, priming, and paint-ready finishing should be completed before final paint brings the wall together.
Bring a Custom Board and Batten Design to Your Walls
Your room should set the direction, not a preset pattern. Share the wall photos, dimensions, existing trim details, and inspiration images that show whether you prefer a quiet lower band, a full-height focal wall, or a continuous treatment across the room. A tall entry wall may call for a different composition than a bedroom feature wall with a headboard and windows nearby.
A project-specific assessment can identify surface repairs, trim transitions, outlet and casing details, and the paint approach before board and batten installation begins. It is also the time to coordinate battens with baseboards, crown molding, doors, and adjacent walls so the finished treatment feels integrated rather than added on.
Bring your style direction and paint goals to the conversation, whether you want a tonal finish that blends into the room or a contrasting trim detail with more definition. From layout planning through installation, seam filling, caulking, priming, and paint-ready finishing, the scope can be shaped around your particular walls and the result you want to live with.
Plan the next step
Compare the broader Board and Batten Walls service.
When you are ready, request a free estimate with the rooms, trim goals, city, and available photos.
FAQs
What is the difference between board and batten and other wall paneling?
Board and batten uses spaced vertical battens over a smooth wall, with the wall surface forming part of the repeating pattern. Beadboard uses closely repeated grooves, while flat paneling typically emphasizes wider fields or decorative molding.
How high should board and batten be on a wall?
A half-wall installation typically ends at chair-rail height or another deliberate lower division, while a two-thirds-height treatment creates a stronger backdrop with wall space above. Full-height board and batten reaches the ceiling and works best on tall walls with few interruptions.
Can board and batten be installed on textured or uneven walls?
Yes, but textured drywall, old patches, waviness, or wall damage should be addressed before trim installation so irregularities do not show through the finished pattern. Surface preparation may also be needed to create clean transitions with baseboards, crown molding, door casing, and window trim.
Is board and batten a good choice for a bedroom accent wall?
Board and batten works especially well behind a bed because it creates a defined focal point without treating every wall in the room. The layout should be planned around headboard width, windows, sconces, and outlets so the panels remain balanced on both sides.
Should board and batten be painted the same color as the wall or a contrasting color?
Painting the battens and wall in the same or closely related color creates a quieter architectural effect revealed through shadow and texture. Contrasting paint gives every panel stronger definition, but it makes caulk lines, seams, and trim transitions more visible.