
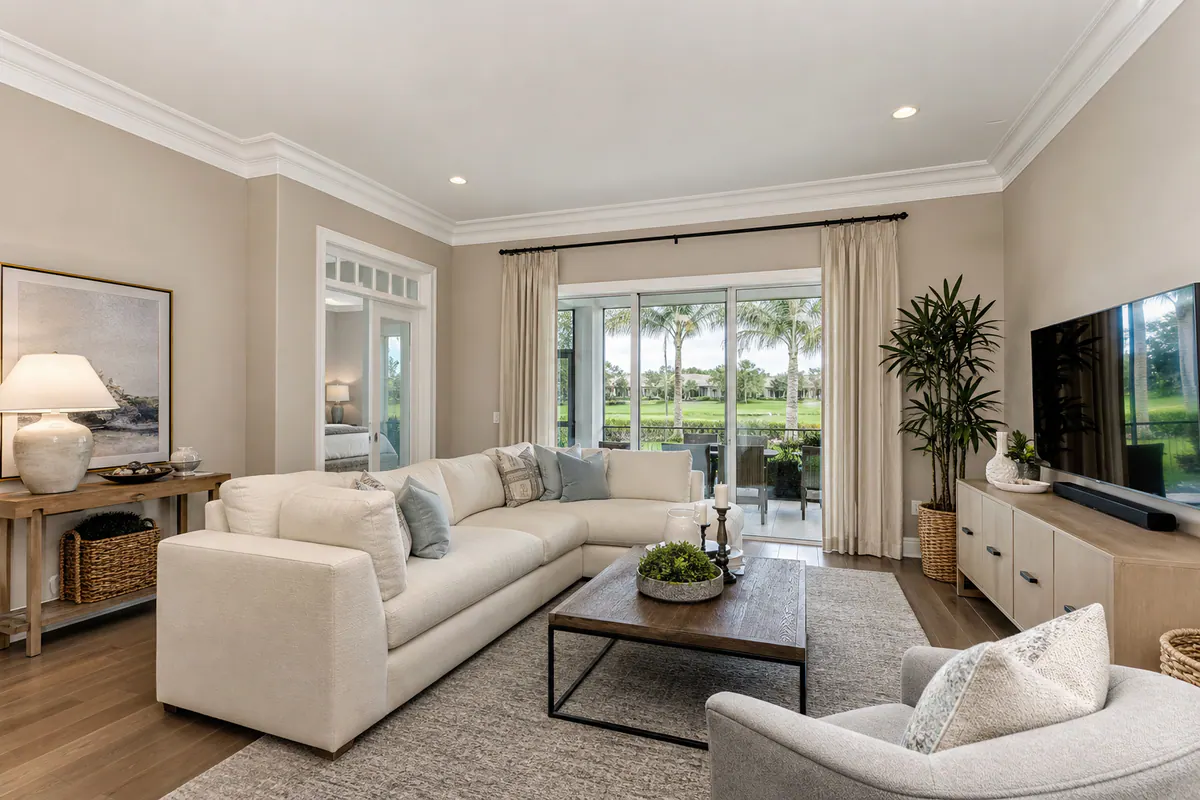
Crown molding gives the wall-to-ceiling line a deliberate finish, making a living room, dining room, primary bedroom, or refreshed kitchen feel more composed without changing the room's layout. For established interiors, it can bring visual definition back to plain transitions; in an updated space, it can help new paint, cabinetry, and trim read as one considered design.
Effective crown molding installation in Palmer Ranch begins with proportion, not a one-size-fits-all profile. A slimmer, cleaner crown keeps a lower ceiling or contemporary room from feeling crowded, while a deeper or built-up profile gives taller ceilings and more formal surroundings enough visual weight. The molding should relate to nearby door casing, baseboards, and cabinets rather than compete with them.
The finish is equally dependent on the conditions already in the room. Walls and ceilings are rarely perfectly straight, so professional finish carpentry calls for measured layout, tightly fitted corners, planned seams, and a consistent line along the ceiling. Clean joints and a paint-ready surface look integrated; wide gaps disguised with heavy caulk make new trim look like an afterthought.
Whether the goal is a quiet architectural detail or a more pronounced frame at the ceiling, crown molding Palmer Ranch homeowners choose should be selected around the room and fitted to its real dimensions. Request an estimate to discuss the spaces you want to refine, the existing trim, and the look you have in mind.
How Crown Molding Elevates Established and Updated Rooms
A well-chosen crown line can also organize everything beneath it. In a foyer, it gives the ceiling perimeter a clear edge before the eye moves to doors, stair details, or adjoining rooms. In a dining room or living room, it helps the upper portion of the room carry enough visual presence to balance substantial furnishings, window treatments, or a feature light. In a primary bedroom and other refreshed common areas, a restrained profile can make freshly painted walls feel finished without turning the ceiling into the focal point.
The most convincing result comes from a trim package that reads at one scale. Crown does not need to duplicate the baseboards or door casing, but it should look related: a simple casing and streamlined baseboard usually pair best with a clean, modest crown, while wider casing, paneled walls, or more traditional details can support added depth overhead. Custom crown molding Palmer Ranch homeowners select for a renovation can bridge original door trim with newer cabinetry or paint choices, giving the room a deliberate visual hierarchy rather than a collection of unrelated finishes.
More molding is not automatically more refined. A deep, highly ornamented profile can press down on a modest ceiling, overpower a compact room, or clash with contemporary cabinetry and minimal hardware. Conversely, a narrow profile may disappear in a tall foyer or formal dining room that already has heavier architectural details. The practical goal is a profile that gives the wall-to-ceiling transition definition while leaving the room's proportions, and the rest of the interior trim, comfortable and coherent.
For interior trim Palmer Ranch projects, an in-home review makes it easier to compare the visible trim, ceiling transitions, and intended finish before choosing a direction.
Choosing the Right Crown Profile, Scale, and Material
Start with the ceiling measurement and the amount of visual weight already in the room. In a standard-height bedroom or compact sitting area, a modest single-piece crown, one continuous profile with a simple curve or stepped edge, keeps the perimeter defined without making the ceiling feel crowded. Around 9-foot ceilings, a somewhat wider profile can hold its own beside substantial baseboards and door casing. Taller ceilings, larger formal rooms, and interiors with layered millwork can accommodate built-up crown: multiple trim components combined to create greater projection, shadow lines, and a more architectural finish.
A cleaner contemporary option typically relies on a restrained cove, small stepped profile, or square-edged detail rather than deep ornament. It works when cabinetry, hardware, and casing are streamlined. The practical checkpoint is scale: a narrow crown can get lost above a large open room with wide casing, while an oversized, elaborate profile can visually crowd a modest room. Bring photos or measurements of existing baseboards, casing, cabinetry, and ceiling transitions to a crown molding installation Palmer Ranch consultation so the profile is selected as part of the room rather than from a sample alone.
For a smooth painted finish, MDF crown molding is a common paint-grade choice. Its uniform surface suits crisp painted profiles, particularly where the goal is a consistent color across crown, casing, and baseboards. It is not the material to specify for a stained finish, because it does not provide the natural grain that makes stain read as wood. Wood crown molding is the stronger design choice when visible grain, a stained finish, or a species-matched trim package is central to the look; it also offers more latitude for custom detailing.
Polyurethane molding is a lightweight alternative often considered for detailed profiles and locations where moisture exposure is part of the material conversation. It is generally intended for paint rather than stain, so it does not replace wood when a natural-grain result is required. Material selection should balance the desired finish, profile complexity, room conditions, and project budget, not simply the lowest initial material cost. Comparing full-length samples against the wall color and adjacent trim makes those tradeoffs easier to see before installation begins.
What Professional Crown Molding Installation Requires
The quality of the finished line is decided long before the first length is nailed in place. A finish carpenter Palmer Ranch homeowners hire for crown work begins by laying out the perimeter, locating reliable fastening surfaces, and measuring the ceiling and walls at several points. Those checks reveal dips, waves, and corners that are not truly square, allowing the installation plan to account for the room instead of assuming every cut will repeat perfectly.
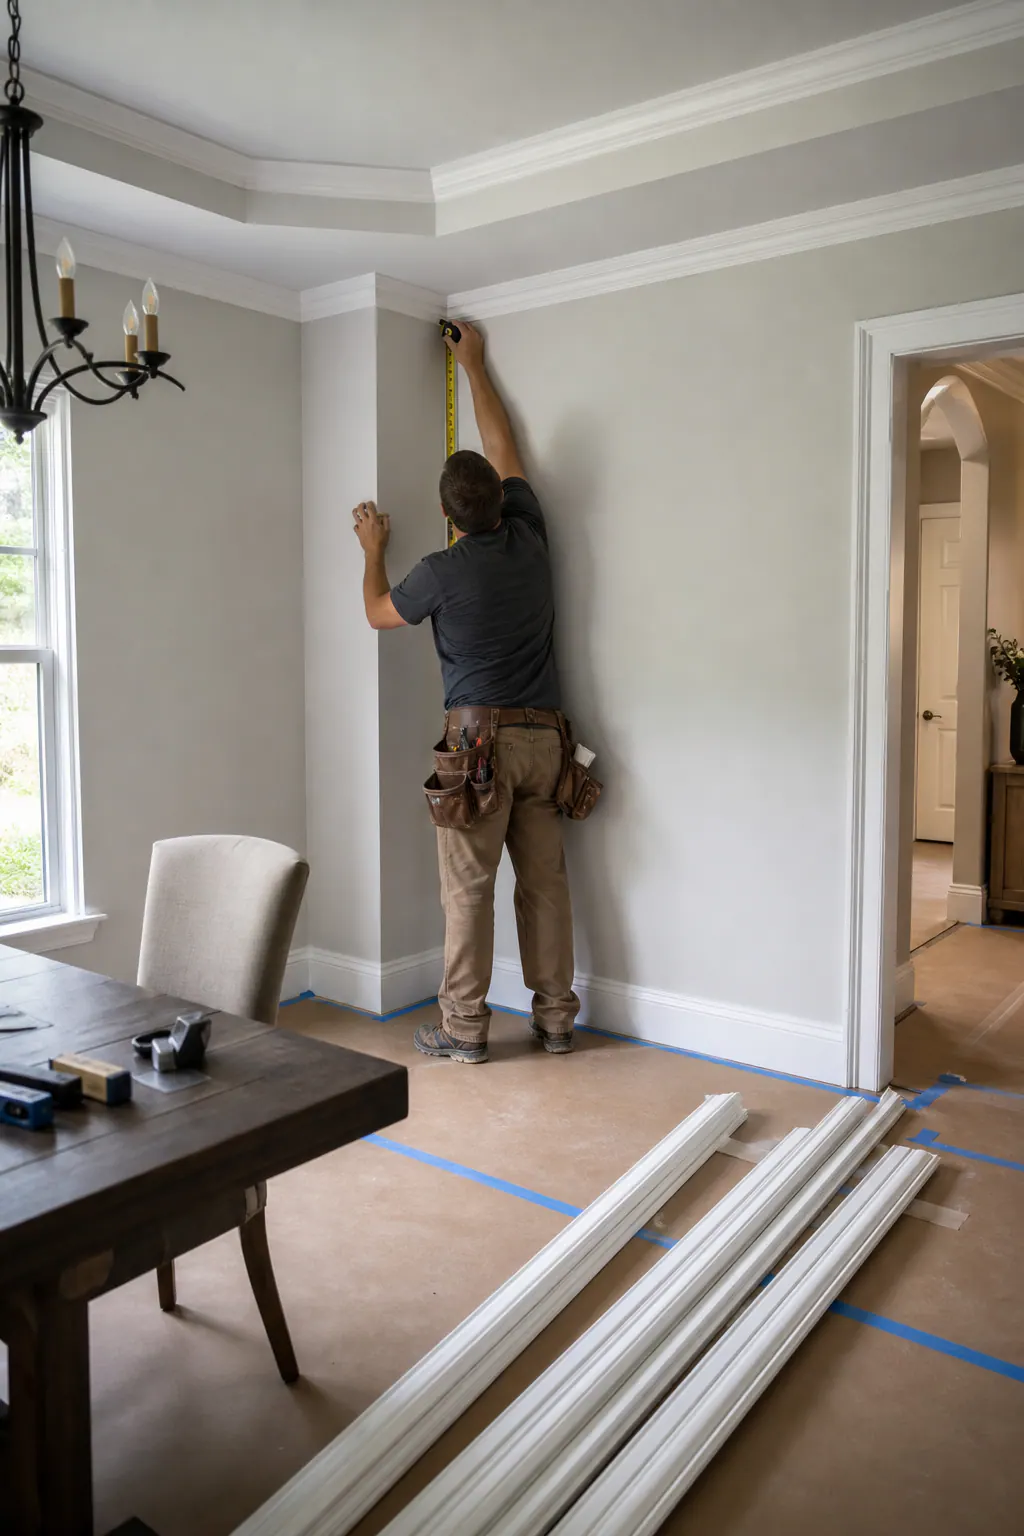
Corner treatment is where careful work becomes especially visible. Outside corners generally use miter joints: two angled cuts meet at the projecting corner so the profile continues cleanly around it. Inside corners are commonly coped, meaning one piece is shaped to fit the face of the adjoining profile rather than relying only on two matching angles. A coped joint can be adjusted more precisely when a corner is slightly out of square. Where a wall or ceiling varies along its length, scribe fitting may be needed; the edge is carefully shaped to follow the surface instead of leaving an obvious shadow gap.
After dry-fitting the pieces and planning seams where they will be less conspicuous, the installer fastens the crown securely and keeps the profile aligned from run to run. Small paintable gaps at the wall or ceiling can be caulked in a controlled way, but caulk should refine a fitted joint, not disguise open corners, poorly aligned returns, or arbitrary stops. Nail holes and joints are filled, sanded as needed, and finished with paint so the molding reads as one continuous detail. Severe ceiling or wall irregularities can call for surface preparation or a practical compromise in how tightly every edge can meet. Professional crown molding installation in Palmer Ranch is the difference between trim that merely occupies the perimeter and a finish that looks intentionally built into the room.
Matching Crown Molding to Existing Trim and Real-World Conditions
The crown should look related to the details already at eye level, not like an unrelated band added above them. Compare its visual weight with the existing baseboards and casing: slim, plain door surrounds usually pair best with a restrained crown, while wider casing, paneled doors, substantial baseboards, or detailed cabinetry can support a more pronounced profile. Wall color matters, too. A crisp white trim color can give a painted crown a clear outline against deeper walls, while matching crown and wall color creates a quieter transition.
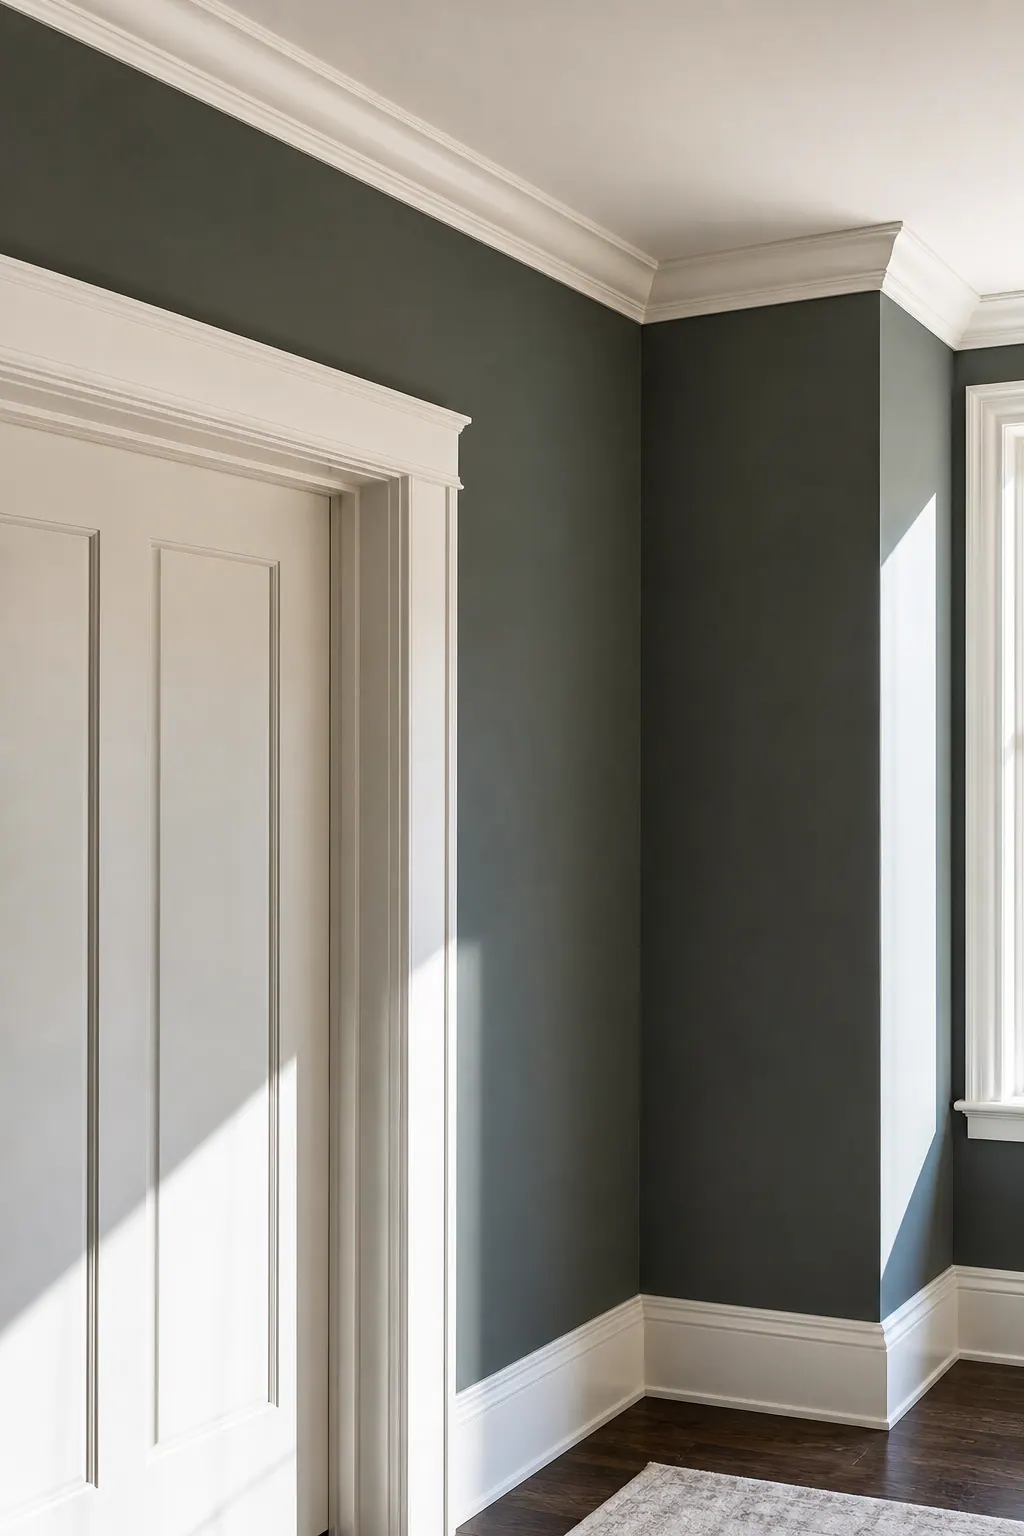
For paint-grade work, painting the new crown and adjacent trim together is often the cleanest route. Using one sheen and color across the crown, casing, baseboards, and painted cabinet trim helps new and older pieces read as a coordinated package, even where prior touch-ups have left small color differences. Stain-grade crown requires a more deliberate plan: wood species, grain direction, stain absorption, sheen, and the aging of existing wood all affect the match. A near match can still look noticeably different beside older stained casing or cabinets.
Real surfaces set the limits of the finish. Heavy wall texture may need to be softened or patched at the crown line so the edge does not telegraph an irregular pattern. Previous trim repairs can leave paint ridges, damaged drywall, or uneven transitions that need preparation before new molding goes up. Uneven ceilings and out-of-square corners may call for selective fitting and modest, controlled caulking; they should not be hidden behind oversized gaps or thick beads of filler.
In moisture-prone areas, the material and finish need to suit the exposure rather than simply duplicate a dry-room choice. An in-home review lets a finish carpenter assess these conditions alongside the room's existing details and recommend an approach that makes the crown feel integrated.
Planning a Crown Molding Project Without a Full Remodel
A room-by-room plan keeps the project focused, whether the goal is to finish a single dining room or coordinate trim with a larger interior update. Crown can be installed as a standalone refresh before repainting, or scheduled alongside new flooring, a light fixture change, cabinet work, or a whole-room paint plan so the final details are completed in the right order.
For Palmer Ranch crown molding installation, the first visit should establish what is already in place and what the finished room needs to include. The scope typically moves through a clear sequence:
- Review the room perimeter, existing trim, cabinet lines, and planned changes that affect where the crown begins, ends, or transitions.
- Discuss profile scale, selected material, and paint or stain direction, then assess ceiling variation, wall condition, access, and any preparation needed at the installation line.
- Define the finish scope in advance: installation only, or installation plus filling, joint caulking, touch-up work, and coordinated painting.
- Install the molding, complete the agreed finishing details, and walk the room to identify small touch-ups before the project is wrapped up.
There is no useful universal price for crown work because the visible conditions shape the labor and materials. Linear footage sets the size of the project, while a deeper or built-up profile, high ceilings, numerous corners, difficult access, surface prep, material choice, and paint work each add their own demands. A crown molding installer in Palmer Ranch can turn those observations into a defined estimate rather than treating every room as the same. If property rules affect interior improvements, include that consideration before scheduling the work.
Bring a More Tailored Finish to Your Palmer Ranch Home
The most useful starting point for a consultation is a clear view of the rooms you want to address and the details you want the new crown to relate to. Bring ceiling heights, photos or measurements of baseboards and door casing, cabinetry or feature walls nearby, and a sense of whether the result should be understated or more formal.
Profile and material choices should follow that conversation. A slim painted MDF profile can keep a lower-ceiling room crisp and quiet, while a deeper painted build-up or stain-grade wood selection may better suit a taller space with more substantial existing millwork. Paint creates a unified trim package; stain puts the wood grain forward, making color match and joint placement more visible.
For crown molding installation Palmer Ranch homeowners can request an assessment or estimate for a single room, several connected spaces, or a larger update. A careful review of the molding scale, material, finish goal, and installation conditions helps produce trim that belongs in the home, not a standard profile applied everywhere.
Plan the next step
Compare the broader Crown Molding Installation service.
Review the Palmer Ranch, FL service area for local planning context.
When you are ready, request a free estimate with the rooms, trim goals, city, and available photos.
FAQs
What size crown molding looks best with 8-foot, 9-foot, or taller ceilings?
Standard-height rooms such as 8-foot bedrooms or compact sitting areas usually suit a modest single-piece crown. Around 9-foot ceilings can support a somewhat wider profile, while taller ceilings, formal rooms, and layered millwork can accommodate built-up crown with greater projection and shadow lines.
How long does professional crown molding installation take?
Installation time depends on linear footage, ceiling height, number of corners, access, surface preparation, material, and whether painting is included. A professional scope includes layout, dry-fitting, fastening, filling nail holes and joints, controlled caulking, sanding, and any agreed finishing touch-ups.
Can crown molding be installed on vaulted or tray ceilings?
Crown molding can be fitted where ceiling angles, wall variation, and transitions are assessed during layout. Vaulted, tray, uneven, or out-of-square conditions may require custom miter cuts, coped inside corners, scribe fitting, and planned seams to keep the profile aligned.
Is MDF or wood crown molding better for a Florida home?
MDF is a common paint-grade choice because its uniform surface creates a smooth painted finish, but it is not suitable for a stained wood-grain look. Wood is the better choice for visible grain, stain, species matching, and custom detailing, while paint-grade polyurethane can be considered for detailed profiles or moisture-prone locations.
Can new crown molding match my existing baseboards, door casings, and cabinetry?
Yes, crown should be selected to relate to the visual weight of existing trim: slim plain casing typically suits restrained crown, while wide casing, substantial baseboards, paneled walls, or detailed cabinetry can support a deeper profile. For painted trim, using one color and sheen across crown, casing, baseboards, and painted cabinet trim creates the most coordinated result.