
If you're updating a home, rental, condo, or seasonal property in Osprey, professional trim installation in Osprey gives the finished space cleaner edges, smoother transitions, and a more polished look without making the room feel overdone.
Trim is the finish carpentry that frames floors, walls, ceilings, doors, and windows. Baseboards cover the joint where flooring meets the wall, crown molding softens the ceiling line, and door or window casing gives openings a defined border. When those pieces are measured, cut, fitted, and finished well, the room looks intentional; when they are rushed, small gaps, uneven corners, and mismatched profiles tend to stand out.
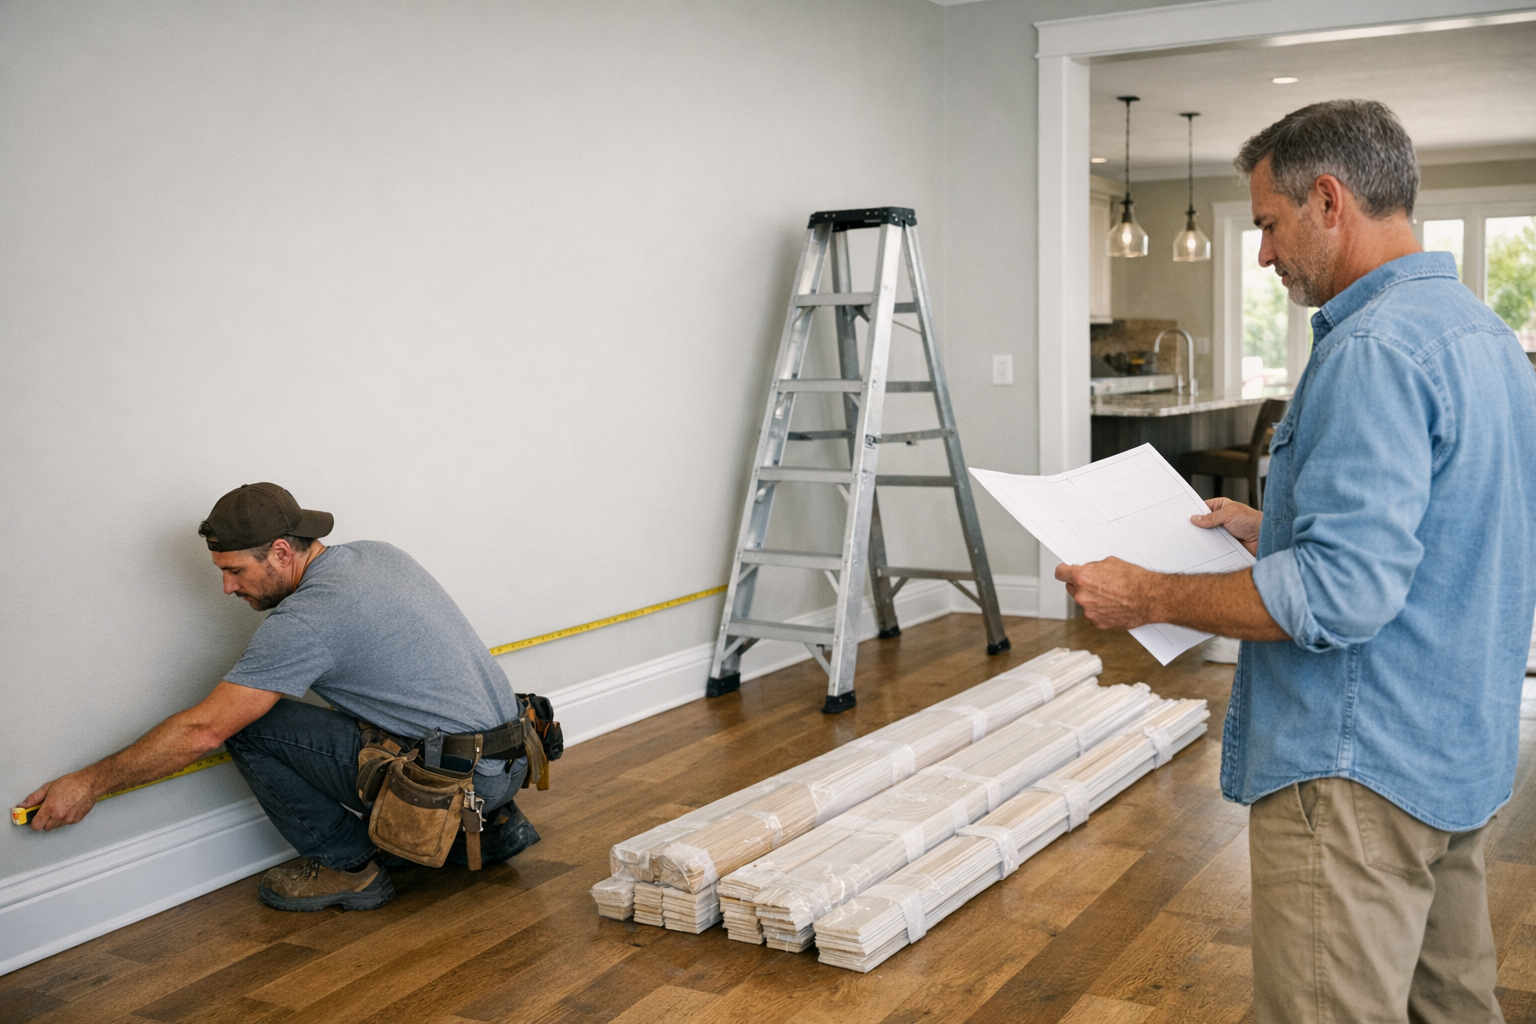
Osprey FL trim installation is a good fit during remodeling, after new flooring, when replacing outdated molding, while refreshing older interiors, or when finishing a room that still feels incomplete. Projects may involve one accent area, several rooms, or trim replacement throughout the home. If you have a project in mind, request an estimate with the rooms involved, the trim style you want, and whether existing molding needs to be removed or matched.
What Trim Installation Includes
A trim project starts with careful layout: measuring each run, accounting for corners and openings, cutting the molding to fit, then fastening it so the line stays straight and the reveal looks consistent. In practical terms, trim installation in Osprey, FL includes the detail work that makes each piece look built into the room instead of simply attached to the wall.

For interior trim installation Osprey FL homeowners request, the main checkpoints are corners, seams, transitions, and reveals. Corners should meet cleanly, seams should be placed and fitted so they do not draw the eye, transitions should make sense where trim meets flooring, cabinetry, doors, or other molding, and reveals, the small, even margins around casings and edges, should stay consistent from one side to the other.
After the pieces are fitted and fastened, the finish stage usually includes caulking small wall-to-trim lines, filling nail holes, smoothing visible touch points, and preparing the trim for paint or the selected final finish. Paint-ready finishing means the trim is left ready for coating after prep; a final finish may involve the completed painted or stained surface, depending on the project scope.
Old trim removal may be part of the job when existing molding is damaged, outdated, or in the way of the new profile, but it is best treated as a project need rather than assumed in every installation. If removal is needed, it affects the scope because the installer has to account for the condition of the wall behind the trim, leftover fasteners, and how the new interior finish will cover or correct the old lines.
Types of Trim We Install and Where They Work Best
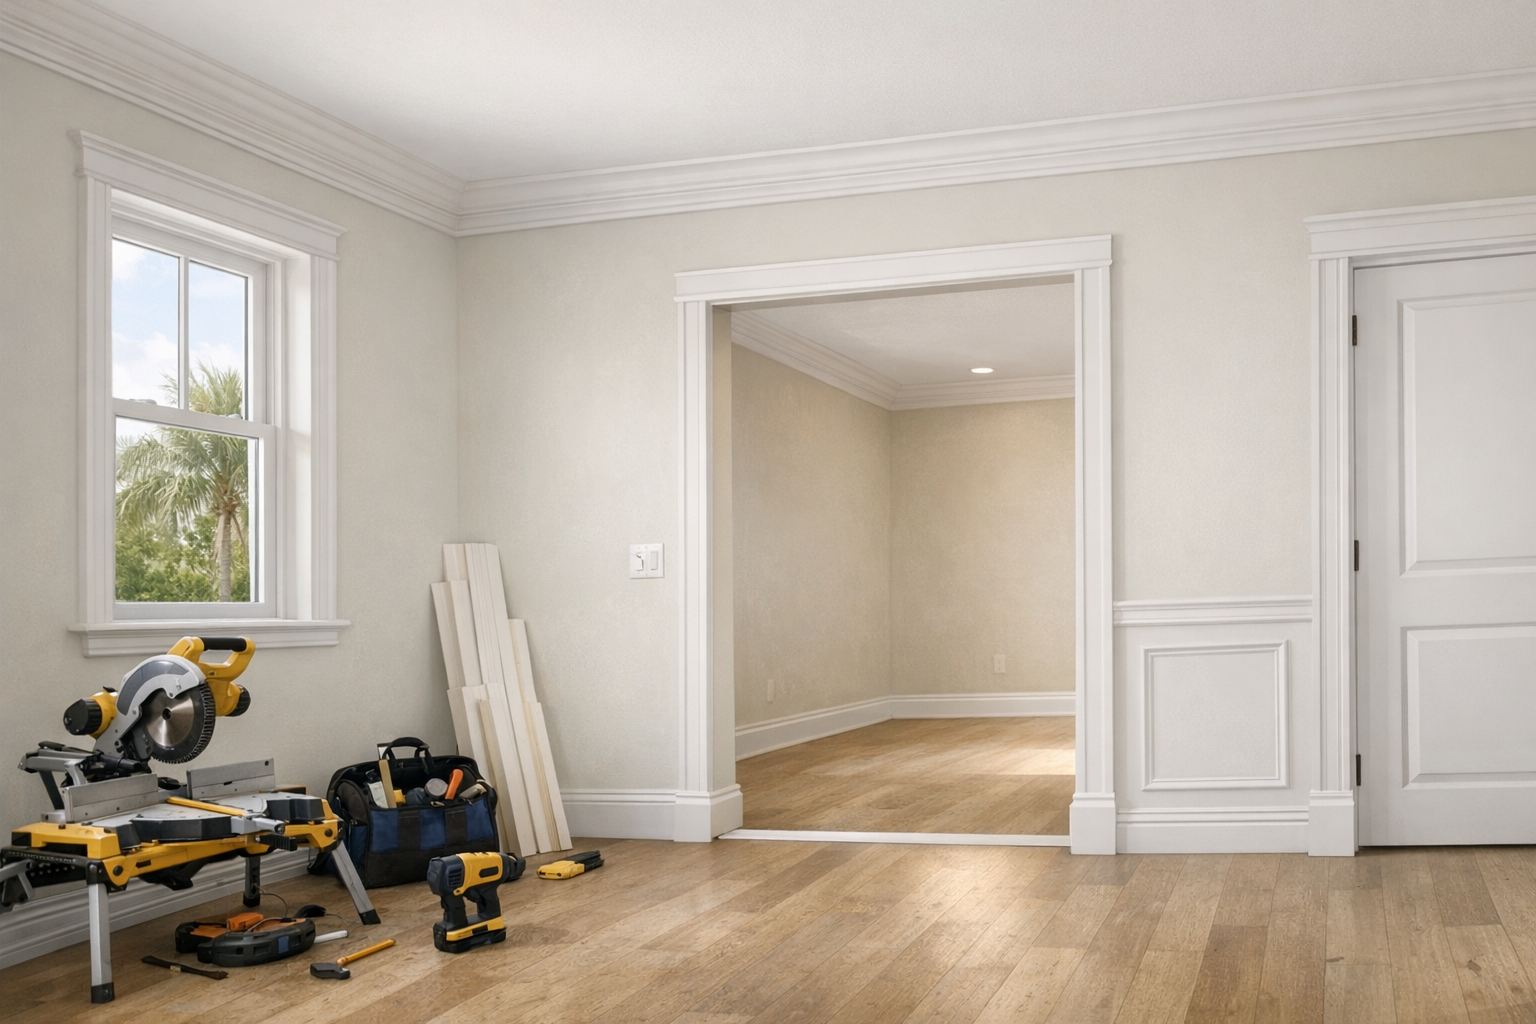
The right trim profile depends on what part of the room needs definition: the floor line, ceiling line, openings, wall panels, or a transition created during a remodel. For trim installation in Osprey, FL, these are the most common pieces homeowners ask about and where each one tends to make the biggest difference.
- Baseboards: Baseboards run along the bottom of the wall and cover the joint where the wall meets the floor. Baseboard installation is common in living rooms, bedrooms, hallways, kitchens, and remodel areas after new flooring, especially when the old trim no longer reaches the finished floor cleanly.
- Crown molding: Crown molding sits where the wall meets the ceiling, adding a finished upper border. Crown molding installation works well in dining rooms, living rooms, primary bedrooms, entryways, and other spaces where a more formal or complete look is wanted.
- Door casing: Door casing frames the sides and top of an interior doorway. Door casing installation matters in hallways, bedrooms, closets, and entry areas because uneven reveals around the door are easy to notice when you pass through the opening every day.
- Window casing: Window casing frames the window opening and helps the window feel integrated with the surrounding wall. It is often used in living rooms, bedrooms, kitchens, and dining areas where windows are a visual focal point.
- Shoe molding and quarter round: Both are small trim pieces used at the floor line, often in front of baseboards. Shoe molding has a slimmer, more rectangular look, while quarter round has a fuller curved face; the takeaway is that either can help cover small flooring gaps, but the profile should match the room's style and existing trim.
- Chair rail: Chair rail runs horizontally along the wall, usually around the dining room, hallway, or breakfast area. It can break up tall wall space and create a clean separation between paint colors, wallpaper, or lower wall treatments.
- Picture frame molding: Picture frame molding creates decorative rectangular or square panels on flat walls. It is a good fit for dining rooms, entryways, stair walls, and accent walls when the goal is detail without covering the entire lower wall.
- Wainscoting: Wainscoting is a built-up lower wall treatment that may include panels, rails, stiles, and cap trim. Compared with simple picture frame molding, it has more depth and structure, making it popular for dining areas, foyers, hallways, and feature rooms that need a stronger architectural finish.
Matching Existing Trim and Choosing Materials for Florida Homes
When new trim needs to blend with what is already in the home, the first comparison is the shape of the face, not just the name of the style. A close match looks at the profile, height, thickness, reveal, and finish: the profile is the contour you see from the front, height is how tall the piece is, thickness affects how far it stands off the wall, and reveal is the small, even edge left around doors, windows, or adjoining trim. If an exact molding is no longer available, the goal is usually a coordinated match that looks intentional from normal viewing distance.

Material choice is a practical decision, not a one-size-fits-all answer. MDF is often considered for painted trim where a smooth, consistent surface is the priority. Finger-jointed pine is a paint-grade wood option made from shorter wood sections joined together, so it can be a good fit when the project calls for wood trim that will still be painted. Solid wood is typically chosen when the natural grain, a stain-grade finish, or a more traditional millwork look matters. Moisture-conscious options may be worth discussing in areas where the trim meets tile, exterior doors, laundry spaces, or other spots that see more dampness or cleaning.
Florida interiors also change the conversation because air conditioning, indoor humidity, and flooring updates can affect how trim meets the room. For example, a new hard-surface floor may leave a gap at the baseboard, while a thicker replacement baseboard may change how door casing lines up nearby. Paint performance matters too: crisp paint lines depend on clean sanding, tight seams, and controlled caulk lines, not just the trim material itself.
For homeowners planning trim installation in Osprey, FL, the best takeaway is simple: bring the existing trim, the room conditions, and the desired finish into the same decision. A trim installer in Osprey can help compare samples, coordinate millwork with the current interior, and choose a material that fits the room use, finish goal, and budget without forcing every space into the same profile.
Why Professional Trim Installation Makes a Difference
Look closely at a doorway corner or a long baseboard run and the quality of the work becomes obvious. The value is in making each piece land cleanly, with accurate measurements, clean cuts, tight joints, straight lines, and a surface that is ready for paint.
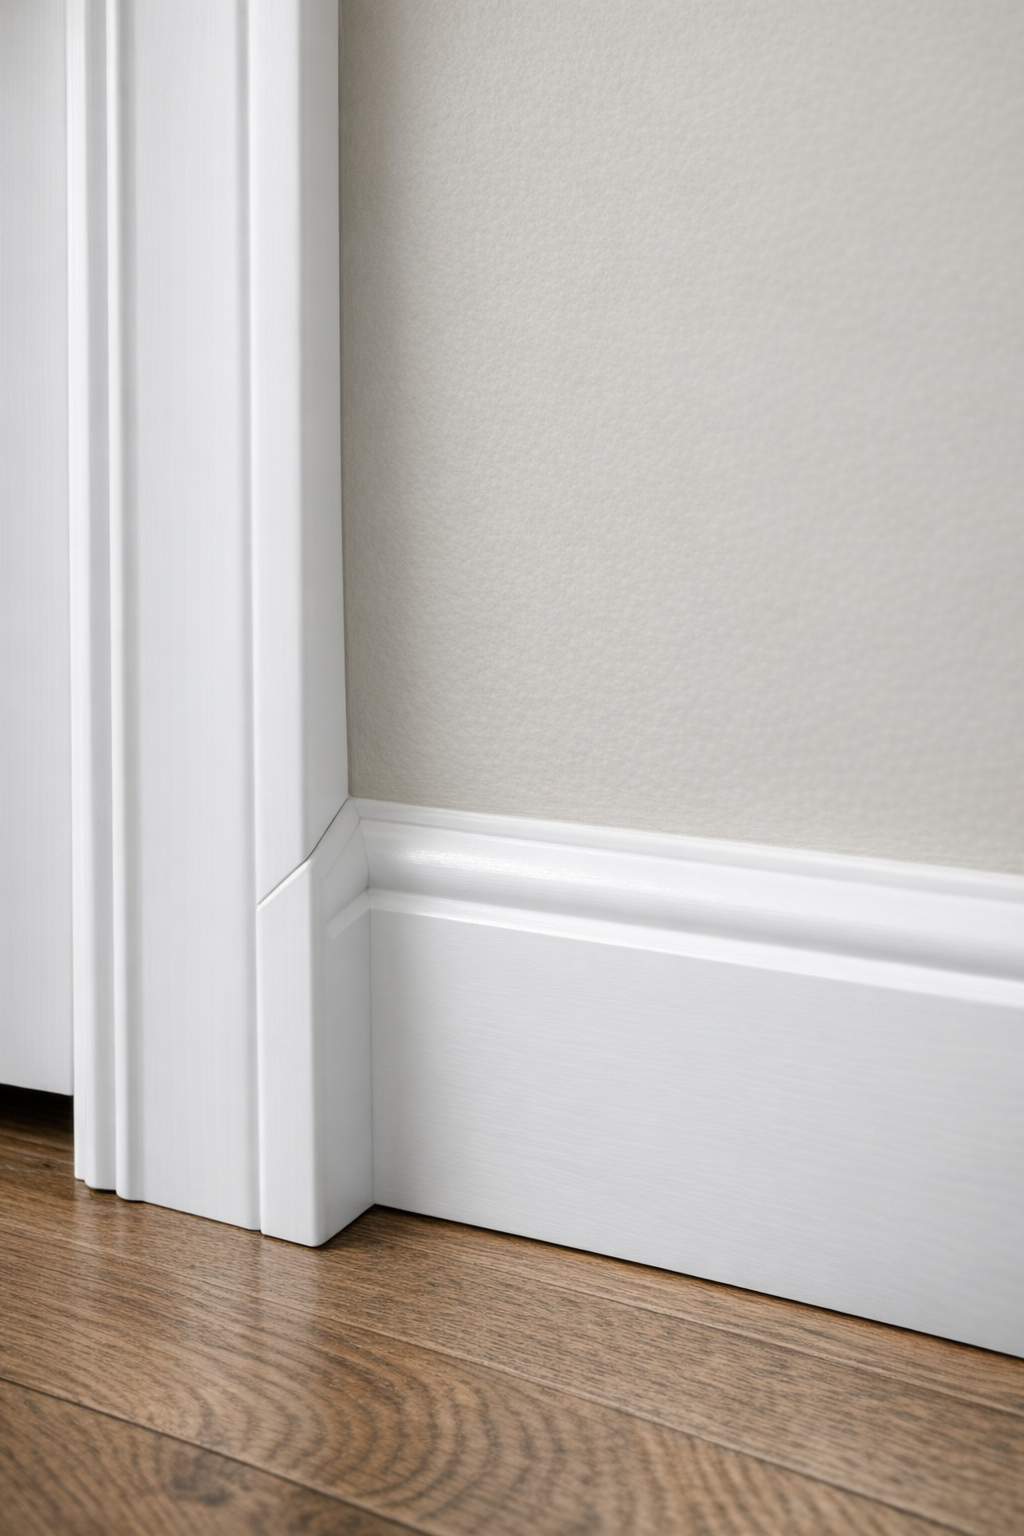
Strong installation has visible signals. Mitered corners meet neatly instead of opening at the tip. Door and window casing keeps a consistent reveal, meaning the small border around the frame stays even from top to bottom. Baseboards follow the room without looking wavy, seams are placed and fitted with care, nail holes are filled without creating a dotted pattern, and caulk lines are smooth enough to disappear once painted.
Weak trim work is just as easy to spot. Gaps at mitered corners, uneven outside corners, bulky caulk, crooked runs, mismatched transitions, and visible fastener marks can make new molding look rushed even if the material itself is attractive. These details matter most in bright rooms, hallways, entry areas, kitchens, and living spaces where natural light runs across the wall and highlights every edge.
That is why trim belongs in the category of interior carpentry services where precision matters. A professional installer plans the run, fits the pieces to the actual room, adjusts for imperfect walls or floors, and leaves the trim paint-ready instead of making the painter hide avoidable problems. For the homeowner, the takeaway is simple: cleaner lines now usually mean fewer touch-ups, less frustration, and a finished room that looks intentionally built rather than patched together.
Planning Your Trim Project: Scope, Cost Factors, and Timeline
A useful estimate starts by separating the visible design choice from the actual scope of work. For trim installation services Osprey homeowners request, that means identifying the trim type, the rooms involved, and the approximate amount of molding needed. A simple baseboard installation in one bedroom is a different project from crown molding installation through open living areas, because the cuts, ladder work, corners, and finish coordination change.
The main cost factors are usually linear footage, room count, profile complexity, ceiling height, old trim removal, wall condition, material selection, painting needs, and whether the new pieces must match existing molding. Linear footage tells how much trim must be supplied and installed. Profile complexity affects how detailed the cuts are. Wall condition matters because uneven drywall, old caulk buildup, or flooring changes can add prep time before the new trim sits cleanly.
Timeline depends on the same scope. A small room or short replacement run may move faster, while whole-home trim, detailed accent molding, tall crown, or matching older profiles can take longer because layout, cutting, fitting, and finishing all need more coordination. The practical takeaway is to share photos, room counts, trim preferences, and any existing molding you want matched so the estimate can reflect the real project instead of a rough guess.
Paint timing is worth planning early. Pre-primed trim can reduce prep, but it still needs nail-hole filling, caulk, sanding touch-ups, and final finish work after installation. Some projects work well with trim painted before installation and touched up afterward; others are cleaner when painting is coordinated after the trim is installed. For trim installation in Osprey, FL, the best plan is the one that lines up carpentry, paint finish, and room access before work begins.
Trim Installation for Osprey Homes, Condos, and Remodels
Local context changes the details, especially when the work is happening in an occupied condo, a remodeled waterfront interior, a seasonal residence, or an established Osprey home where new trim has to sit beside older millwork. Osprey FL trim installation often needs to feel clean without looking out of place, so the goal is not always the largest or most decorative profile; sometimes it is the casing, baseboard, or accent trim that makes the room look intentional again.

In older interiors, updated baseboards and door casing can make painted walls, newer doors, or refreshed flooring feel more current. After tile, luxury vinyl, or wood flooring changes, shoe molding or new baseboard can cover the edge where the floor meets the wall and create a smoother transition from room to room. In remodels, crown molding, chair rail, or wainscoting can help a finished space feel complete instead of almost done. A careful trim installer in Osprey looks for the small alignment points that matter: matching heights where rooms connect, keeping reveals even around doors, and choosing profiles that relate to the rest of the home.
Request a Trim Installation Estimate in Osprey, FL
Ready to move from planning to a workable quote? When requesting trim installation in Osprey, FL, send the project address or neighborhood, the rooms involved, and whether the property is a home, condo, rental, or seasonal residence.
- List the trim you want installed, such as baseboards, crown molding, door or window casing, chair rail, wainscoting, shoe molding, or replacement molding.
- Mention whether old trim is still in place, already removed, damaged, or needs to be matched.
- Share photos if available, especially corners, doorways, flooring edges, ceiling lines, and any existing profile you want to coordinate with.
- Note your preferred material, style, height, and whether you want the trim paint-ready, primed, painted, stained, or left for a separate finishing step.
Homeowners and property owners can use those details to start a trim installation services Osprey estimate request or schedule a consultation for the next step.
Plan trim installation in Osprey, FL
Compare the broader Trim Installation service details, then use the Osprey, FL service area page if you want the local overview. When you are ready, request a trim installation estimate with the rooms, trim goals, and photos that help explain the scope.
FAQs
What types of trim can be installed in an Osprey home?
Common trim options include baseboards, crown molding, door casing, window casing, shoe molding, quarter round, chair rail, picture frame molding, and wainscoting. These pieces frame floors, ceilings, doors, windows, wall panels, and flooring transitions for a cleaner finished look.
Do I need to remove old baseboards before new trim is installed?
Old baseboards only need to be removed if they are damaged, outdated, in the way of the new profile, or cannot be matched cleanly. Removal affects the project scope because the installer must account for wall condition, leftover fasteners, and old trim lines.
What should I look for in professional trim installation?
Look for tight mitered corners, straight baseboard runs, consistent door and window reveals, smooth caulk lines, filled nail holes, and seams that do not draw attention. Quality trim installation also accounts for imperfect walls, flooring changes, and clean transitions at doors, cabinets, and other molding.
How much does trim installation cost in Osprey, FL?
Trim installation cost depends on linear footage, room count, trim profile complexity, ceiling height, old trim removal, wall condition, material selection, painting needs, and whether new trim must match existing molding. A one room baseboard project is smaller in scope than crown molding through open living areas because the cuts, corners, ladder work, and finish coordination differ.
Is MDF or wood trim better for Florida homes?
MDF is a good choice for painted trim when a smooth, consistent surface is the priority, while finger-jointed pine works for paint-grade wood trim. Solid wood is better when natural grain, stain-grade finish, or a traditional millwork look matters, and moisture-conscious options should be considered near tile, exterior doors, laundry areas, or damp cleaning zones.