

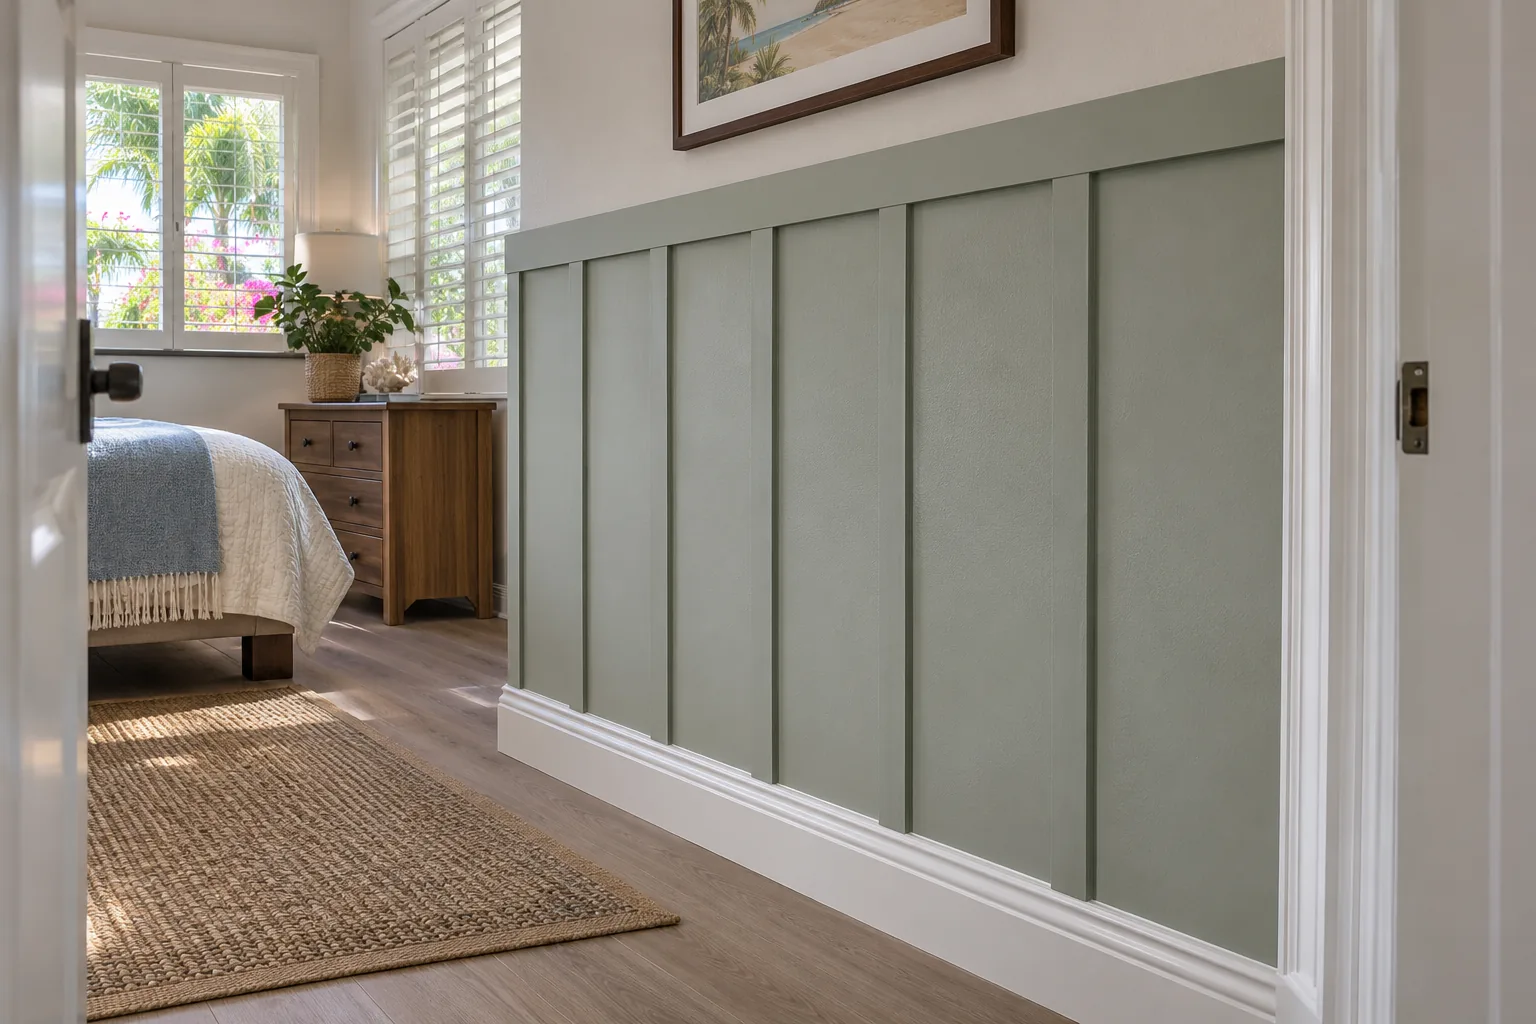
Yes, you can sometimes install board and batten with existing baseboards. For a Sarasota County home, the deciding question is whether the proposed battens and any backing meet the baseboard, door casing, and corners in a way you like. Keeping the trim avoids removal, but it is not automatically the cleanest-looking route. You can also remove and reinstall sound baseboards in front of a backing layer, or replace them with trim chosen for the new wall treatment.
Keep, Reinstall, or Replace: What Changes?
| Route | What you will see | Work to include in the quote |
|---|---|---|
| Keep the baseboards | Battens end at the existing trim. Its top edge and projection remain visible, so the junction needs to look intentional with the proposed materials. | Fit and finish the treatment at the existing trim; agree on any exposed edges and finish touch-ups. No baseboard removal is planned. |
| Remove and reinstall | With a backing layer behind it, reusable trim can sit in front of the new wall plane. Its old profile and finish still need to work at the batten ends and adjoining trim. | Careful removal, cleaning and reinstallation, plus wall or trim patching and finish work where needed. |
| Replace the baseboards | A new profile can be selected to suit the proposed wall plane and finish, rather than forcing damaged or ill-fitting trim to work. | Removal and disposal of old trim, new material and installation, junction details, patching, and finishing. |
Keeping the trim makes sense when its condition is good and the transition looks right. Reinstallation is worth considering when backing changes the wall plane and the old trim can survive removal and still fit. Replacement offers more freedom over the profile, but expands the material and finish scope. If nearby rooms keep their old baseboards, discuss how a new profile or paint finish will meet them at the doorway.
Measure the Baseboard Transition Before Choosing
Start with the actual trim, not a nominal board size. Measure how far the baseboard projects from the wall at its top, and note whether that top is flat, rounded, sloped, or stepped. Measure the proposed batten thickness and the thickness of any backing. Those are the pieces that determine what meets the baseboard and whether the batten appears to sit proud of it. Woodgrain explains moulding measurements, including depth: how far the trim projects from the wall. Compare the existing profile in your room with the proposed materials.
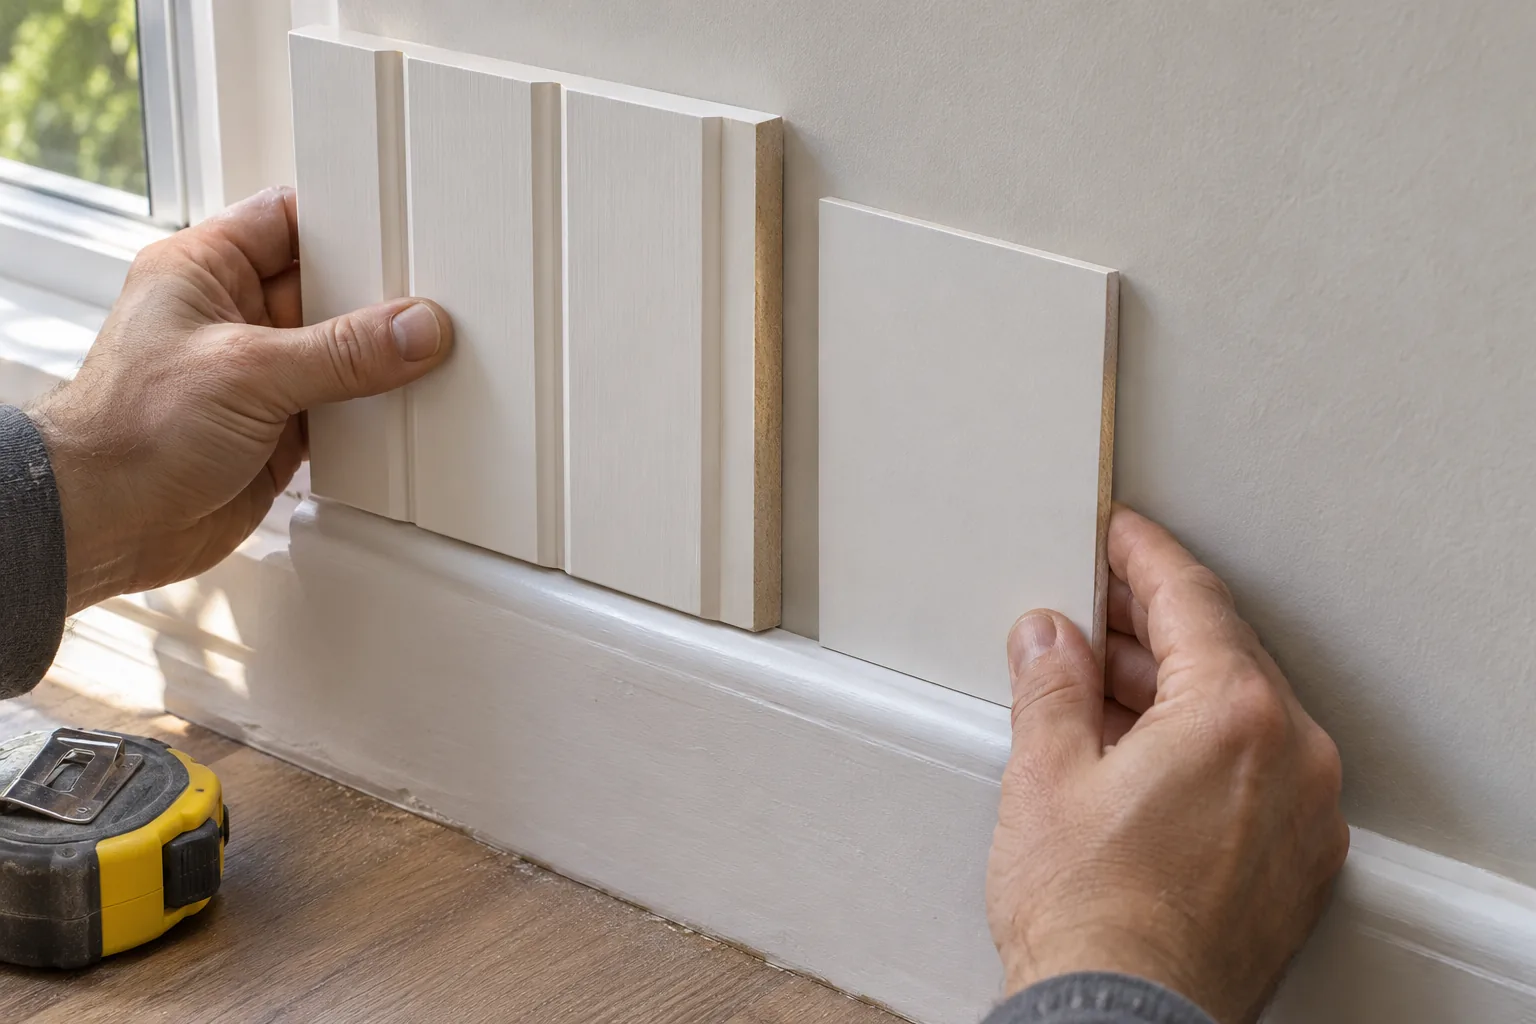
With battens directly on the wall, compare their outer face with the baseboard’s projection. With backing, compare the backing’s face and then the battens’ outer face: the backing moves the treatment forward, and the battens project beyond it. Also look at where the backing stops. Will its lower edge show above the baseboard? Does the batten land on a useful part of the top profile, or leave an awkward step or narrow strip? Record what is visible rather than assuming one trim detail will hide every mismatch.
Check Door Casings and Corners Too
A baseboard junction may look fine in the middle of a wall but change beside a door. Measure how far the door casing projects from the wall, then compare it with the proposed backing and batten faces. At the point where the treatment ends, which piece sits proud? Will a backing edge show beside the casing, or will the existing casing reveal look uneven? Check the baseboard-to-casing joint as well if the baseboard will move forward or be replaced.
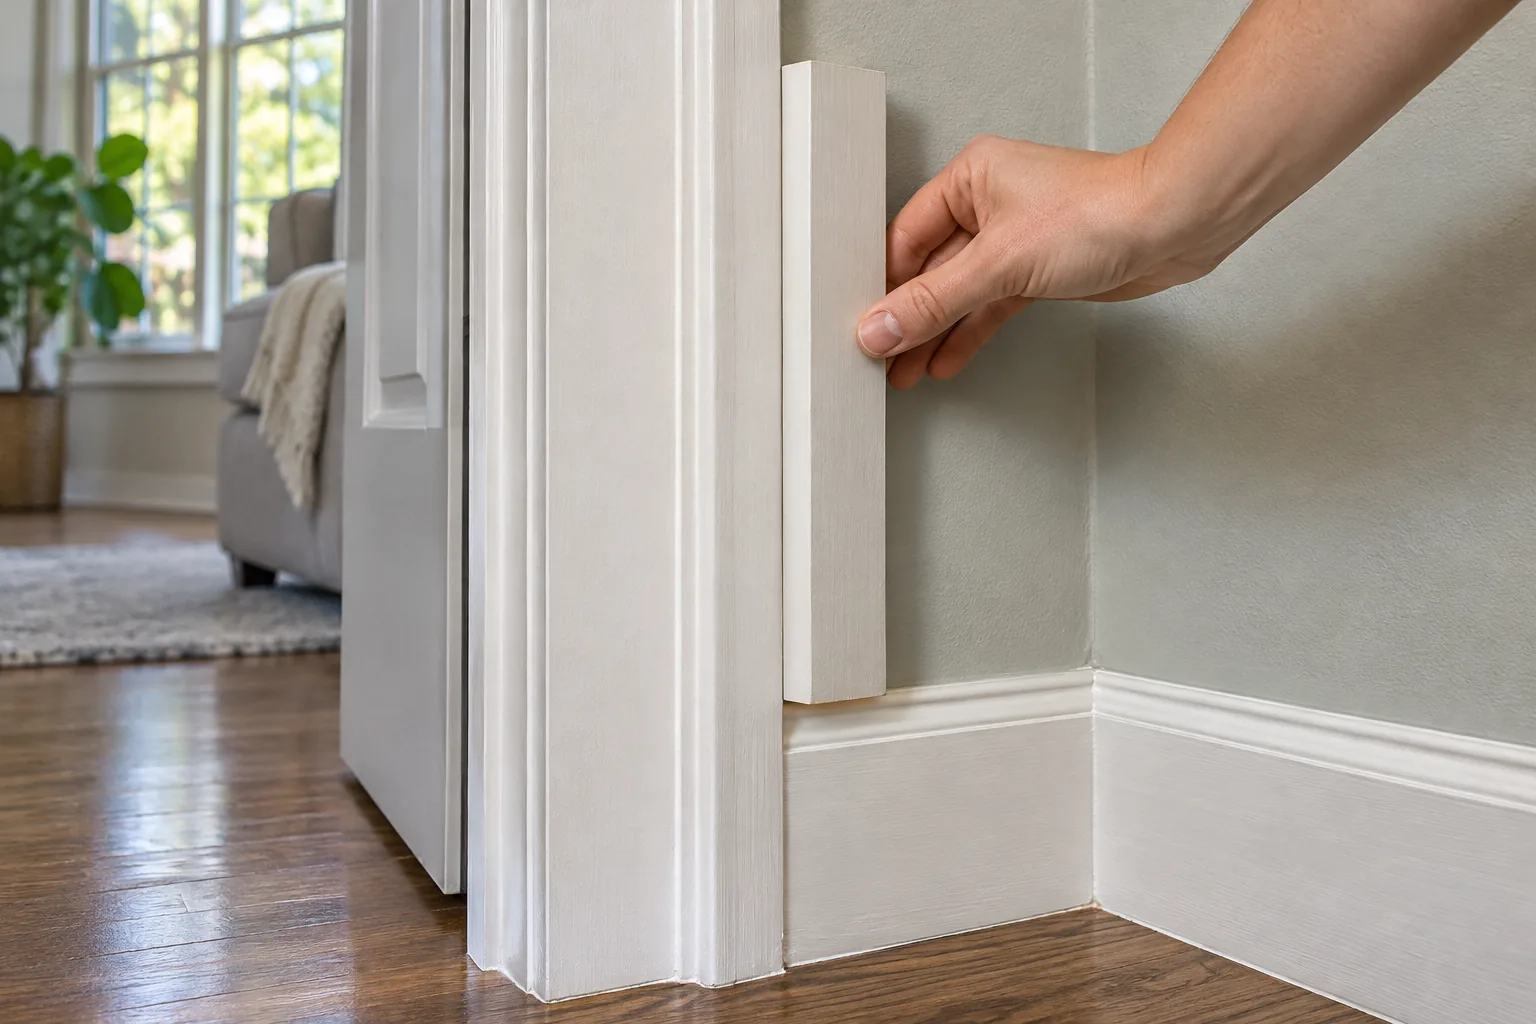
At an inside corner, check whether the planned pieces meet without an unintended gap or overlap. At an outside corner, look for an exposed backing edge or a change in projection that will be conspicuous from the adjoining wall. The layout and chosen trim detail determine the finish; there is no need to settle on a corner treatment before seeing how these particular pieces meet. Metrie’s board-and-batten example shows fitting a treatment around existing trim, rather than requiring one detail for every room.
Approve the Look With an Offcut Mockup
Before approving a route, ask the installer to hold offcuts of the proposed batten and, if specified, backing against the actual wall. First place them at the baseboard: compare the finished faces, the contact at the top profile, and any backing edge left visible. Try the proposed position at a door casing and a corner too. Look from the doorway and from elsewhere in the room, not just inches from the joint.
The offcut mockup makes the choice tangible. If leaving the baseboard in place gives you an acceptable visible edge, you can discuss retaining it. If backing makes the existing trim look recessed, compare that result with the trim temporarily positioned in front of the backing. If its profile or condition still works against the design, compare a proposed replacement profile. Do not judge only the best-looking stretch of wall: confirm the route at the doorway and corner you just checked.
Set the Trim and Finish Scope Before Work Starts
Once you have chosen the look, make the trim and finish scope part of the quote. Use these questions when requesting an estimate:
- Which baseboards stay, which come off, and which sections, if any, will be new? If trim is being reused, what happens if a section proves too damaged to reinstall?
- Where will backing stop, and how will its edges and batten ends look at the baseboard, casing, and corners?
- What removal, wall or trim patching, caulking, and painting are included? Will reused trim’s finish blend with new work and adjacent baseboards?
- Which offcut arrangement represents the approved result, and are any junctions elsewhere in the room different enough to review separately?
Ask for the selected route and its removal, reuse, or new-material work to be written into the quote before work begins. That distinguishes a plan to fit around existing trim from one that includes taking it off, repairing the surrounding finish, and putting it back.
Choose the Route That Finishes Cleanly
Keep the baseboards if the actual material comparison produces transitions you want to live with. Move reusable trim in front of backing when that resolves the changed wall plane; replace it when its condition or profile stands in the way. For a project inquiry, see the board-and-batten walls page.
Frequently Asked Questions
What if only some baseboards need replacing?
You can discuss keeping sound sections and replacing those that are damaged or do not fit the design. Review where the old and new profiles meet, especially at a doorway, and identify each section in the quote.
What happens if a baseboard breaks during removal?
If you plan to reuse the trim, agree before work starts on what happens if a section is too damaged to reinstall. The quote should make clear whether replacement material, patching, and finishing are included.
Could shaping the bottom of a batten let me keep a rounded baseboard?
An angled or fitted batten end is one possible detail, but it will not look right with every baseboard profile. Ask to see it mocked up against your actual trim and check the result from normal viewing positions.
What should I include when requesting an estimate?
Describe which baseboards you hope to keep, any damaged sections, and whether the design includes backing. Photos of the baseboard, a door casing, and a corner can help show the junctions that need to be reviewed.