

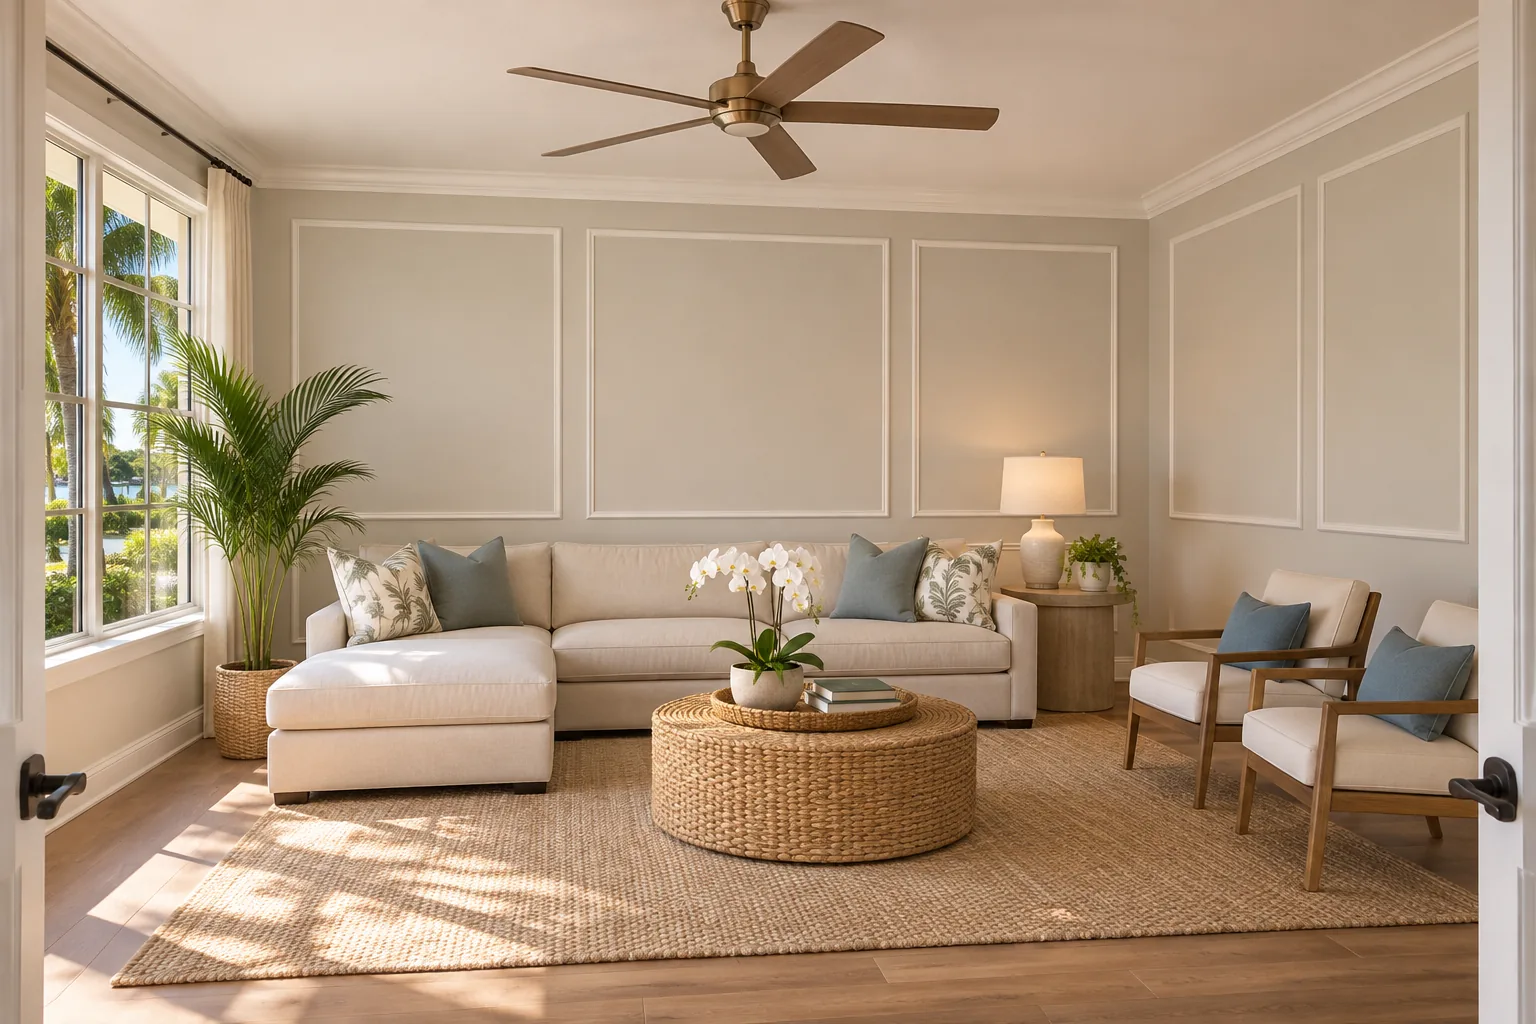
Picture frame molding boxes do not all need the same width on different-size walls. A balanced room can keep its top and bottom lines, gaps, and outside margins intentional while changing the number and width of boxes to suit each wall. For a Sarasota County home, make those choices on a room-wide layout before judging any one wall by itself.
Start With the Focal Wall and Measure Every Usable Run
Start with the wall that should carry the composition, often the broadest uninterrupted wall run or the wall you face when entering the room. Decide whether it wants a box centered on its centerline or a gap centered there. That gives the main wall an organizing idea without requiring the other walls to copy its panel count.
Then measure each run separately. Record the full wall lengths, door openings, casing edges, corners, and the short stretches beside doorways. A full wall dimension is not necessarily the space available for frames: a doorway can divide it into two usable runs, each with its own beginning and end. Put those runs on a simple sketch and label the dimensions before assigning boxes.
Look at the doorway returns now, but do not let the narrowest one set the box size for the entire room. It may be better left open. The first question is how the focal wall and the substantial secondary runs should read together; the returns are transitions to resolve after that pattern is established.
Keep Horizontal Lines and Outside Margins Intentional
Give separate walls a shared visual framework. Choose the proposed top and bottom edges of the frames, then carry those horizontal lines across the room on the elevation. A level helps transfer the marked layout onto the walls. The vertical edges of boxes do not have to continue around a corner: each run can have its own divisions within the shared height.
Next, decide what the gaps and outside margins should look like. A repeated gap between boxes gives unequal runs a recognizable rhythm. The margin from a corner or casing to the nearest frame should look deliberate, too; it need not match every other margin if an opening changes the available space. Judge those distances at the outside edges of the proposed molding so the drawing and taped outline describe the same thing.
These are design choices, not a fixed spacing formula. If identical box widths leave one wall with a wide leftover strip, try holding the gap steady and changing the widths. If a door makes that approach look crowded, change the count or the end margin on that run. Keep the horizontal alignment steady while testing those alternatives.
Compare Panel Counts Before You Set Box Widths
There are two useful starting points. Consistent gaps with variable panel widths put the emphasis on rhythm: choose a count for each usable run, then divide the space left after margins and gaps among its boxes. This often works well when several walls will be seen together. The tradeoff is that a box on one wall may be wider than a box on another.
Focal-wall symmetry puts the emphasis on the main composition. Center its boxes or its middle gap on the wall’s centerline and balance the two sides. Let secondary walls use counts and widths that fit them. This gives the focal wall a clear order, but matching every box across the room becomes a lower priority. The approaches can work together: establish the focal wall first, then use similar gaps on the remaining runs.
Hypothetical layout, not measurements from a Sarasota County project: Suppose one usable run is 120 inches and another is 84 inches. For illustration only, try 6-inch outside margins at both ends and 6-inch gaps between boxes, measuring to the outside edges of the molding. These numbers are a proposed spacing approach, not a standard for other rooms.
- On the illustrative 120-inch run, three boxes leave 120 − 12 inches of margins − 12 inches of gaps = 96 inches. Divided by three, each box is 32 inches wide.
- On the illustrative 84-inch run, two boxes leave 84 − 12 inches of margins − 6 inches of gap = 66 inches. Divided by two, each box is 33 inches wide.
The gaps and margins match, while the widths differ by an inch. That may read more comfortably than forcing three boxes onto the shorter run: under the same illustrative spacing, three would be only 20 inches wide each. Compare both counts on an elevation. The better choice is the one that gives the whole room a convincing rhythm, not the one that makes every wall repeat the same count.
Let a Short Doorway Return Stay Unboxed When It Should
A short doorway return does not owe the room a miniature box. If a frame squeezed between casing and corner would be conspicuously narrower than its neighbors, leave that stretch unboxed. Let the adjacent full run finish with a considered margin so the open area looks like a planned transition rather than a forgotten panel.
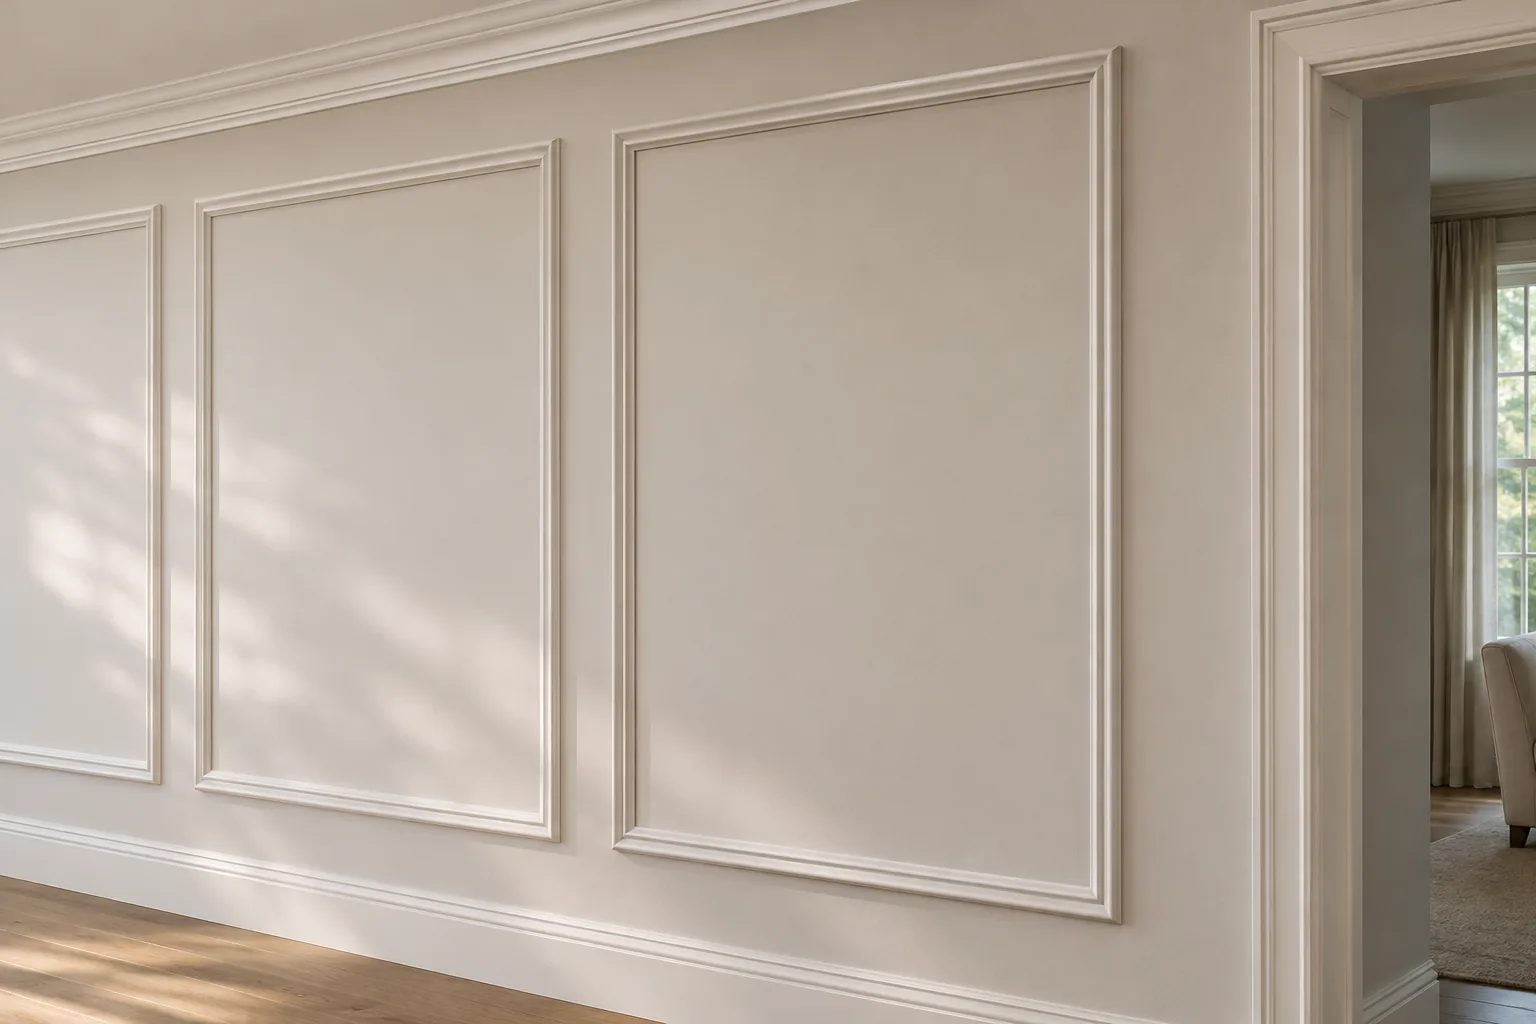
If the return is long enough to hold a box comfortably, test it in the room-wide drawing. You might use one frame there and adjust its margins, or change the adjacent run’s panel count so the approach to the doorway feels less crowded. Those choices preserve different things: an unboxed return gives the opening breathing room, while a framed return carries the pattern farther. Neither requires shrinking boxes on every other wall.
Approve Elevations and Taped Outlines Before Installation
Before molding is cut, ask to review an elevation for every wall and tape the proposed frame outlines on the actual walls. The elevation makes the dimensions comparable; the tape shows how the pattern feels from the doorway and from the places you normally sit or stand. Walk the room rather than approving the focal wall alone.
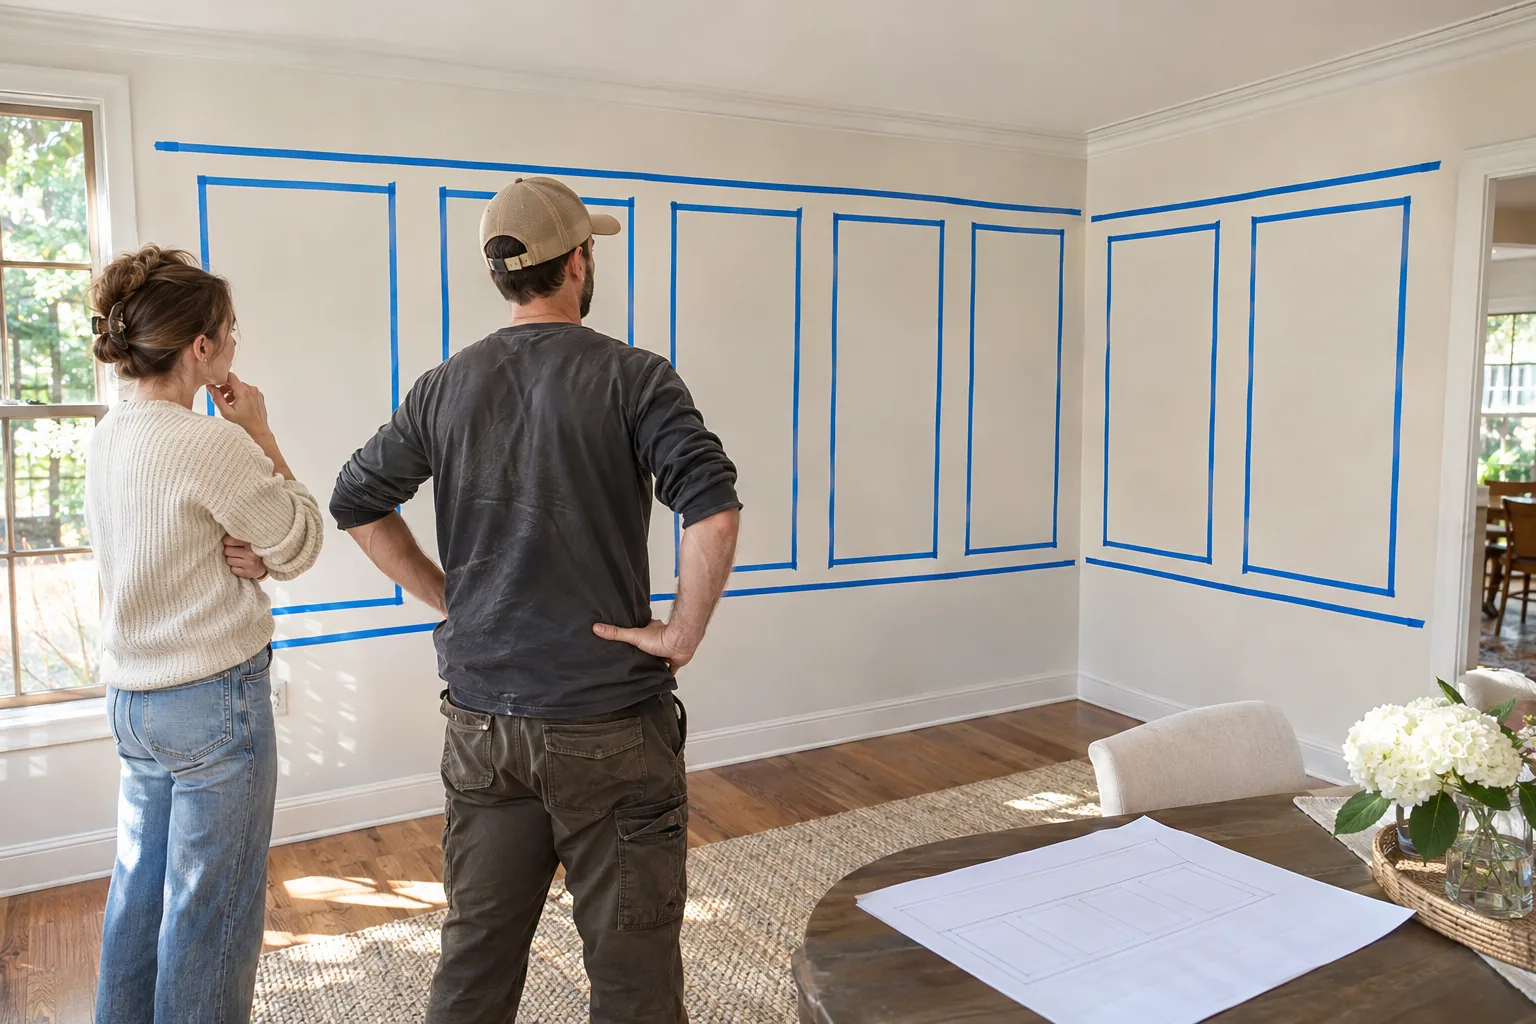
Use this short approval checklist:
- Runs and openings: Are the usable lengths, doorways, casing edges, and short returns marked on every elevation?
- Counts and widths: Does each run show its proposed number of boxes, box widths, gaps, and outside margins?
- Shared lines: Do the proposed tops and bottoms line up across the walls, even where the vertical divisions change?
- Focal wall: Is its intended centerline clear, and do the two sides look balanced?
- Doorway returns: Is each one shown as framed or deliberately unboxed, with a convincing end margin?
If the tape reveals a cramped last box or an oddly large blank strip, revise the count or margins on that run and look again from normal viewing distance. Small changes on a drawing are easier to judge when the outlines are visible at full size.
Choose the Layout That Works for the Whole Room
Choose the layout that looks composed across the whole room: hold the visual lines together, size boxes for their usable runs, and give openings an intentional finish. Approve that arrangement on the walls before installation.
If you’re planning a Sarasota County project, you can request an estimate from SuncoastTrim. Photos and approximate room dimensions can help explain the layout you have in mind.
Frequently Asked Questions
If a doorway divides a long wall, should the boxes be centered on the full wall?
Treat the stretches on either side of the doorway as separate usable runs. Lay out each from its casing edge to its other end rather than centering boxes across space occupied by the opening.
Do I need exact room measurements before requesting an estimate?
No. Photos and approximate room dimensions can help explain the project; perfect measurements are not required to start an estimate request. See how trim estimates work for what to send.