

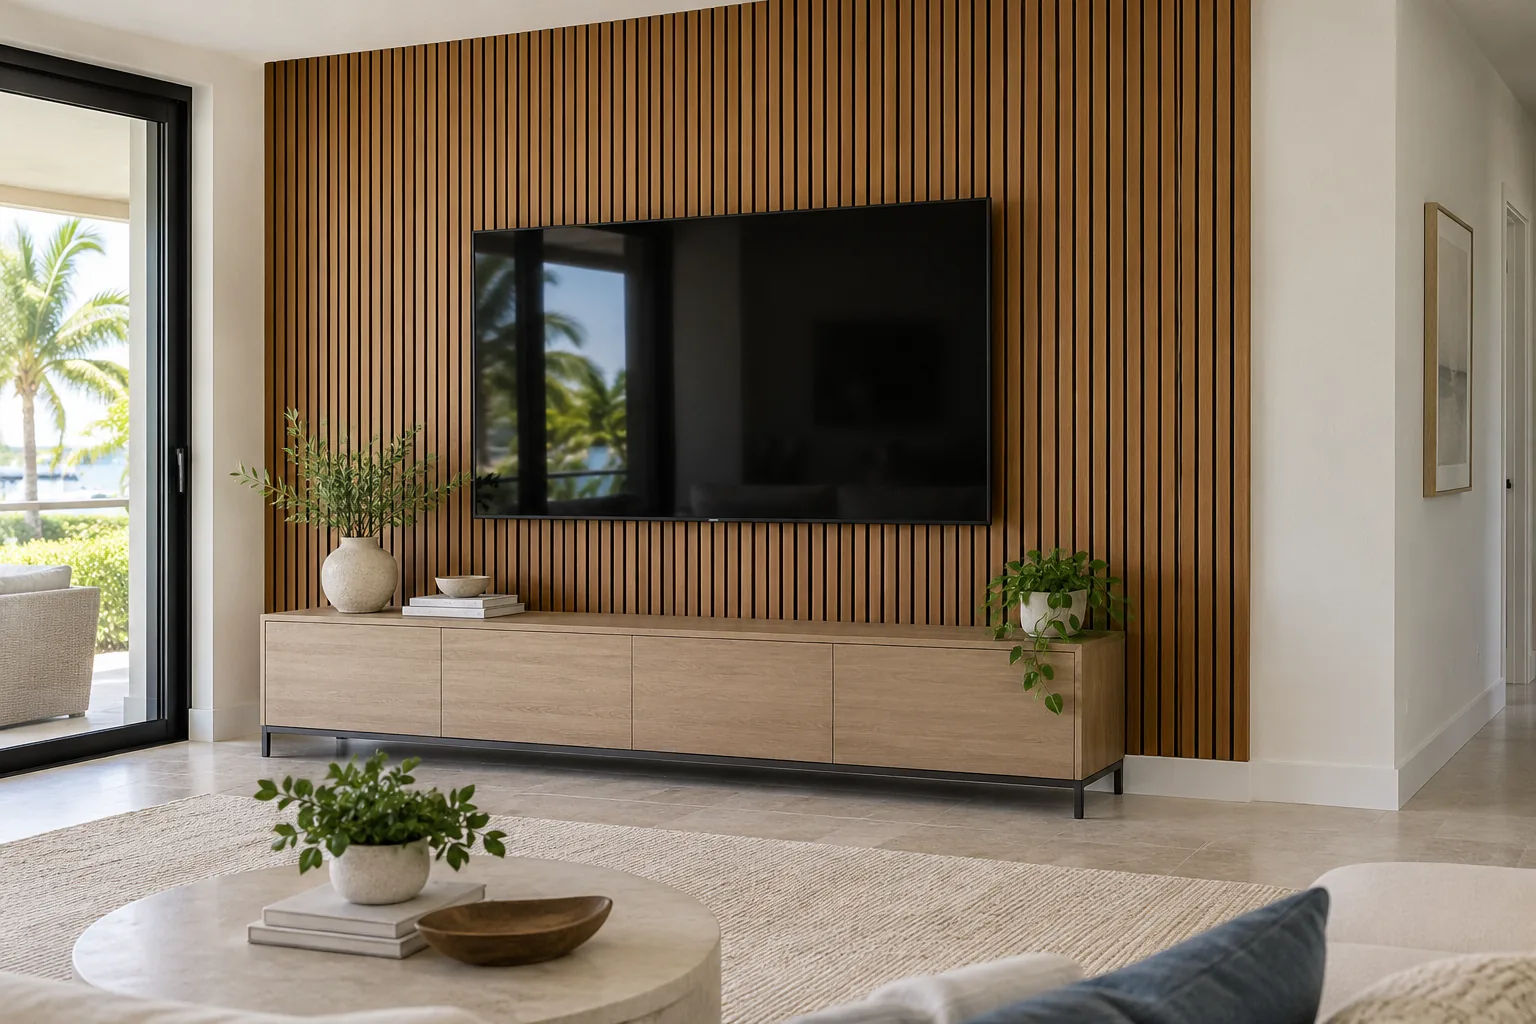
For a slat TV wall in Sarasota County, start with the TV and mount, not the slat pattern. Before ordering material, settle where the screen will sit, how its mount attaches to the wall, where power and equipment will go, and how the slats will end at the room’s trim. Mark those decisions on one wall layout. The TV-mount installer handles attachment and movement clearances, the electrician handles outlet locations and electrical work, and the finish carpenter turns the agreed layout into a decorative field with clean openings and edges.
Choose the TV and mount before setting the slat layout
Pick the TV and mount before fixing the screen height or slat boundaries. SANUS explains the differences between fixed, tilting, and full-motion mounts. A fixed mount keeps the screen close to the wall but can leave less room to reach rear connections. A tilting mount changes the screen angle and may help with access, depending on its design. A full-motion mount lets the screen extend or turn, so the layout must leave room for the TV, bracket, and connected cables throughout the movement you intend to use. None is the automatic choice for a slat wall; the viewing position and need to reach connections decide which tradeoff matters.
Give the installer the exact TV and mount models. On the proposed layout, mark the screen outline at the chosen viewing height and the bracket outline behind it. Have the installer check where the TV sits when parked, where it travels when moved, and whether connections and the TV itself can still be reached or removed. A slat return beside the screen may look clear in a front view yet interfere when a full-motion TV swings toward it.
Check the selected TV’s ventilation requirements and the selected mount’s instructions before setting the final clearances. Those requirements belong to the particular equipment; a gap that looks generous in a sketch is not a substitute for checking the manuals.
Plan mount support separately from the decorative slats
Decorative slats do not provide the TV mount’s structural support. Ask the mount installer to identify the wall construction, approved attachment points, any needed backing or blocking, and the bracket footprint before the carpenter cuts panels. The chosen mount’s instructions govern its permitted attachment conditions; a plan that works on one wall or with one bracket does not automatically work with another.
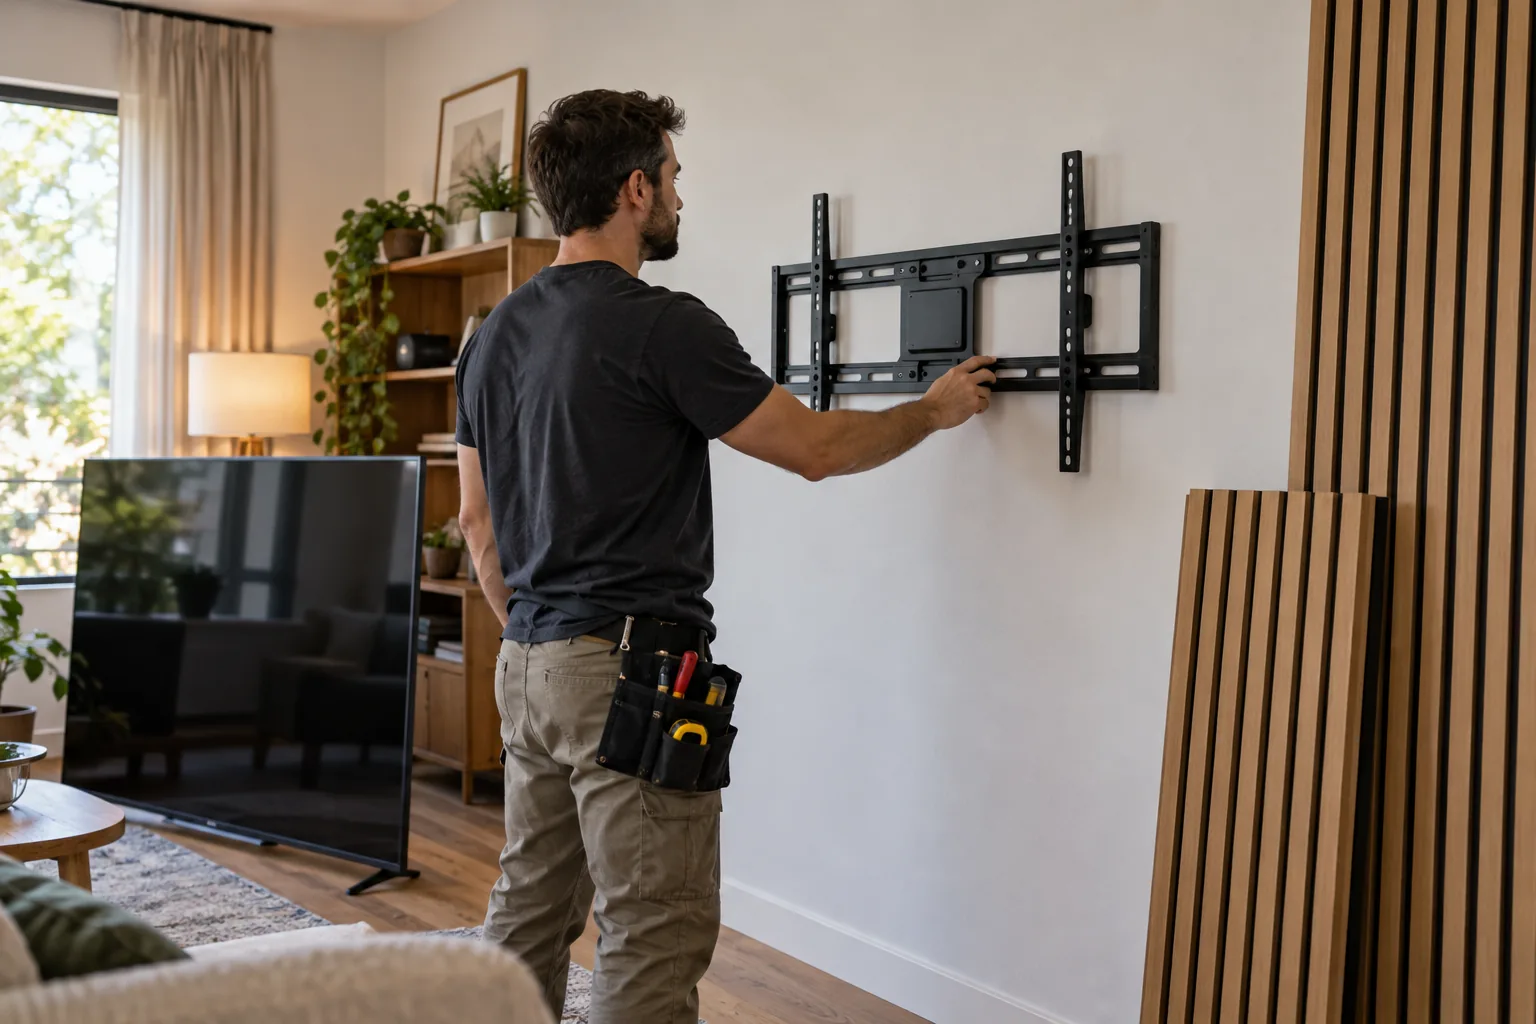
There are two useful ways to draw the area behind the TV. Slats can stop around a planned bracket opening, leaving the attachment area clear; the screen may conceal much of that interruption. Or the wall can be designed as a more continuous-looking slat field. That second look takes more coordination: the installer must approve the mounting surface and account for panel thickness, any proposed standoff, fastening, and room for the bracket to operate. Do not assume the bracket can simply be fastened through the slats.
Show the opening’s edges on the same drawing as the TV outline. That lets the carpenter align the visible slat spacing around the interruption rather than discovering, after cutting, that a narrow strip or uneven gap lands beside the screen.
Locate outlets around the screen and mount, not the wall center
The wall’s midpoint is not necessarily a useful outlet location. The bracket may occupy it, or the TV’s back and connectors may leave too little room for a plug. Give the electrician the proposed screen and bracket positions, the TV’s connector locations, and the plugs for the equipment you plan to use. The electrician can then determine receptacle locations that work with the actual installation, rather than a center mark chosen before the equipment.
Decide whether an outlet needs only to disappear behind the screen or also to be reachable without taking the TV down. That difference matters when you change a device or troubleshoot a connection. If the screen moves, check access in its parked and extended positions; if it stays close to the wall, consider how the installer will reach the connections during installation and later service.
Leave power routing and electrical installation to the electrician. A hidden extension cord is not a permanent substitute for a properly planned outlet: the Electrical Safety Foundation International advises against using extension cords as permanent wiring or running them through walls, ceilings, or floors.
Decide where cables lead and equipment lives
List what will connect to the TV before deciding how much of the wall to close in. A streaming device may fit near the screen, while a game console or other equipment may be easier to use in nearby furniture. Note where each device will sit, which TV connection it needs, and whether you will need to reach it to change cables or replace it. Some rear TV terminals become difficult to reach after mounting.
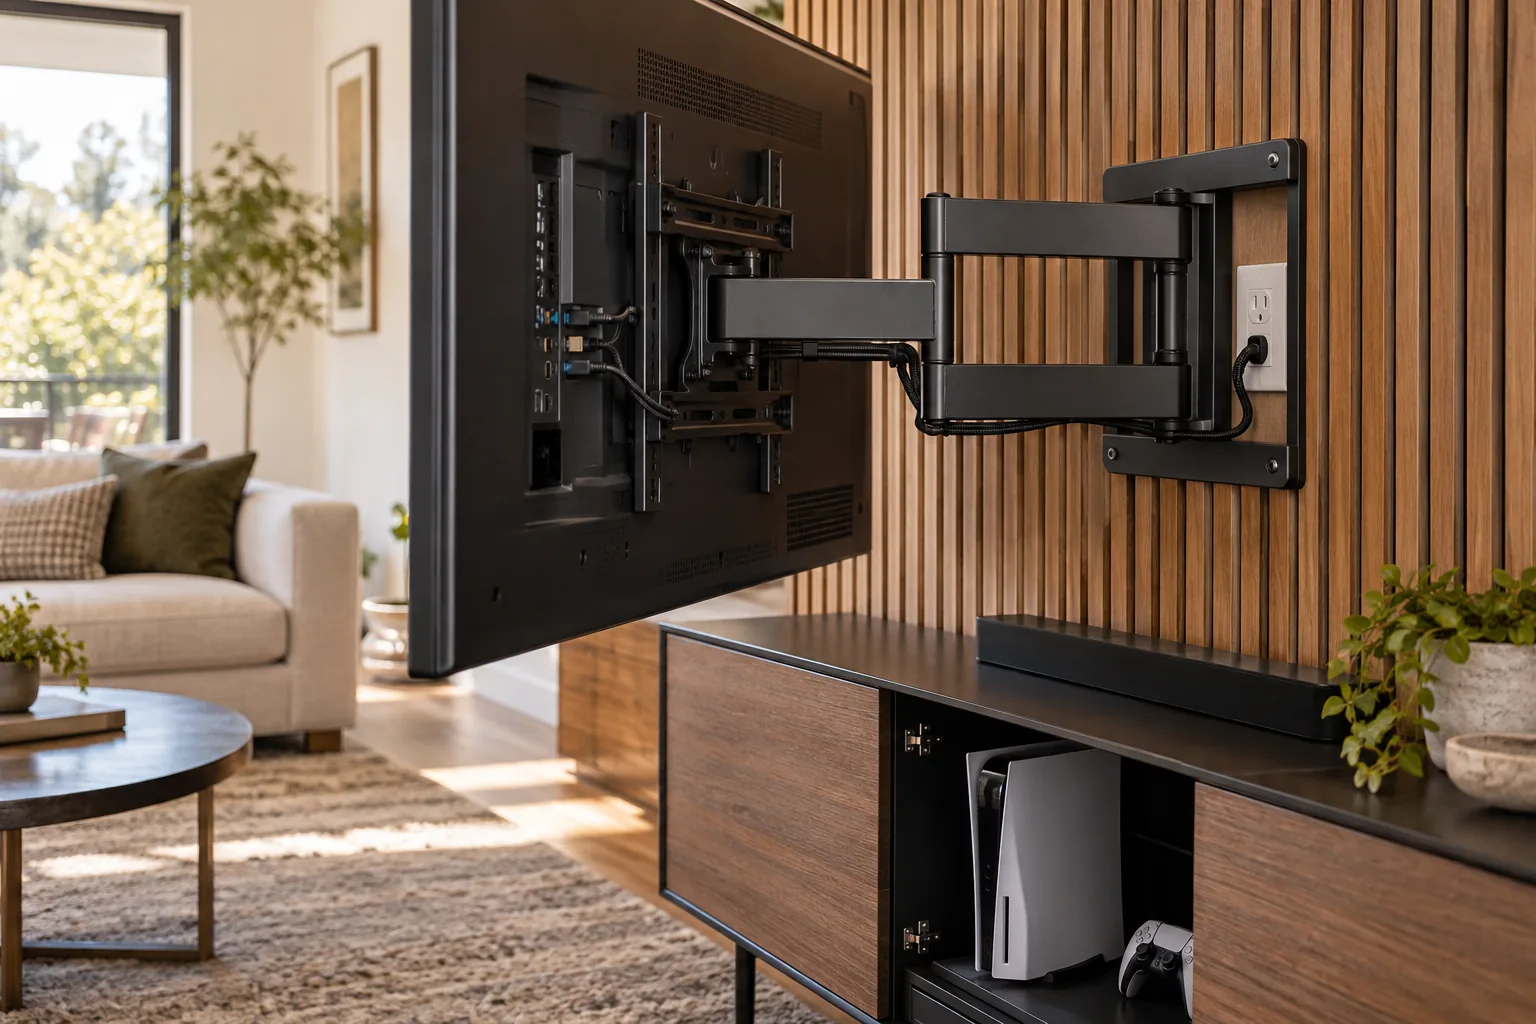
Trace the proposed cord path on the wall layout, including the point where cables enter or emerge and any access opening the carpenter needs to leave. Concealing everything gives a quieter face to the wall, but a sealed-off connection point makes routine changes harder. Coordinate cable slack and clearance with the mount installer wherever the screen moves; coordinate power and permitted routing with the electrician. The carpenter can plan a neat decorative opening around those decisions, not decide electrical routes by cutting a convenient slot.
Finish the slat field at baseboards, casing, and exposed edges
For the decorative portion of the project, see SuncoastTrim’s custom feature walls.
Draw the slat field’s outside boundaries before calculating material. A clean exposed panel edge can make the treatment read as a contained feature on one wall. Carrying the slats around an outside corner or into adjacent trim creates a more continuous look, but the return and its finish need to be drawn and measured. Panel thickness, slat direction, spacing, and the chosen edge treatment all affect what that boundary looks like from the room.
At the floor, decide whether the slats stop above the existing baseboard, meet it at a deliberate line, or are part of a revised baseboard transition. At a door or window, leave the casing with an intentional reveal rather than letting the last slat crowd it. Note any outside corner, wall termination, or change in trim profile on the layout; each is a visible finish decision, not just a measurement.
Finally, view the bracket opening and cable access as part of the pattern. Agree on slat direction and spacing, how cut ends will be finished, and whether the openings will be visible when the TV is in use. Measure and order for the agreed boundaries and cuts, following the chosen panel system’s instructions for its components and quantities.
Approve the layout and prepare for a trim quote
Before anyone orders slats, approve one marked-up wall view:
- TV and mount models, screen outline, and viewing height.
- Bracket footprint, attachment plan confirmed by the mount installer, and any area kept clear of slats.
- Panel thickness, slat direction and spacing, and clearance for the screen’s intended movement.
- Electrician-coordinated outlet positions; equipment locations, cord path, and reachable connections.
- Any access opening, the field’s outer edges, and transitions at baseboards, casing, and corners.
For a trim quote, bring wall dimensions and photos that show the full wall and nearby trim, your preferred slat material or finish, and the marked-up layout. Identify decisions still awaiting the installer or electrician rather than treating them as settled dimensions. Suncoast Trim’s estimate page invites project details and photos and notes that site conditions, materials, and finish choices affect an estimate.
Set the layout, then order the slats
The best next step is a single layout everyone can work from. Let the mount installer settle attachment and movement, the electrician settle power, and the finish carpenter resolve openings and trim transitions. Once those decisions agree on paper, the slat field can be measured and ordered for the wall you actually plan to build.
Frequently Asked Questions
What if I may replace the TV after the slat wall is finished?
Keep the bracket and cable connections reachable where possible. A replacement TV or mount may have different attachment, connector, ventilation, or movement requirements, so have the installer check it against the finished layout before making the swap.
Could the bracket opening show when I pull out a full-motion TV?
Yes. Check the opening with the screen both parked and in the positions you expect to use, then decide with the carpenter how its edges and cut slat ends should look when exposed.
Can I start a trim estimate while the outlet location is still undecided?
Yes. Bring rough wall dimensions, photos of the full wall and nearby trim, and a marked-up layout that labels the outlet as pending. Have the electrician settle its position before the carpenter finalizes openings or material quantities.