


You can often plan new window trim with existing blinds or shutters in place, but choose the casing only after you know where the treatments mount and how they move. A casing swap that leaves brackets and operating space untouched is different from a thicker profile, a shifted trim edge, or a new stool that changes clearance. Before requesting a quote, photograph the hardware and run each treatment through its normal range. That gives a finish carpenter a useful starting point without requiring you to take anything apart.
Start With Where the Treatment Is Mounted
Start by finding the mounting brackets and their screws. An inside-mounted blind has its headrail within the window opening, with brackets fastened inside the recess. An outside-mounted treatment sits in front of the opening; its brackets may be fastened to the wall or to the existing casing. Look at where the screws actually enter, rather than judging the mount by how much of the window the blind covers.
The distinction changes the trim plan. With an inside mount, a new casing edge or return could intrude into the space occupied by a bracket or headrail. With an outside mount, removing the old casing could also remove the surface that holds a bracket. Even if the new casing will cover the same area, a different thickness or fastening position may put the headrail closer to the trim. Photograph both ends of the headrail and the fasteners while everything is still fitted.
Check What the New Casing Would Change
Two dimensions matter here. Usable jamb depth is the unobstructed space available within the opening for an inside-mounted treatment. Casing projection is how far the proposed trim stands proud of the surrounding wall or adjacent return. A blind can have enough room for its existing brackets yet still meet a newly projecting trim edge when its headrail, slats, or controls move.
Compare the proposed profile with the old casing at the top and both sides, not just on a sample laid flat. If the replacement occupies roughly the same position and leaves the brackets accessible, it may be primarily a cosmetic change. If it moves an edge inward, covers screws, or projects farther into the treatment’s path, decide whether the casing profile or the mounting arrangement needs to change before ordering trim. Depth requirements depend on the treatment and its bracket configuration; use the instructions for your own make and model rather than a single clearance number. LEVOLOR’s custom wood-blind installation guide, for example, gives requirements for the configurations covered by that guide, not for every blind.
For an inside-mounted shutter, also account for the depth of its frame and anything already occupying the recess. Handles, locks, or other obstructions can reduce the space available for the shutter. Use the instructions for your installed shutter model to determine its mounting and clearance requirements.
Follow the Full Swing of Existing Shutters
For window casing around existing shutters, distinguish the fixed shutter frame from the hinged panels and moving louvers. A profile can look clear beside a closed frame but catch a panel edge as it opens, restrict the hinge area, or crowd a louver near the return. The opening path matters as much as the space visible when the shutters are closed.
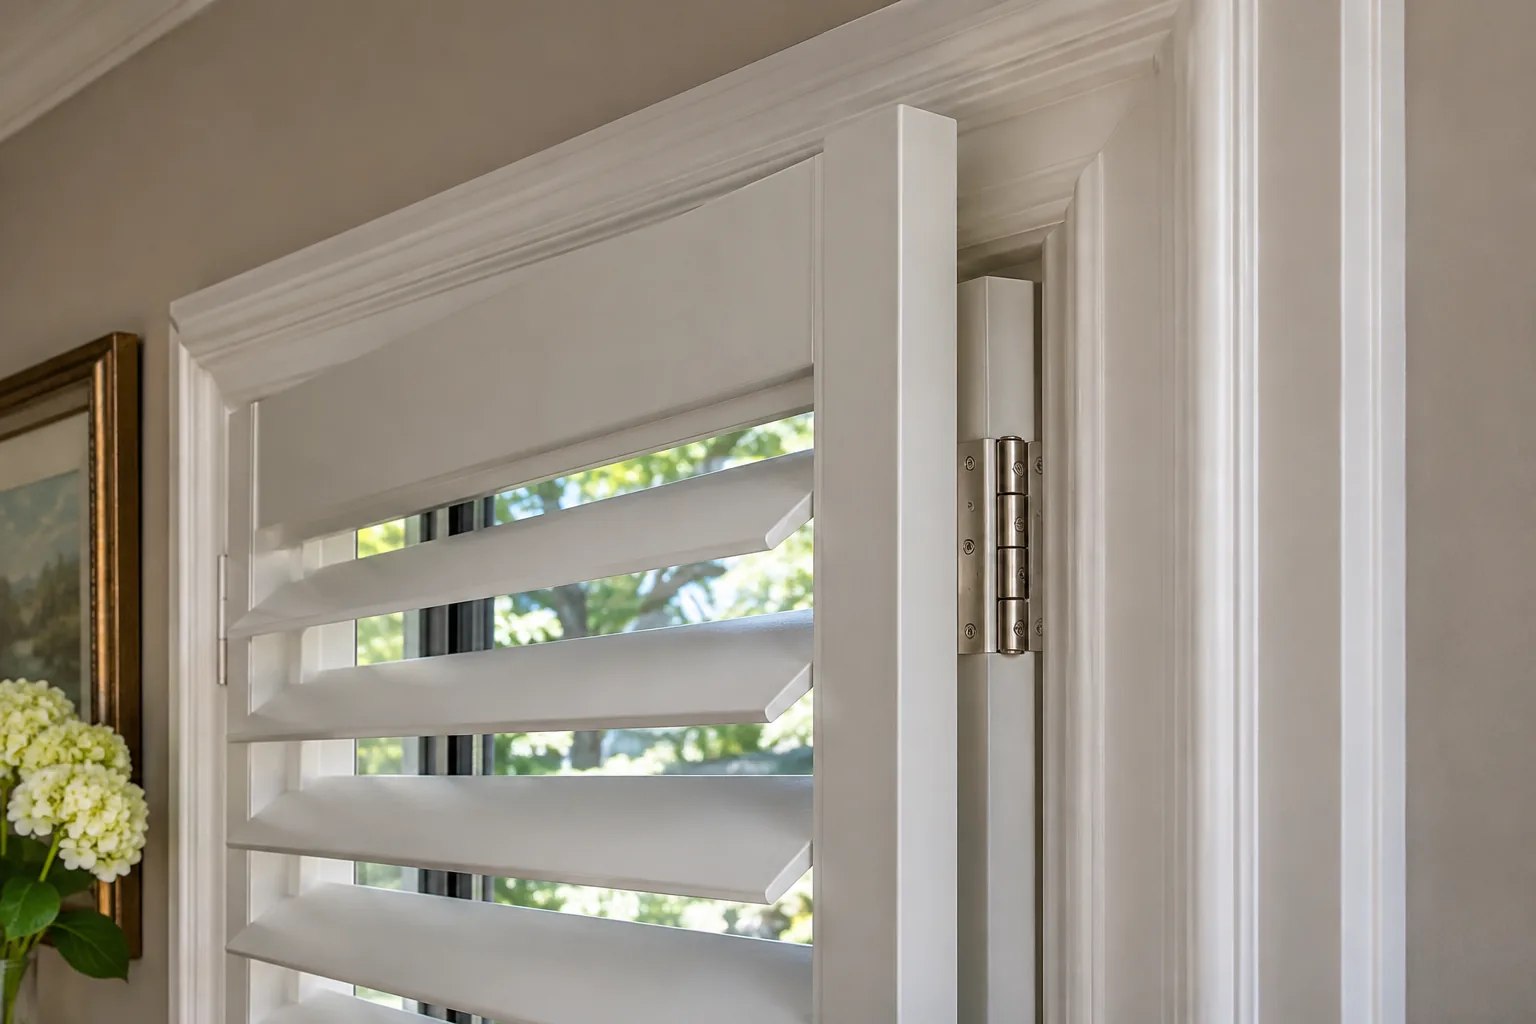
Open each panel through its normal range and operate the louvers. Note any point where a panel or louver already comes close to the casing, wall, handle, or stool, then compare that path with the proposed trim. Shutter hardware and clearances vary by system: Hunter Douglas’s Palm Beach Shutters instructions identify movement-clearance considerations for specific configurations. Use the instructions for your installed shutters when a proposed casing or return changes that space.
Look Below the Window and Test the Controls
Check the bottom of the window separately from the top and side casing. If the project includes a new stool, compare its height and projection with the blind’s bottom rail at full travel and with the lower edge of any shutter assembly. The apron below the stool may also change where a hand can reach a control. Don’t assume that a blind which looks clear while raised will clear a changed stool when lowered.

Operate the controls you actually have, such as a wand, cord, cordless bottom rail, or shutter tilt control, and check window locks and handles too. Note where your hand needs to go and whether the proposed trim would block that route. Keep the existing treatment fitted for these checks; the point is to record how it works now, not to adjust its hardware before the trim plan is settled.
Prepare a Pre-Quote Checklist Without Taking Anything Apart
Make one set of notes for each window, even when the treatments appear identical. Share the following with the finish carpenter before settling on a casing profile:
- Wide photos: Show the entire window and surrounding wall, including the top, both sides, stool, and apron. Take views with the treatment closed and open so its travel is visible.
- Hardware close-ups: Photograph each bracket, visible screw location, headrail end, and the point where the hardware meets the jamb, wall, or existing casing. Include a side-angle view that shows how far the casing projects.
- Movement close-ups: For shutters, show the fixed frame, hinges, panels at their usual open position, and any tight spot in the panel or louver path. For blinds, show the fully lowered bottom rail, stool, and controls. Mark any existing rubbing or contact point.
- Measurements: Record the opening’s width and height, visible jamb depth at the top and sides, existing casing width and projection, and the bracket locations relative to the opening and trim edges. If you have a preferred casing sample or profile, record its dimensions and show where you want its inside edge to sit. Note any handle, crank, or other obstruction in the recess.
- Treatment details: Note the make and model if you can identify them. Check that treatment’s instructions for its mounting-depth, bracket-placement, and operating-clearance requirements; keep those requirements with your window notes.
Before trim is ordered, answer two practical questions: Must the existing brackets remain exactly where they are, and does the chosen casing leave room to reach and operate the treatment? If not, decide whether to revise the profile or arrange a treatment change. Also agree on who will arrange any treatment removal and refitting, rather than assuming those tasks are part of the trim work. You can prepare the photos and measurements without loosening a bracket.
Choose the Trim Profile, Then Request a Trim Quote
Once you have a preferred profile and notes on the existing mounts, you’re ready to discuss the interior window casing. For door and window trim work in Sarasota County, send your project details, photos, and approximate dimensions through the estimate request page. Include the treatment notes with your trim request, and settle responsibility for any removal and refitting before work is scheduled.
Frequently Asked Questions
Could a new window stool interfere with a blind even if the blind clears it when fully lowered?
Yes. Check the bottom rail’s entire path, not just where it rests. For example, LEVOLOR’s instructions for its cordless metal blinds call for pulling the rail beyond the sill when lowering an inside-mounted blind; follow the instructions for your own model.
Can I request a trim estimate before I have final casing measurements?
Yes. Suncoast Trim’s estimate request accepts project details, photos, and approximate dimensions. Include photos of the treatment hardware and any tight spots, since an on-site review may be needed for a complete estimate.