
Bathroom trim has a tougher job in Florida bathrooms than it does in most other rooms. Steam from showers, condensation on cooler surfaces, sink splashes, damp towels, and repeated wet-dry cycles all push moisture toward the same weak spots: cut ends, nail holes, floor gaps, and old caulk lines. That is why trim that looks fine in a hallway can start swelling, cupping, or showing peeling paint once it is installed beside a tub or vanity.
The best bathroom trim upgrades are not only about choosing a prettier profile. They start with matching the trim to the moisture level of the area. A baseboard near a shower or toilet has a different job than casing around a higher, drier doorway. The wetter the zone, the more the material, primer, paint, and caulk matter.
Moisture-resistant trim means material that is less likely to absorb water, swell at the edges, or lose paint adhesion when exposed to bathroom moisture. PVC is a synthetic trim option that does not behave like wood fiber when splashed; well-sealed wood can work in lower-risk spots because primer and paint help block moisture; unsealed MDF is weaker in wet zones because its compressed fibers can swell once water reaches a cut edge or damaged coating.
Finishing details decide whether even a good material lasts. Sealed edges help protect vulnerable cuts, durable trim paint sheds moisture better than ordinary flat wall paint, and intact caulk keeps water from slipping behind the trim. This guide stays focused on bathroom trim specifically, because Florida humidity trim decisions are really wet-zone decisions, not whole-home decorating choices.
Start by Matching Trim to the Bathroom’s Wettest Areas
A useful way to plan bathroom trim upgrades is to draw an invisible moisture map before choosing a profile. The strictest choices belong low on the wall and close to water: bathroom baseboards beside a tub, trim near a shower opening, casing that sits next to a wet tile edge, and toe-kick or side trim on a vanity where sink drips and cleaning water tend to land.
Those areas deal with more than general humidity. They can get direct splashes, damp towels brushing against them, water tracked across the floor, and moisture sitting against caulk lines. That is where water-resistant materials make the biggest difference, because unsealed MDF and other absorbent fiber-based trim are more likely to swell or lose their painted finish once water reaches an edge or joint.
Middle-risk spots include vanity trim, short wall returns near the toilet, and lower door casing in a bathroom used for daily showers. These pieces may not be soaked every day, but they are close enough to splash zones that the material and finish should still be chosen with moisture in mind.
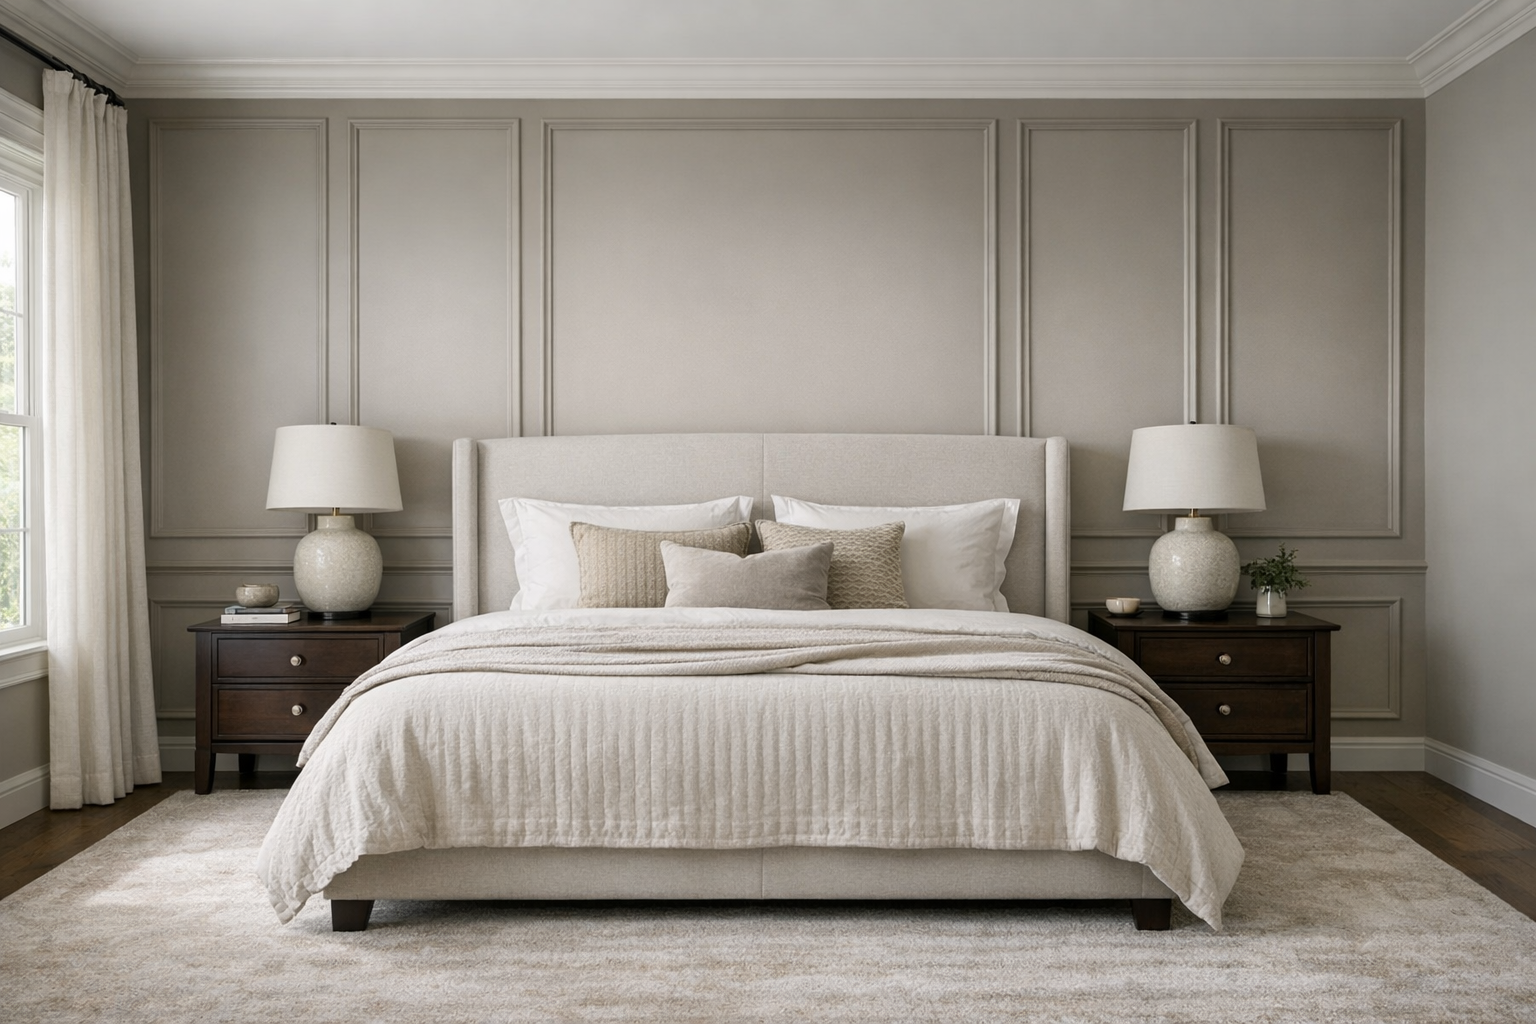
Lower-risk trim is usually higher, farther from plumbing, or shielded from splash. Upper window casing, crown molding, and door trim on the dry side of the room mainly face humid air rather than repeated direct water. In those locations, well-primed and well-painted wood or composite can be reasonable, while the wettest floor-level pieces deserve the tougher material first.
The takeaway is simple: do not buy every piece of bathroom casing, baseboard, and decorative trim by the same standard. Spend the moisture resistance where failure usually starts, then use lower-risk materials only where the trim rarely gets wet.
Compare the Best Bathroom Trim Materials for Humid Conditions
Once the bathroom is sorted by exposure, the material choice gets easier: use the least absorbent trim where water is most likely to touch it, and save more moisture-sensitive options for drier runs. For Florida bathrooms, that usually puts cellular PVC and moisture-resistant composite trim at the top of the list for splash-prone baseboards, vanity-adjacent pieces, and lower casing.
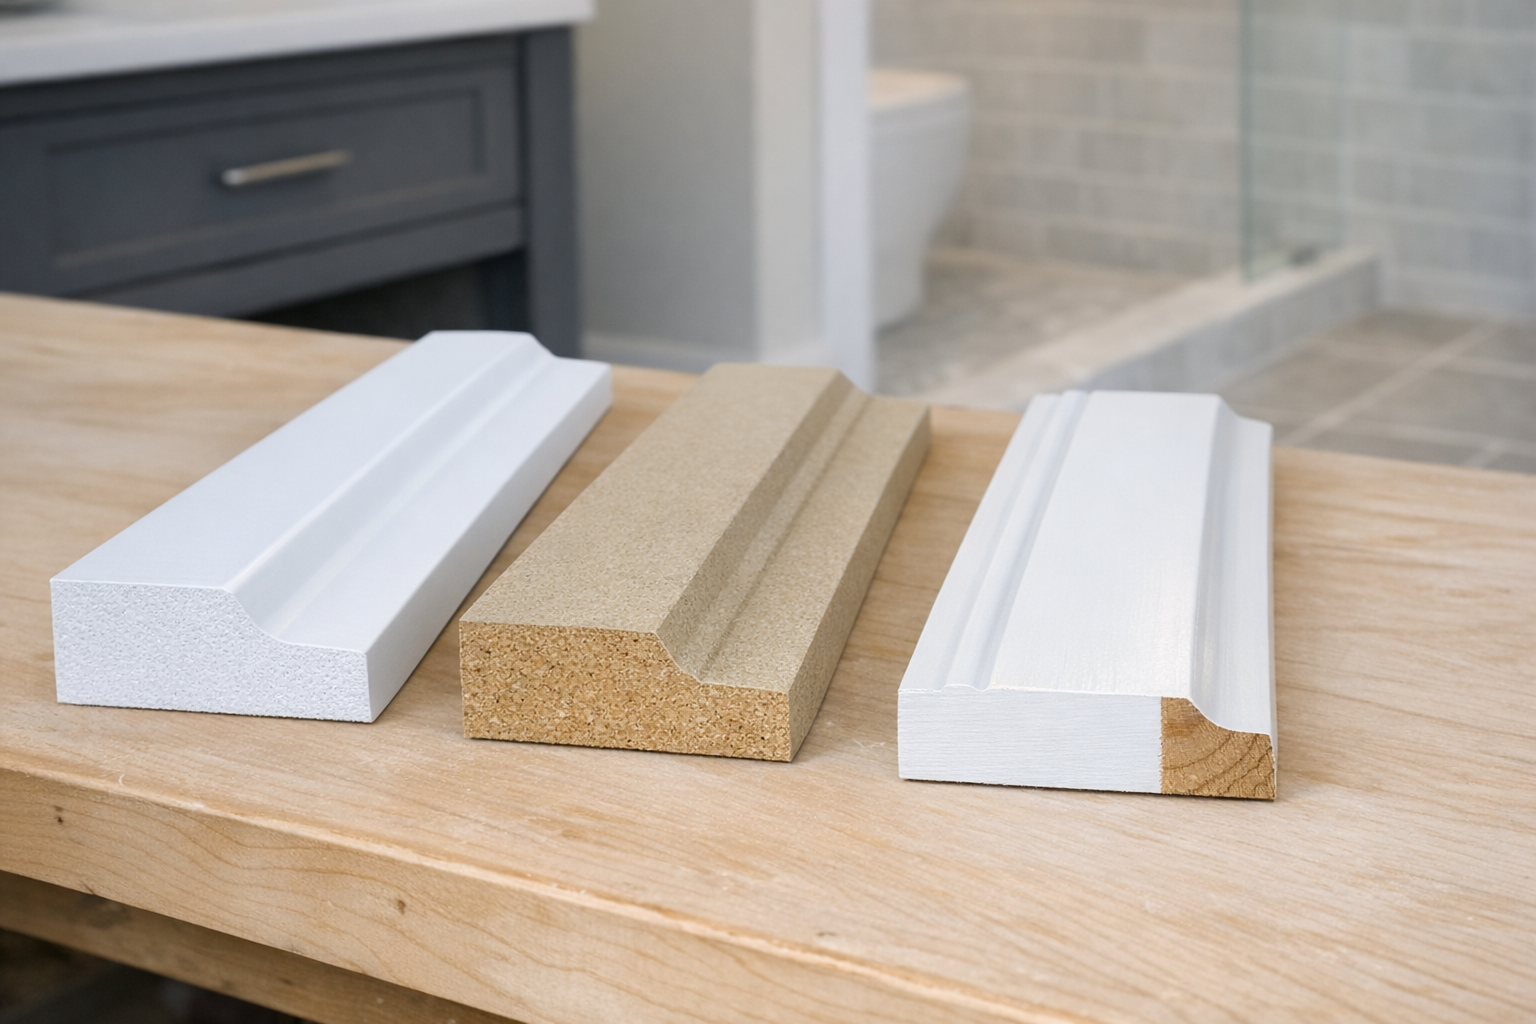
- Cellular PVC: This is a synthetic trim board rather than wood fiber, so it is a strong pick where ordinary trim would absorb splash water. A PVC trim bathroom upgrade makes the most sense near tubs, shower openings, toilets, and vanities because those are the areas where swelling at the bottom edge can ruin the look first. The tradeoffs are appearance and movement: PVC can look slightly less like painted wood on close inspection, and long runs need thoughtful joints because trim materials still respond to bathroom conditions. It also needs the right paint approach so the finish bonds well instead of peeling prematurely.
- Moisture-resistant composite trim: Composite trim is made from engineered materials rather than a single solid wood board, and bathroom-rated versions are meant to handle damp conditions better than standard interior MDF. It is a good middle ground when you want crisp profiles, paint-grade appearance, and better moisture performance than basic fiberboard. It still depends on sealed cuts, filled nail holes, quality paint, and sound caulk lines, so treat it as moisture-resistant trim, not as permission to ignore finishing details.
- Solid wood: Solid wood can look excellent in a bathroom, especially for stained or higher-end painted casing, but it needs more protection. In humid rooms, wood can move with moisture changes, and exposed end grain is a weak spot if it is not sealed. Use it more confidently on lower-risk casing, upper trim, or decorative pieces away from direct splash. If it is used near wet areas, the practical takeaway is simple: all faces, cut ends, nail holes, and joints matter because paint and caulk are part of the moisture defense.
- Finger-jointed wood: Finger-jointed trim is made from shorter wood pieces joined together, usually for paint-grade work. It can be straighter and more affordable than clear solid wood, but the joints and cut ends still need protection in a bathroom. It is better suited to casing and drier wall areas than to baseboards beside a tub or shower, where repeated wetting can challenge the finish and seams.
- Standard MDF: MDF gives a smooth painted look and is common in interior trim, but standard MDF is the risky choice in damp bathrooms because water can enter cut edges, nail holes, or failed caulk lines and cause swelling. If MDF is used at all, keep it out of splash-prone zones and choose a product specifically intended for moisture exposure. Unsealed MDF near a tub, shower, sink, or damp floor is the weak signal to avoid.
For most bathroom trim upgrades, the best material is not the same in every spot. Choose PVC or moisture-resistant composite where water collects or splashes, consider solid wood or finger-jointed wood in drier locations when you want a traditional painted profile, and be cautious with standard MDF unless the room and location are genuinely low-risk. The cost question should be weighed against failure risk: a cheaper board is not much of a savings if it swells, dents, or loses paint where the bathroom gets wet most often.
Upgrade Bathroom Baseboards Where Water Collects First
The first baseboard run to upgrade is usually the one your mop, wet feet, toilet condensation, and vanity drips keep finding. Floor-level trim sits where water naturally settles, so bathroom baseboards deserve stricter material choices than upper wall trim or decorative pieces that rarely get splashed.
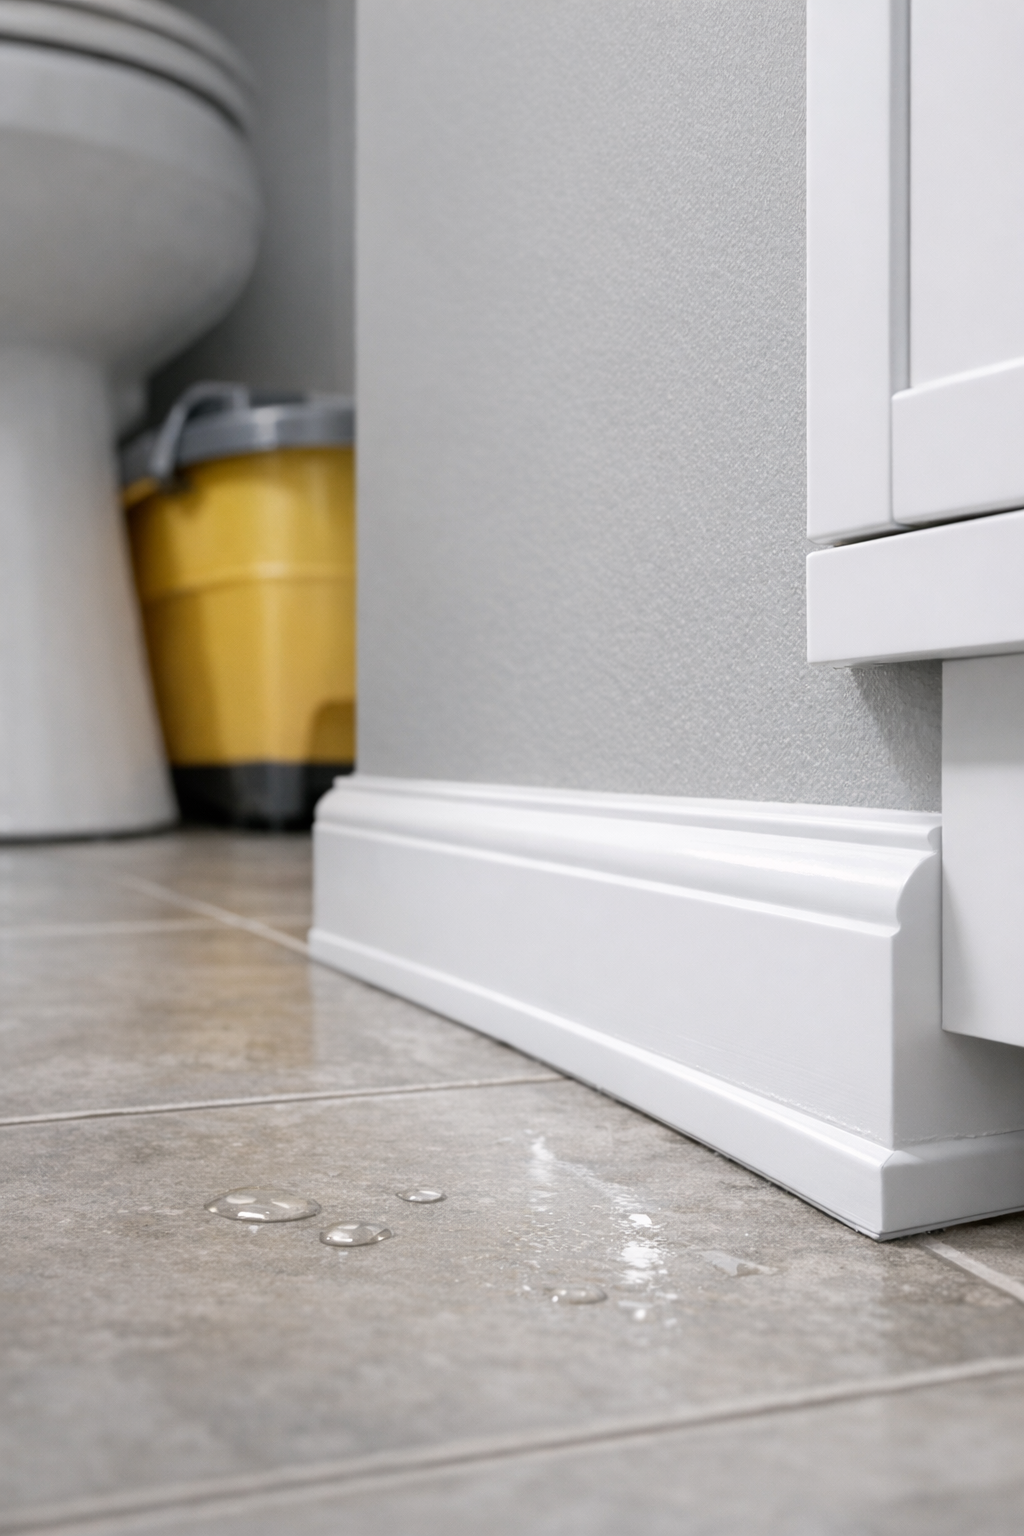
In a daily-use Florida bathroom, PVC or a moisture-resistant composite is the safer baseboard choice near tile floors, tubs, shower openings, toilets, and vanities. PVC trim bathroom applications work well at floor level because the board itself does not behave like standard wood fiber when it gets damp, while bathroom-rated composite gives a painted-trim look with better wet-zone performance than unsealed MDF. The practical takeaway: use the more water-resistant material where the bottom edge is likely to be tested often.
Profile matters, too. A taller baseboard can make the room feel more finished and can cover minor wall unevenness above the floor, but it should still have a simple shape in a bathroom. Smooth faces, shallow curves, and fewer grooves are easier to wipe down and easier to keep neatly painted and caulked than ornate profiles with dust-catching ledges and tight inside corners.
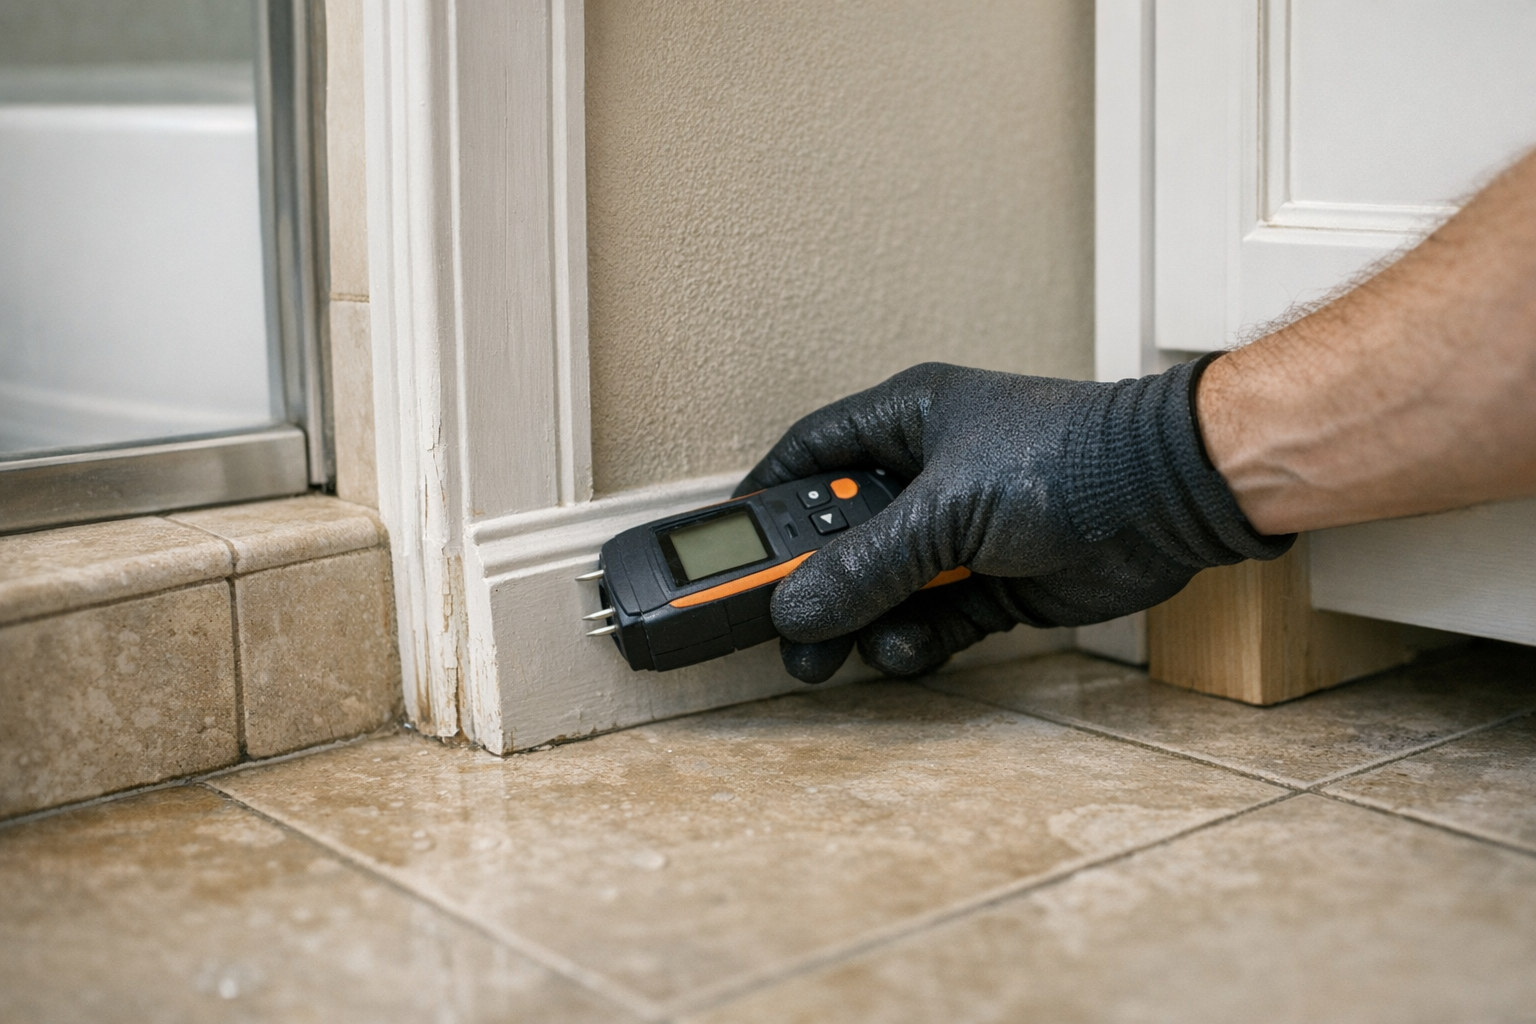
Unsealed MDF is the weak choice for baseboards beside tile floors or tub edges because moisture can enter through cut ends, nail holes, and failed paint or caulk lines. Once water reaches those vulnerable spots, the board can swell at the bottom or telegraph a fuzzy, raised edge through the paint. If MDF is already in place and you see bubbling paint, soft corners, or a baseboard that no longer sits flat, that is a strong signal to replace it with moisture-resistant trim rather than simply repainting the same problem.
Choose Casing, Beadboard, and Vanity Trim Based on Splash Exposure
Above the floor, the trim choices get more flexible, but splash exposure still decides how strict you should be. Door and window casing is the frame trim around an opening, and it usually has an easier life than baseboards because it sits higher and does not collect mop water. Standard painted wood or a moisture-resistant composite can work on a dry doorway, while lower legs of bathroom casing near a shower opening, tub edge, or wet tile transition deserve PVC or a better-sealed composite because those spots get repeated splash and damp-air exposure.
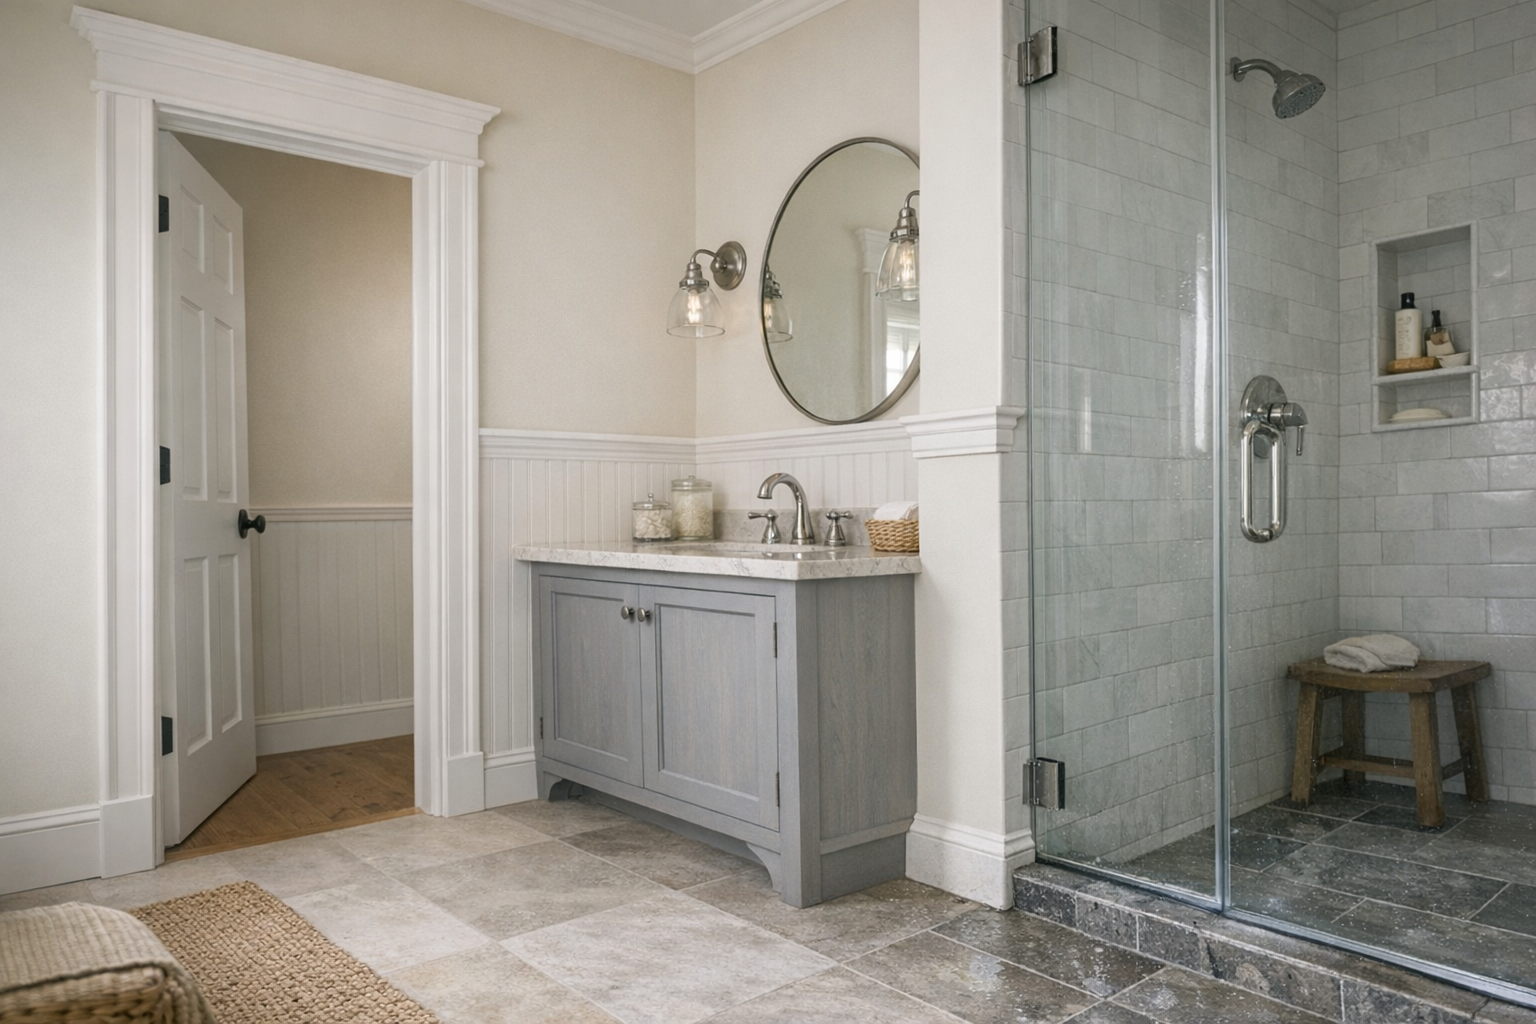
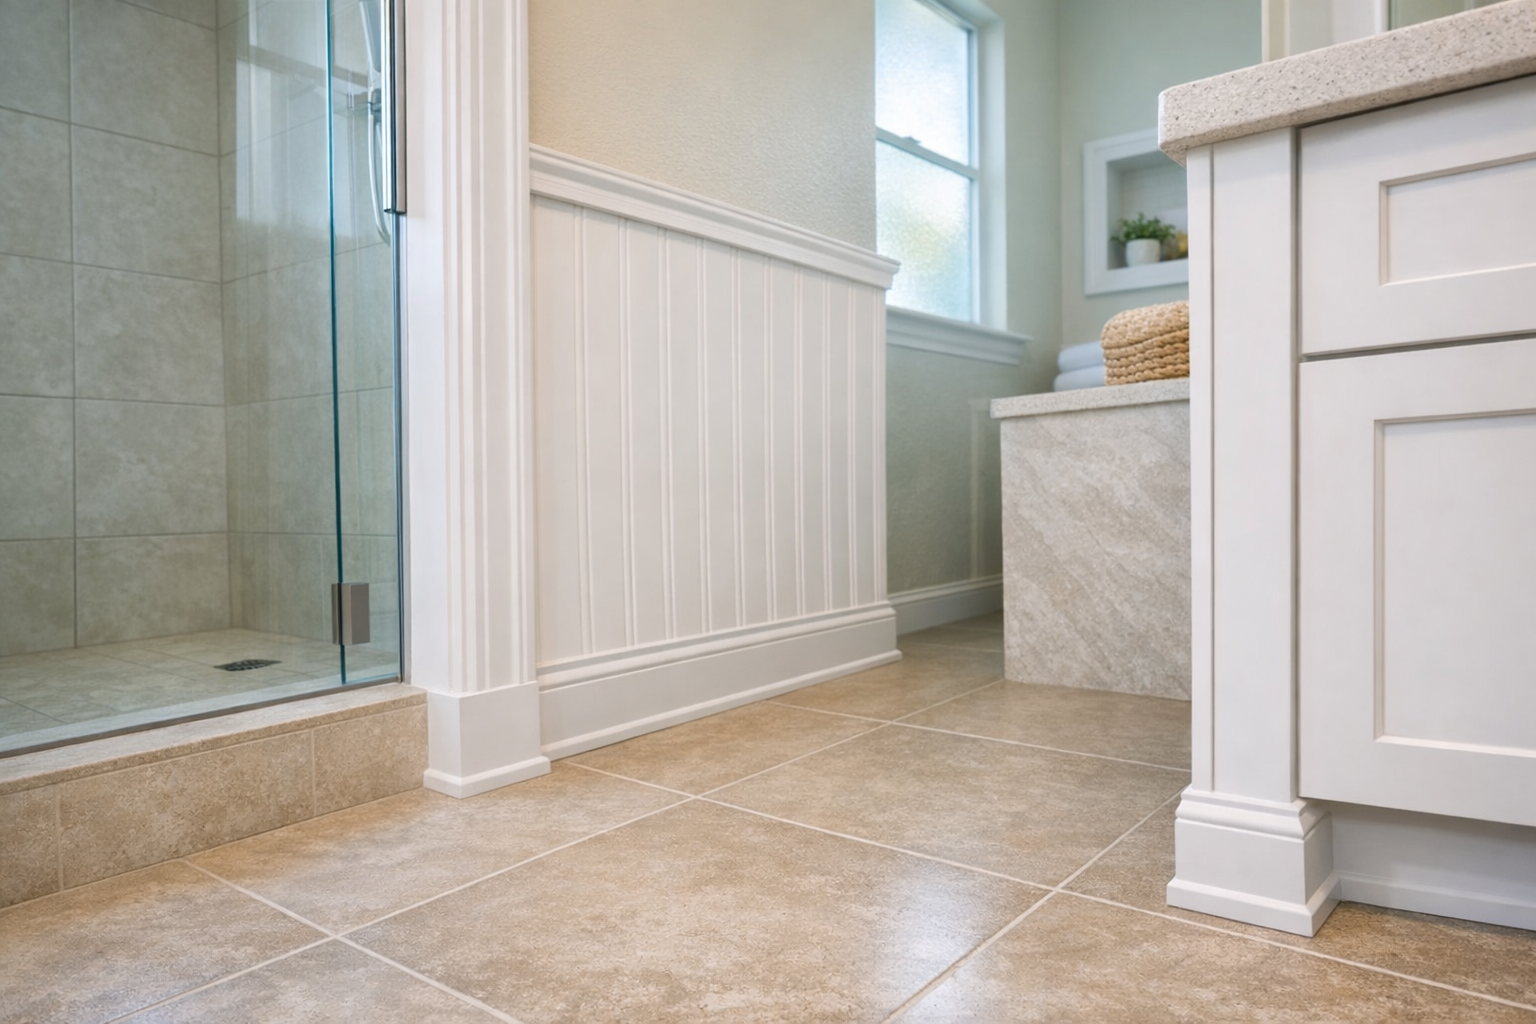
Bathroom beadboard is a bigger commitment because it adds many edges, seams, grooves, and a bottom rail to the wall. It can look great in a powder room or on a dry vanity wall, but it becomes a moisture problem when raw panel edges sit close to the floor or when deep grooves trap water and soap residue. A sealed beadboard panel system with fewer open seams is generally easier to protect than individual narrow boards with many joints, especially in a bathroom that sees daily showers.
The weak signal to avoid is beadboard or wainscoting that ends with an exposed fiberboard edge just above tile, vinyl, or a tub-adjacent floor. Once moisture gets into that edge, swelling and paint ridges can show up even if the face still looks painted. A stronger setup keeps vulnerable edges covered by a properly sealed bottom rail, uses PVC or moisture-resistant composite in splash-prone areas, and avoids placing detailed grooved panels where shower spray or wet towels regularly hit the wall.
Vanity trim has its own risk pattern. Face-frame add-ons, side panels, toe-kick details, and small molding pieces around a vanity are close to sink splashes, toothpaste drips, handwashing runoff, and cleaning water. PVC is a good choice for trim that touches the floor or sits beside the sink cabinet, while properly sealed wood or composite can work better on drier decorative pieces higher on the vanity. Unsealed MDF is the weaker choice near the sink because cut edges and nail holes are exactly where moisture tends to sneak in.
Use Primer, Sealed Edges, and Durable Bathroom Trim Paint
The finish is where many otherwise smart trim choices either get protected or left vulnerable. Primer is not just "paint before paint"; it is the bonding and sealing layer that helps the topcoat grip and helps slow moisture from reaching raw edges, nail holes, and porous surfaces. That matters in Florida bathrooms because trim performance depends on the material plus the sealing, paint, and caulk details around it.
Cut ends deserve extra attention because they expose the inside of the trim, not the smoother factory face. On MDF, that exposed edge is the danger zone because unsealed fiberboard is a weak choice in wet bathroom areas and can swell once moisture gets in. Wood and finger-jointed trim also benefit from sealed cuts because end grain is more absorbent than the face. PVC is less absorbent, but it still needs the right surface prep so paint bonds instead of peeling from a slick surface.
For bathroom trim paint, think in terms of cleanability and condensation resistance. A satin enamel gives trim a smoother, tougher finish than flat wall paint while keeping the shine modest. Semi-gloss paint is glossier and usually easier to wipe down, which can make sense on baseboards, vanity trim, and casing that gets touched or cleaned often. The tradeoff is that higher sheen can highlight dents, nail fills, and uneven sanding more clearly.
Good prep also means filling nail holes before the finish coat, sealing exposed backs where practical, and treating composite and PVC as product-specific surfaces rather than assuming every primer sticks to everything. A strong signal is trim with sealed cuts, smooth filled fastener spots, and an enamel finish made for trim. A weak signal is premium material covered with ordinary flat paint over dusty, unprimed, or raw edges.
Pay Attention to Caulk Joints, Floor Gaps, and Moisture Traps
The small lines around the trim are where a clean paint job either stays protected or starts letting moisture sneak in. Caulk joints are flexible sealant lines used where trim meets a wall, another piece of trim, or sometimes the floor. Their job is not to make bathroom baseboards waterproof; it is to close narrow gaps, soften normal movement between surfaces, and reduce the chance that splashes or humid air reach raw edges behind the trim.

The top edge of a baseboard is usually a smart place for caulk because it blocks the shadow gap between the wall and trim. Inside corners, outside returns, casing-to-wall joints, and beadboard cap joints also deserve attention because they create little seams where condensation and cleaning water can sit. A neat, continuous bead is the good signal. Cracked caulk, open pinholes, dark staining, or soft, gummy spots are warning signs that moisture is already getting into the joint.
The baseboard-to-floor joint needs more judgment. Caulking this line can help where a small, even gap along tile or vinyl would otherwise collect splash water, hair, and cleaning residue. But if the tile floor is uneven, the gap is wide, or water regularly stands against the wall, a thick bead can become a moisture trap by holding dampness against the trim instead of letting the area dry. In those spots, better drainage habits, a more moisture-resistant baseboard material, and a cleaner floor transition matter more than simply adding more sealant.
For humid bathrooms, mildew-resistant caulk is the better category to look for around painted trim because these joints live with steam, condensation, and frequent wipe-downs. Even then, ventilation and routine inspection still matter. Run the bath fan long enough to clear damp air, wipe up standing water near the floor, and replace failed caulk before peeling paint or swelling trim turns a small joint problem into a bigger repair.
Practical Trim Upgrade Picks for Florida Bathrooms
Use the bathroom's day-to-day behavior as the final filter. A guest bath that sees a quick handwash is not the same trim challenge as a hall bath with steamy showers, wet towels, and splashy cleanups. The best bathroom trim upgrades put the toughest material where water actually lands, then back it up with sealed edges, durable paint, clean caulk lines, and ventilation.
- For shower-adjacent baseboards, choose PVC or a high-quality moisture-resistant composite. This is the strongest pick because the trim sits low, close to splash zones, and near floor water. Unsealed MDF is the weak choice here because wet-zone exposure can lead to swelling and paint failure.
- For powder rooms, sealed solid wood or moisture-rated composite can be a practical upgrade if the room has no tub or shower. These spaces still need good paint and caulk, but the lower splash risk gives you more flexibility on traditional painted profiles.
- For kids' bathrooms, lean tougher than the room technically requires. PVC baseboards, moisture-resistant trim near the vanity, and washable satin or semi-gloss trim paint are better suited to puddles, toothpaste drips, and frequent wipe-downs than standard MDF with ordinary wall paint.
- For vanity areas, focus on the side panels, toe-kick, and small molding pieces closest to the sink and floor. Moisture-resistant material matters here because water tends to collect at corners and lower edges, while sealed cuts and neat caulk help keep drips from getting behind the trim.
- For decorative wall treatments, use beadboard or wainscoting where the wall can dry easily, and keep the bottom rail well finished. More seams and grooves mean more places for moisture to sit, so the upgrade works best when the material, primer, paint, and caulk are all chosen as one system.
A simple Florida humidity trim rule is this: the closer the trim is to standing water, splashes, or shower steam, the less absorbent the material should be. In drier spots, appearance and profile can carry more weight, as long as the edges are sealed and the finish can handle bathroom moisture.
Choose Bathroom Trim That Matches the Moisture Risk
If you are deciding where to spend first, look for the pieces that would be hardest to keep dry during a normal week. Moisture risk is the practical sorting tool: it means how often a trim piece sees splashes, steam, floor water, cleaning water, or damp joints. The higher that risk is, the more the material, primer, paint, sealed edges, and caulk all need to work together.

That is why PVC trim bathroom choices and moisture-resistant composites make the most sense near floors, tubs, showers, sinks, and splash-prone walls. They are better suited to wet zones than unsealed MDF, which is more vulnerable when moisture reaches cut edges, nail holes, or weak paint. In lower-risk areas, such as drier casing or decorative upper trim, appearance can matter more as long as the finish is still built for bathroom conditions.
The best bathroom trim upgrades are not just new profiles; they are better moisture decisions. Start with the bathroom baseboards and other low, wet pieces, then move to vanity trim, casing, beadboard, and finishing details. Rank the room by moisture exposure first, then choose the trim material, primer, paint sheen, edge sealing, and caulk joints to match that risk.