
An open-concept room usually wins on light, movement, and long sightlines, but that same openness can make the space feel a little unfinished. When fewer walls interrupt the view, the eye has fewer stopping points. The kitchen, dining area, entry, and living room may all be easy to see at once, yet the boundaries between them can feel blurry.
That is where trim becomes more than a finishing detail. Used well, trim for open concept living spaces creates visual cues instead of physical barriers. A framed transition can suggest, "this is where the dining area begins." A ceiling detail can mark the living room from above. A wall treatment can anchor one zone without blocking the view across the rest of the home.
The best open concept trim ideas tend to work quietly: cased openings define passages, ceiling beams or moulding create overhead structure, column wraps turn posts into intentional features, panel moulding gives a wall purpose, and consistent baseboards and casing keep the whole plan connected. None of these details needs to close off the layout. The goal is to give the room enough architectural definition that each area feels intentional while the home still feels open, bright, and easy to move through.
Think of Trim as the Visual Language of Zones
The useful shift is to stop thinking of trim as decoration added at the end and start thinking of it as a set of visual instructions. In an open plan, interior trim for open floor plans can tell the eye, "pause here," "move through here," or "this area has a different purpose," without asking a wall to do the work.
Rhythm comes from repetition. When baseboards, door casing, and opening trim share a consistent profile, they create a continuous line that ties connected rooms together. That consistency matters because too many unrelated trim styles can make one large space feel patched together instead of intentionally planned.
Hierarchy comes from small changes in scale or placement. A taller casing around the entry, a slightly stronger ceiling detail over the dining table, or a more substantial trim treatment at the kitchen transition can signal importance. The takeaway is not to make every edge louder; it is to let the most meaningful transitions carry more weight.
That is the difference between visual separation and actual room division. Visual separation gives each area a readable boundary while the layout still shares light, views, and movement. Strong open floor plan trim ideas create that gentle definition: the entry feels like an arrival point, the dining area feels centered, and the living area feels settled, but the home still reads as one connected space.
Use Cased Openings to Frame Transitions Without Closing Them Off
A wide passage between two busy areas is often the best place to make trim do more work. Cased opening trim is the casing installed around an open doorway-style passage, but without a door. It is different from a full wall because it does not block views or movement, and it is different from a plain archway because the trim creates a sharper, more deliberate edge around the transition.
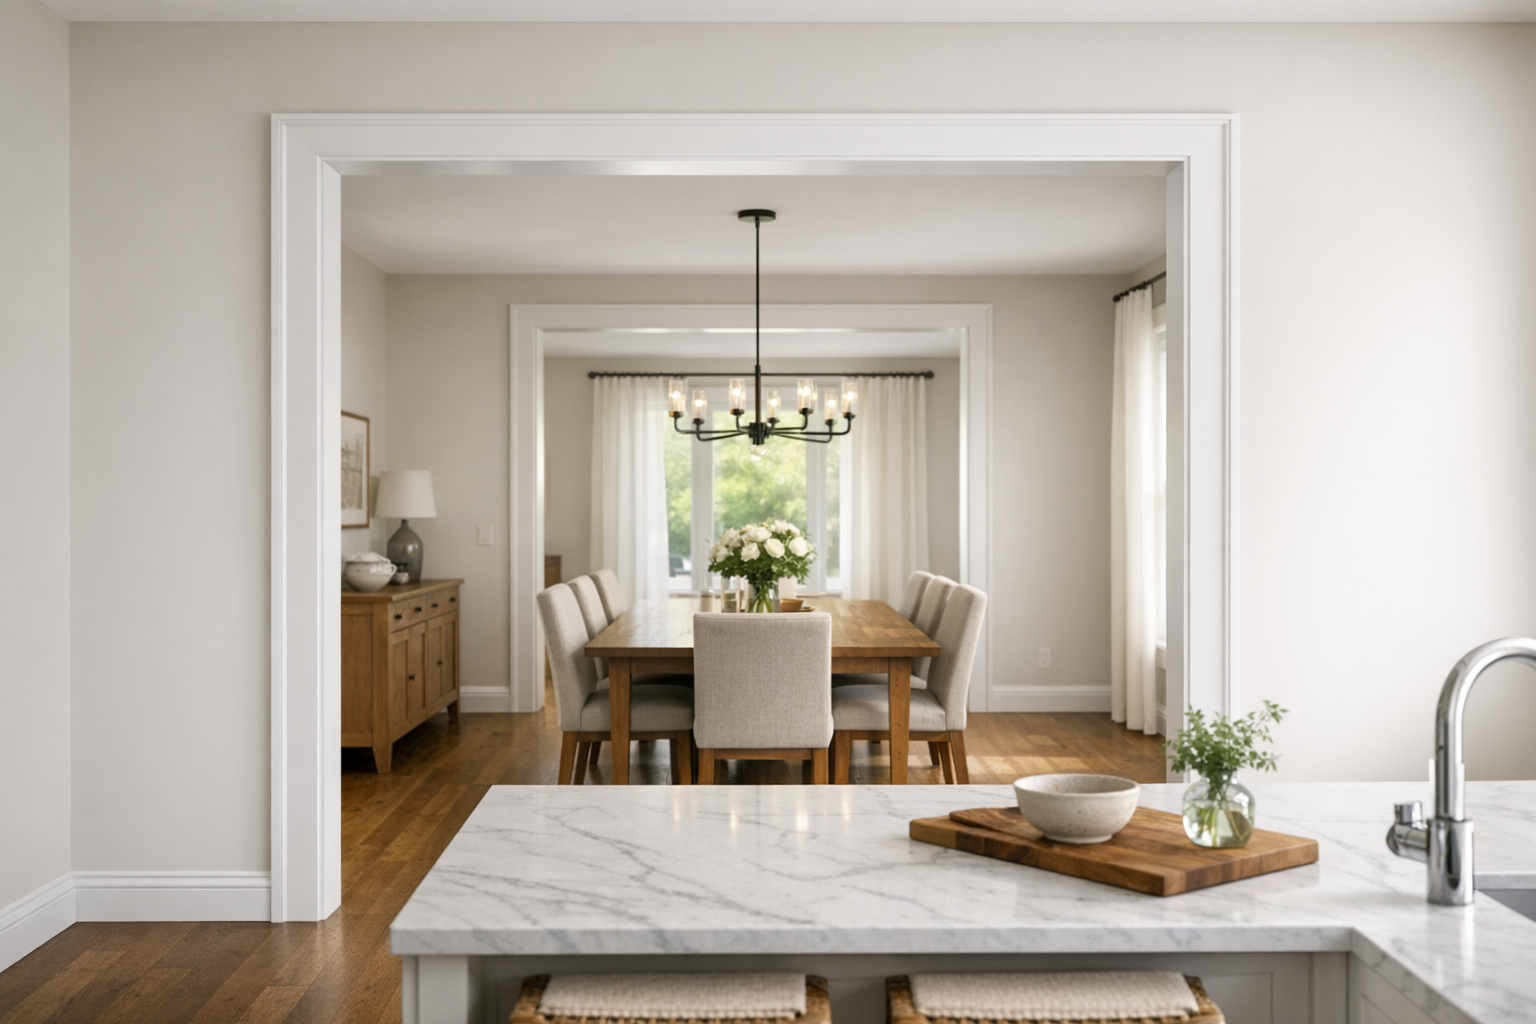
That edge matters because it creates a visual threshold. When you frame a kitchen opening, the eye reads the casing as a boundary: cooking activity belongs on one side, seating or conversation belongs on the other. The same idea works between a dining room and family room, or between an entry and the main living space, where the opening can quietly mark one of the home's most important transition zones.
A strong example would be a wide, squared cased opening between a kitchen and living room, with casing that feels related to the nearby baseboards and window trim. It does not need to be massive; it just needs enough depth, shadow, and proportion to read clearly from across the room. This is one of the most reliable open concept trim ideas because it defines the passage while still keeping the rooms visually connected.
The weak version is usually a mismatch of scale or style. Very ornate casing can feel forced in a minimal open-concept home, while a narrow opening can make the layout feel chopped up rather than open. Cased opening trim works best when the passage is already broad enough to preserve flow and when the profile feels like a natural step up from the rest of the home's trim, not a completely separate design language.
Define Zones Overhead With Beams, Coffers, or Tray Ceiling Trim
Sometimes the cleanest boundary is above your head. Ceiling trim for open concept rooms is useful because it leaves the floor plan open while giving each activity zone its own "ceiling address." Instead of interrupting traffic with furniture or partitions, the trim changes the plane overhead, creating shadow lines and edges that help the eye understand where one area gathers, passes through, or slows down.
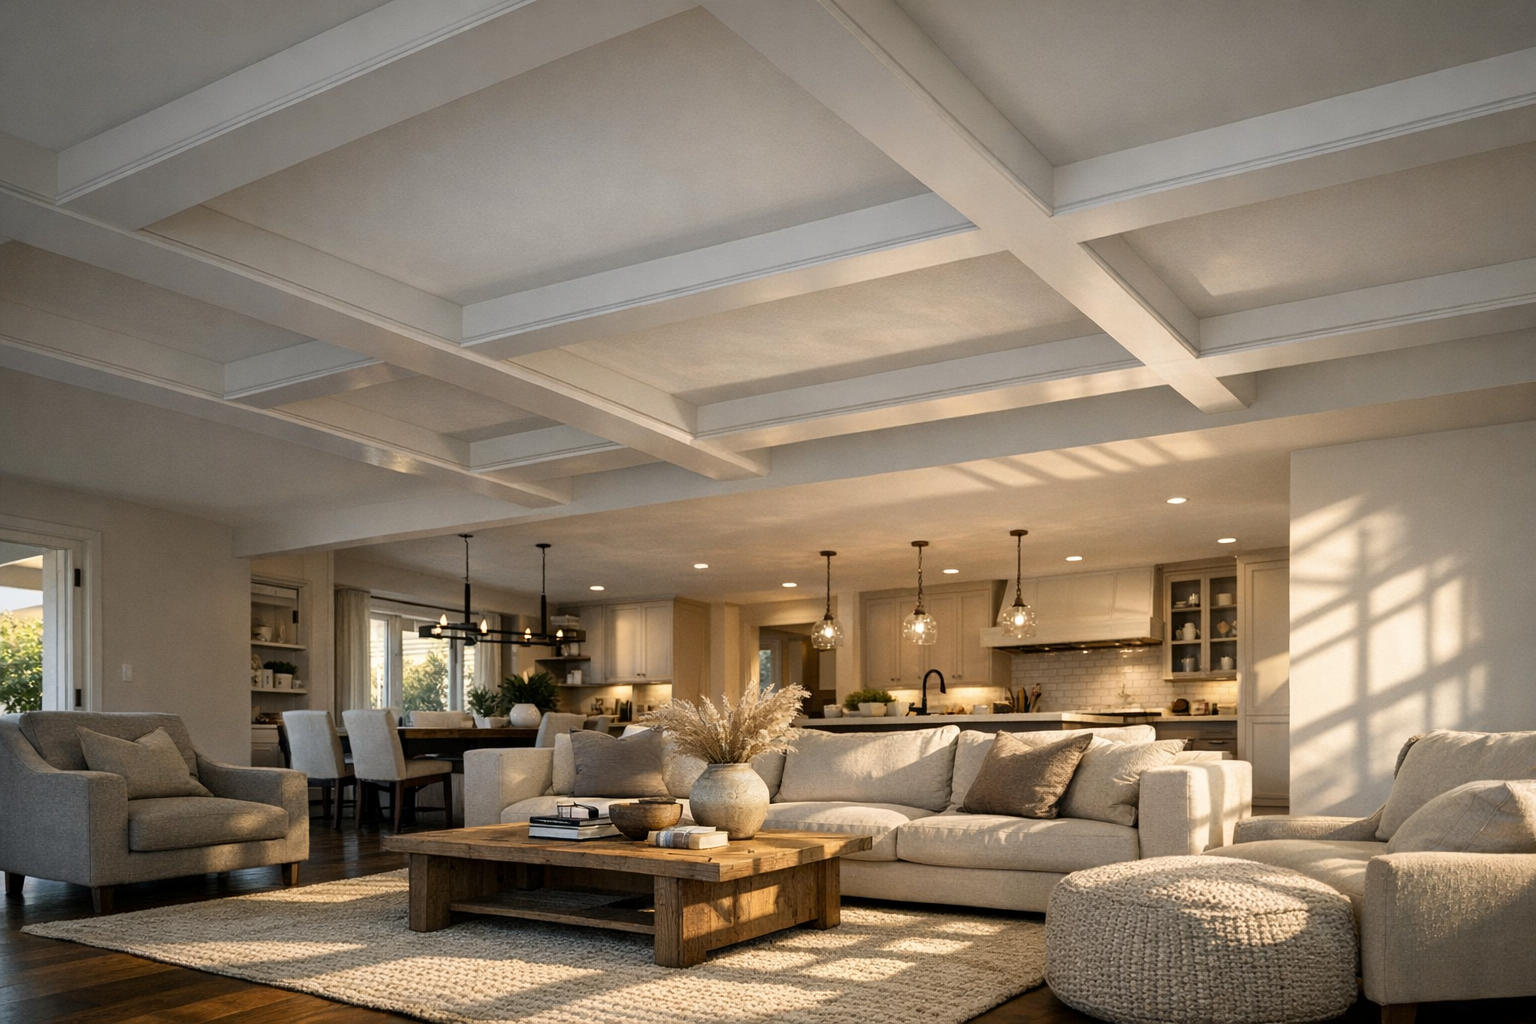
Beams are the most directional option. They can run lengthwise to pull the eye through a long living space, or crosswise to signal a stop point over a kitchen island, dining table, or seating group. A strong use would be aligning beams with the outside edge of a kitchen island so the cooking zone feels framed without being boxed in. A weaker use is scattering beams wherever the ceiling feels empty; if they do not relate to the layout below, they can make the room feel busier rather than clearer.
A coffered ceiling creates a more formal, gridded field. Because the repeated boxes read as a contained ceiling area, this works especially well over a dining space or main living zone inside a larger shared room. The practical takeaway is that coffers feel more architectural and finished than a single beam run, but they also carry more visual weight. They are best saved for a zone that deserves emphasis, not stretched across every connected area by default.
Tray ceiling trim works differently: it frames a raised or recessed center area, almost like a ceiling border around the zone below. That makes it a good fit over a central seating arrangement, breakfast nook, or dining table where you want a quiet sense of enclosure. Simple ceiling moulding can do a lighter version of the same job, outlining an entry or transition area without the depth of beams or the formality of a coffered ceiling. The best choice is the one that matches the importance of the zone: subtle moulding for light definition, beams for rhythm, tray trim for focus, and coffers for a feature area.
Turn Structural Posts Into Intentional Room Divider Trim
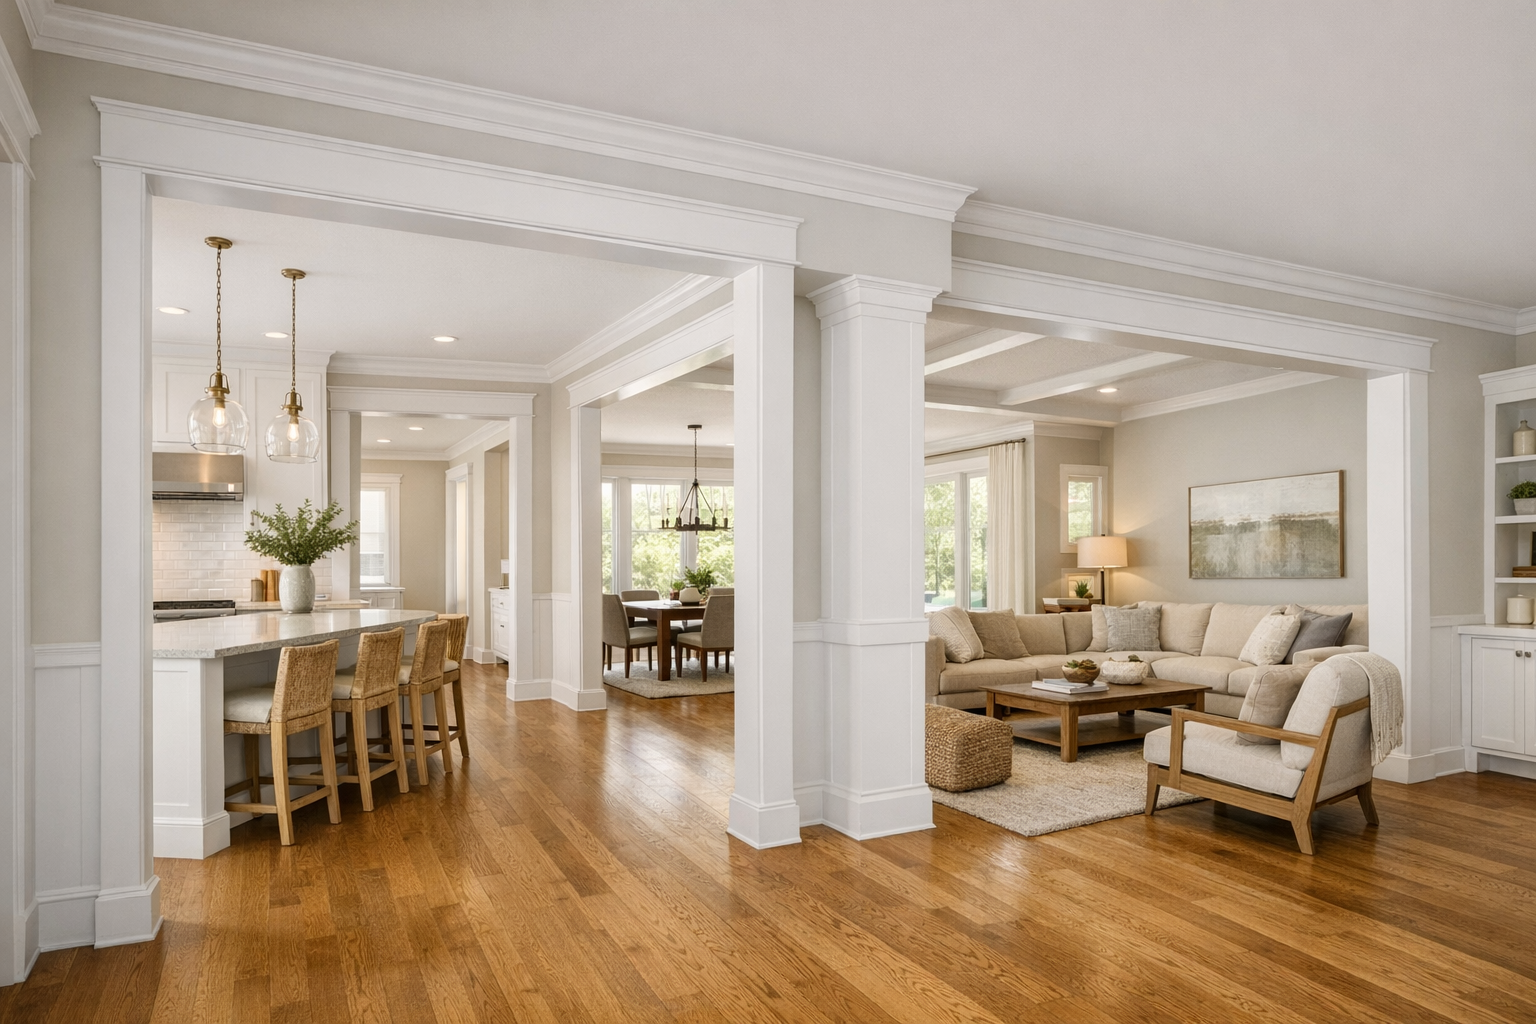
When the boundary is already sitting on the floor in the form of a post, the smartest move is often to make it look intentional. Column wrap trim is a finish-carpentry cover built around an existing structural post or support. Instead of leaving a plain post to feel like an interruption, the wrap gives it cleaner edges, stronger shadow lines, and a more finished base-and-cap profile.
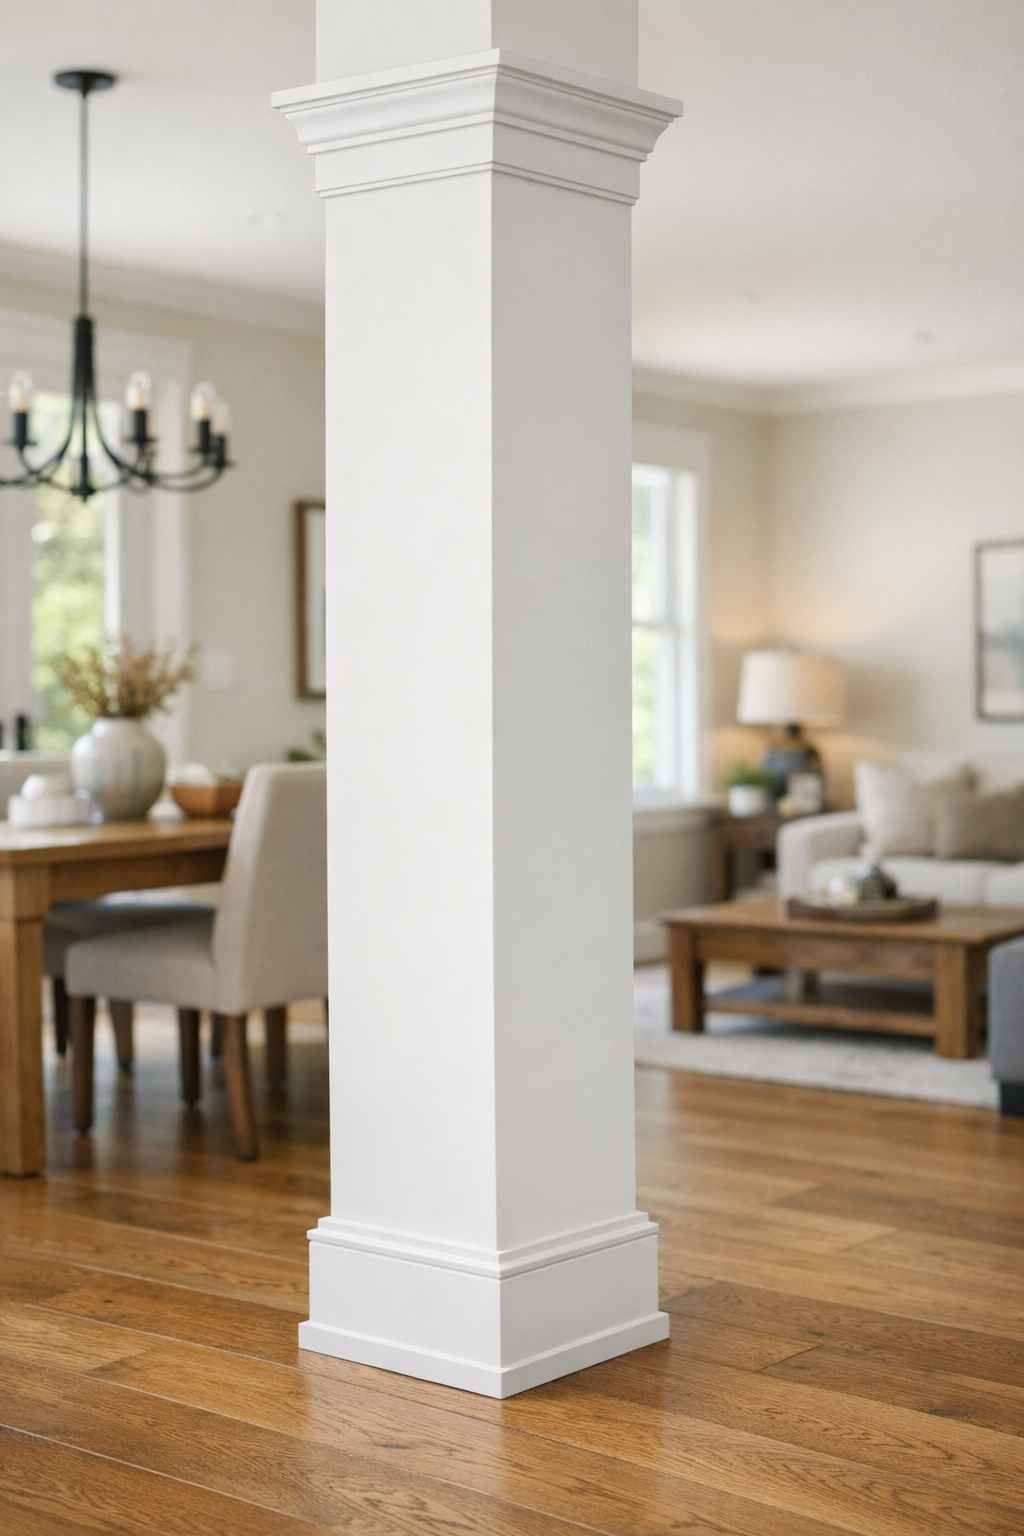
This works best when the column is already doing a job in the layout. A wrapped post can mark the edge of a living area, frame a dining space, signal the side of a stair opening, or help define where the kitchen zone begins. In that role, it acts like room divider trim: not a wall, not a screen, but a vertical marker that gives the eye a clear reference point while the space stays open.
A strong example would be a pair of wrapped columns flanking the transition from dining space to living room, with matching base blocks and cap details that relate to the nearby casing and baseboards. The pair creates a gateway effect without closing the passage. A weak example is adding oversized faux columns where no boundary is needed; if they interrupt circulation or look decorative without purpose, the millwork starts to compete with the openness instead of organizing it.
Use Wall Paneling and Accent Trim to Anchor Individual Areas
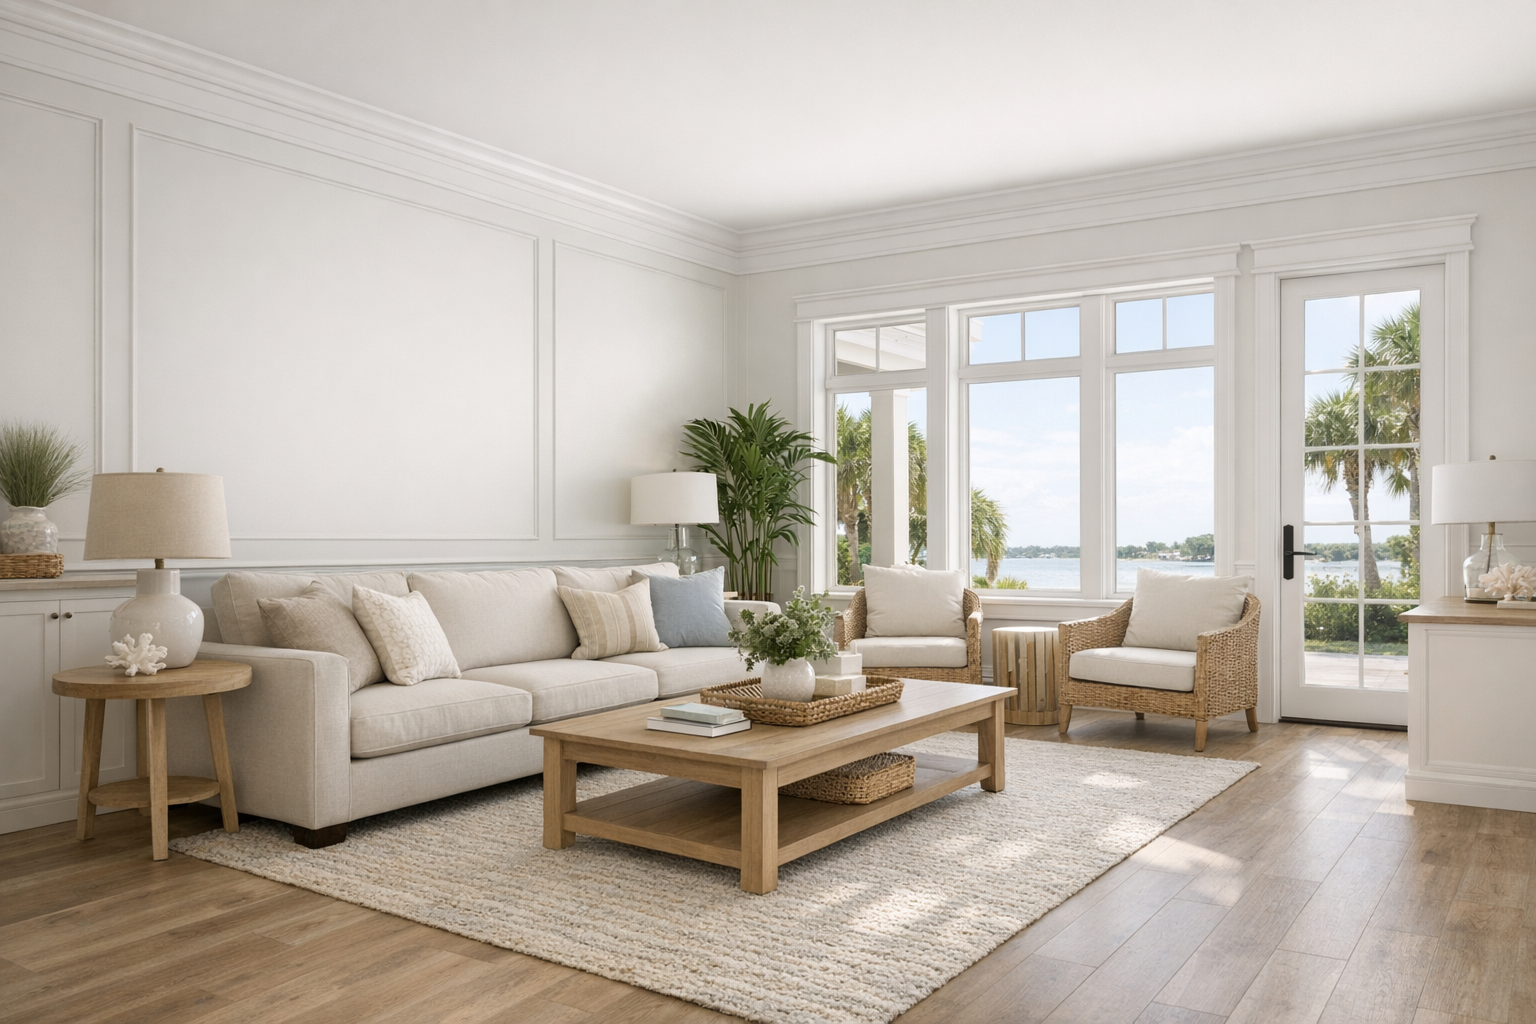
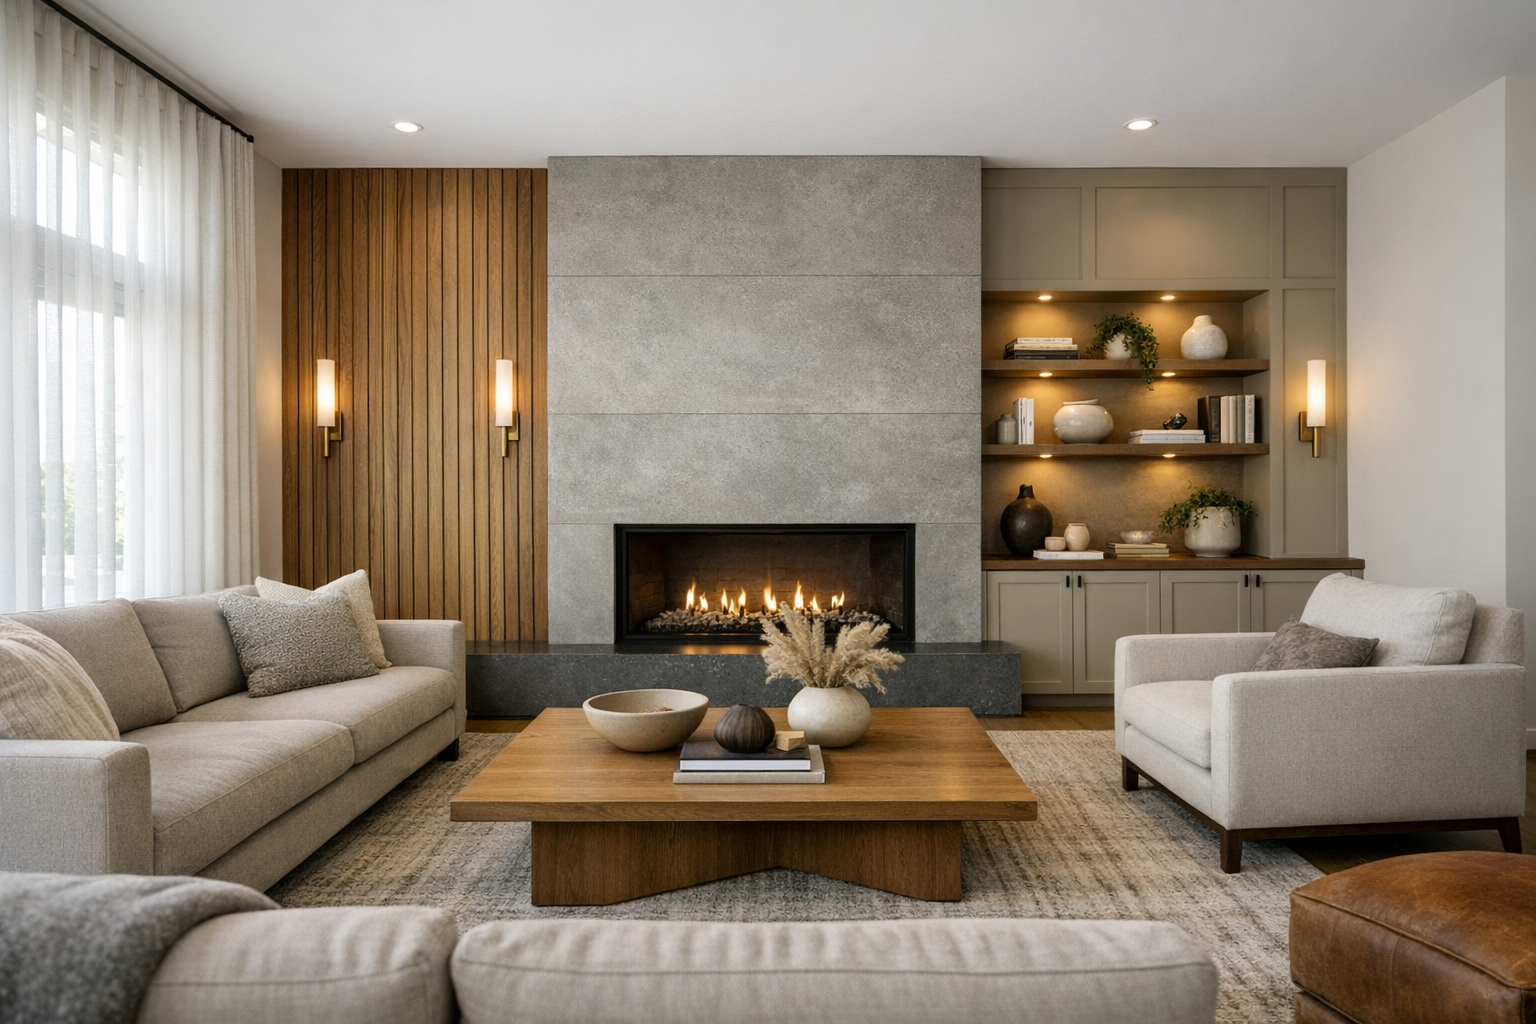
Walls can do a quieter kind of zoning when there is no post, opening, or ceiling break to work with. Accent wall trim gives one surface a stronger role in the larger room, so a dining wall, fireplace wall, entry niche, or living area feature wall reads as a destination instead of just another stretch of drywall.
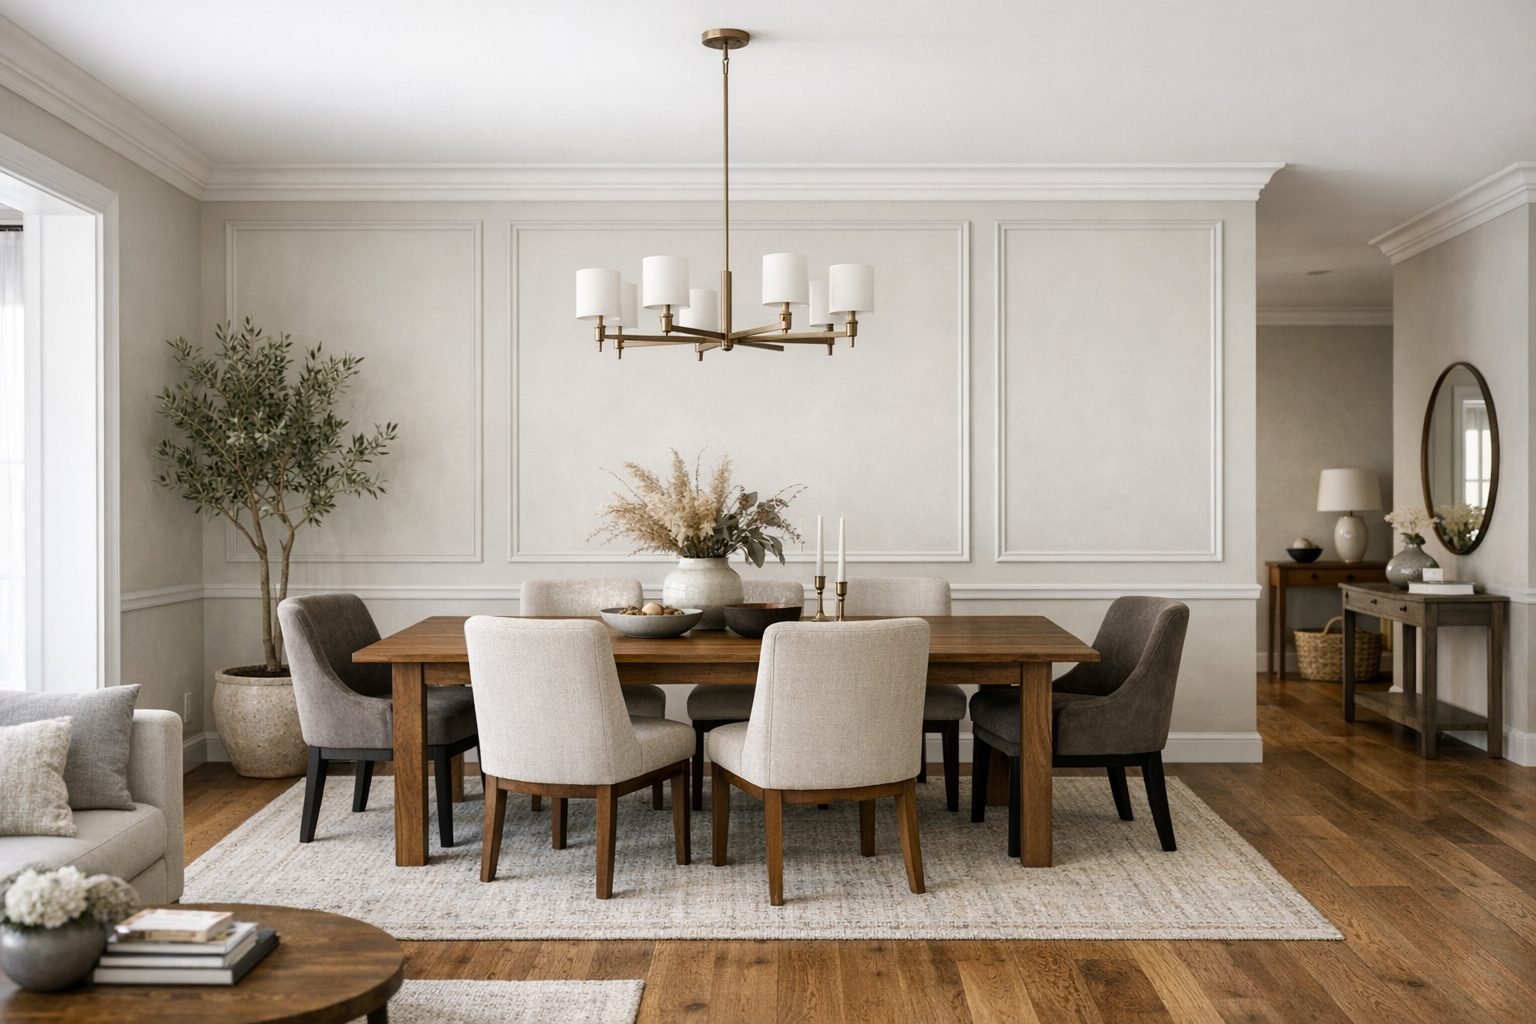
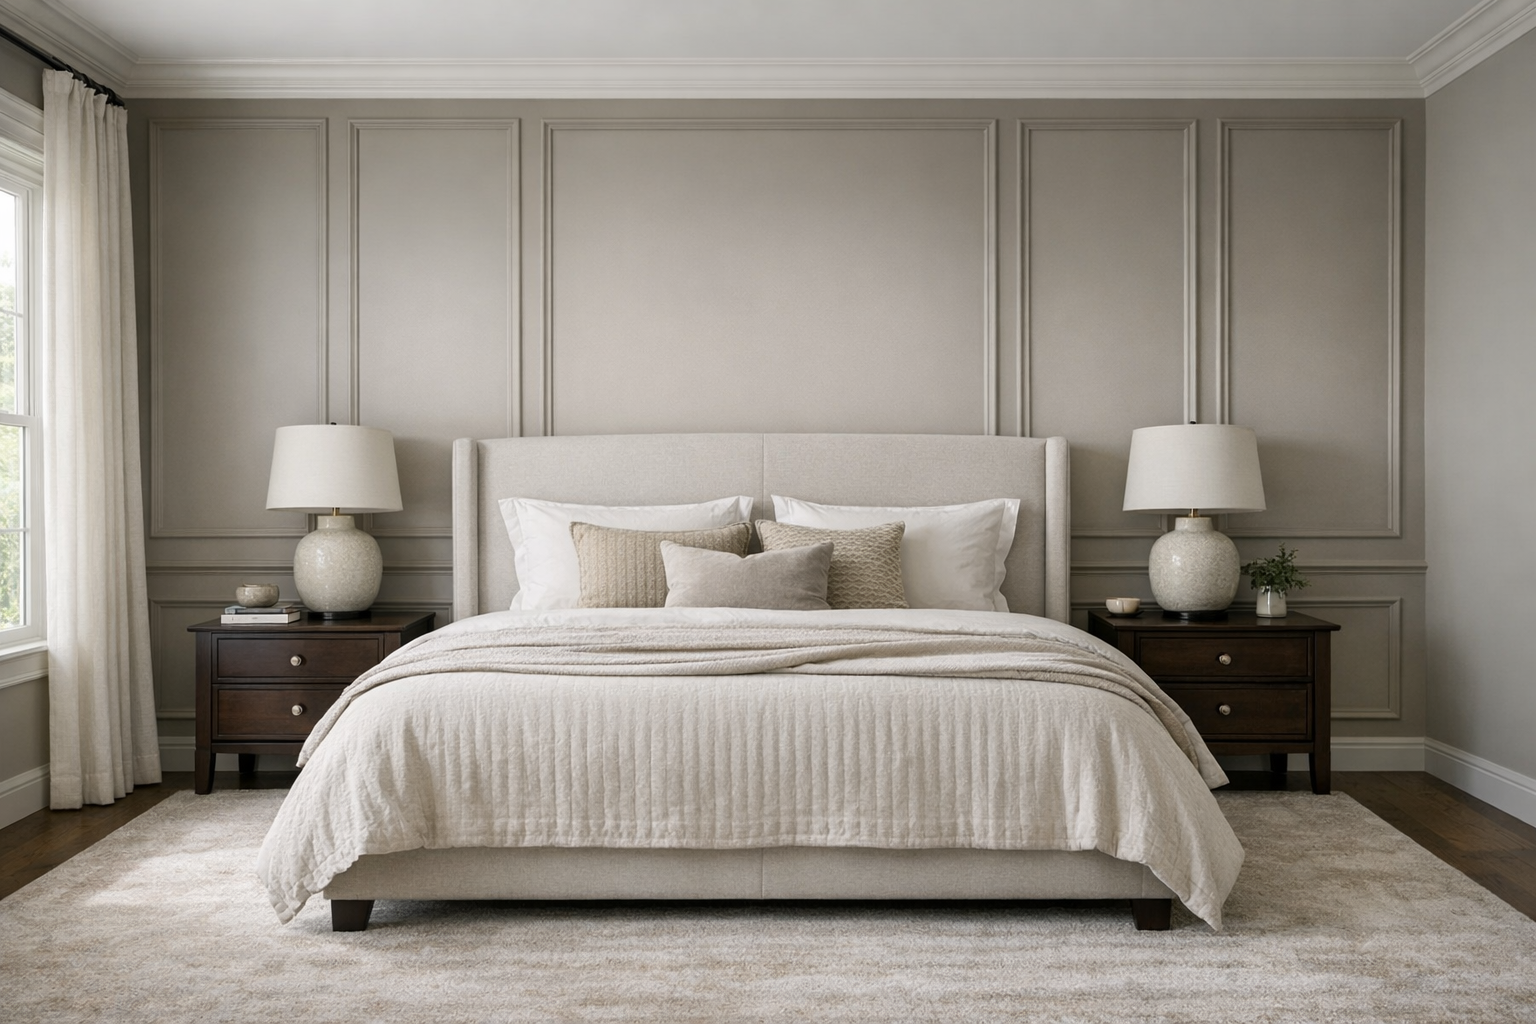
The style you choose changes the mood and visual weight. Wainscoting covers the lower portion of a wall and feels grounded, which makes it useful in dining areas, entries, or stair-adjacent zones. Full-height panel moulding is more formal and draws the eye upward, so it can make a dining wall or fireplace wall feel composed. Board-and-batten has a heavier, more casual rhythm because the vertical battens create stronger shadow lines. Simple accent trim, such as a few rectangles or a framed inset, is the lightest option and works well when the room already has plenty going on.
A strong application would be panel moulding behind a dining table that lines up with nearby casing heights and relates to the baseboard profile. That wall gains identity, but it still belongs to the same open plan because the proportions echo the surrounding trim. A weak application is giving every zone its own unrelated accent wall trim style: board-and-batten in the entry, ornate moulding in the dining area, rustic planks by the fireplace, and a different profile behind the sofa. Instead of definition, the room starts to feel like a patchwork.
The takeaway is to let one or two walls carry the emphasis, then keep the surrounding trim language steady. Wall-based millwork works best when it anchors a real activity area or focal point, not when it is scattered around simply to fill blank space.
Keep Baseboards and Casing Consistent, Then Add Hierarchy Where Needed
Start with the pieces that repeat whether a wall is plain, paneled, or treated as a focal point. Baseboards run the floor line, casing frames doors and windows, and crown or cap details finish upper edges or built-in transitions. In an open layout, those repeated lines act like a visual thread, helping connected spaces feel related instead of stitched together from separate rooms.
Most of the time, the safest move is to keep the same baseboard and casing profile through the connected areas. That does not mean every trim detail has to be identical, but the main height, shape, and level of detail should feel related. If the living room has a clean, squared casing and the dining area suddenly switches to a narrow colonial profile, the change can look accidental rather than intentional.
Hierarchy is where the design gets interesting. A main entry, fireplace wall, dining room opening, or major kitchen-to-living transition can handle a slightly taller casing, a small backband, or a more finished cap detail because that spot is meant to read as important. The practical takeaway: keep the baseline moulding consistent, then reserve the "step up" for places where you want the eye to pause.
A strong open concept living room trim example would be matching baseboards throughout the shared space, with a slightly more detailed cased opening at the main transition into the dining area. The whole plan still reads as one home, but the passage gets a little emphasis. The weak version is abrupt shifts in casing style, height, or profile between connected zones, which can make the openness feel visually choppy.
How to Choose the Right Trim Strategy for Each Open-Concept Zone
Start with the design problem you can actually see. The best trim ideas for open concept homes are not about adding every detail at once; they are about choosing the one move that gives a zone a clearer edge, then letting the rest of the millwork support it.

- If the transition feels vague, use a cased opening. A trimmed, doorless frame works well between a kitchen and dining area or an entry and living room because it marks a threshold while keeping the view open.
- If the room feels flat overhead, use ceiling trim, beams, coffers, or a tray detail. These options define the zone from above; the tradeoff is visual weight, so simpler profiles usually suit lower or cleaner-lined spaces better than heavy, ornate treatments.
- If a post interrupts the layout, wrap it as a column. A column wrap adds edges, shadow lines, and base or cap details, turning a necessary support into a deliberate marker between zones.
- If one area has no clear focal point, use wall paneling or accent trim. This is strongest behind a dining table, fireplace, console, or seating group, where the wall treatment anchors a real activity instead of floating as decoration.
- If connected spaces feel visually scattered, simplify the baseboards and casing. Consistent profiles carry the same floor and opening lines through the plan, making finish carpentry for open floor plans feel calmer and more unified.
A good rule of thumb is to choose one dominant defining move, then repeat quieter trim details around it. That balance is what makes open concept trim ideas feel architectural instead of busy: the space gains structure, but the openness still does its job.
Bring Structure to Openness With the Right Trim Details
The final choice is less about how much trim you can add and more about where the room needs a stronger cue. A kitchen-to-dining passage may only need cased opening trim to mark the handoff between cooking and gathering, while a large seating area may read better with an overhead beam layout or tray detail that gives the furniture grouping a clear boundary without blocking the view.
Existing architecture should lead the design. If a support post is already in the sightline, column wrap trim can make that interruption feel like part of the plan by giving it cleaner edges, shadow lines, and base or cap details. If the ceiling is the strongest uninterrupted surface, ceiling trim can do the defining work from above. If one wall needs to hold attention, paneling or accent trim can anchor that zone without spreading detail everywhere.
The pieces that repeat are what keep the whole layout calm. Consistent baseboards and casing carry the same visual lines through the open areas, so the added focal details feel intentional rather than random. That is the balance to aim for with open concept trim ideas: give each zone enough structure to be understood, but keep enough continuity that the home still feels open, connected, and easy to move through.