
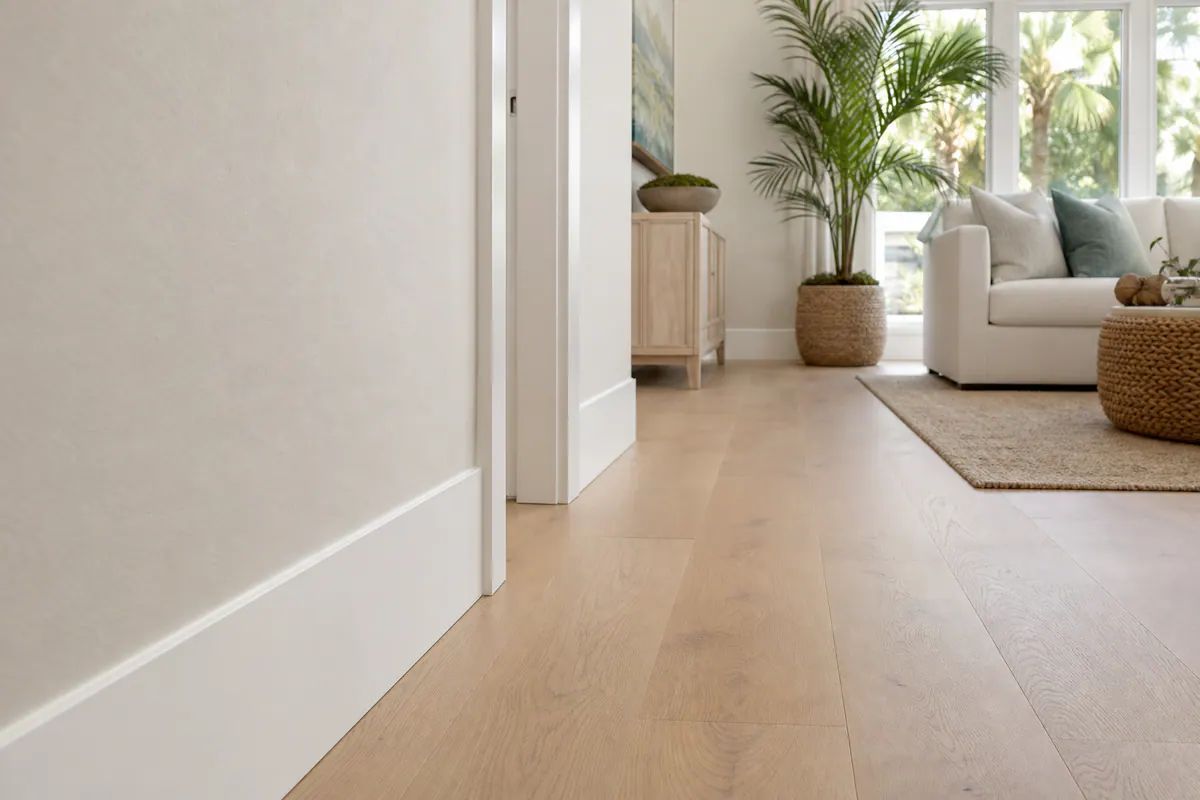
For Lakewood Ranch homeowners, baseboard installation is a finish-carpentry upgrade that brings the room's edges into the overall design. Whether the project follows new flooring, a repaint, a renovation, or a whole-home trim refresh, new baseboards create the intentional transition between wall and floor that makes the work feel complete.
The visible result starts well before trim is fastened in place. A consistent profile from room to room keeps door casing, flooring, and wall details from looking pieced together. Accurate measuring and fitting matter at inside corners, outside corners, long runs, and transitions where walls or floors are not perfectly straight. A strong installation has tight joints and even lines; open seams, abruptly mismatched profiles, and trim forced to follow every wall irregularity draw attention for the wrong reasons.
Finishing is part of the installation, not an afterthought. Controlled caulk can soften a small wall-to-trim gap without leaving a thick, wavy bead, while filled nail holes and smooth sanding prepare the surface for even paint. The goal is clean, crisp baseboards that read as one continuous architectural detail, not a collection of boards attached around the perimeter.
Baseboard replacement can also be tailored to the room's finish goal: matching existing painted trim preserves continuity, while updating profiles throughout the home creates a more unified look.
When New or Replacement Baseboards Make Sense
Replacement is often prompted by what the existing trim reveals: cracked faces, swollen sections near a past leak, layers of uneven old caulk, separated joints, or baseboards that look noticeably smaller than the rest of the room's finish details. A baseboard replacement service can also make sense after a remodel removes walls, changes door openings, or leaves patched sections where the original profile is no longer available or no longer matches.
Flooring changes deserve a closer look without automatically requiring new trim. Removing carpet, installing tile, or changing to a different flooring thickness can expose an uneven wall-edge gap or leave the former baseboard sitting at the wrong visual height. In some rooms, shoe molding or quarter round can provide a neat finishing transition at the floor; in others, replacing the baseboard gives a cleaner proportion and avoids adding a secondary strip that does not suit the intended look.
For selected-room work, the practical goal is to carry forward the existing profile, height, thickness, and paint appearance as closely as possible. That approach keeps a bedroom refresh from feeling disconnected from the hall or adjoining living area. By contrast, a whole-home trim upgrade is the stronger choice when several rooms already have mismatched styles, undersized builder-grade trim, or a mix of repairs that cannot be blended convincingly. Planning transitions matters when the work is phased: choose the eventual profile first, identify where old and new trim will meet, and avoid a doorway or open passage that abruptly shifts in height or shape.
Baseboard replacement in Lakewood Ranch can therefore be as focused as repairing one water-affected room or as comprehensive as establishing one trim language throughout the home. The right scope follows the condition of the current trim, the flooring and remodel plan, and how much visual continuity the finished space needs.
Choosing the Right Baseboard Profile, Height, and Material
The profile, the shaped face seen above the floor, sets the room's visual tone. A simple square or eased-edge profile reads clean and contemporary, while a stepped or more detailed profile can better suit formal casing and crown molding. Height changes the proportion: a taller baseboard gives more presence on broad walls or in open living areas, whereas a shorter profile may preserve the scale of a smaller room. The strongest choice is the one that looks intentional beside the doors, not simply the tallest option available.
Door casing is the key reference point. When existing casing will remain, the baseboard should relate to its thickness, edge detail, and overall level of formality. A flat, modern casing beside an ornate baseboard can look assembled from separate projects; coordinated samples make that mismatch visible before installation begins. For a whole-home update, using one profile family at doors, openings, and room perimeters creates a more settled result.
Material should follow the finish plan and the room's conditions. MDF baseboards are a practical choice for smooth, painted interior trim where moisture exposure is controlled; their uniform face supports the crisp appearance many homeowners want from paint-grade baseboards. Wood baseboards make sense when the goal is stain, a natural-grain appearance, or continuity with existing wood trim. PVC and other moisture-tolerant trim options can be useful for damp-prone locations where a painted wood-like look is still desired.
Shoe molding is a narrow finishing strip installed at the floor edge. It can help cover a localized gap where flooring meets the baseboard, particularly when floor variation makes a tight edge difficult to achieve. It is not an automatic upgrade: adding it around every room changes the profile's visual weight and can look unnecessary when the flooring transition is already clean. Reviewing a full-length sample against the flooring, casing, and wall color helps establish whether the finished combination feels balanced before material is ordered.
The Finish-Carpentry Details Behind Clean Baseboards
A polished run begins with layout, not the nail gun. Each wall is measured and sighted for bows, corners are checked for how they actually meet, and the floor is read for high and low spots. That early fitting work lets the installer decide where a piece needs a small adjustment so the top edge remains visually straight instead of simply following every imperfection in the wall.
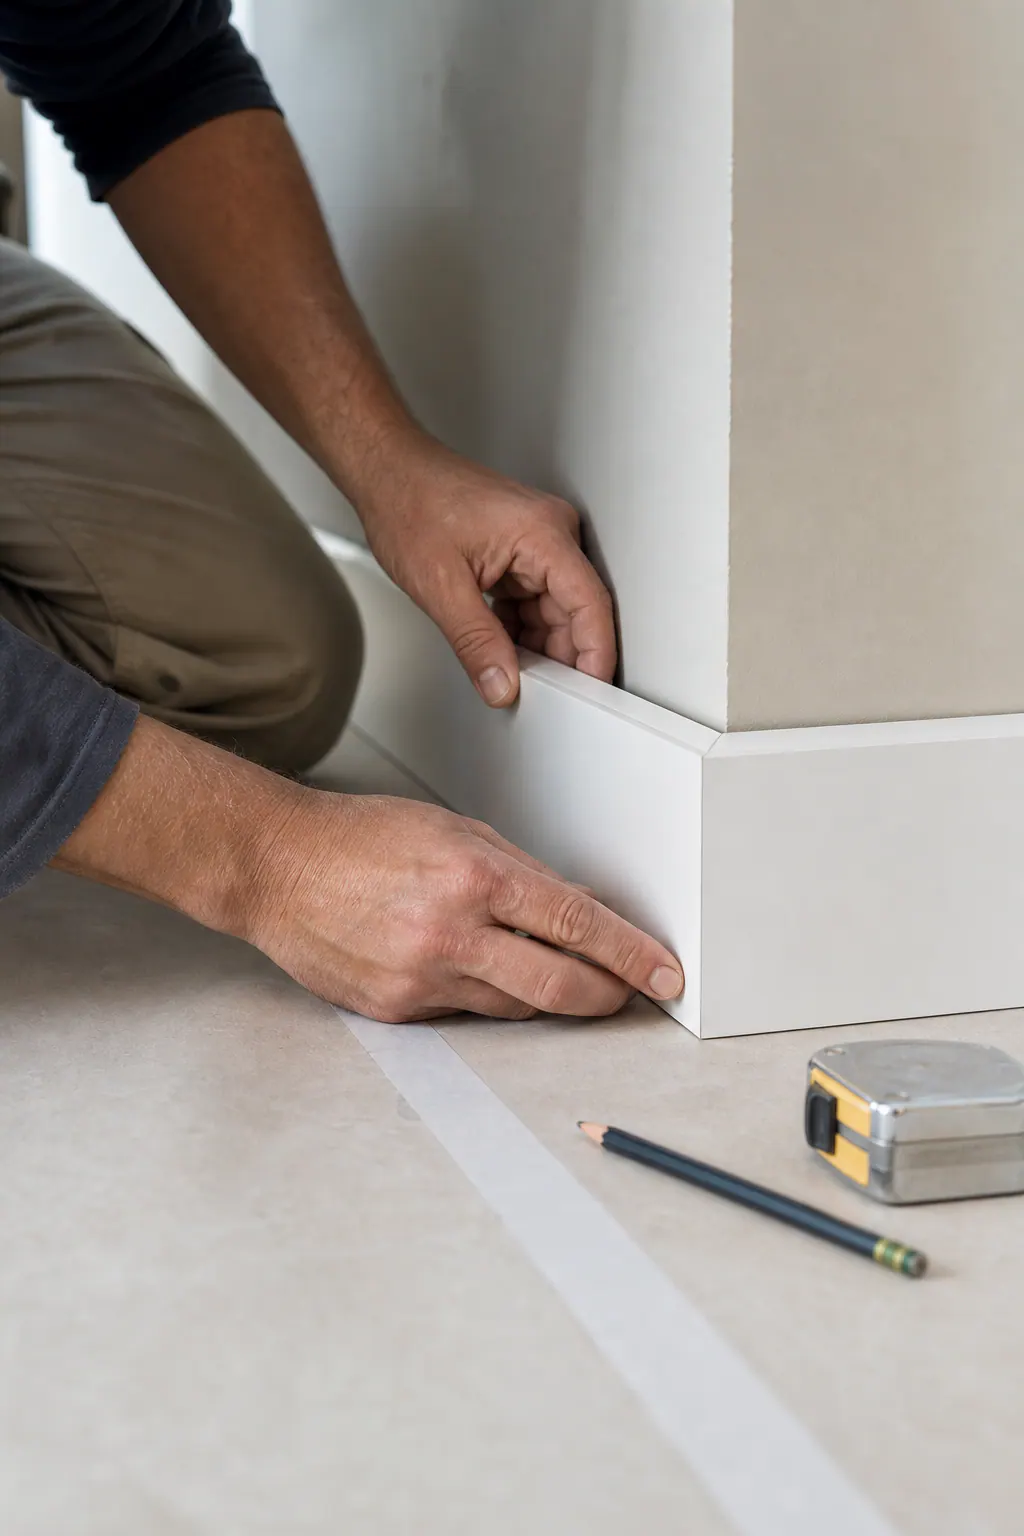
Inside corners deserve especially close attention. A coped corner shapes the end of one baseboard to fit over the face of the adjoining piece; it often holds a tighter-looking connection when a corner is not a perfect 90 degrees. Simple miter joints, cut at opposing angles, can work well when the corner is true and the material is stable, but a narrow open line at an inside corner is an obvious weak signal. Outside corners need their own dry-fit: the two faces should meet evenly at the point, with neither piece extending past the other.
Long walls may require more than one length of trim. A scarf joint overlaps two angled cuts rather than ending them square-to-square, helping the seam read as part of the run instead of as a blunt break. Secure fastening holds the baseboard in position while avoiding a visibly dimpled or split face. Before final finishing, a careful interior trim installation also looks at wall-to-trim gaps: minor irregularities can be handled with controlled caulk, while broad gaps call for fitting adjustments rather than a heavy bead meant to hide the problem.
Floor edges and door openings are treated as deliberate transitions, not leftover details. Where flooring varies, the baseboard may be scribed or selectively adjusted; shoe molding may be used only where its added edge is warranted. At door casing, the baseboard should terminate cleanly against the casing or a planned transition block, without a sliver of exposed wall or an awkward offset. These small decisions are what make finish carpentry in Lakewood Ranch look settled after paint: tight corners, quiet seams, consistent lines, and trim that appears fitted to the room rather than forced onto it.
Caulking and Paint: The Final Steps That Make Trim Look Complete
Paint exposes every unfinished detail. A smooth finish begins with a narrow, even bead of caulk where the wall meets the top edge of the baseboard, then careful tooling so the line disappears instead of forming a rounded ridge. Nail holes and small seam lines are filled, allowed to dry, and sanded flush; dust and residue are removed before coating. Up close, the good signals are a crisp wall edge, a flat trim face, and no visible pits or shiny blobs beneath the paint.
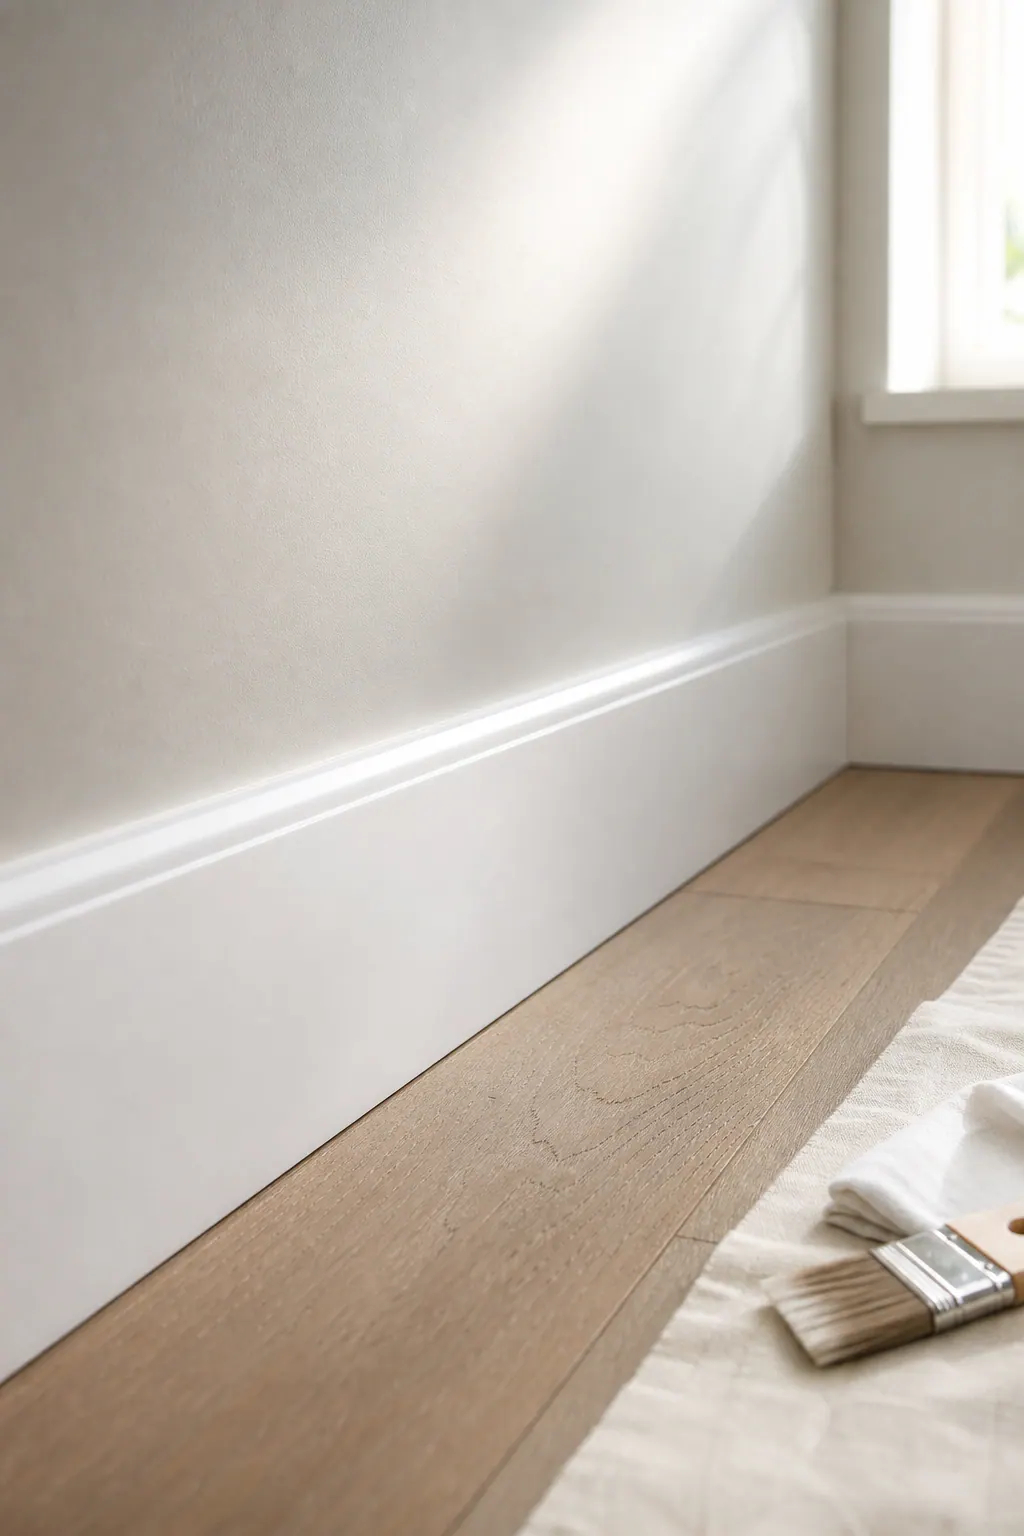
Caulk is meant for minor finish gaps, not structural camouflage. A hairline opening caused by slight wall texture can become invisible after controlled caulking and paint. A wide, changing gap, a joint that will not close, or a baseboard that visibly rocks against the wall needs fitting or wall-preparation work first. Heavy caulk may look acceptable briefly, but it leaves a swollen line that draws attention once the room is painted.
Paint-grade trim is intended to receive a painted finish, making it a practical choice when the goal is one consistent color across baseboards, casing, and other interior trim. Raw or previously coated material may need primer to create an even surface and prevent differences in absorption from showing through the topcoat. Prefinished baseboards arrive with their visible coating already applied, which reduces on-site paint work but requires especially careful handling, touch-up planning, and clean fastening.
Painting scope should be clear before installation begins. When it is included, the finish sequence can cover filling, sanding, priming where needed, and final coats after the trim is installed. When a separate painter handles the work, the handoff should identify who completes nail-hole filling, caulking, spot priming, touch-ups, and protection of adjacent flooring. That coordination keeps new paint-grade baseboards from looking complete in one room and noticeably unfinished in the next.
What to Expect From a Professional Baseboard Installation Project
A productive first visit turns the room-by-room plan into a defined scope. Baseboard installers in Lakewood Ranch can review the existing trim, door casing, floor edges, and any remodel changes to determine whether the goal is a close match in selected spaces or a coordinated update across the home. That conversation should settle the profile, material, paint plan, and the transitions that need special treatment before material is ordered or cut.
Measurements then translate the design into an estimate. Linear footage matters because it reflects how much trim must be supplied, cut, fitted, and finished, but it is not the only variable. A simple painted profile in an open room involves a different level of cutting and handling than a taller, detailed profile with many closets, returns, corners, and door openings. Material choice also changes the plan: paint-grade MDF, natural wood, and moisture-tolerant trim each call for different preparation and finishing decisions.
The written scope should identify whether existing baseboards will be removed, who handles disposal, and what happens if removal exposes damaged drywall, old adhesive, missing paint, or uneven areas that need repair. Floor conditions matter as well. New flooring, irregular edges, and localized gaps can add fitting work or affect whether a small finishing strip is included.
Installation follows the approved layout, with pieces fitted around openings and through corners before the agreed caulking and paint steps begin. If casing, window trim, or other millwork is changing at the same time, coordinating those elements helps preserve a consistent visual relationship rather than treating each room edge as a separate project.
A final walkthrough gives the homeowner a chance to view the work at normal room distance and up close: runs should look aligned, corners and seams should read cleanly, transitions should be intentional, and the finish responsibilities should be complete. For Lakewood Ranch baseboard installation, cost and scheduling remain project-specific because room count, demolition, wall repair, flooring conditions, trim complexity, and paint coordination can all change the amount of work involved.
Plan Your Lakewood Ranch Baseboard Upgrade
Bring a few clear project details to the conversation, and the estimate can reflect the result you actually want. Note which rooms are included, whether door casing and adjacent trim should be matched or updated, and whether flooring is finished, changing, or leaving visible edge gaps. Photos of damage, separated joints, old caulk buildup, or areas where the wall meets the floor unevenly are useful starting points.
Your finish preference matters just as much as the room list. A simple painted profile can support a clean, unified refresh, while a profile chosen to coordinate with existing casing preserves continuity in a partial update. Share whether you want paint-ready trim, a particular color, or a natural-wood appearance so the material and finishing plan fit the goal.
Request an on-site review for baseboard installation in Lakewood Ranch. Seeing the rooms in person allows the installer to define removal and repair needs, assess floor and wall conditions, confirm material and finish details, and provide project-specific pricing for your replacement or whole-home trim upgrade.
Plan the next step
Compare the broader Baseboard Installation service.
Review the Lakewood Ranch, FL service area for local planning context.
When you are ready, request a free estimate with the rooms, trim goals, city, and available photos.
FAQs
Should I replace baseboards when installing new flooring?
Not always. New flooring can expose wall-edge gaps or leave existing baseboards at the wrong visual height; shoe molding or quarter round may cover localized gaps, while replacement provides cleaner proportions when the trim no longer suits the floor.
What baseboard material is best for Florida homes?
MDF works well for smooth painted interior trim in controlled-moisture rooms. Wood is best for stained or natural-grain trim, while PVC or other moisture-tolerant materials are better choices for damp-prone areas.
Can new baseboards be installed without replacing door casing?
Yes, provided the new baseboard matches the existing casing’s thickness, edge detail, and level of formality. Coordinating the profile with door casing prevents a flat modern casing and ornate baseboard from looking like separate projects.
Do baseboards need to be caulked and painted after installation?
Paint-grade baseboards should have nail holes and small seam lines filled, sanded flush, and caulked with a narrow bead along the wall-to-trim edge before painting. Caulk should only fill minor finish gaps, not wide or changing gaps that require fitting adjustments.
Should I replace damaged baseboards room by room or update the whole house?
Room-by-room replacement works when the existing profile, height, thickness, and paint can be matched closely. A whole-home trim upgrade is the better choice when multiple rooms have mismatched styles, undersized builder-grade trim, or repairs that cannot be blended convincingly.