
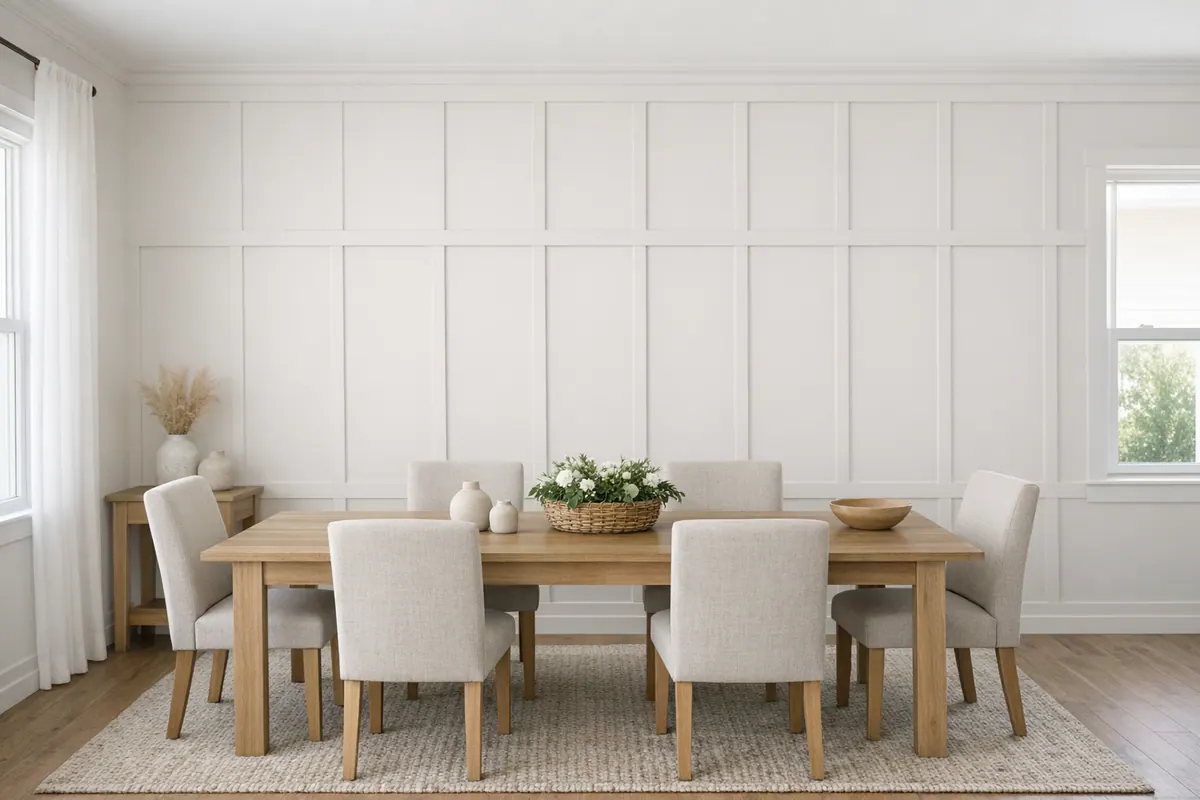
Board and Batten Walls for North Port Homes
Board and batten North Port FL is an interior trim treatment that uses a horizontal rail and evenly placed vertical battens to form framed panels across a wall. It adds depth and deliberate lines where plain drywall can feel unfinished, making it a focused builder-grade home upgrade for an entry, a refreshed dining space, or a single wall that needs a clearer purpose.
The effect comes from the layout, not simply from adding strips of trim. A lower-wall design can give a room a tailored boundary while leaving the upper wall open for paint or artwork. A full-height treatment creates a stronger architectural backdrop, especially when a blank wall is meant to carry the room visually. Neither approach is automatically better; the wall's width, ceiling height, and surrounding details determine which one feels balanced.
Well-designed board and batten walls North Port homes can feel integrated rather than applied on top. Existing baseboards, crown molding, doors, windows, and outlets all influence where rails land and how panels are spaced. A broad, relatively uninterrupted wall can support a clean repeating grid; a wall broken up by openings may need fewer, wider panels or a simplified composition to avoid a crowded appearance.
Paint completes the treatment, whether it matches the wall for subtle shadow and texture or contrasts with the surrounding room for a more defined feature. The finished look also depends on accurate measuring, consistent spacing, secure attachment, tidy transitions, filled seams, smooth caulk lines, and a paint-ready surface. Those details are what make the trim read as part of the room's design.
Where Board and Batten Works Best
A wall earns this treatment when it already has a clear job in the room: welcoming people in, anchoring furniture, or giving an otherwise plain stretch of drywall some structure. An entryway wall treatment can frame the first view into the home, while a long dining-room wall becomes a more deliberate backdrop for a table, artwork, or buffet. In both spaces, the strongest candidate is usually the broadest wall with the fewest visual interruptions.
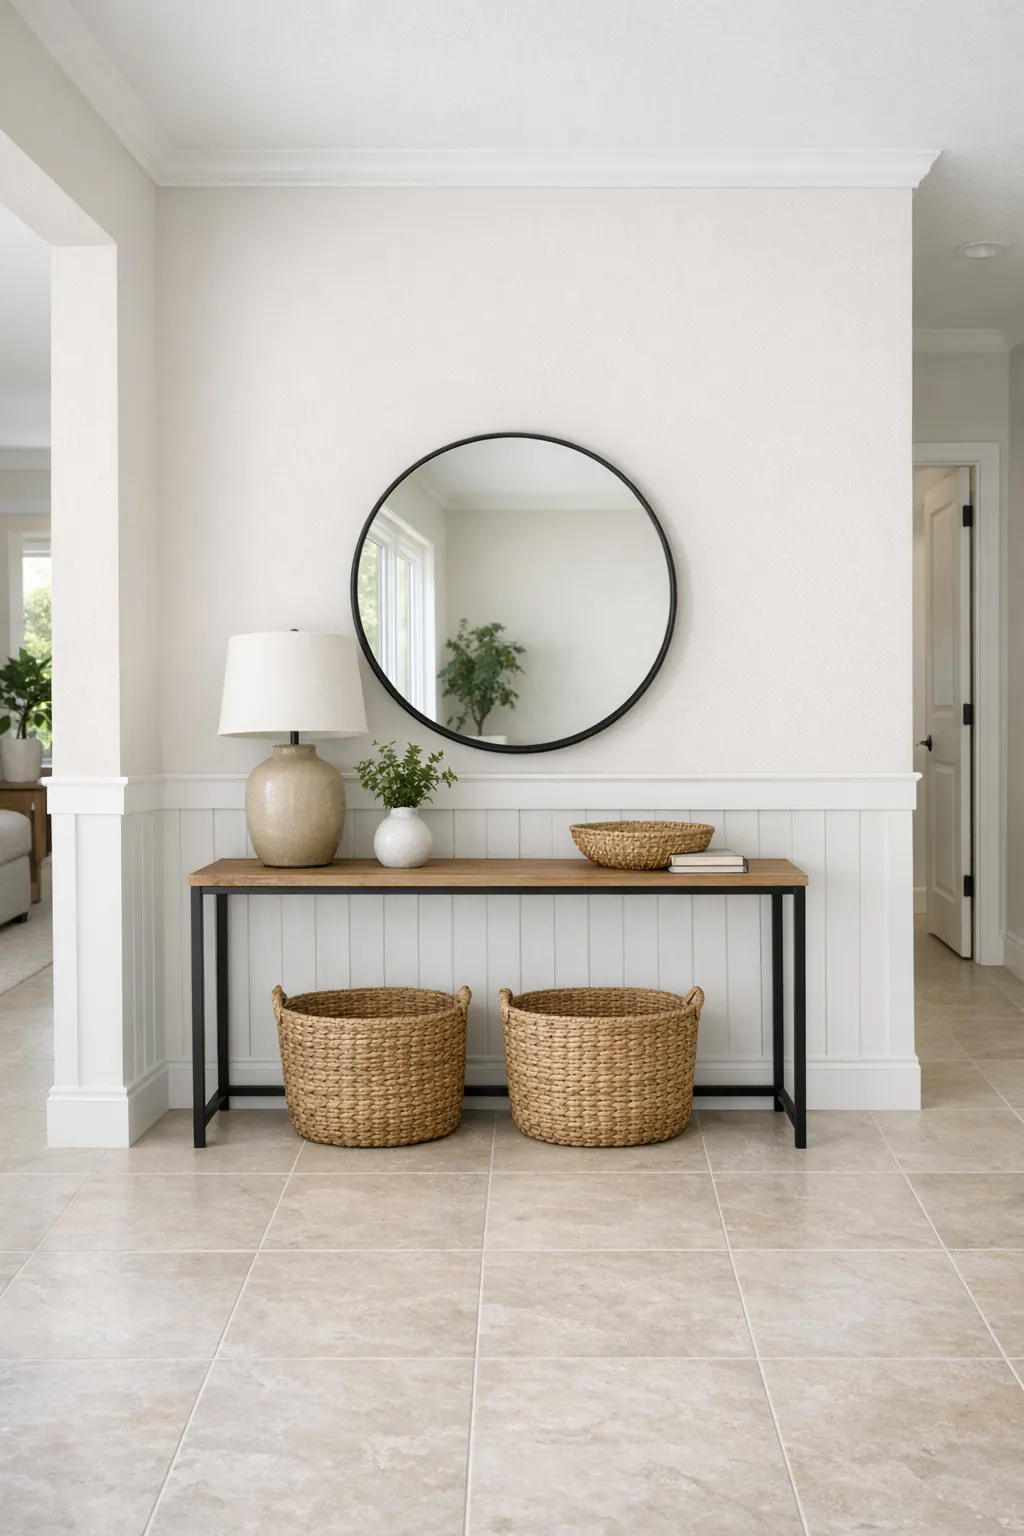
Living rooms and bedrooms often benefit from one intentional focal wall rather than trim on every surface. Behind a sofa, fireplace seating area, or bed, board and batten gives the furniture a visual boundary and makes the arrangement feel grounded. A full-height layout suits a wall that needs to carry the room; a lower-wall treatment can add definition while preserving open wall space above for art, windows, or a calmer overall feel.
Compact rooms can use the same idea more quietly. In a nursery or home office, a simple lower-wall design adds order without turning limited square footage into a busy pattern. Stair-adjacent walls also offer a natural opportunity for a composed feature, since the trim can follow the wall's long run and make a transition area feel considered. For a mudroom, lower-wall trim creates a durable-looking visual zone beneath hooks, benches, or storage, where the upper wall can remain lighter and less crowded.
Not every wall needs a grid. Walls fragmented by several doors, windows, switches, vents, or closely spaced outlets can become visually choppy, especially with narrow leftover panel sections. The same is true of a very slim wall return or a room already layered with bold tile, patterned wallpaper, heavily veined stone, and ornate furnishings. In those settings, simplifying the layout, or choosing a different focal surface, usually produces a more balanced accent wall in North Port, FL.
Choosing the Right Height, Layout, and Proportions
Proportion is what keeps a trim feature from looking like a pattern applied by rote. A full-height arrangement carries the vertical lines toward the ceiling and gives a tall, uninterrupted wall a stronger architectural presence. A lower-wall treatment uses a horizontal rail to establish a deliberate boundary instead, leaving the upper portion of the wall visually open. That quieter option can suit a room with artwork, windows, or several finishes competing for attention; the full-height choice is better reserved for a wall with enough clear area to support it.

The rail height and panel spacing should respond to the room, not a generic number. Higher ceilings can accommodate taller rectangular panels, while a lower ceiling often benefits from proportions that do not make the wall feel chopped into short sections. On a wide dining-room wall, evenly sized panels may create a calm rhythm from end to end. On a narrower wall, fewer, wider panels can look more settled than squeezing in many vertical battens. The layout should begin and finish with intentional spacing at corners, wall returns, and ends, not a thin leftover panel that signals the measurements were forced.
A simple rectangular grid is often the most adaptable choice because its repeated lines work with both streamlined and traditional interiors. More decorative arrangements, such as stacked boxes or additional crossing rails, add detail but demand more open wall area and a room with relatively restrained surrounding finishes. When doors, windows, or nearby tile already create plenty of lines, a pared-back layout usually reads as more custom than an elaborate one.
Before installation, a scaled drawing or wall mockup helps test where the rails and battens land in relation to the ceiling, furniture, openings, and corners. It is also worth viewing that plan from the entry, hallway, and adjoining room. A centered grid on the wall itself can still appear off-balance from the main sightline if the nearest corner, doorway, or furniture grouping changes how the wall is seen.
Integrating Board and Batten With Existing Trim, Doors, Windows, and Outlets
The edges of the treatment are where careful planning becomes most visible. Baseboard integration can mean allowing the vertical battens to land cleanly on top of a substantial existing baseboard, or modifying that transition so the new trim reads as one connected composition. Crown molding creates a similar decision at the ceiling: a full-height design may meet it deliberately, while a lower-wall treatment should end at its rail without competing with it. The goal is a clean hierarchy of trim profiles rather than several unrelated layers.
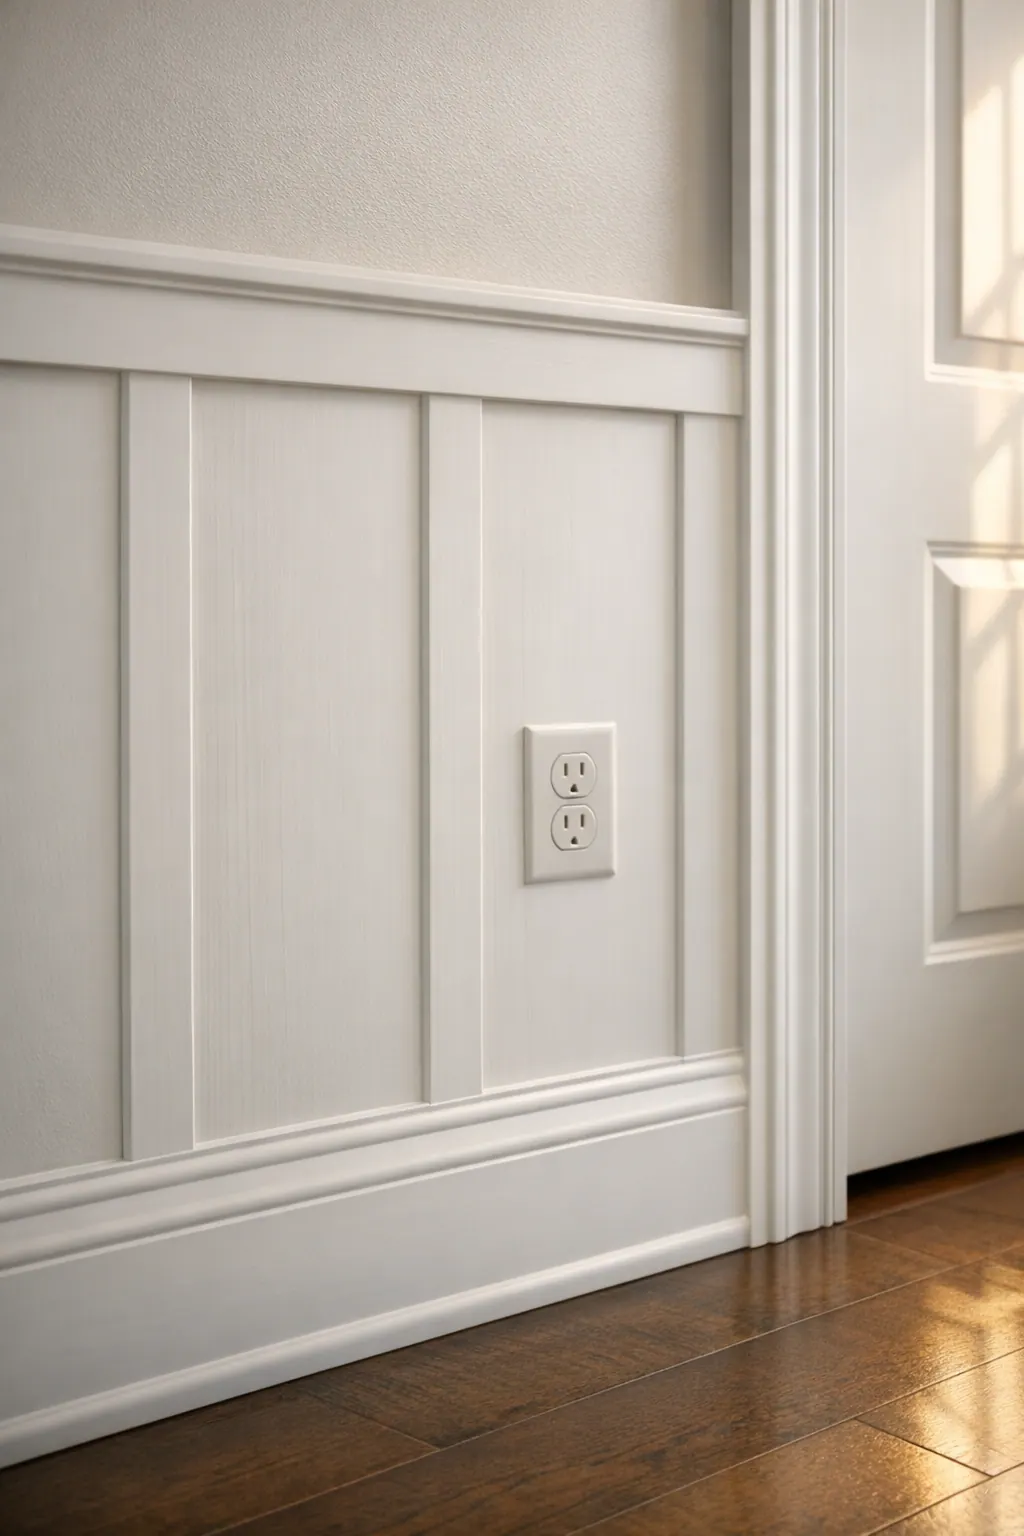
Doors, windows, and wall returns set the boundaries for the panel plan. Existing door and window casings can be retained when their scale suits the new work; battens then terminate neatly against the casing instead of crowding it. In other rooms, a transition may be adjusted to give the feature a more continuous appearance. A strong wall layout might place matching panel widths on either side of a centered window or carry a consistent end margin toward a doorway. A weak one shifts a batten a few inches simply to dodge the casing, leaving the rhythm visibly broken.
Switches, outlets, thermostat locations, and other fixed components deserve the same attention during measuring. They do not automatically rule out a feature wall, but they affect where rails and vertical lines can land. A thoughtful plan may center a device within a panel, align it with a horizontal break, or adjust the overall panel count so it feels incorporated rather than stranded beside a random batten. Close cuts around openings, tidy returns, filled seams, smooth caulk lines, and paint-ready finishing help the new trim belong with the room's original details rather than look added around them.
Paint, Materials, and Room-Specific Planning
Color decides whether the trim reads as a quiet layer of architecture or the room's main visual statement. Painting the battens, rails, and wall in the same color creates a monochromatic treatment: light catches the raised edges and recessed panels, so the pattern appears through shadow and texture rather than a sharp color break. It is a natural choice for a nursery wall molding design, a bedroom, or a room where artwork and furnishings should remain the focus.
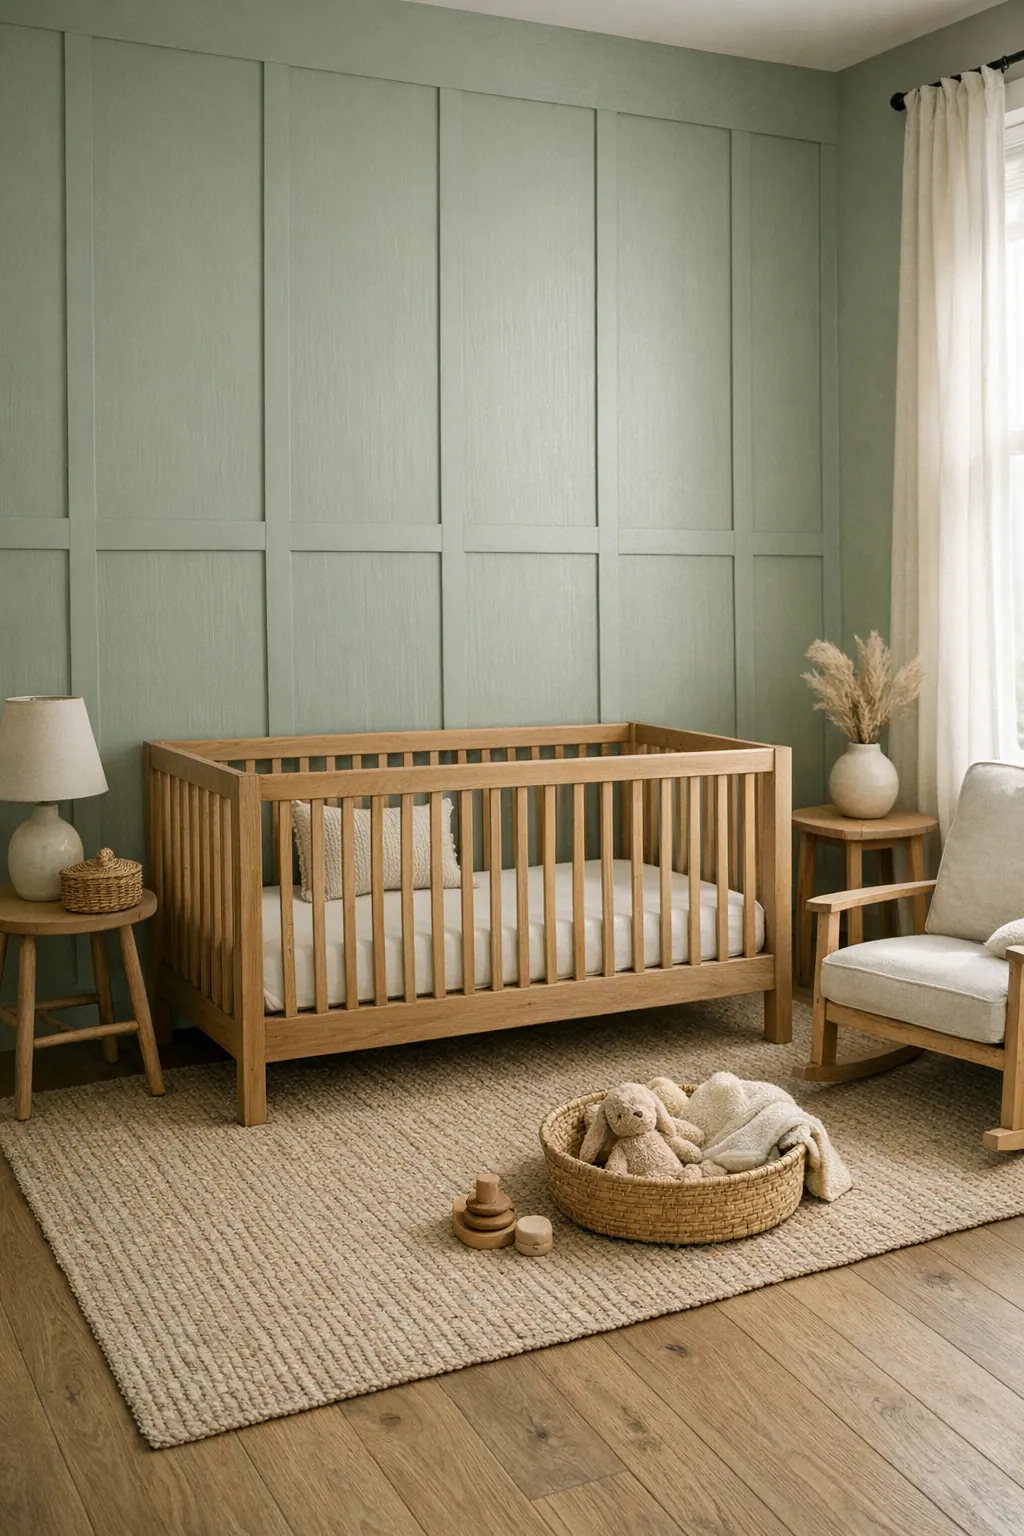
A contrasting approach gives the grid more authority. Deep trim against a lighter wall, or a lighter treatment against a saturated wall color, makes every panel outline immediately visible. That can anchor a dining-room wall or a mudroom wall paneling feature, but it also makes uneven coverage, rough seams, and imprecise edges harder to hide. Sampling the intended colors beside flooring, cabinetry, window treatments, and the room's changing daylight helps distinguish a deliberate focal point from one that feels disconnected.
The finish is as important as the color choice. A paintable, durable surface allows the new work to read as a unified element once joints are filled, seams are caulked, and the wall is properly prepared for paint. A careful caulk and paint finish softens the tiny transitions between trim and drywall while preserving crisp outside edges; excess caulk, skipped prep, or uneven paint sheen can make even a well-proportioned layout look unfinished.
Bathrooms, laundry rooms, and similar spaces need a more room-specific conversation. A wall near a shower, sink, or frequently damp area has greater splash and moisture exposure than a powder room wall with strong ventilation and no direct water contact. Material and finish choices should respond to that difference, considering where water reaches, how quickly the room dries, and whether the feature is outside the splash zone. A moisture-conscious strategy is not one universal product choice, it is a coordinated decision about placement, paintable materials, sealed edges, and the conditions the wall will actually face.
What to Look for in a Professional Trim Carpenter in North Port
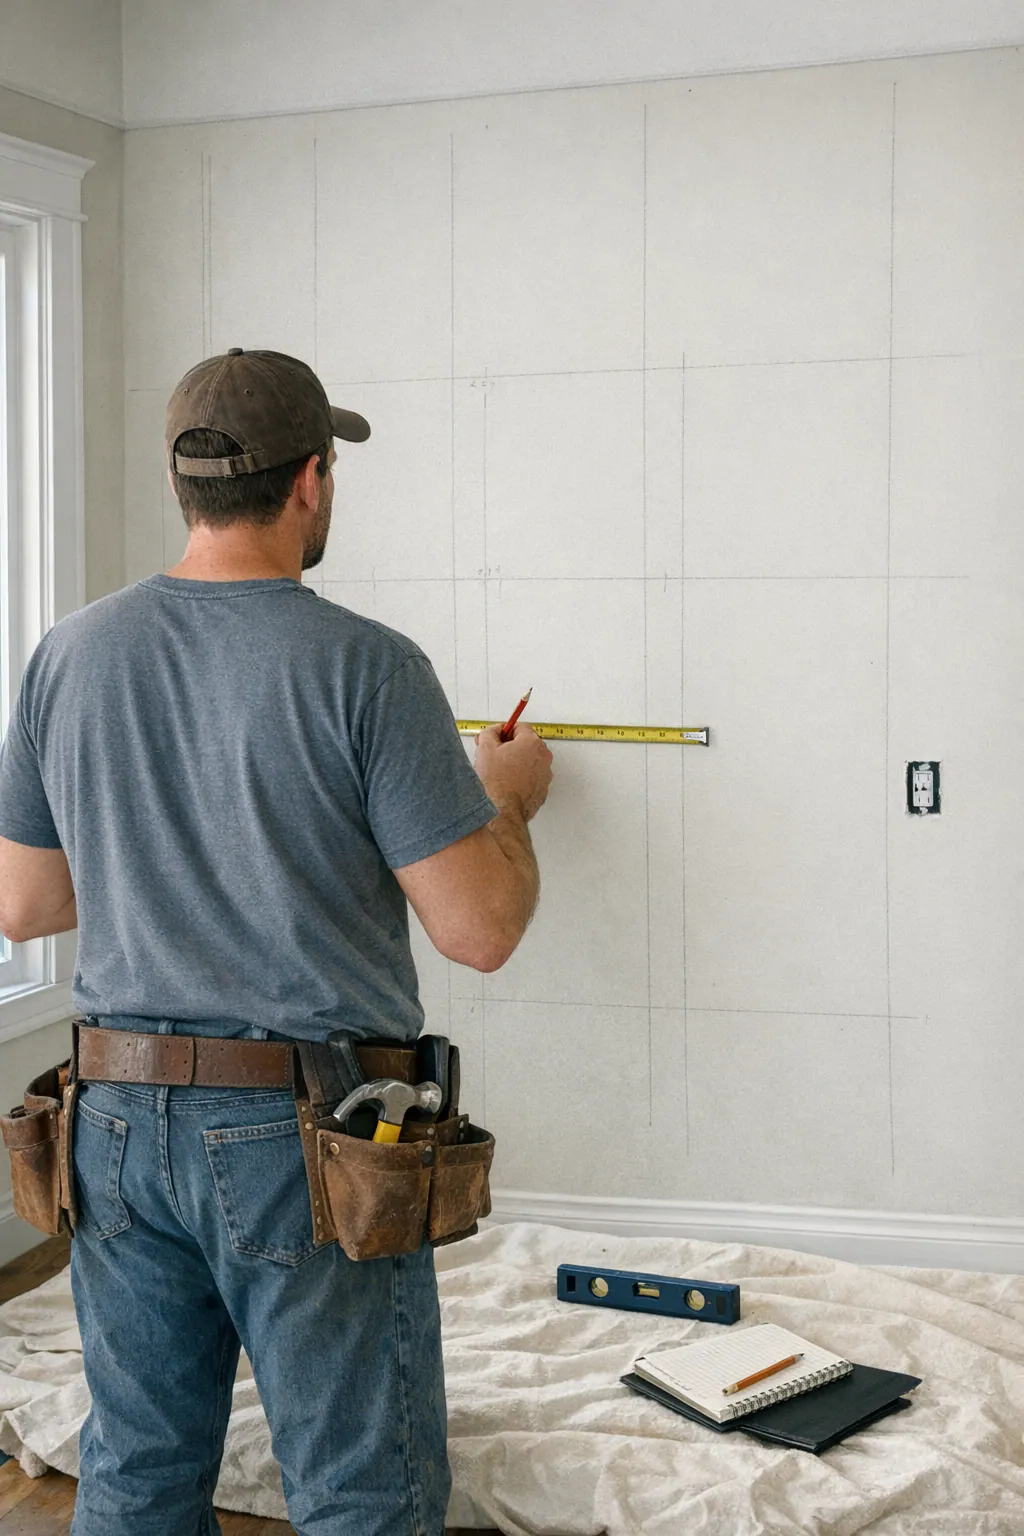
A strong installation is usually recognizable before the first piece is cut: the installer has a measured plan for the wall rather than relying on equal-looking gaps by eye. Ask a trim carpenter in North Port how the layout will be marked, whether the panel widths will be tested with a drawing or mockup, and how the final spacing will handle a corner, door casing, or off-center outlet. The goal is not always perfect symmetry; on a constrained wall, an intentional adjustment can look more balanced than forcing a narrow, awkward end panel.
Relevant portfolio photos should show more than a distant finished room. Look for close views of inside corners, rail-to-batten joints, transitions at baseboards, and the lines around openings. Clean cuts meet without conspicuous gaps, repeated reveals, the visible recessed spaces between trim pieces, remain consistent, and caulk lines soften trim-to-wall seams without smearing onto the face of the boards. A paint-ready surface has filled fastener holes, sanded repairs, and neatly prepared edges, so the finish coat can make the feature read as one composition.
It is also reasonable to ask how the wall condition changes the attachment approach. Fasteners provide mechanical hold, while adhesive can support a close fit against the wall; the appropriate combination depends on the trim design and the wall itself. The conversation should include how nearby flooring, furniture, and existing finishes will be protected, along with how uneven drywall will be handled rather than simply covered over.
- Request a clear written scope for baseboard or crown modifications, trim around windows and doors, outlet-related adjustments, surface preparation, caulking, and who handles primer and final paint.
- Share the intended paint plan early. A high-contrast North Port board and batten wall makes small irregularities more visible, while a same-color finish still depends on crisp joints and smooth preparation.
- Ask to see interior wall-trim examples comparable in scale and complexity to your room, not just unrelated finish carpentry.
Planning a Board and Batten Feature Wall
Begin planning at the wall you want the room to notice first. Photograph it straight on and from the main entry view, then record its width, ceiling height, and the locations of doors, windows, outlets, switches, vents, and thermostats. Include close photos of baseboards, crown, flooring, and nearby finishes so the layout can connect naturally instead of reading as an isolated addition.

- Choose the focal wall and note the furniture, artwork, or sightline it needs to support.
- Decide whether you want subtle same-color texture or a bold contrasting feature wall; contrast emphasizes every line, while a matched finish keeps the effect quieter.
- Save inspiration images that resemble your room's scale, ceiling height, and existing trim, not just a grid from a larger or less interrupted room.
- Identify fixed obstacles early so panel spacing, trim transitions, cuts, caulking, and paint preparation can be planned cleanly.
A custom board and batten North Port layout should feel proportioned to the room and finished with durable, paint-ready detail. Share your measurements, photos, and inspiration to discuss an installation approach tailored to your wall.
Plan the next step
Compare the broader Board and Batten Walls service.
Review the North Port, FL service area for local planning context.
When you are ready, request a free estimate with the rooms, trim goals, city, and available photos.
FAQs
What is a board and batten wall?
A board and batten wall is an interior trim treatment made with a horizontal rail and evenly spaced vertical battens that create framed wall panels. It adds depth and architectural structure to plain drywall.
Where does a board and batten wall look best in a North Port home?
Board and batten works best on a broad wall with few interruptions, such as an entryway, dining-room wall, sofa wall, or wall behind a bed. Walls broken up by multiple doors, windows, switches, vents, or outlets often need fewer and wider panels to avoid a crowded look.
How tall should a board and batten wall be?
Full-height board and batten suits tall, uninterrupted walls that need a strong architectural focal point. Lower-wall designs use a horizontal rail and leave the upper wall open for artwork, windows, or a calmer appearance, with rail height and panel proportions matched to the room’s ceiling height.
Can board and batten work around outlets, windows, and doors?
Yes, but the layout should be planned around fixed features before installation. Battens can terminate neatly at door or window casing, while outlets, switches, and thermostats can be centered within a panel, aligned with a horizontal break, or accommodated by adjusting the panel count.
What should I look for in a trim carpenter in North Port?
Look for a trim carpenter who creates a measured wall plan or mockup and can explain how panel spacing will work around corners, casings, and off-center outlets. Review close portfolio photos for consistent reveals, clean joints, filled fastener holes, smooth caulk lines, and paint-ready preparation.