
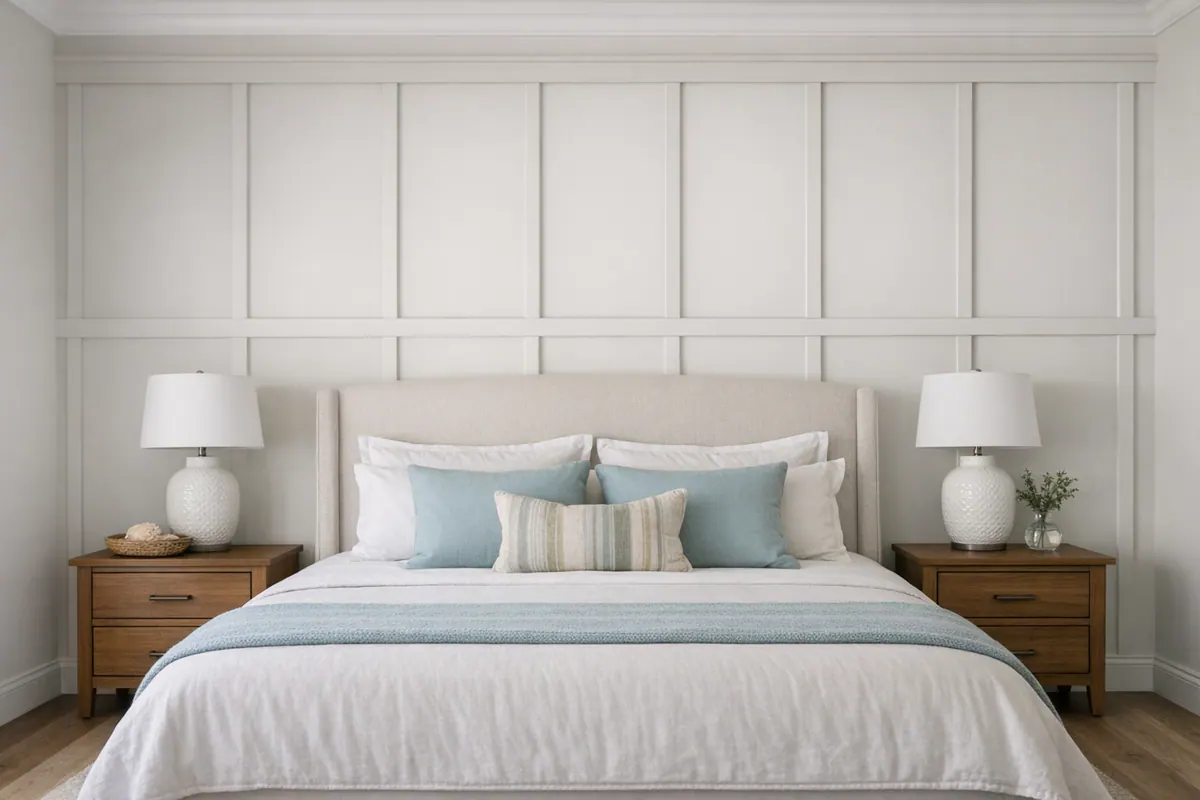
Start with the wall's interruptions: an uninterrupted stretch behind a bed or desk gives the pattern room to read as a focal point instead of competing with doors, windows, or bulky furniture. For Osprey homeowners, board and batten can make that plain surface feel more intentional without requiring a full-room remodel.
Vertical battens and horizontal rails create framed wall sections, but their proportions determine whether the result feels tailored. Wall width and ceiling height guide rail height and batten spacing; a layout balanced across the full wall looks composed, while cramped end sections or overly wide gaps can feel accidental. Bedrooms, entries, home offices, and dining rooms each need a layout that works with how the wall is seen and furnished.
Existing details matter just as much. Baseboards, door casings, outlet locations, wall texture, and nearby trim determine how the new work meets the room. Paint-grade MDF provides smooth, consistent profiles beneath paint, while wood trim can suit a project that calls for a particular profile or a closer match to existing millwork.
Professionally installed board and batten walls in Osprey rely on careful measuring, intentional layout, clean trim transitions, and thorough paint preparation. Seams, nail holes, and caulk lines need attention before paint goes on; otherwise, the wall's geometry can highlight every inconsistency. The goal is not simply to add strips to drywall, but to create a feature that looks like it belongs in the home.
What Board and Batten Adds to a Room
The eye reads the repeated vertical lines as rhythm, while the rails and recessed wall areas add shallow shadow and depth. That structure can make a bed, desk, sideboard, or entry console feel intentionally placed rather than left against a blank expanse. A board and batten wall in an Osprey, FL home is especially effective when it gives the room one clear visual anchor instead of competing with every surface around it.
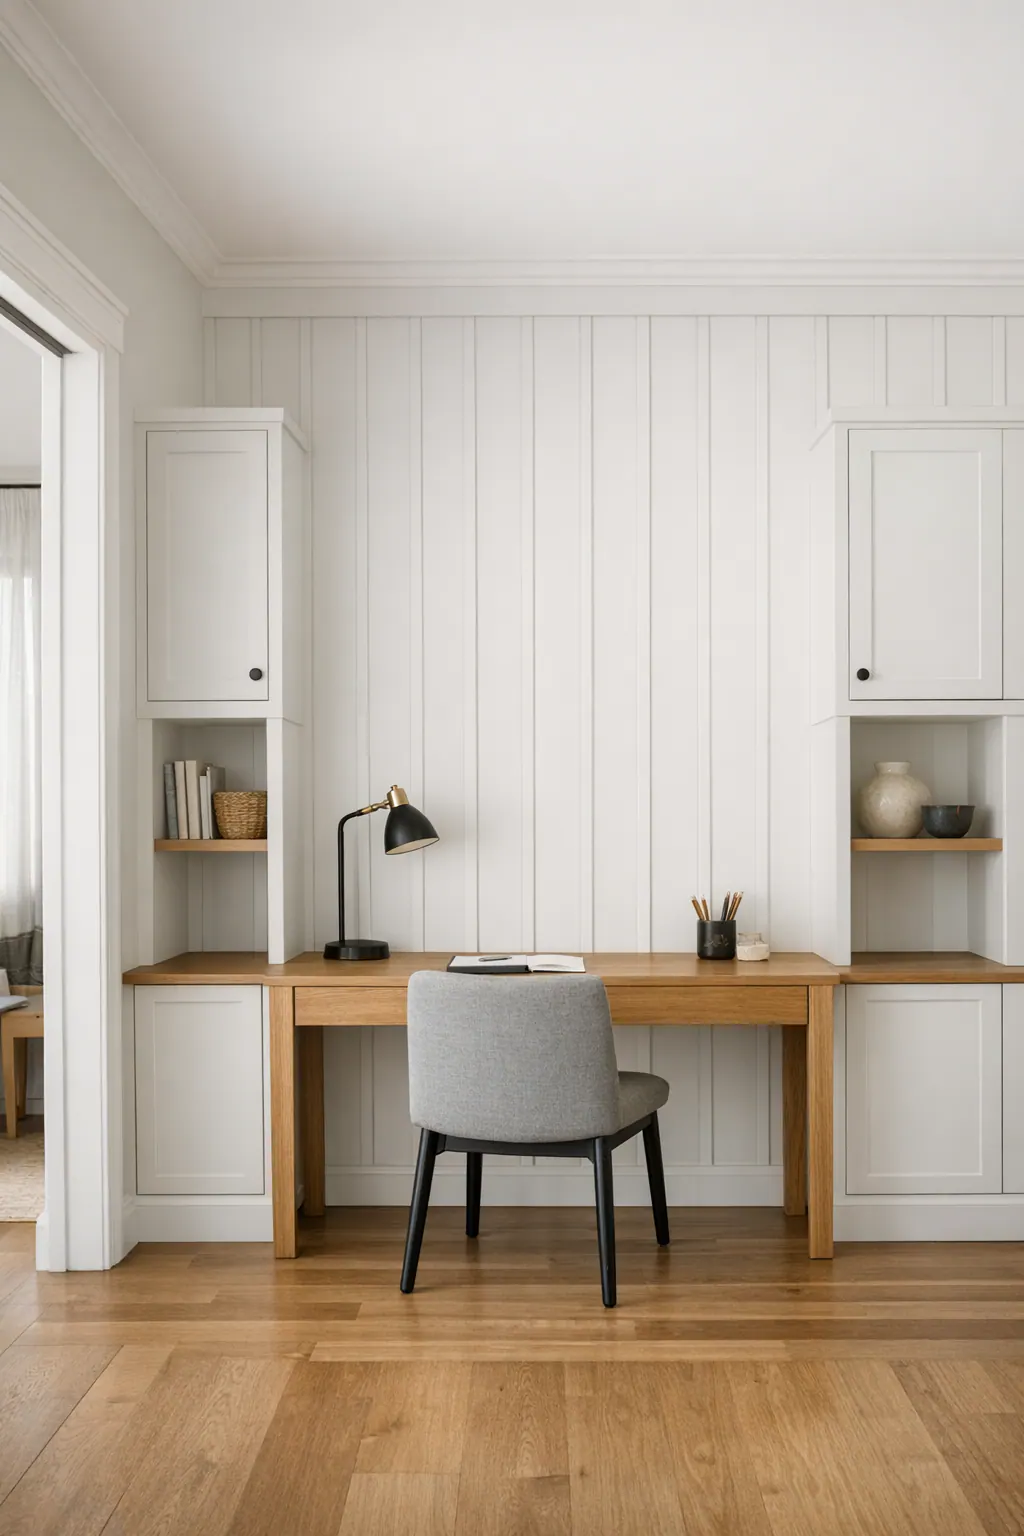
Proportional design is what keeps that anchor from becoming busy. On a wide wall with a taller ceiling, more generous panel widths and a rail set at an appropriate height can carry the scale of the room. On a narrower wall or one with a standard ceiling height, fewer, wider panels may look calmer than tightly repeated battens. The goal is a pattern that feels connected to the room's dimensions, not a grid squeezed into the available space.
Light and furnishings change the result, too. Natural light grazing across a painted feature wall can make its depth more noticeable, while a large upholstered headboard, tall bookcase, or substantial dining furniture calls for a layout that remains visible around it. A wall with enough open area above and beside the furniture usually reads as tailored; a layout mostly hidden by oversized pieces can lose its purpose.
Not every wall needs the treatment. A short run interrupted by several doors, windows, switches, or competing crown and casing profiles can look fragmented rather than finished. In those situations, keeping the wall simple, or choosing a cleaner, less divided layout, often gives the surrounding architectural details room to work together.
Where Board and Batten Works Best
Start with the wall that people naturally face or notice first. In a bedroom, that is often the wall behind the bed: the headboard sits within a deliberate frame, and the treatment establishes a focal point without asking the rest of the room to carry the design. A good bed wall has visible space at either side of the bed and enough clear area above it for the pattern to read.
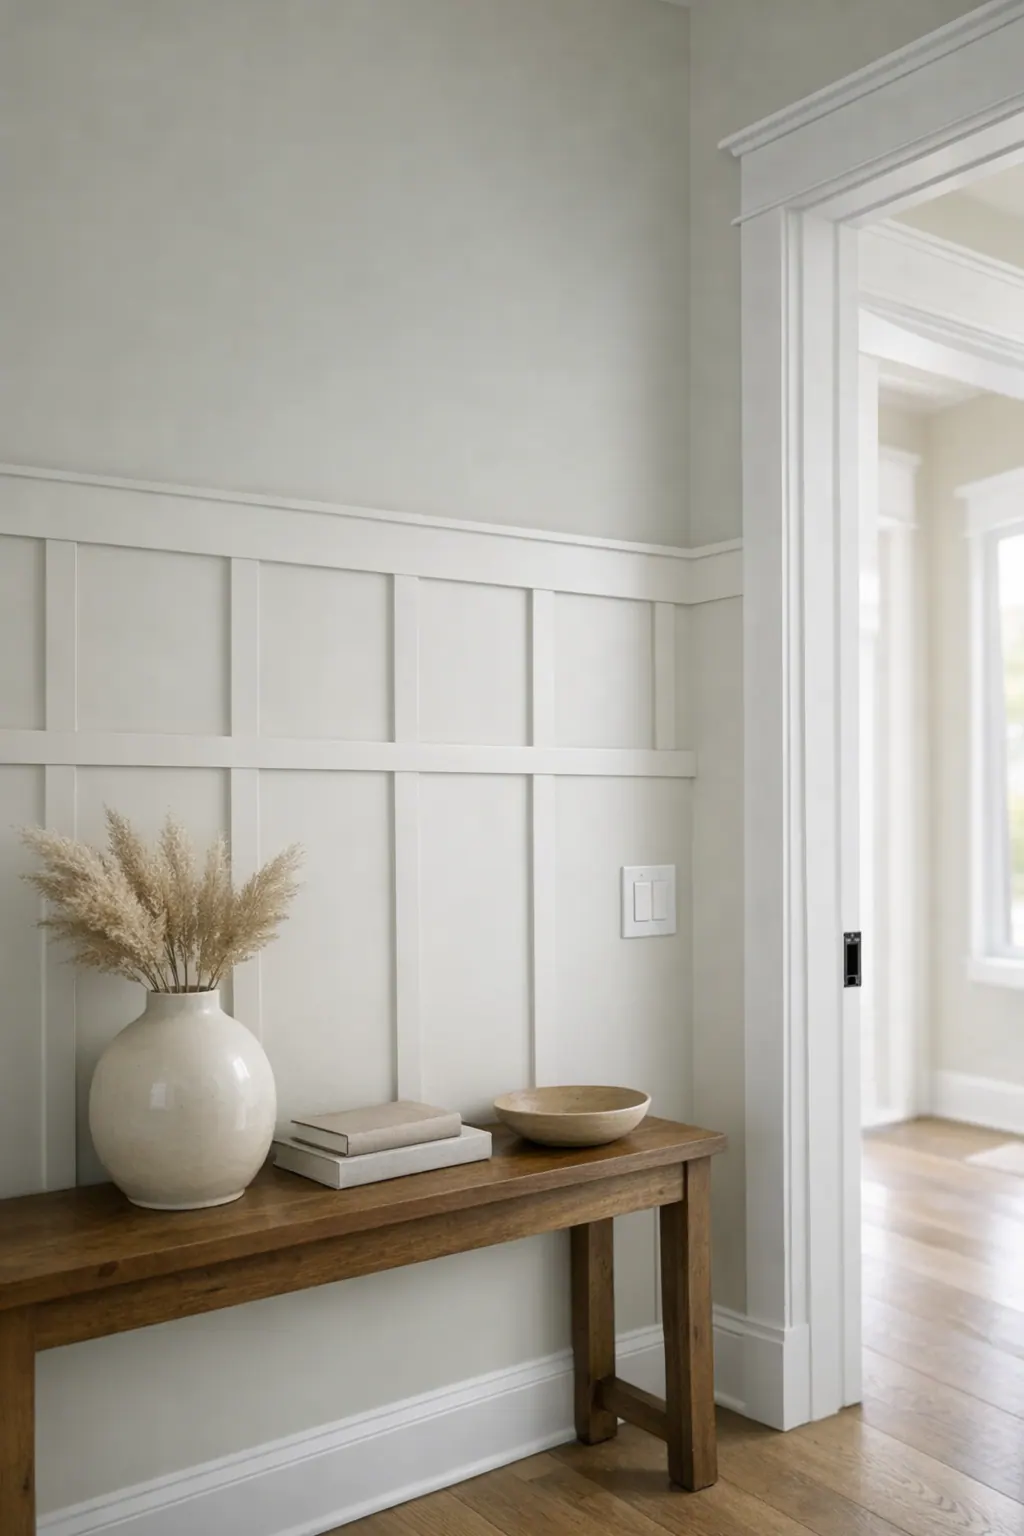
An entry or foyer benefits from definition at the moment someone arrives. Board and batten can give a console table, mirror, artwork, or hooks a more purposeful setting while separating the arrival zone from an adjoining open living space. The best candidate is usually the wall seen from the front door or main hallway, rather than a narrow stretch broken up by closet doors.
For a home office, the wall behind a desk can create a polished background for video calls and make a work area feel distinct from the rest of the home. Consider the camera angle as well as the doorway view: a balanced wall layout behind the chair is more effective than detailing a wall that remains out of sight during the workday.
In a dining room, a longer wall behind a sideboard or dining table can introduce a quieter sense of formality. Here, the treatment should support the furniture arrangement and leave room for sconces, art, or a mirror rather than crowding those elements.
A single accent wall Osprey FL homeowners choose often has more impact than wrapping every wall. It concentrates the detail where sightlines and furniture give it purpose. Full-room coverage can suit a simple room with broad, uninterrupted walls, but abundant windows, doors, built-ins, or decorative trim divide the pattern into smaller fragments. Selecting one clean focal wall lets the existing architecture remain visible and gives the finished space a clearer hierarchy.
During planning, furniture location and the views from the doorway, seating area, and adjoining rooms should guide the wall layout. That approach helps a board and batten accent wall in Osprey feel placed for the way the room is actually used, not merely added to the largest available surface.
The Details That Make a Board and Batten Wall Look Built In
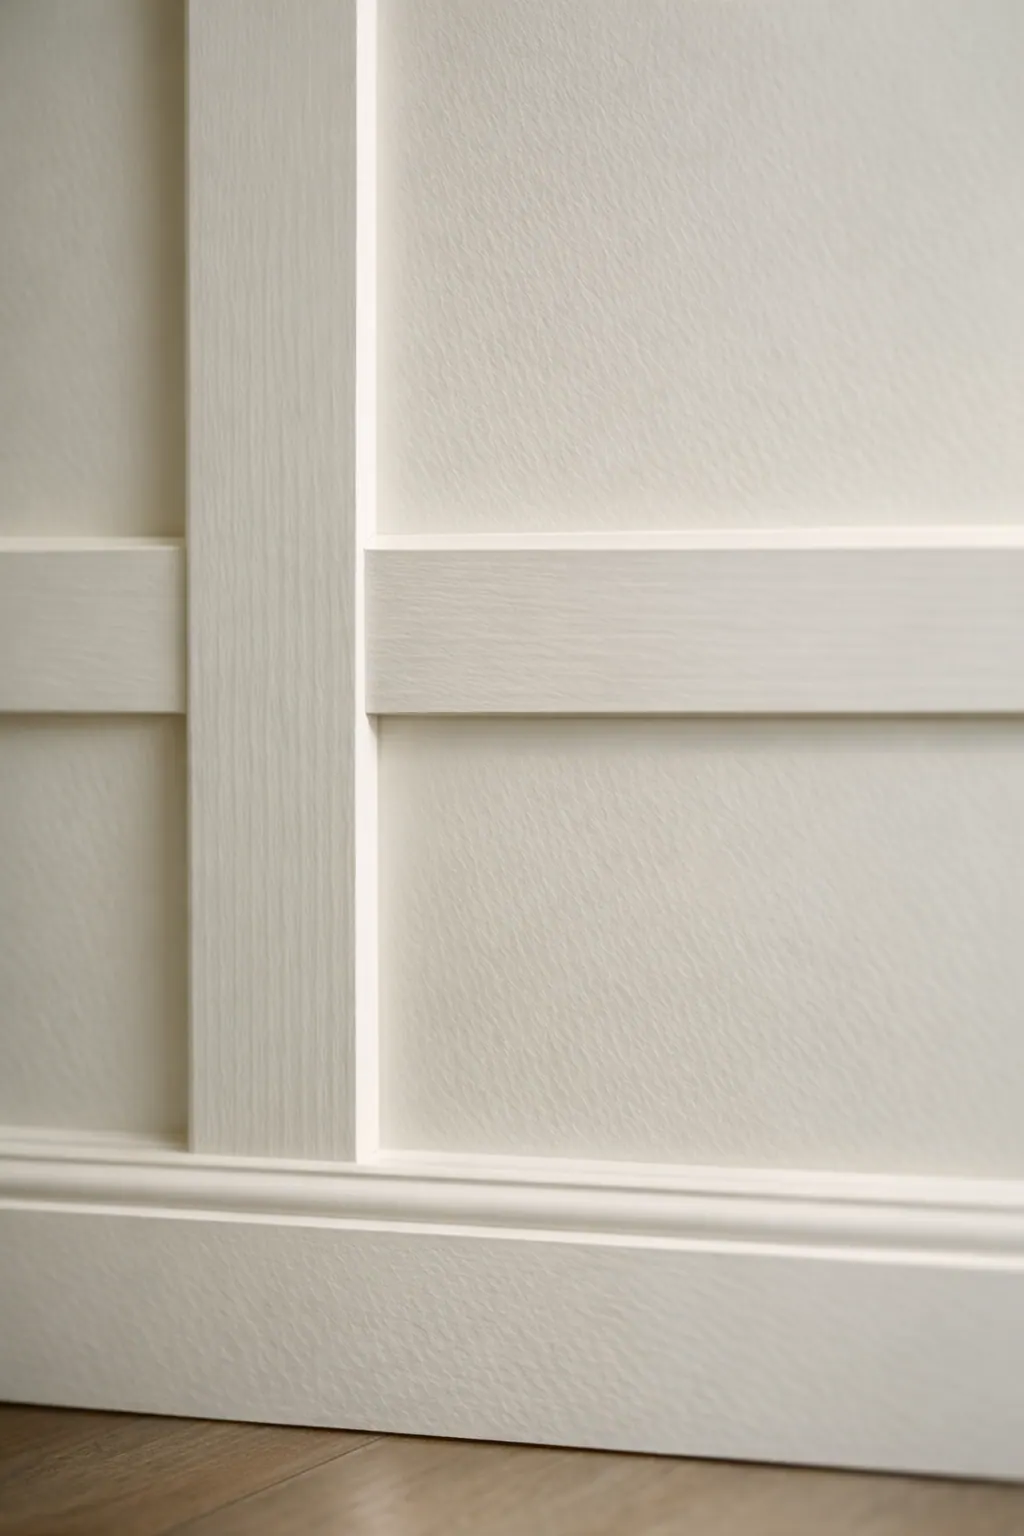
Built-in-looking trim begins with a layout that feels calm before any piece reaches the wall. The visible spaces between vertical battens should be balanced across the full width, not simply repeated from one side until a narrow, awkward panel is left at the other. A finish carpenter in Osprey can center the pattern on a bed, desk, doorway, or wall feature so the end panels read as intentional.
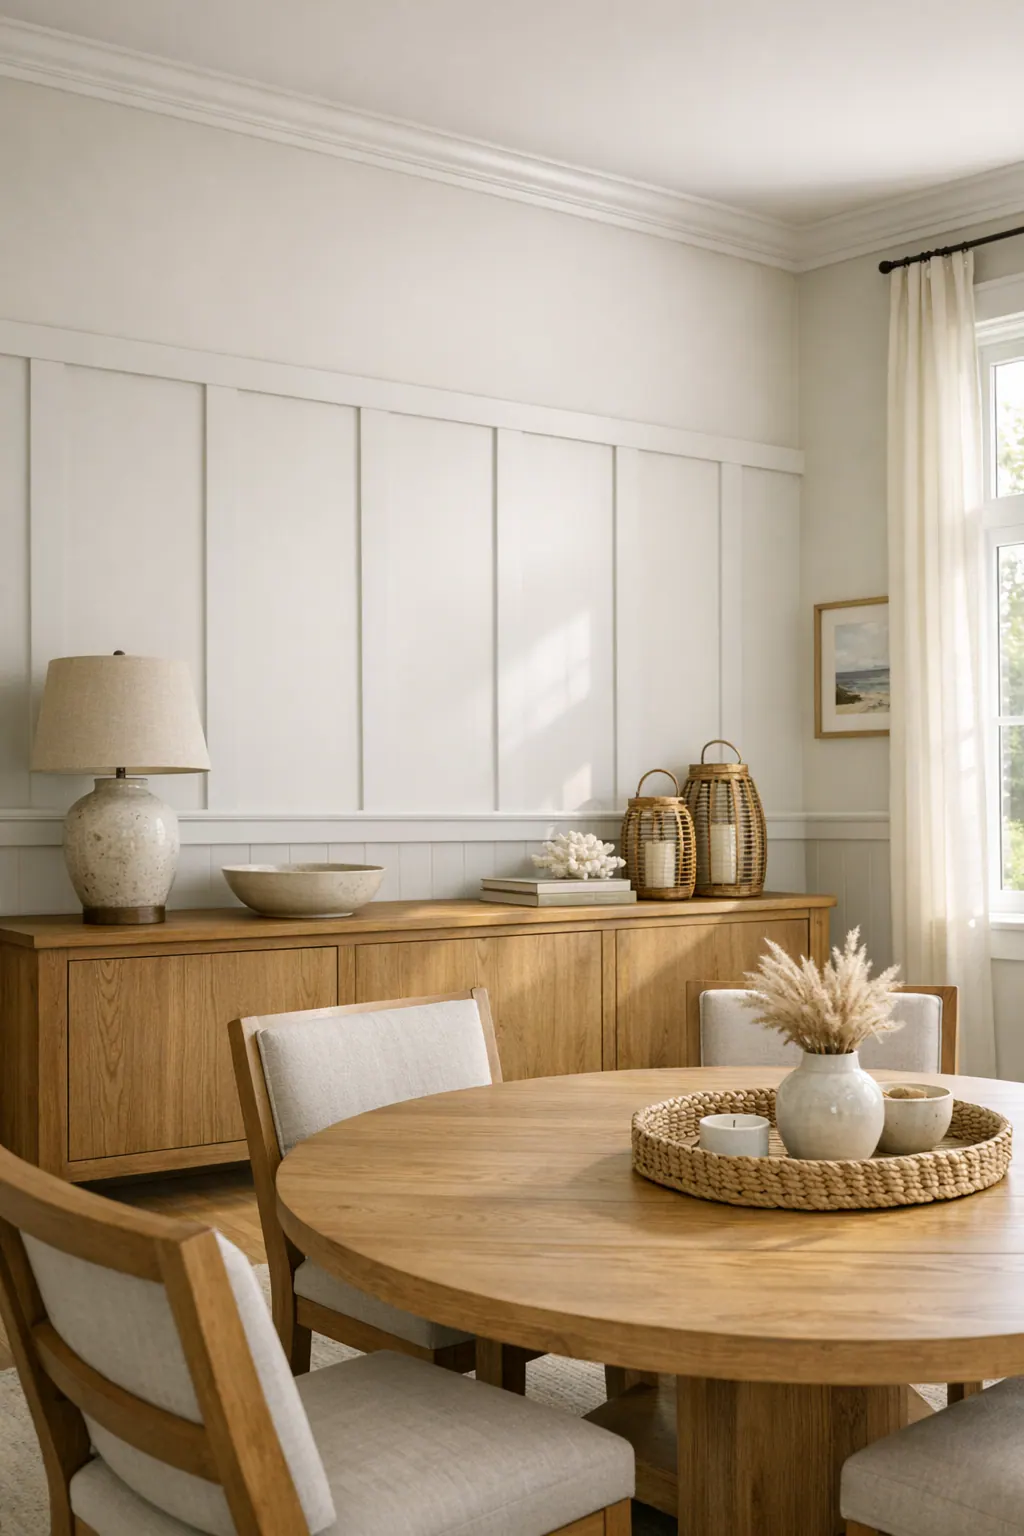
The horizontal rail establishes the treatment's main visual line, so its height needs to stay consistent as it travels around the room. It may meet an existing baseboard, sit above it, or align with a chair rail; each choice changes the wall's proportions and the amount of recessed wall visible above and below. Crown molding, window stools, door casing, and nearby trim profiles also determine where clean terminations can occur rather than forcing pieces to stop abruptly.
Outlets and switches deserve the same planning as the larger architecture. A strong layout either places a device within a panel with even margins or makes it part of a deliberate break in the pattern. Crowding a switch with a batten, or cutting a narrow trim strip around an outlet without regard for symmetry, draws attention to what should blend into the wall.
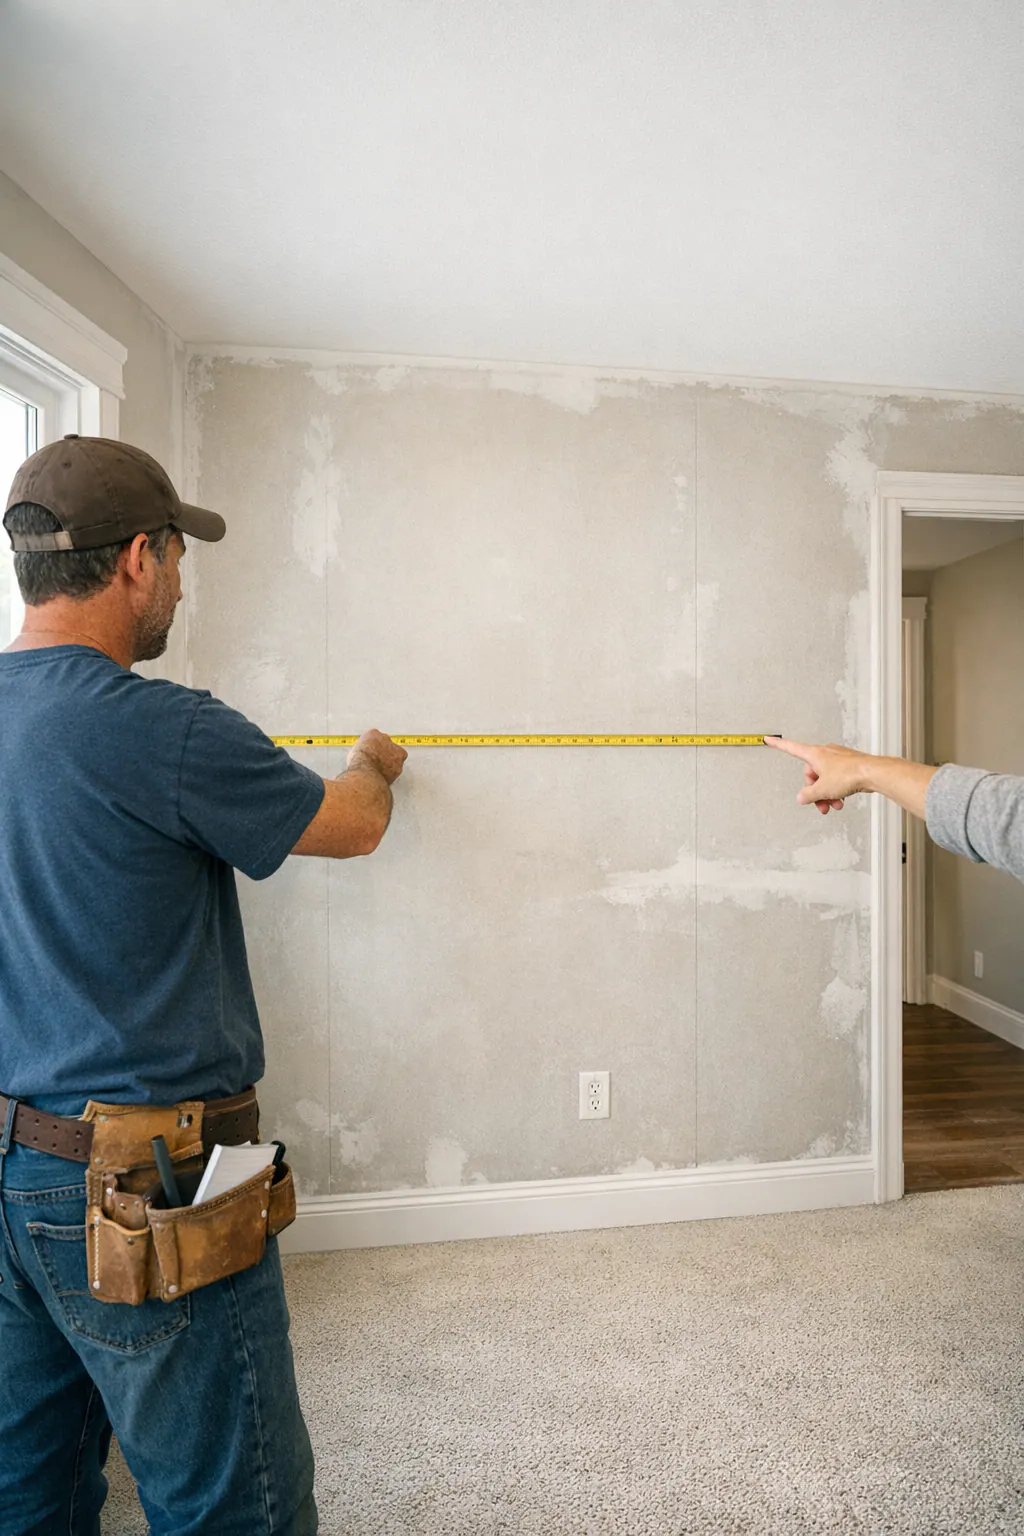
Before materials are cut, the wall should be measured for out-of-square corners, uneven drywall, shifted baseboards, and trim that has been painted or repaired repeatedly. Those conditions influence rail placement, filler details, and transition choices. Stud-aware fastening helps secure the work where it counts, while careful fitting keeps slight wall variations from becoming obvious gaps.
The finishing sequence matters just as much: tight intersections, filled nail holes, smooth seams, and controlled caulk lines allow paint to read as one integrated architectural feature. That is the difference between trim applied to a wall and board and batten Osprey FL homeowners can see as part of the room's original design.
Materials and Preparation for a Clean Painted Finish
Material choice shapes both the profile of the trim and the amount of surface refinement needed before paint. Paint-grade MDF is a smooth, uniform engineered trim option that suits crisp, simple painted profiles; wood trim offers natural grain and can be selected when a particular edge detail, existing woodwork, or design direction calls for it. Neither is automatically the right answer. The wall's condition, the desired trim scale, nearby molding, and the room's exposure to humidity or moisture should guide the recommendation.
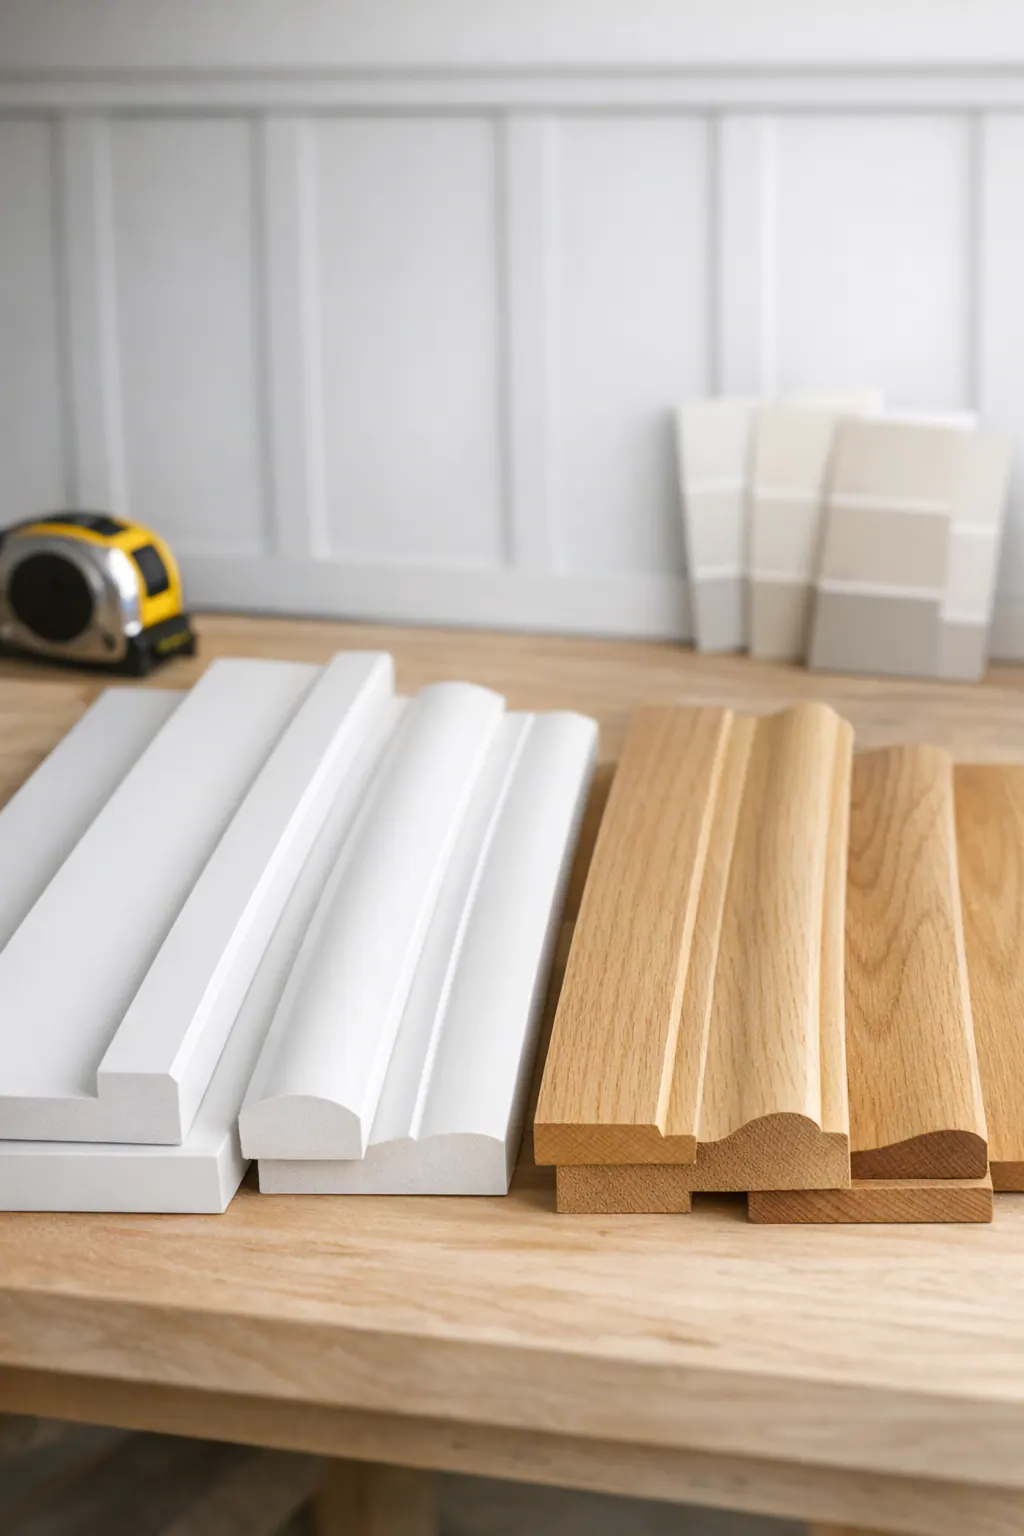
Florida interiors also call for a moisture-conscious conversation. A feature wall in a conditioned bedroom or office presents different considerations than trim near a frequently opened exterior door, a damp-prone area, or a wall affected by an unresolved leak. Selecting appropriate moisture-resistant materials where conditions warrant, while addressing the underlying wall condition first, helps keep the finish plan aligned with the space rather than relying on a one-material solution.
Preparation begins with the surface behind the battens. Heavy orange-peel texture, old paint ridges, hairline cracks, patched drywall, and uneven transitions at baseboards or casing can remain visible in the recessed panels after the new trim is installed. A careful inspection identifies where sanding, patching, skim work, or a transition adjustment will give the painted wall a more even appearance.
The final painted look depends on the small corrections that disappear when they are done well. Nail holes are filled and sanded smooth, joints are treated so they do not read as dark lines, and paintable caulk is applied in controlled beads where trim meets wall or adjoining pieces. After the surface is cleaned and properly prepared for paint, the rails and battens read as one continuous architectural detail instead of a collection of separate parts.
Why Skilled Finish Carpentry Matters for Board and Batten Installation
The installation plan is where a good-looking idea becomes a wall that reads as intentional from every angle. During an on-site consultation, a skilled finish carpenter evaluates the wall width and height alongside baseboards, door casing, windows, outlets, switches, and any uneven drywall. The visual concept can then be matched to the room rather than forced onto it: a centered focal point may suit a bed or desk, while a layout that respects a nearby doorway may be the better choice in an entry.
Before cutting begins, the layout is measured across the complete wall, not just marked at repeating intervals from one end. That makes it possible to balance the outer panels, establish a consistent rail line, and account for the actual stud location where fastening will occur. It also reveals potential conflicts early, such as a baseboard that needs a clean transition or an electrical cover that would otherwise land awkwardly in the middle of a batten.
For board and batten installation in Osprey, careful site work matters as much as the visible trim. The workspace should be protected, pieces cut accurately, and rails and battens installed with tight, deliberate intersections. Around outlets, switches, casing, and uneven wall areas, the goal is not simply to continue the pattern; it is to make each interruption look resolved. A clean cutout and aligned cover plate look integrated, while a squeezed partial panel or shifted trim height draws attention for the wrong reason.
A qualified finish carpenter in Osprey also carries the work through its paint-ready stage. That means checking joints, filling and sanding fastener marks, refining seams, and applying controlled caulk lines before paint. Those steps help avoid the weak signals of rushed trim work: uneven spacing, exposed seams, mismatched transitions, and details that appear assembled instead of built in.
Plan a Board and Batten Feature Wall That Fits Your Osprey Home
A productive consultation starts with a clear picture of the room, not a fully finished design. Share a few photos taken straight on and from the doorway, along with approximate wall width and ceiling height. Those basics show whether a bedroom bed wall has room for balanced side panels, whether an entry has door or switch interruptions, or whether a dining-room treatment should relate to a chair rail, sideboard, or nearby openings.
Inspiration images are useful when paired with the reason you like them. A photo may point to taller panels, a slimmer trim profile, a particular rail height, or a monochromatic paint treatment. Bring paint preferences, too: matching the wall color creates quiet texture, while a contrasting color makes the grid of the layout more prominent. Details about existing baseboards and crown molding help determine whether the new work should meet, continue, or visually transition from the trim already in place.
Schedule a consultation for Osprey board and batten walls in a bedroom, entry, home office, or dining room. The conversation should lead to a tailored design and installation recommendation for the actual wall, one that accounts for its dimensions, surrounding trim, furnishings, openings, and the finish you want to live with every day.
Plan the next step
Compare the broader Board and Batten Walls service.
Review the Osprey, FL service area for local planning context.
When you are ready, request a free estimate with the rooms, trim goals, city, and available photos.
FAQs
Which rooms are best for a board and batten accent wall?
Bedrooms, entries, home offices, and dining rooms work especially well when they have a broad, uninterrupted wall. The strongest choices are often the wall behind a bed or desk, the entry wall seen from the front door, or a dining wall behind a sideboard.
Should board and batten go behind a bed or on every wall?
A single board and batten wall behind a bed often creates a clearer focal point than wrapping every wall. Choose a bed wall with visible space on both sides of the bed and enough open area above the headboard for the pattern to remain visible.
What spacing should board and batten use on an accent wall?
Batten spacing should be balanced across the entire wall so the end panels do not become narrow or awkward. Wider walls and taller ceilings can support more generous panel widths, while narrower walls often look calmer with fewer, wider panels.
Can board and batten be installed over textured walls?
Yes, but heavy orange-peel texture, paint ridges, cracks, patches, and uneven drywall can remain visible in the recessed panels. Sanding, patching, skim work, and careful transition adjustments should be completed before installation for a smoother painted finish.
Is MDF or wood better for board and batten in Florida homes?
Paint-grade MDF provides smooth, consistent painted profiles, while wood trim can better match existing millwork or provide a specific edge detail. In Florida, moisture exposure matters: use moisture-resistant materials where needed and correct leaks or damp wall conditions before installation.