
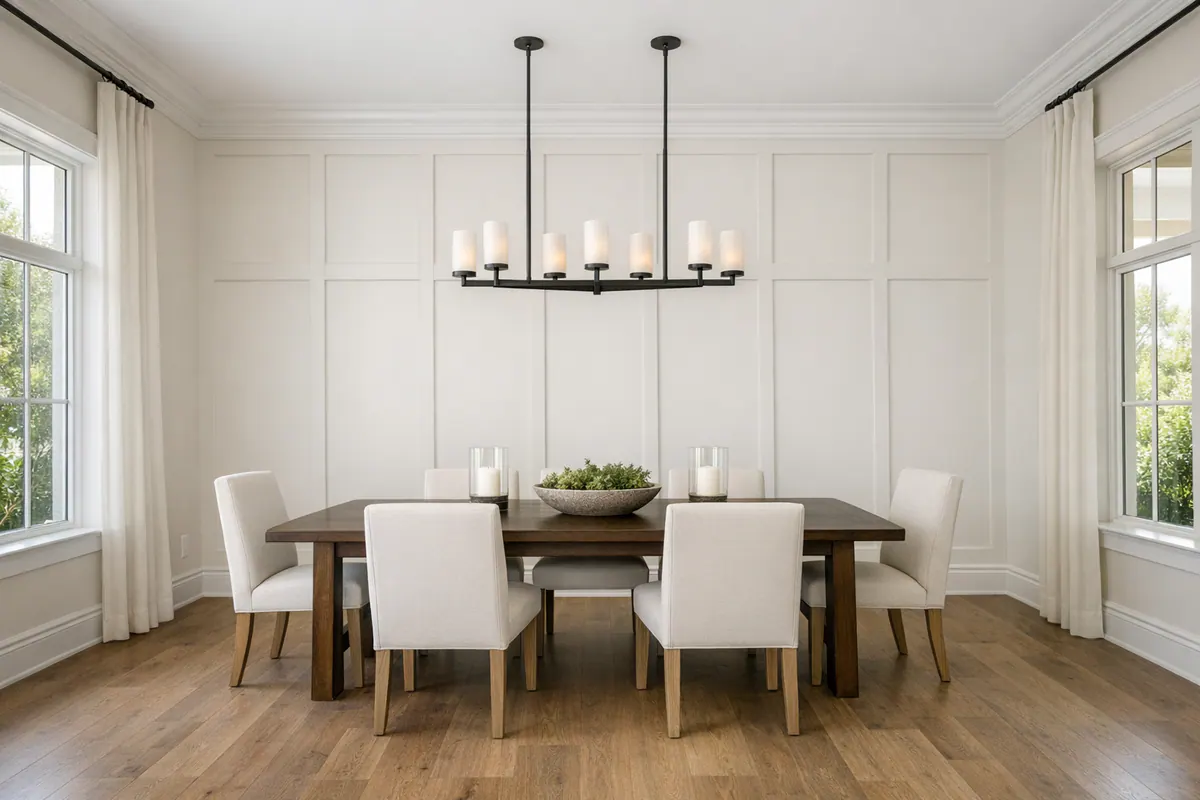
Board and batten works best as a tailored architectural accent, not a repeated panel pattern applied to every available wall. For board and batten Palmer Ranch projects, the design should begin with the room's own cues: ceiling height, usable wall width, door and window openings, existing baseboard and crown profiles, and where furniture naturally creates a focal point.
An intentional layout has balanced outer margins, panel widths that suit the wall, and rails that meet surrounding trim with purpose. A weaker result often shows up as skinny, uneven boxes at the ends, battens crowded around switch plates, or a new profile that looks disconnected from the baseboard. Paint-ready finish work matters just as much: smooth wall preparation, cleanly filled fasteners and joints, tight caulk lines, and an even painted surface keep the treatment reading as built-in millwork rather than attached strips.
The next decisions are room-specific. A bedroom feature can anchor the bed, a dining-room treatment can frame the table or sideboard, a foyer can establish a composed first impression, and a home-office wall can add structure behind a desk or shelving. Each calls for a different focal wall, height, and level of formality.
Choosing the Right Wall: Bedrooms, Dining Rooms, Foyers, and Home Offices
A wall earns feature status when it already carries the room's visual weight, typically where the eye lands first or where the main furniture grouping naturally settles.
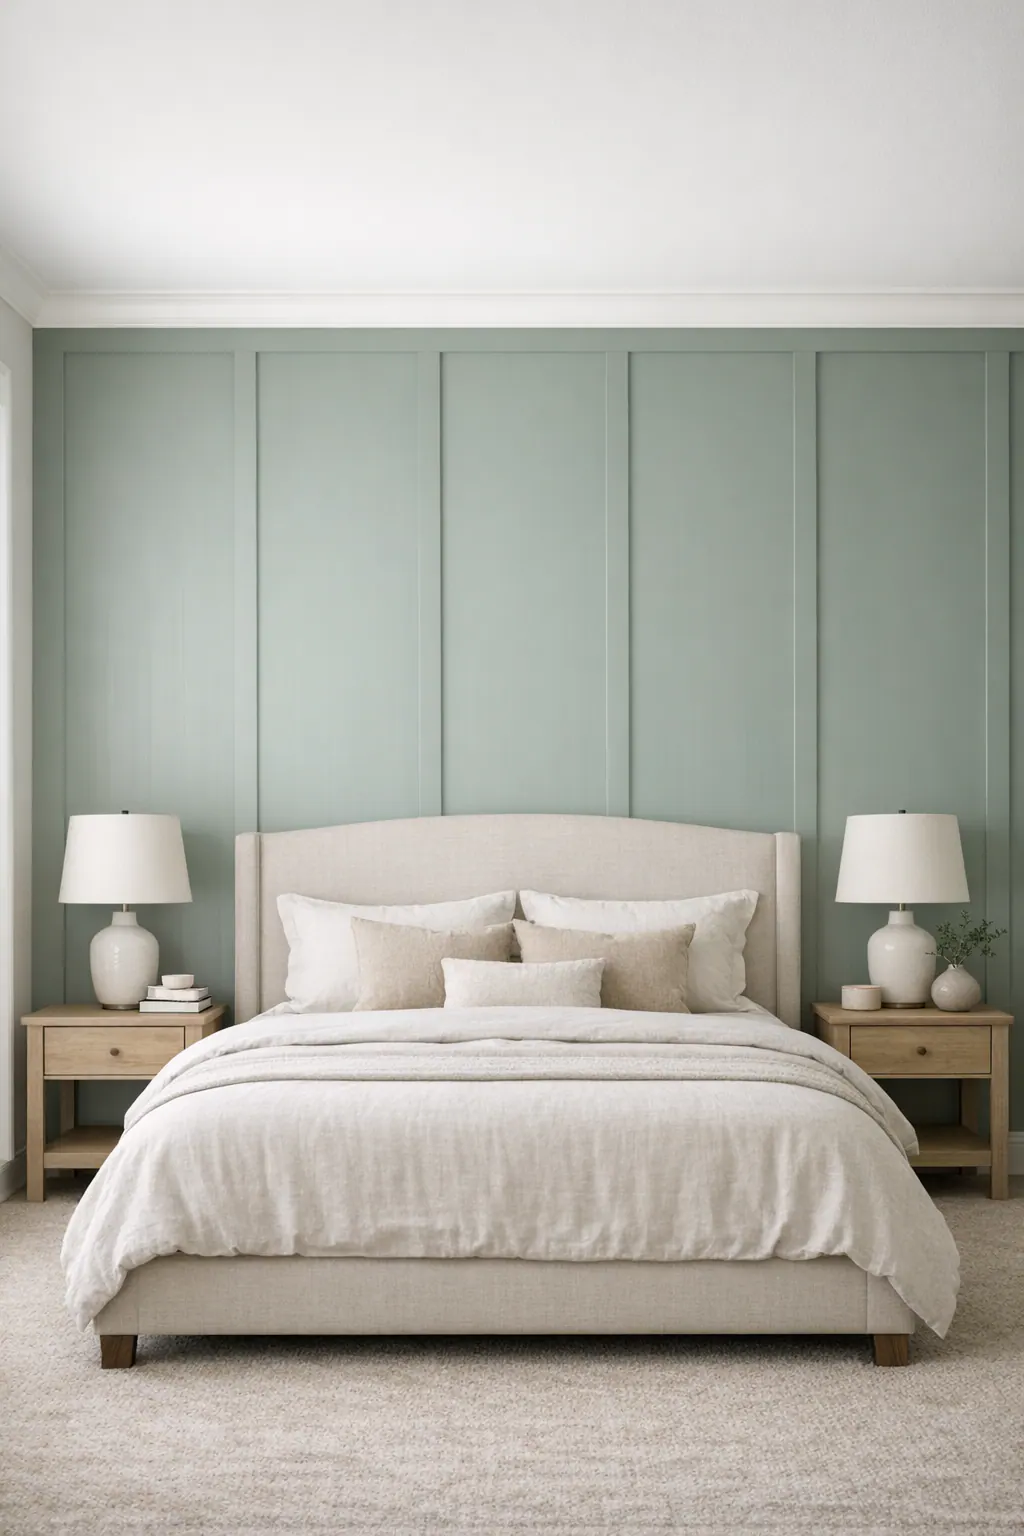
- Bedrooms: The wall behind the bed is often the clearest focal wall because the headboard, nightstands, and centered artwork create an orderly composition. A tailored grid can extend the bed's visual width and give a simple upholstered headboard more presence. The strongest layouts leave deliberate space at each side instead of forcing narrow end panels around nearby doors or windows.
- Dining rooms: Choose the elevation that frames the dining table, buffet, or sideboard rather than treating every wall. Board and batten can give a long table a sense of enclosure or provide a calm architectural backdrop for a serving piece and art. Door and window alignment matters here: openings should feel incorporated into the composition, not like interruptions that leave random strips of trim.
- Foyers: An accent wall Palmer Ranch homeowners see upon entry can establish polish quickly, especially on a wall visible from the front door. Keep the treatment on an elevation that does not compete with a busy stair, console, gallery arrangement, or a tight passage. The goal is arrival impact without making a circulation area feel visually boxed in.
- Home offices: Behind a desk, board and batten creates a composed background for daily work and video calls. It works best when the desk is centered or intentionally offset with a balanced companion element, such as a cabinet or artwork, rather than backed by crowded shelving.
Some walls are better left quiet. Multiple doors, very narrow fragments, deep built-ins, prominent fireplaces, or strong existing architectural details can make a panel layout feel busy instead of tailored. In those cases, a single well-chosen focal wall delivers more refinement than spreading the treatment across competing elevations.
Balanced Layouts Start With Proportion, Spacing, and Ceiling Height
The grid should be drawn around the wall's usable field, not forced into a row of equal-looking boxes. That means accounting for the baseboard, ceiling line, door casings, windows, and the clear wall area that remains. Vertical battens establish the rhythm; the framed wall boxes between them should look intentional in width and height. Strong layouts use matching or visually balanced edge margins, repeat a considered panel size where the wall allows it, and avoid a thin leftover panel at one end. Uneven narrow boxes and arbitrary spacing are immediate signs that the wall was divided after the fact rather than composed.
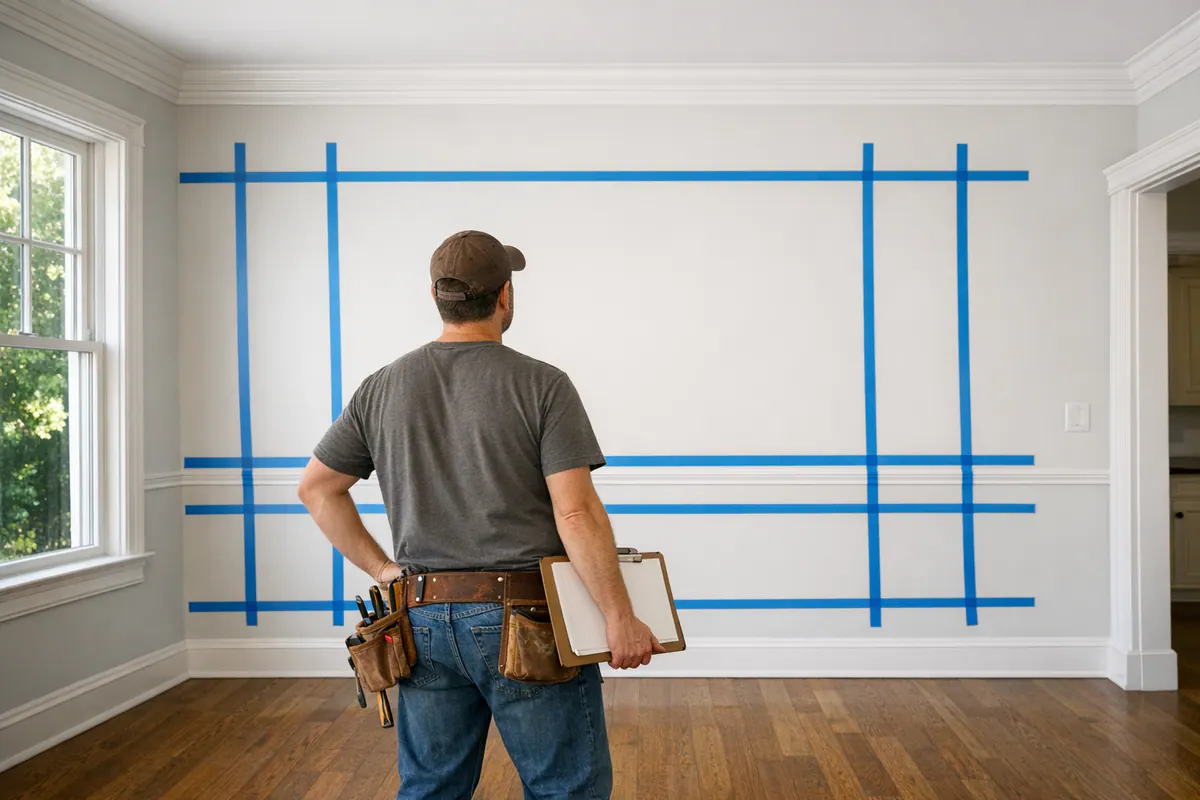
Ceiling height changes the proportions. On a wide uninterrupted wall, slightly broader panels can keep the pattern from feeling fussy. On a wall broken by a doorway or window, the layout may center on the opening, use it as a natural boundary, or create balanced sections to either side instead of pretending the interruption is not there. For custom board and batten Palmer Ranch projects, a measured layout lets horizontal rails align deliberately with nearby trim and furnishings rather than landing at an accidental visual height.
Full-height board and batten runs from the baseboard area toward the ceiling, creating a taller, more architectural backdrop. It is especially effective where a bed, desk, or dining furniture gives the wall a clear center, and where enough vertical space lets the pattern breathe. In a low-ceilinged room, however, too many horizontal divisions or small stacked boxes can compress the wall and make the ceiling feel closer.
A lower-wall treatment with a chair rail stops at a planned horizontal line and leaves the upper wall plain. It reads more traditional and can give a dining room or foyer a grounded, tailored perimeter without covering the entire elevation. The tradeoff is that the rail becomes a strong visual line: placed too high, it can make the upper wall feel shallow; placed without regard to windows, furniture, or adjacent trim, it can cut the room awkwardly in two.
Lower ceilings call for restraint, fewer, wider panels, modest trim scale, and a rail height chosen to support the room rather than dominate it. A refined result is less about maximizing the number of boxes and more about leaving each line enough space to look calm, aligned, and purposeful.
Integrating Board and Batten With Existing Trim, Windows, Doors, and Outlets
The details at the edges determine whether the feature reads as part of the room or as trim applied over it. A board-and-batten assembly can continue cleanly from an existing baseboard profile, or it can use a new, intentionally coordinated base and cap rail. Either approach can look tailored; the weak version is a thin new board layered awkwardly against a heavier baseboard, or a rail that dies abruptly into door casing without a deliberate transition.
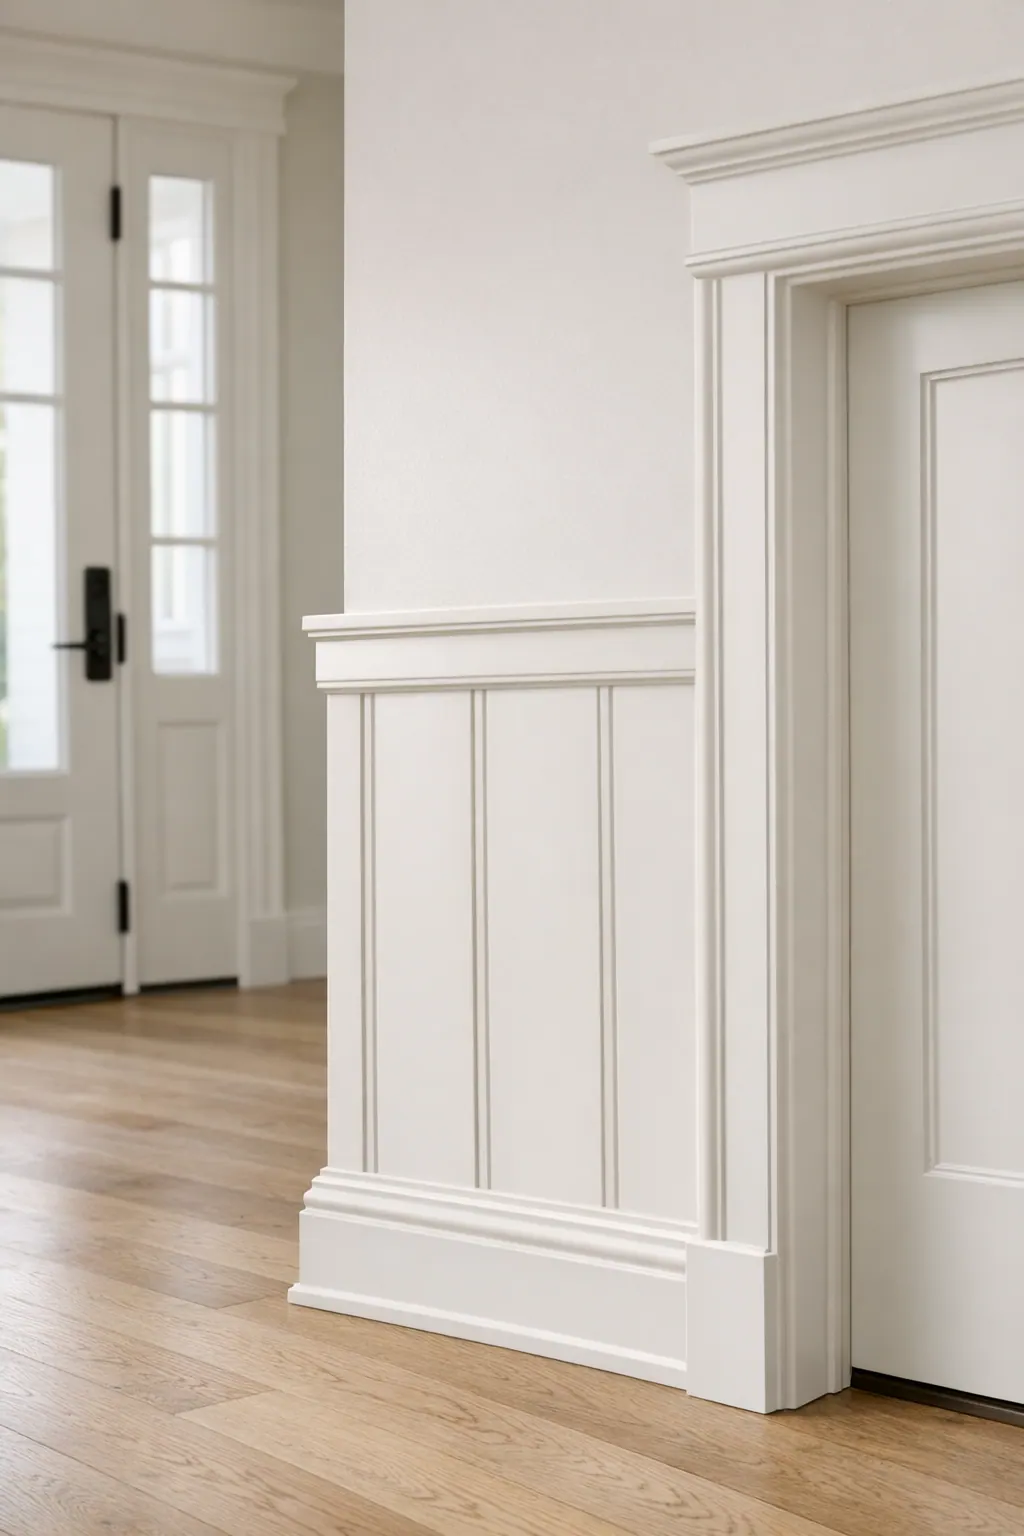
Crown molding, door casings, and window trim establish the room's visual vocabulary. Matching their general scale and profile creates continuity, while a simpler square-edged rail can provide a quiet contrast in a more contemporary space. The important checkpoint is the meeting line: trim should terminate squarely against casing, return cleanly where appropriate, and appear planned rather than pinched into the last available inch.
Windows and doors do not have to interrupt the design; they can organize it. A dining-room window may become the centerline for panels on either side, while a home-office door can define a separate, simpler wall section. Switch plates and outlet placement deserve the same advance attention. A refined layout avoids leaving a device stranded against the edge of a batten or forcing a narrow sliver of trim around it. When possible, a plate sits comfortably within a panel field; when that would create an awkward pattern, fewer panels or a revised rail arrangement is usually the better choice.
Before any trim is cut, the wall should be mapped with casing edges, window stools, device boxes, and intended fastening locations in view. This is especially useful on a foyer wall with several controls or a bedroom wall interrupted by outlets near the bed. Simplifying a pattern is not a compromise in finish quality, it is often what preserves clear sightlines, proper attachment, and paint-ready joints instead of producing crowded terminations.
Materials and Finish Details That Support a Refined Painted Result
Material choice should follow the wall's condition, trim profile, and intended paint finish rather than a blanket preference. MDF trim can suit a clean, painted interior feature where a uniform square or simple molded profile is the goal. Paint-grade wood may be a better fit when the design calls for a particular edge detail, a coordinated transition, or stock that needs to be selected piece by piece for the wall. Neither choice automatically creates a more elevated result; straight, consistent pieces that suit the scope matter more than the label on the material.
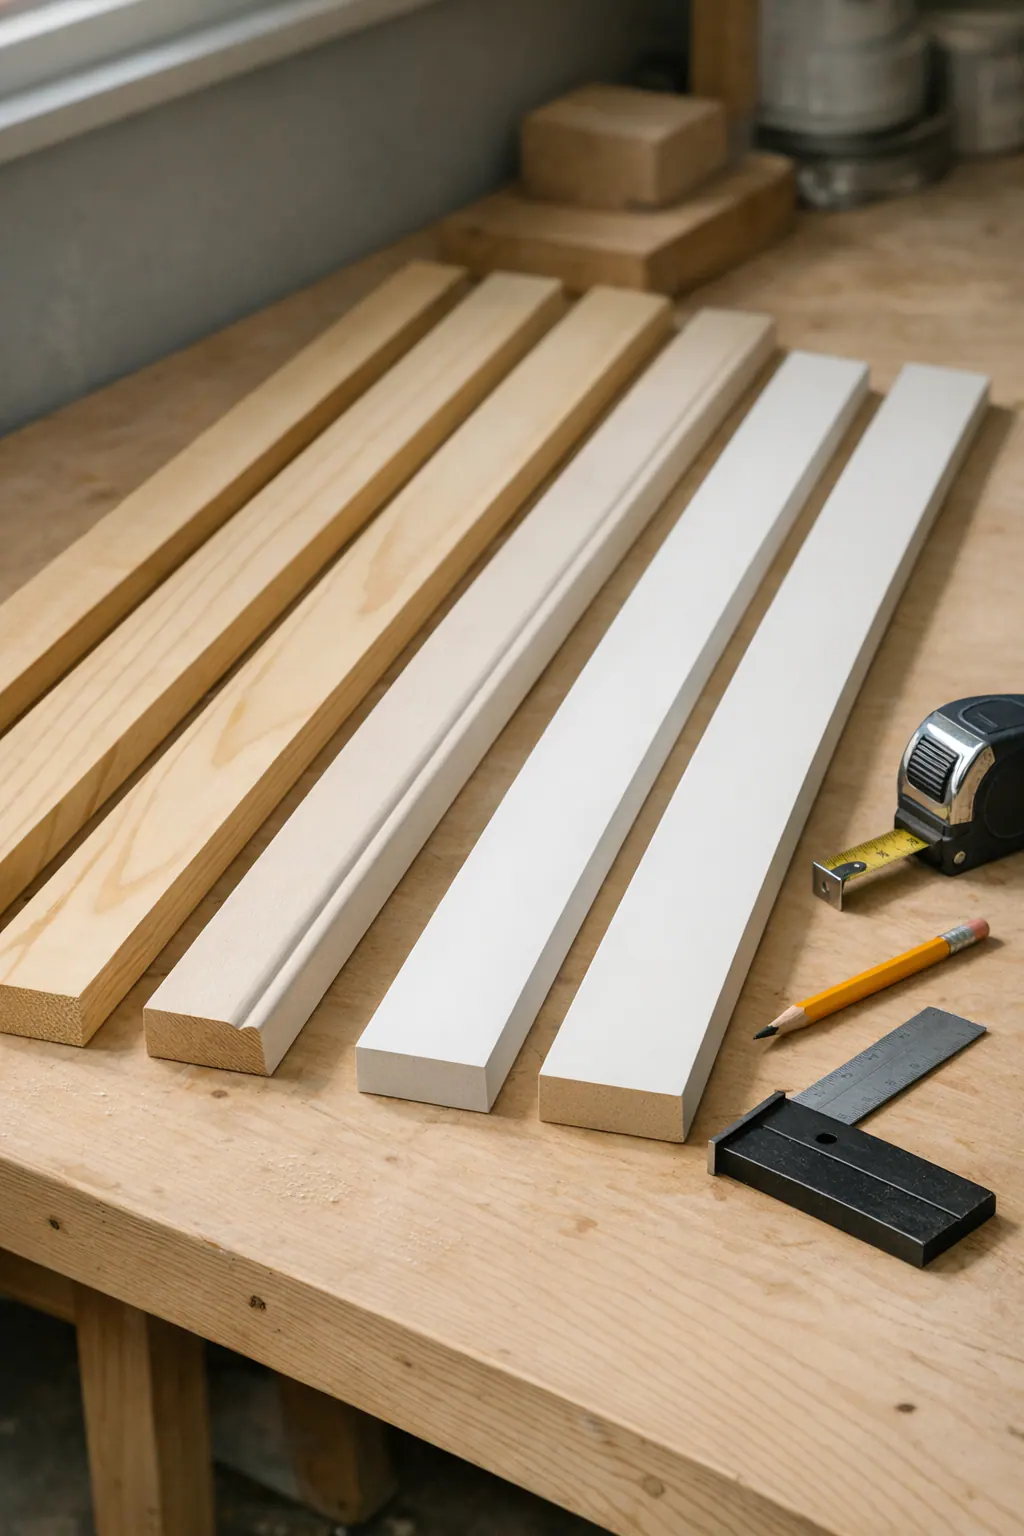
Surface preparation is where the finished wall either gains polish or gives away the work. Smooth wall preparation provides a quiet background for the panel pattern, while flat stock helps rails and battens sit without visible waviness. After fastening, fastener marks should be filled, joints should meet tightly, and the reveal around each panel should remain visually consistent. Warped pieces, open seams, rough drywall, or uneven gaps can remain noticeable even after a fresh coat of paint.
Caulk and paint should finish the assembly, not disguise poor fit. Controlled caulk lines soften the small transition between trim and wall without becoming thick, irregular ridges. A careful paint finish then unifies the rails, battens, filled nail holes, and surrounding wall into one intentional accent. For board and batten Palmer Ranch homeowners seeking an upper-mid finish, the useful standard is simple: crisp corners, smooth transitions, and a calm painted surface, not merely more decorative strips on the wall.
What a Finish Carpenter Brings to a Custom Accent Wall
A successful custom wall begins before trim arrives. A finish carpenter assesses the usable wall area alongside ceiling lines, baseboards, crown, casings, windows, controls, and furniture placement, then discusses whether the room calls for a quiet backdrop or a more formal architectural statement. That early review is particularly valuable in a foyer, dining room, or office where the wall stays in clear view and small alignment errors are hard to ignore.
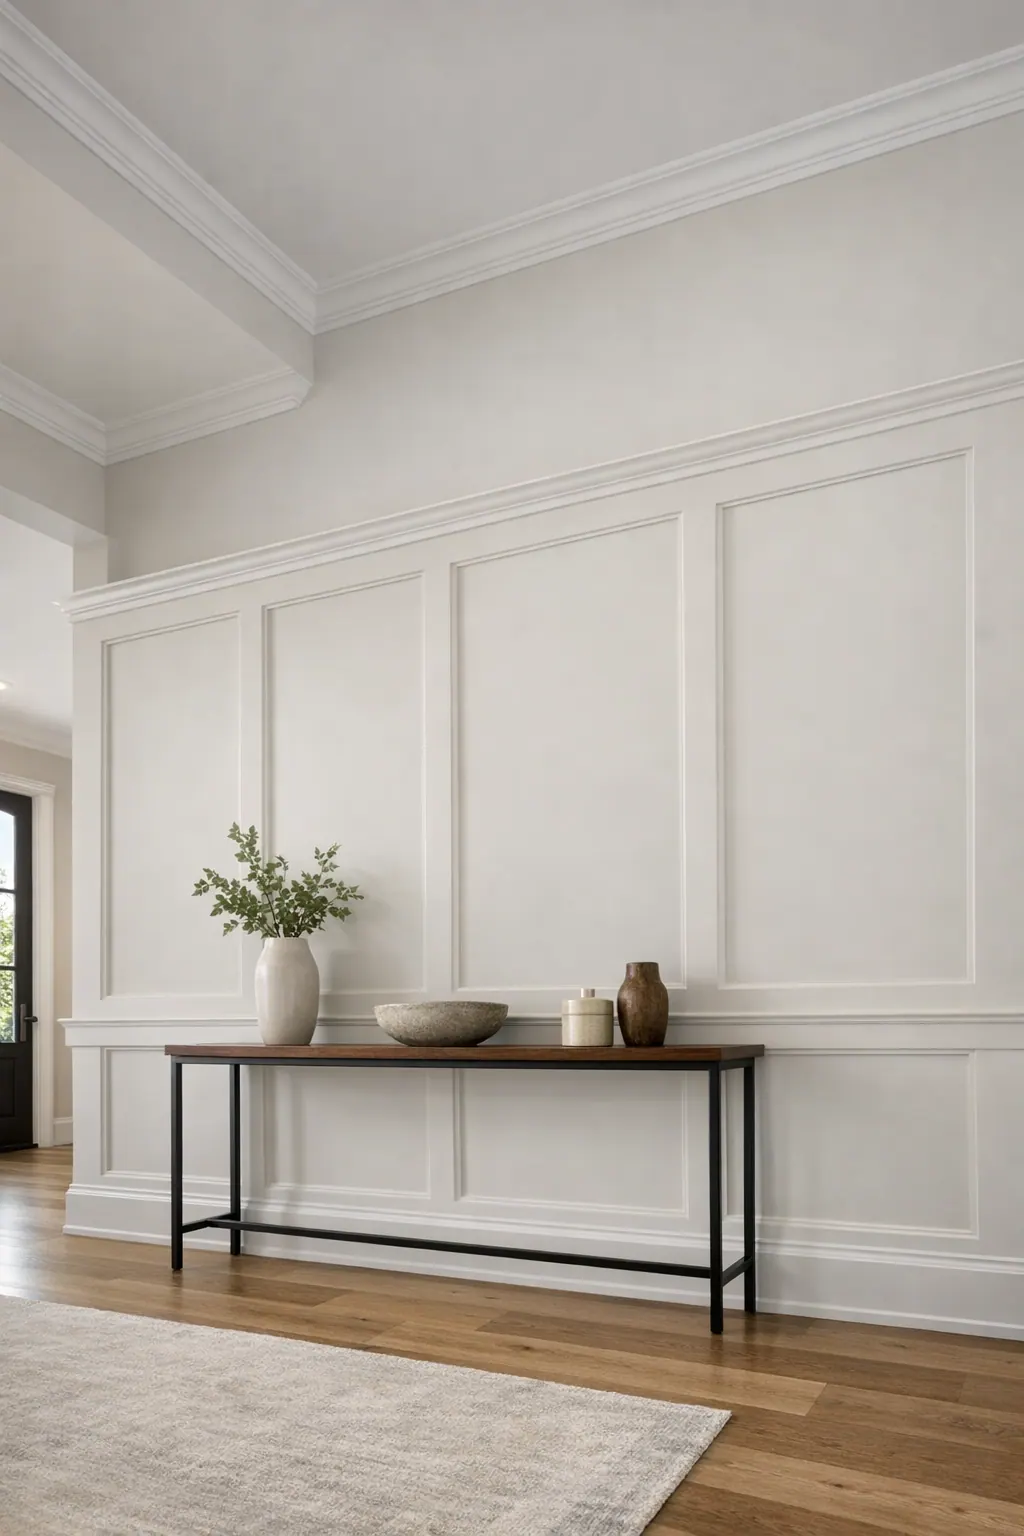
The next step is a wall-specific drawing or dry layout, not a template copied from another room. Panel divisions are mapped around openings and device plates, with the outer margins, rail height, and panel rhythm adjusted until the composition looks balanced. For example, a bedroom wall may be centered on the bed, while an office layout may need to respect a desk, shelving, and a nearby door without leaving a conspicuously narrow final panel.
A finish carpenter in Palmer Ranch also selects trim details that belong with the surrounding millwork. Matching an existing profile creates continuity; choosing a simpler coordinated profile can make the new feature intentionally distinct. The practical test is at every transition: rails should terminate neatly, corners should meet cleanly, and added thickness should not make a casing or baseboard look crowded.
During board and batten installation, accurate cuts, consistent placement, secure fastening, filled joints, and controlled caulk lines create the foundation for paint. The handoff should be paint-ready: trim sitting flat, seams tight, nail marks addressed, and surfaces smooth enough that color unifies the feature rather than exposing its construction. This tailored process matters most when a wall has several interruptions or must integrate precisely with existing trim.
Plan a Board and Batten Accent Wall That Fits Your Palmer Ranch Space
Bring the room into the conversation before choosing a pattern. For a Palmer Ranch board and batten wall, photos of the full wall and adjacent trim, wall width and ceiling-height measurements, and the locations of doors, windows, outlets, and switches give the design a useful starting point. Inspiration images help define the intended mood, but they should guide the look rather than dictate a copied grid.
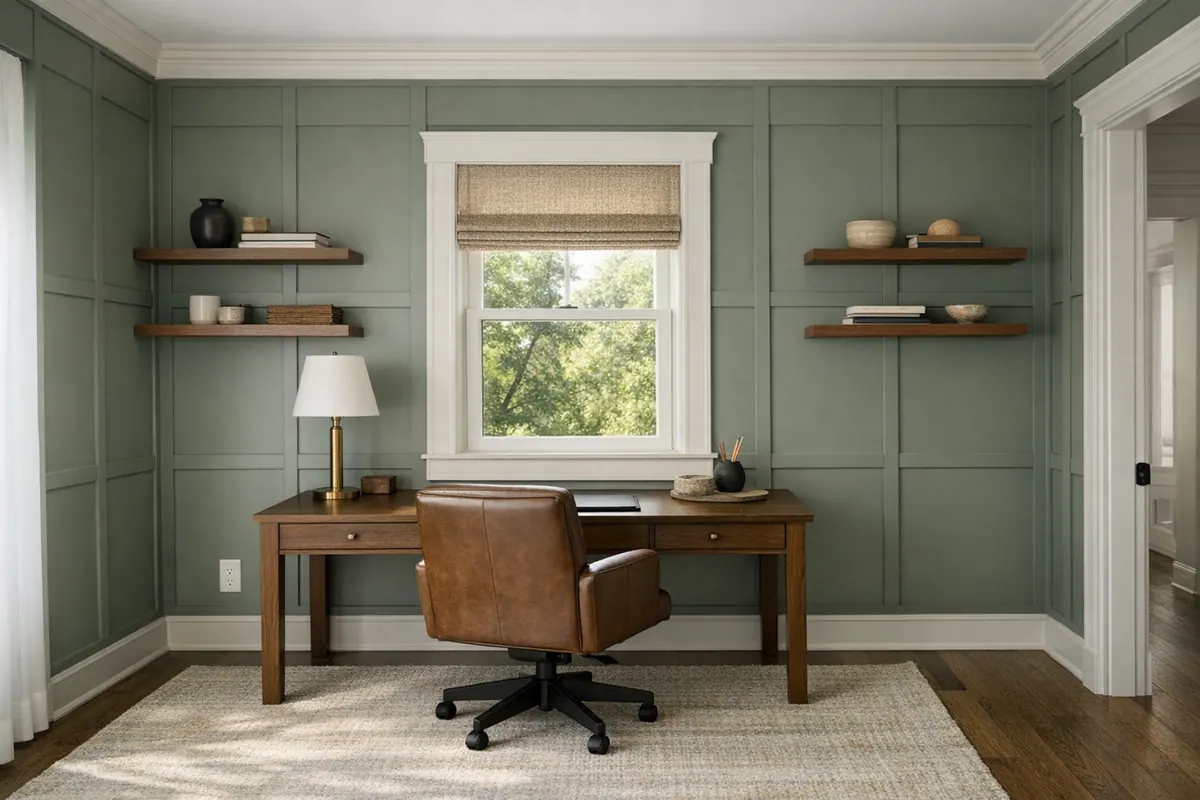
During a room-specific assessment, the focus is on the wall that best supports how the space is used: a calm backdrop behind a bed, a dining-room composition around a sideboard, a foyer statement visible from the entry, or a disciplined office background behind a desk. Ceiling height, existing baseboards and crown, opening locations, and the preferred panel scale determine whether the treatment should feel understated or more formal.
Share the finish you expect as well. Clean intersections, balanced edge margins, smooth filled nail holes, narrow caulk lines, and an even painted surface are the visible difference between a tailored feature and a generic trim pattern. A planned consultation turns your actual wall, furnishings, and design goal into a board-and-batten layout that belongs in the room.
Plan the next step
Compare the broader Board and Batten Walls service.
Review the Palmer Ranch, FL service area for local planning context.
When you are ready, request a free estimate with the rooms, trim goals, city, and available photos.
FAQs
Which rooms are best for a board and batten accent wall?
Bedrooms, dining rooms, foyers, and home offices are strong choices when the treatment supports a natural focal point. Use the wall behind a bed, desk, dining table, sideboard, or entry view rather than applying panels to every wall.
Should board and batten go floor to ceiling or be a half wall?
Full-height board and batten works well on walls with a clear focal point, such as behind a bed, desk, or dining furniture, and where the ceiling height gives the pattern room to breathe. A lower-wall treatment with a chair rail creates a more traditional look but needs a planned rail height that aligns with windows, furnishings, and adjacent trim.
What is the best spacing for board and batten battens?
Batten spacing should be based on the usable wall field after accounting for baseboards, ceilings, door casings, windows, and openings. Use balanced outer margins and panel widths that avoid thin leftover boxes, with fewer and wider panels often working best in lower-ceilinged rooms.
Can board and batten work around windows, doors, outlets, and switches?
Yes, windows and doors can serve as centerlines or natural boundaries for balanced panel sections. Map casing edges, window stools, outlet boxes, and switch plates before cutting trim so devices sit comfortably within a panel field rather than against a batten edge.
What should I look for when choosing a finish carpenter for a board and batten wall?
Choose a finish carpenter who creates a wall-specific layout based on ceiling lines, existing trim, openings, controls, and furniture placement. The finished work should have balanced panel divisions, tight seams, clean trim transitions, filled nail holes, narrow caulk lines, and a smooth paint-ready surface.