
Board and Batten Walls for Venice, FL Homes
Board and batten Venice FL projects work best when the wall treatment is planned as part of the room rather than applied as a preset pattern. The look is built from a horizontal rail and evenly placed vertical battens; it may also include a top cap for a more finished ledge or lower wall paneling for added visual weight. Those components turn a flat wall into a structured backdrop, but their proportions need to relate to the space around them.
A tall ceiling can support a more vertical, open pattern, while a shorter wall may look better with a lower rail and restrained panel heights. Existing baseboards, door casing, windows, outlets, and drywall condition all influence where the layout begins and ends. A strong plan avoids a skinny leftover panel at one edge and keeps the rail visually aligned with nearby trim; a weak one can make otherwise straight boards feel accidental.
This page looks at the room-specific choices behind board and batten walls in Venice: a focused accent wall, a bedroom feature wall, an entryway treatment that defines the arrival space, or a full-room installation with a more immersive effect. In every case, measured spacing and paint-ready finishing are what make the result feel tailored to the home.
Choosing Between an Accent Wall, Bedroom Wall, Entryway, or Full-Room Treatment
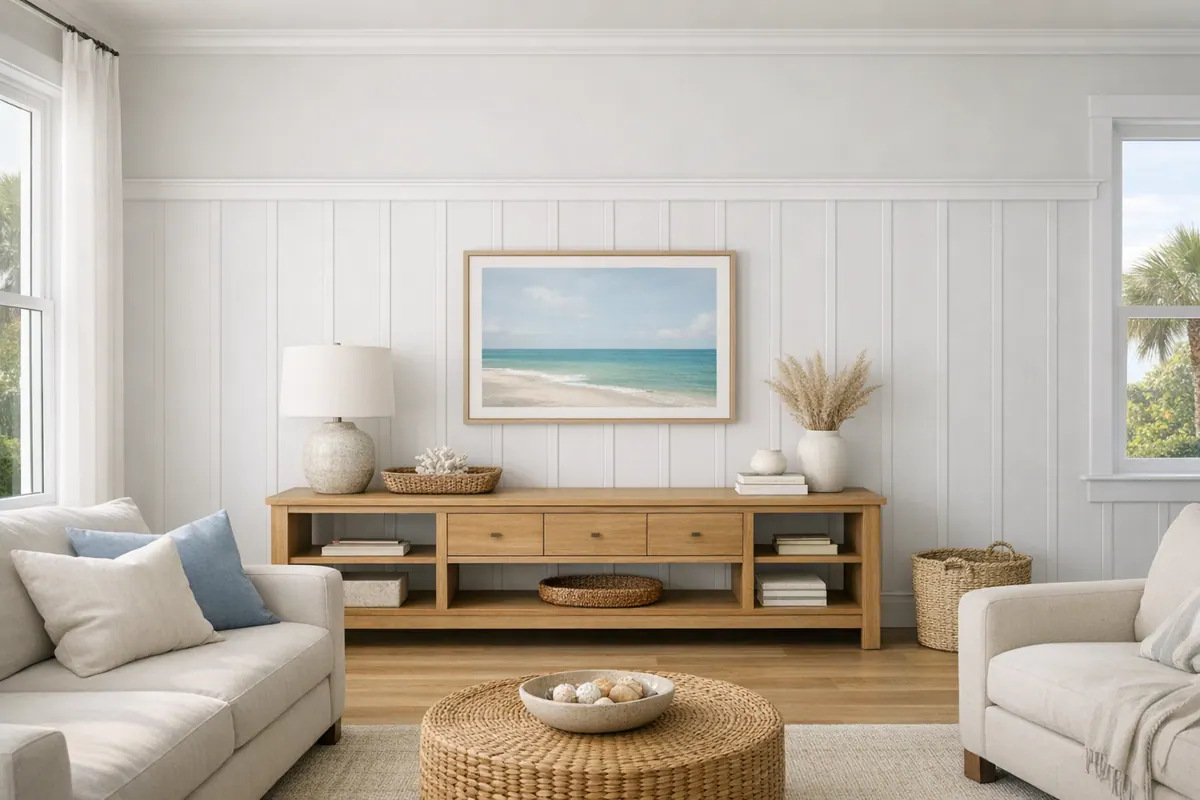
The best starting point is the wall that already has a job in the room. A single accent wall creates a focal point without carrying the visual weight of paneling on every surface. It suits a living area wall behind a console, artwork, or television, especially when adjacent walls are busy with windows or openings. It can feel less successful on a short, fragmented wall where doors, returns, or large furniture leave little uninterrupted space for a balanced pattern.
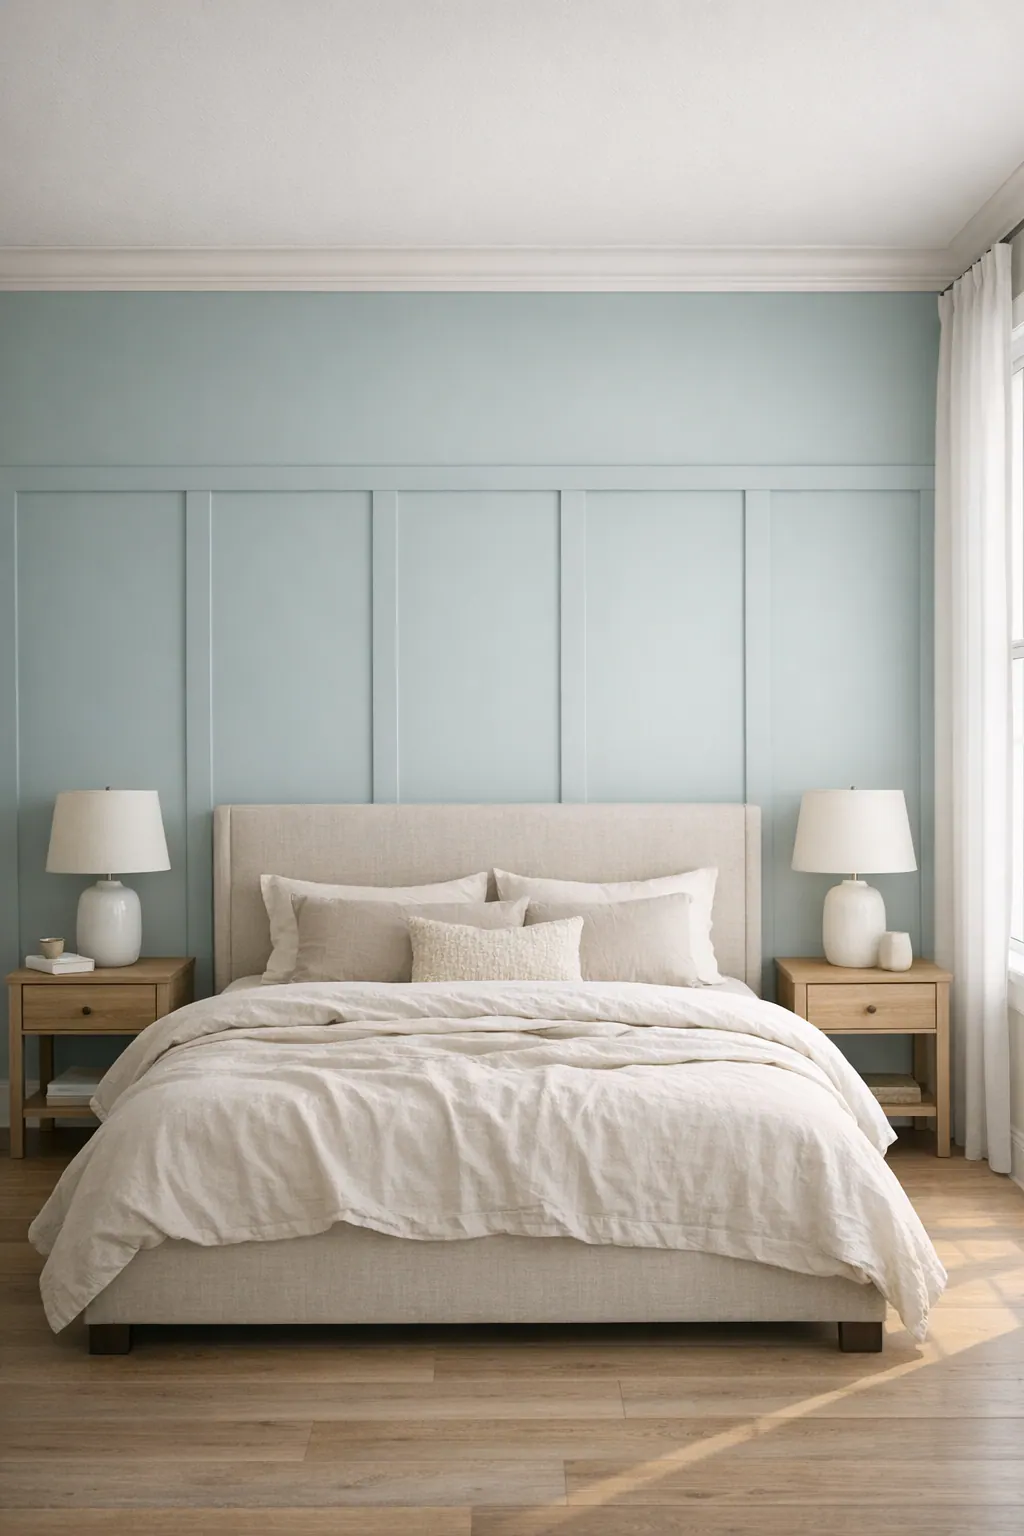
A bedroom accent wall is typically the wall behind the bed, where the treatment gives the furniture a deliberate frame. The strongest layouts center the pattern on the bed or make an intentional adjustment for a window, while a weak layout leaves a narrow panel squeezed beside the headboard or makes the bed appear off-center for no reason. For homeowners seeking a bedroom accent wall in Venice, FL, the headboard, nightstands, and any wall-mounted lighting should all be part of the layout decision.
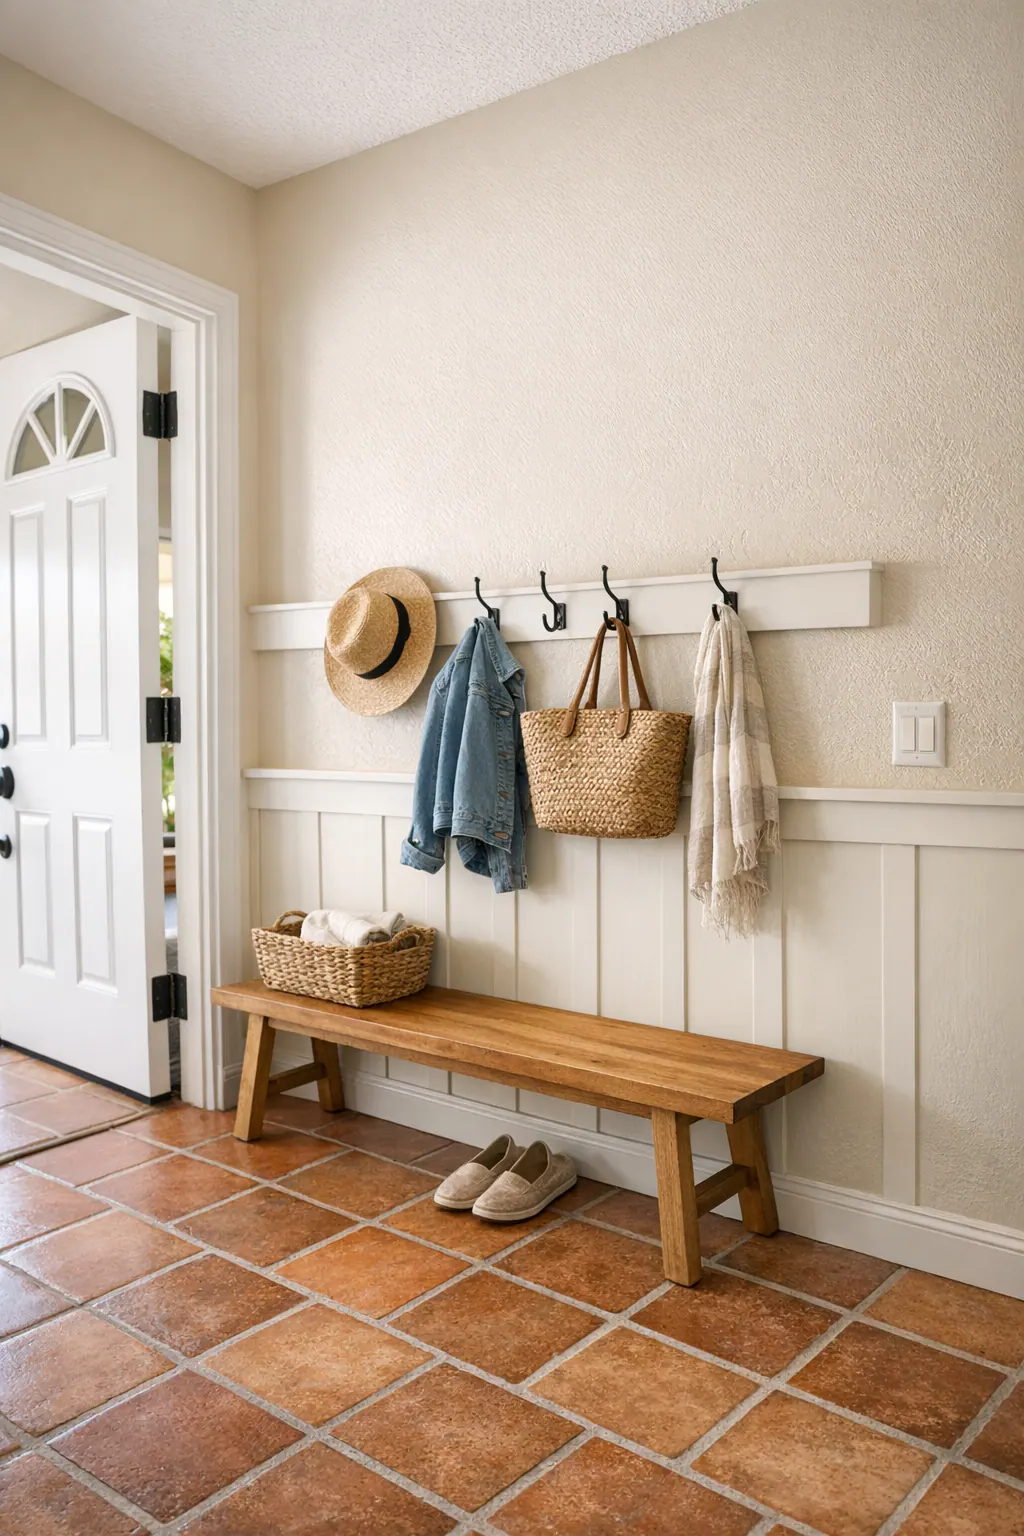
An entryway wall treatment brings structure to a high-visibility transition space. It works well on a clear stretch of wall near the front door, a bench, or a drop zone, where the rail can visually organize the area. Because entryways often include door casing, switches, and frequent pass-through traffic, the treatment needs clean transitions rather than boards that stop abruptly around obstacles.
Full-room paneling extends the same visual language around the space for a more cohesive, finished effect. That broader scope can support a dining room, hallway, or room with relatively consistent wall heights, but it demands greater coordination at every opening, corner, baseboard, and casing. If one wall has a carefully aligned rail and the next cuts awkwardly across a window or door trim, the continuity works against the room rather than for it.
Why Layout, Panel Spacing, and Proportion Make the Difference
A polished result begins on paper, not at the saw. Before material is cut, the wall layout should account for the full wall width, usable height below the ceiling, baseboard depth, and every interruption: door casing, window trim, outlets, switches, and corners. Those details determine where the first and last battens land, how wide each panel can be, and whether the horizontal rail has a natural place to stop or continue.
Panel spacing is where an intentional design separates itself from a pieced-together pattern. A strong layout divides the available wall area into balanced panels, even if that means adjusting the count or slightly changing the spacing. A weak one repeats a preferred measurement until it produces a skinny leftover panel at one end. On a bed wall, battens can be centered on the headboard, aligned with the outer edges of nightstands, or deliberately positioned around a window; each approach gives the furniture a clear relationship to the wall rather than making it look accidentally offset.
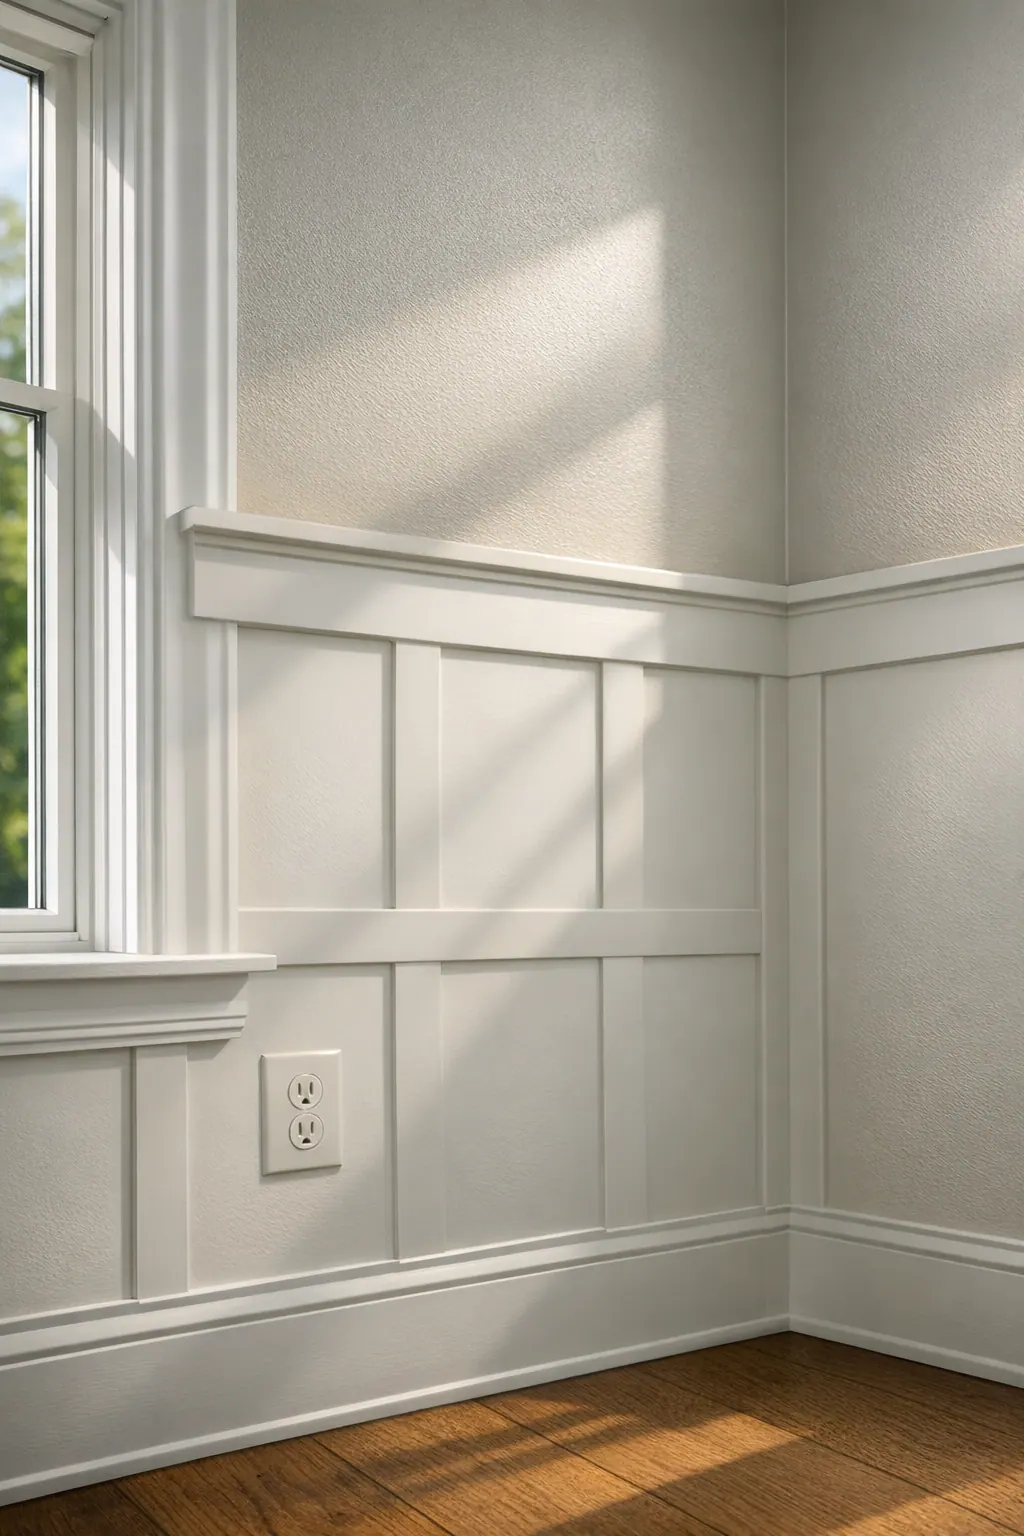
Height matters just as much as width. The rail should relate to nearby baseboards, window sills, door trim, or other visible lines in the room. A rail that runs cleanly beneath a window or meets casing at a considered point feels connected; one that cuts across the middle of trim can make even careful work look unresolved. Outlets and switches also need planned treatment so their placement appears intentional within a panel rather than forcing an awkward batten location.
For board and batten installation in Venice, FL, furniture sightlines belong in the measuring stage as well. What looks even on an empty wall may feel unbalanced once a bed, bench, console, or artwork occupies the space. Resolving those visual relationships before installation leaves the finished wall ready for clean caulk lines, filled fasteners, and paint that emphasizes the pattern instead of its compromises.
Room-Specific Design Considerations for Bedrooms, Entryways, and Living Areas
In a bedroom, the bed, not the empty wall, should set the composition. A centered headboard usually calls for a centered panel pattern, with a batten or panel midpoint intentionally aligned to the bed's centerline. An offset arrangement can work when a window, door, or built-in shifts the usable wall area, but the offset should look deliberate and relate to the headboard rather than leaving one side visually stranded. A tall upholstered headboard may need a calmer, wider pattern behind it; a low bed can handle more visible vertical structure without the treatment competing for attention.
An entryway wall treatment should make a clear transition without turning a busy passage into a collection of small visual interruptions. The rail height needs to meet nearby door casing, stair details, or the treatment in an adjacent hall in a way that feels continuous. A good signal is a clean run that lands purposefully at an opening; a weak one is a rail that stops abruptly or creates narrow fragments between doors. Simple paneling also gives everyday scuffs and traffic a more composed backdrop while keeping the arrival space easy to read.
Living areas call for a different focal-point decision. A television wall often benefits from a focused accent wall or a lower treatment that frames a console without crowding the screen. Windows and built-ins may already divide the wall into natural sections, making a taller grid useful only when it can align with those elements. On a long, uninterrupted wall, a broader pattern can add rhythm; on a fragmented wall, restraint usually looks more intentional.
Low ceilings deserve particular care. Oversized panels and a high rail can make the upper wall feel compressed, while a lower treatment with measured panel widths can preserve more open wall above. The goal is not a fixed formula, but a scale that supports the room's height instead of making the pattern feel heavier than the space itself.
Surface Preparation and the Paint-Ready Finish
The final impression is often decided in the small transitions between the new trim and the wall already in place. Before installation, a finish carpenter in Venice, FL should assess the existing drywall condition: dents, previous patching, uneven seams, and wall texture can all show through or create inconsistent contact behind the boards. Textured walls may call for additional preparation or a design-specific approach rather than treating every surface alike, which is why an on-site evaluation is needed to choose the right method.
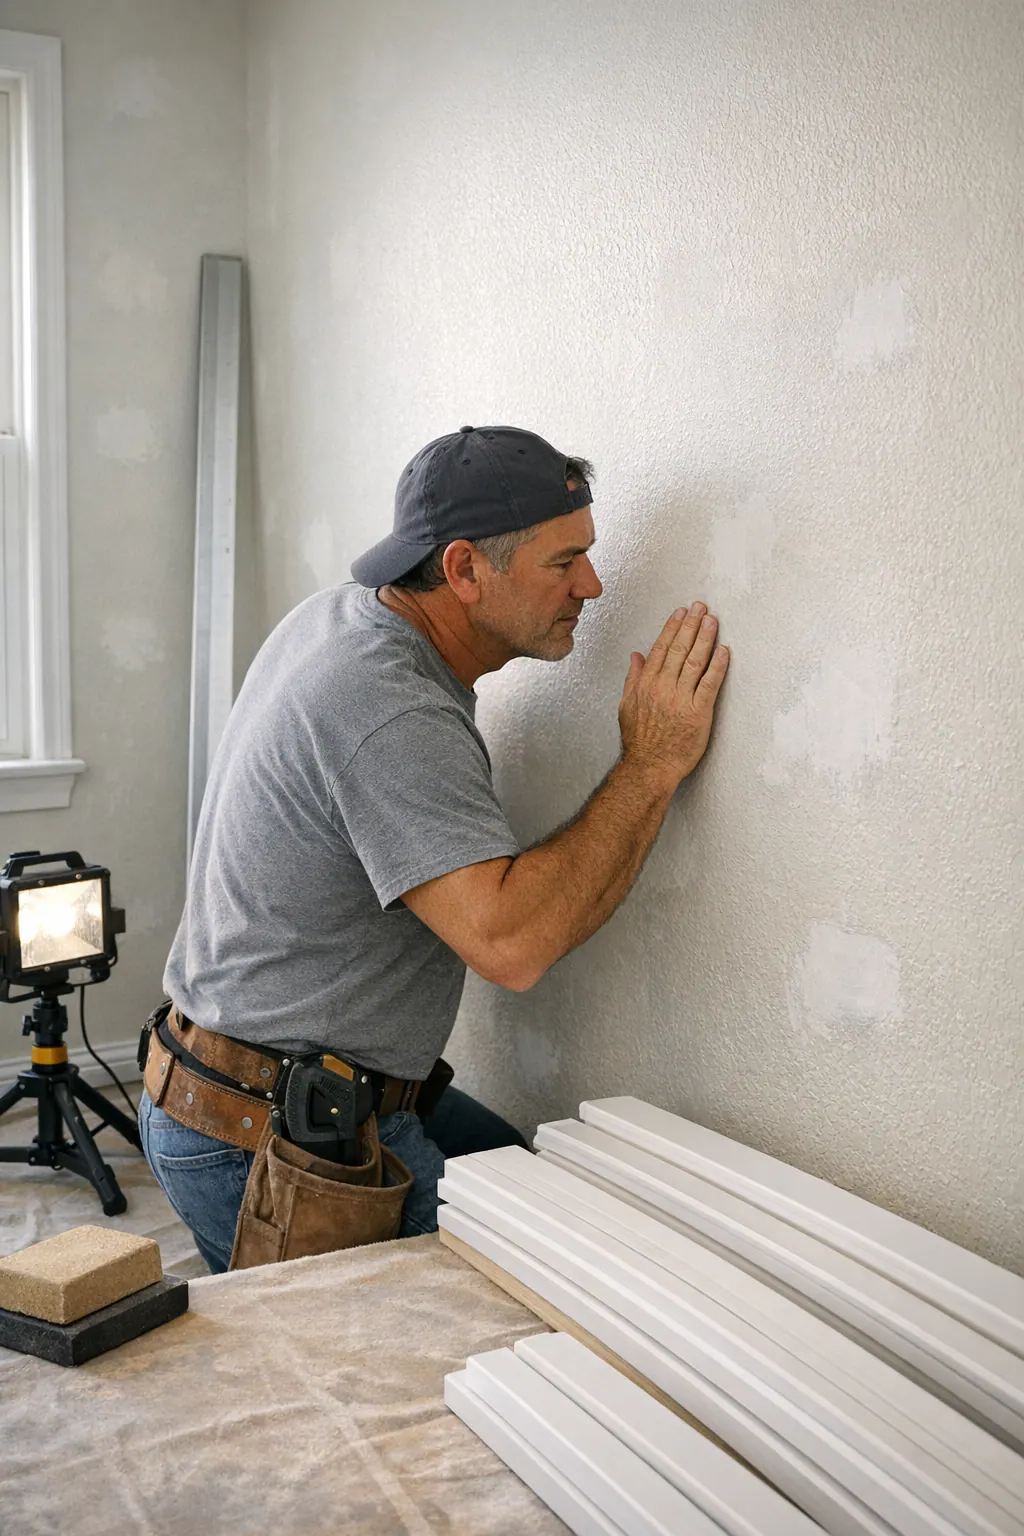
Trim integration deserves the same attention. Keeping the existing baseboard can preserve a clean lower edge when its depth works with the battens; replacing or modifying it may create a more unified profile when it does not. At corners, door casing, windows, outlets, and switches, boards should meet with purposeful cuts instead of awkward gaps or thin filler pieces. Homeowners can look for rails that finish cleanly at openings and battens that appear to belong to the surrounding trim.
After fitting comes the work that makes the treatment paint-ready: fastener holes are filled, seams and caulked joints are smoothed, and surfaces are sanded so the wall reads as one continuous finish. A good paint job will not hide rough edges, visible nail marks, or uneven caulk lines. For sheen, flatter finishes create a softer look but can reveal less wall texture, while a higher sheen offers more cleanability and reflects more light. The best choice balances everyday use, the room's lighting, and how crisp or quiet the finished pattern should feel.
What to Plan Before a Custom Board and Batten Installation
A productive first conversation starts with a few room-specific notes, not a favorite photo alone. Identify the wall meant to carry the treatment, then measure ceiling height and each major uninterrupted wall segment. Mark doors, windows, corners, outlets, switches, vents, existing casing, and baseboards. Include the furniture that will remain in place, such as a bed, console, bench, or coat hooks, and note where curtains or blinds stack when open. These details show whether the pattern has room to read clearly or must work around fixed interruptions.
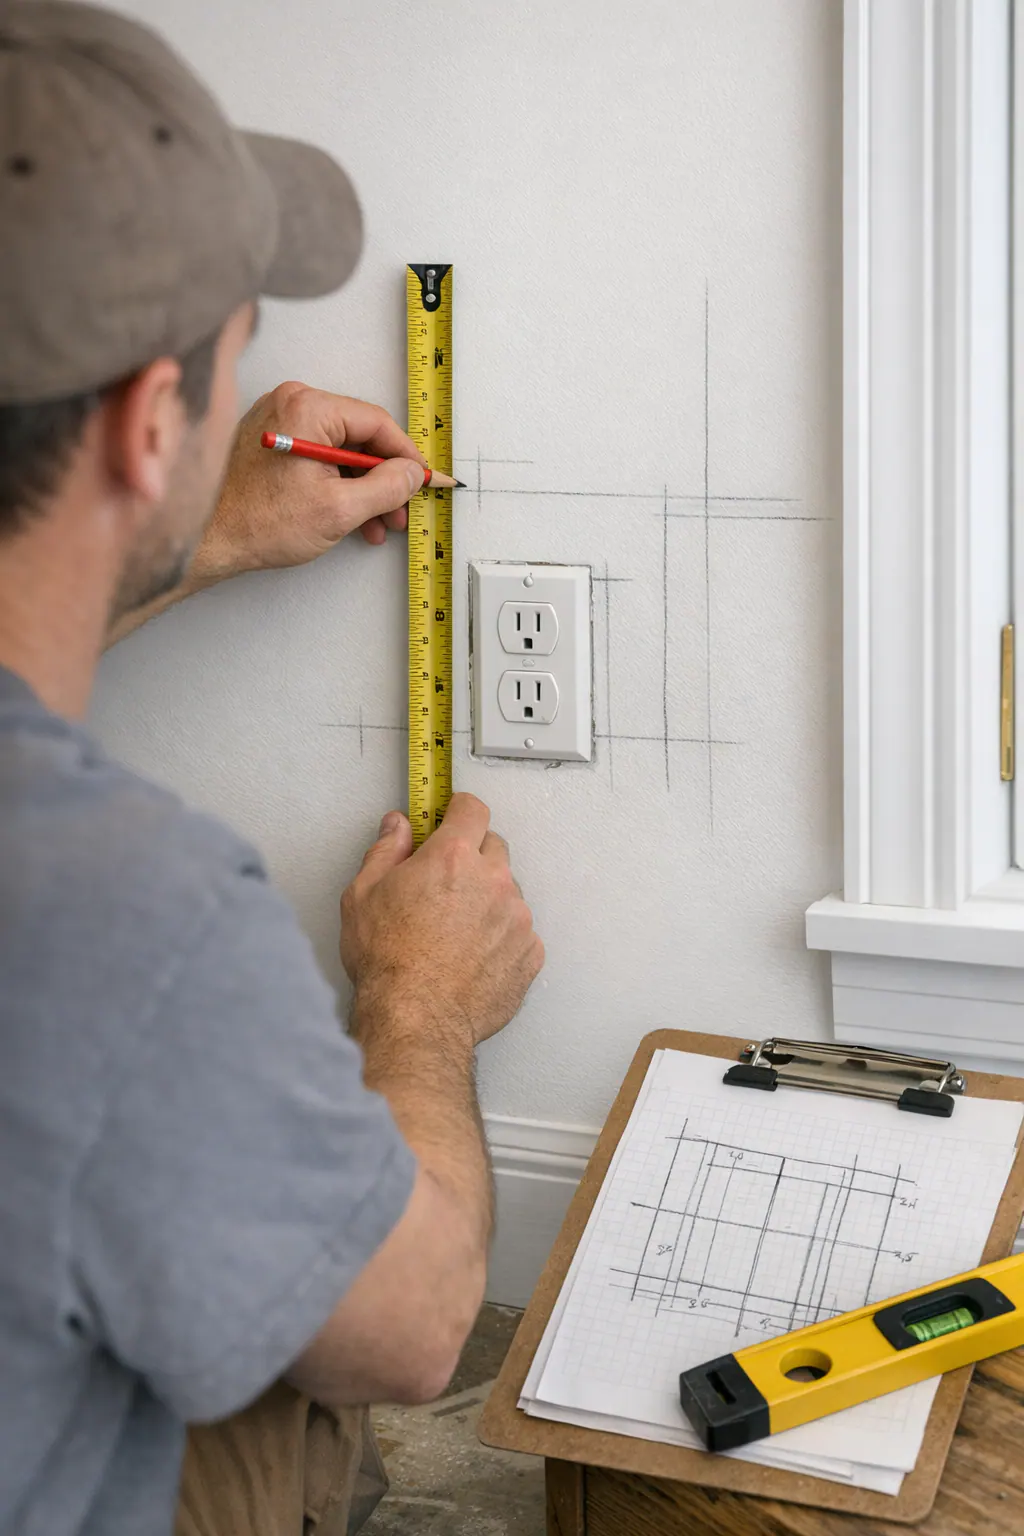
- Photograph the wall straight on and from the room entry, along with nearby trim and adjacent walls.
- Save inspiration images that match the visual weight you want: wider, quieter panels feel more restrained, while narrower divisions and a deeper cap create a more detailed presence.
- Decide whether paint is part of the same scope and whether the goal is a fully paint-ready surface or completed color application.
An on-site assessment for custom board and batten in Venice should turn those inputs into settled design decisions: the rail height, number of panels, board thickness, and how the treatment begins and ends at corners, openings, and adjoining trim. A strong layout avoids a conspicuously narrow leftover panel beside a door and keeps the rail visually related to nearby casing or window lines. It also establishes whether existing baseboards stay, change, or receive a coordinated transition.
This planning stage should make the finishing standard visible before work begins. The discussion can account for wall repairs or texture treatment, the handling of outlet covers and switch plates, and the expectation for filled fasteners, smooth caulk lines, and sanded surfaces before paint. The value of a finish carpenter is not simply attaching boards; it is resolving these relationships on the actual wall so the finished pattern looks intentional from across the room and up close.
Create a Board and Batten Wall That Fits the Room
The right treatment should make the room feel more resolved, not simply more decorated. A single accent wall can give a living area one clear destination; a bedroom wall can frame the bed; an entryway treatment can organize the arrival zone; and a full-room design carries the same detail across the space for a more enveloping effect. The practical tradeoff is visual weight: the broader the application, the more carefully it must relate to every opening, corner, and adjoining trim condition.
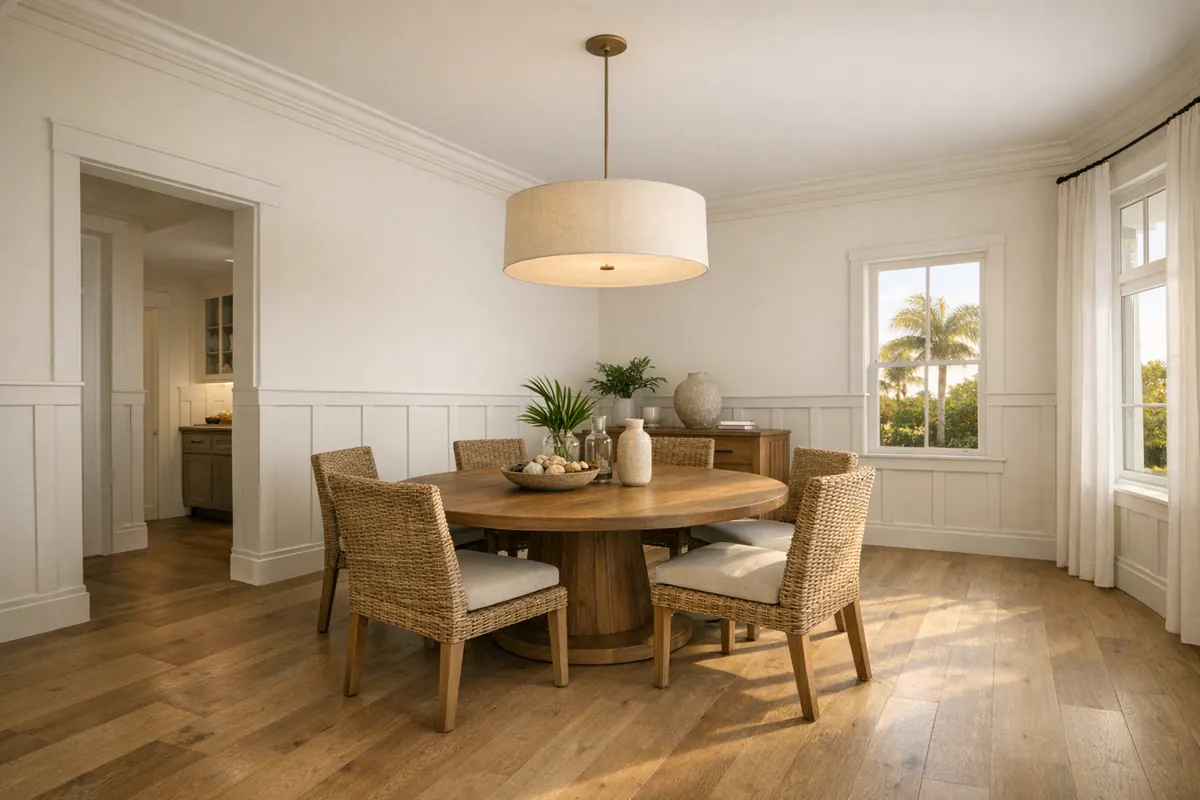
Before any boards go up, the pattern needs a settled answer for where it starts, where it ends, and how each panel shares the available wall width. Even panels with rails that line up cleanly to nearby casing read as composed. A tiny leftover panel beside a door, a rail that crosses an opening without purpose, or uneven reveals can make an otherwise attractive board and batten wall in Venice, FL feel improvised. Preparation completes that discipline: repaired surfaces, integrated trim transitions, filled fasteners, smooth caulk lines, and sanding give paint a continuous surface to finish.
If you are considering an accent wall, bedroom feature, entryway treatment, or full-room board and batten design, begin with straight-on wall photos, rough dimensions, and a few inspiration images. Include the furniture and trim that affect the composition. Those details make it possible to evaluate the focal point, scale, layout, and existing wall conditions for your specific Venice space before the concept is put into place.
Plan the next step
Compare the broader Board and Batten Walls service.
Review the Venice, FL service area for local planning context.
When you are ready, request a free estimate with the rooms, trim goals, city, and available photos.
FAQs
What rooms are best for board and batten walls?
Board and batten works well as a living room accent wall, a bedroom feature wall behind the bed, an entryway treatment near a bench or drop zone, or full-room paneling in dining rooms and hallways. The best choice depends on uninterrupted wall space, nearby openings, furniture placement, and the desired visual weight.
Should board and batten go behind a bed?
Yes, the wall behind the bed is typically the strongest location for a bedroom board and batten feature wall. The panel layout should center on the headboard or intentionally account for windows, nightstands, and wall-mounted lighting so no narrow panel looks accidental.
How high should board and batten be in an entryway?
Entryway rail height should visually relate to nearby door casing, stair details, window lines, and adjoining hall treatments. A lower rail with measured panel widths is usually better for low ceilings, while the rail should land cleanly at openings instead of cutting through trim.
Can board and batten be installed over textured walls?
Board and batten can be installed over textured walls, but the drywall must first be assessed for dents, patches, uneven seams, texture, and inconsistent contact behind the boards. Textured surfaces may need extra preparation or a design-specific installation method to achieve smooth, paint-ready transitions.
How do I choose a finish carpenter for a board and batten wall in Venice, FL?
Choose a finish carpenter who plans the full wall layout before cutting, including rail height, panel count, baseboards, casing, windows, outlets, switches, corners, and furniture sightlines. Look for a process that includes filled fasteners, smooth caulk lines, sanded surfaces, clean trim transitions, and no skinny leftover panels beside doors or wall edges.