
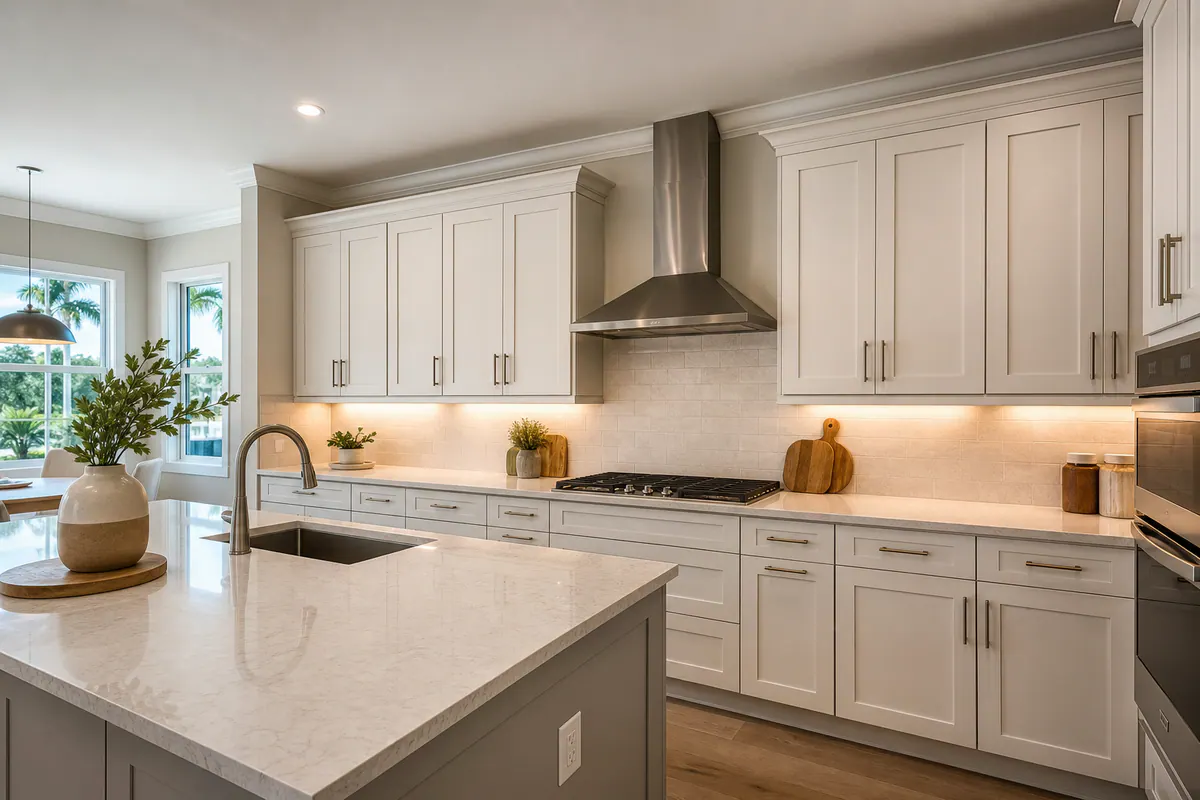
Upgrade Builder-Grade Cabinets and Built-Ins With Custom-Looking Trim
For Lakewood Ranch homeowners, cabinet trim can turn sound but plain cabinetry and built-ins into features that feel more deliberate and integrated with the room. It is a focused finish-carpentry upgrade, not a replacement for damaged boxes or a layout that no longer works.
Crown molding adds a finished transition at the top of upper cabinets or a media wall, helping manage an open space below the ceiling. Finished end panels cover exposed cabinet sides for a furniture-like edge, while applied decorative trim gives a flat entertainment center, bookcase, or office cabinet face more depth. Scribe pieces are narrower trim strips shaped to meet an uneven wall, so the transition looks intentional rather than visibly gapped.
The custom-looking difference is usually in the small alignments: trim profiles scaled to the cabinet height, clean returns at exposed edges, consistent reveals around doors, and paint or stain that coordinates with the existing finish. Oversized molding, mismatched sheen, or trim installed without accounting for door swings can make an upgrade look added on.
Cabinet trim in Lakewood Ranch works best when the existing boxes are solid and the room allows for the added material. Ceiling height, soffits, wall variation, appliance clearance, and the condition of doors and drawers all shape what is practical, and whether trim alone is enough or a larger built-in modification is the better path.
Start With the Existing Cabinet, Built-In, and Room Conditions
A careful field measure should happen before a profile or panel size is chosen. The important checkpoints are cabinet depth, the reveal around doors and drawers, and every door swing: added trim cannot crowd a handle, stop a drawer, or reduce access beside an appliance. Measure the ceiling at several points rather than assuming it is level, and note where a soffit changes the available height. A small, consistent ceiling gap can often be visually managed; a large or changing gap may call for a cabinet extension rather than increasingly tall molding.
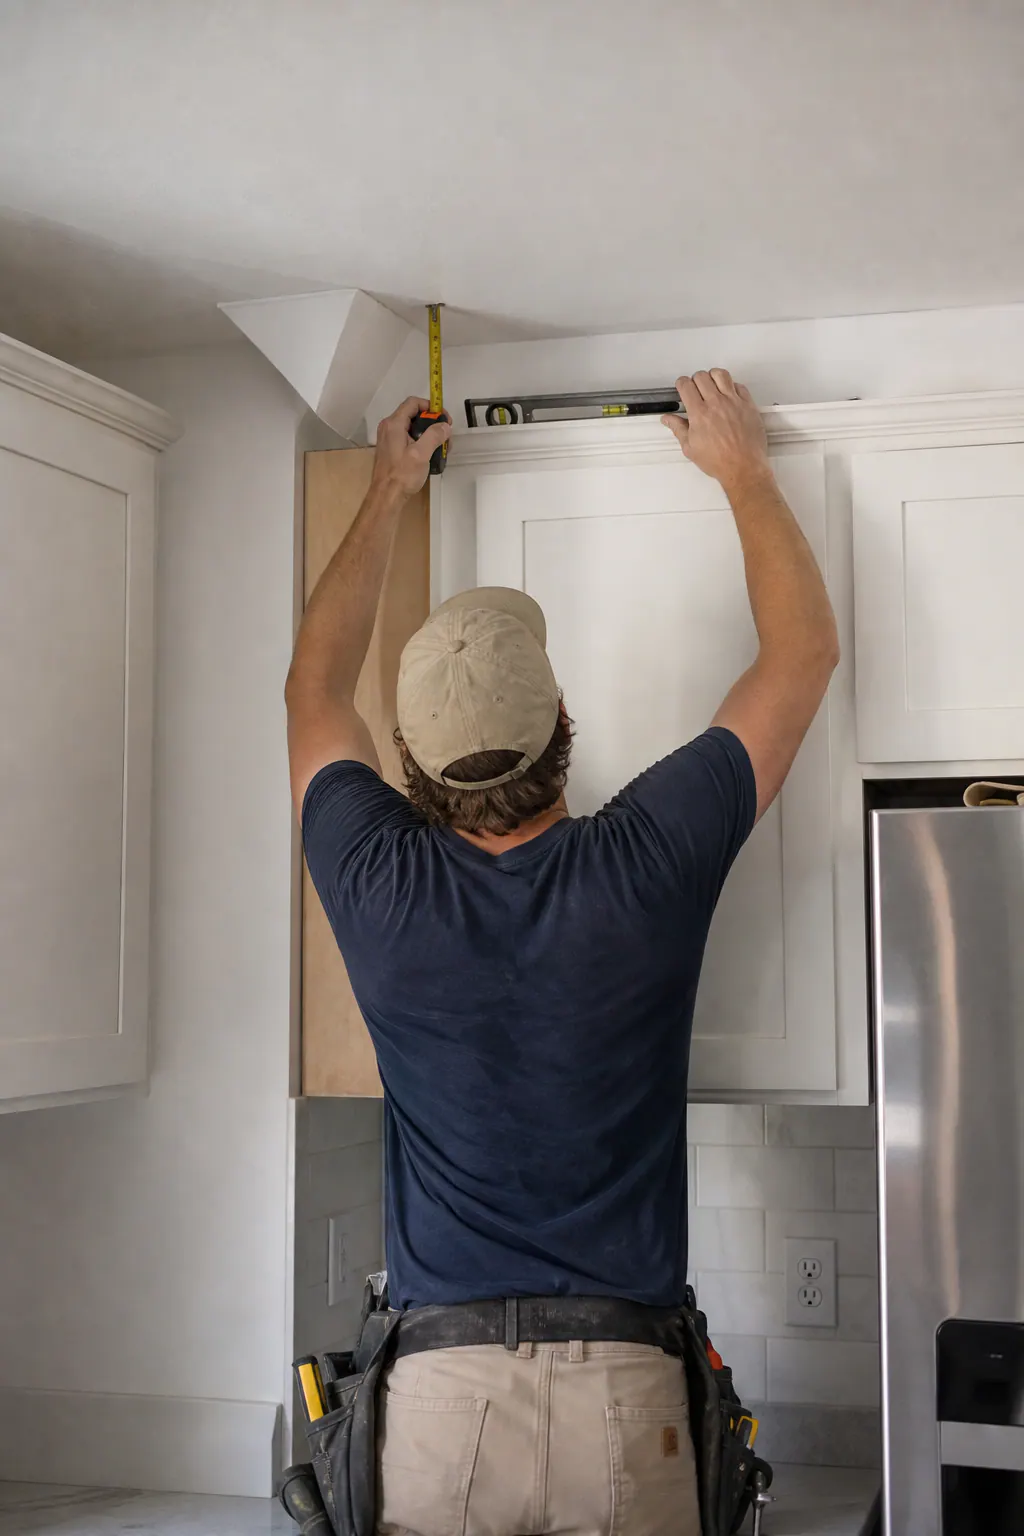
Walls deserve the same attention. A scribe strip can be shaped to follow a wall that is slightly out of plumb, closing a narrow irregular gap without forcing a cabinet out of square. A filler strip creates deliberate space between a cabinet and a wall so a door or drawer can open freely. Neither is a cure for loose boxes, bowed cabinet sides, or a wall condition that prevents the unit from sitting securely. Those issues need correction before finish work can look clean.
For custom cabinet trim in Lakewood Ranch, map practical interruptions as well as dimensions: outlets, switches, HVAC grilles, under-cabinet lighting, television wiring, and side clearances at open shelves or media components. An exposed cabinet end may simply need a correctly sized finished panel. But a shallow cabinet that ends well below the ceiling, a missing support for a new shelf span, or a built-in that needs more usable depth points to an extension, new panel, structural adjustment, or replacement component, not trim alone.
Finally, identify the finish strategy early. Paint-grade additions can be filled and painted as a unified surface, while stained work depends on closely coordinated wood grain, color, and sheen. A well-planned cabinet molding Lakewood Ranch upgrade respects those limits instead of using trim to disguise mismatched materials or worn doors that remain the most visible part of the installation.
Kitchen Cabinet Trim: Crown Molding, Panels, Light Rails, and Finished Ends
The top, bottom, and exposed sides of a cabinet run each call for a different kind of finish detail. Cabinet crown molding in Lakewood Ranch is the top treatment: it bridges a modest, reasonably consistent space above upper cabinets and gives the run a deliberate stopping point. Its profile should suit the cabinet height and door style. A narrow, simple crown can complement a short, contemporary run; a taller run may carry a more substantial stacked profile. If the open area is too tall or varies sharply across the ceiling, an extension above the cabinets creates a better field for crown than an oversized molding trying to do both jobs.
Exposed sides need the same visual attention as cabinet fronts. An end panel covers a visible cabinet box side, while an applied panel adds framed or recessed detail to an otherwise flat surface. Aligning panel rails, stiles, or reveals with nearby doors and drawers helps the end read as part of the cabinetry rather than as an afterthought. This is especially useful at peninsula ends, refrigerator surrounds, and cabinet runs that terminate in an open room.
Below the uppers, a light rail is a small molding installed beneath the cabinet face. It gives the lower edge more definition and can make under-cabinet lighting feel more integrated, provided it does not obstruct the light spread or crowd the backsplash. At floor level, toe-kick trim finishes the recessed base and creates a continuous line across cabinets, panels, and islands. Both details should stay restrained on simple slab-door cabinetry; ornate profiles can compete with a clean modern door.
Filler strips serve a practical purpose first: they reserve clearance beside a wall, appliance, or return so doors and drawers can operate. Once sized for that spacing, they can be finished to blend into the run. Decorative valances are different, they are visible trim pieces below cabinets, often above a sink or range area, used to soften an opening or frame a feature. They work best when their shape echoes the cabinet style rather than introducing an unrelated curve or oversized accent.
For cabinet trim Lakewood Ranch projects, the strongest result comes from treating these components as one composition: crown scaled to the available height, panels aligned with door geometry, and lower trim that ends cleanly at appliances, walls, and open cabinet sides.
Trim Details for Entertainment Centers, Shelving, and Office Built-Ins
An entertainment center or wall of shelving looks most convincing when it has a clear perimeter rather than exposed raw edges. Applied face-frame trim adds rails and stiles across a flat built-in face, creating the visual rhythm of cabinet doors without rebuilding sound boxes. Side returns wrap the visible outer edges, while base trim and a ceiling transition give the unit a deliberate start and finish. For built-in trim Lakewood Ranch homeowners often choose this focused package when the existing proportions, shelf depth, and openings already serve the room well.
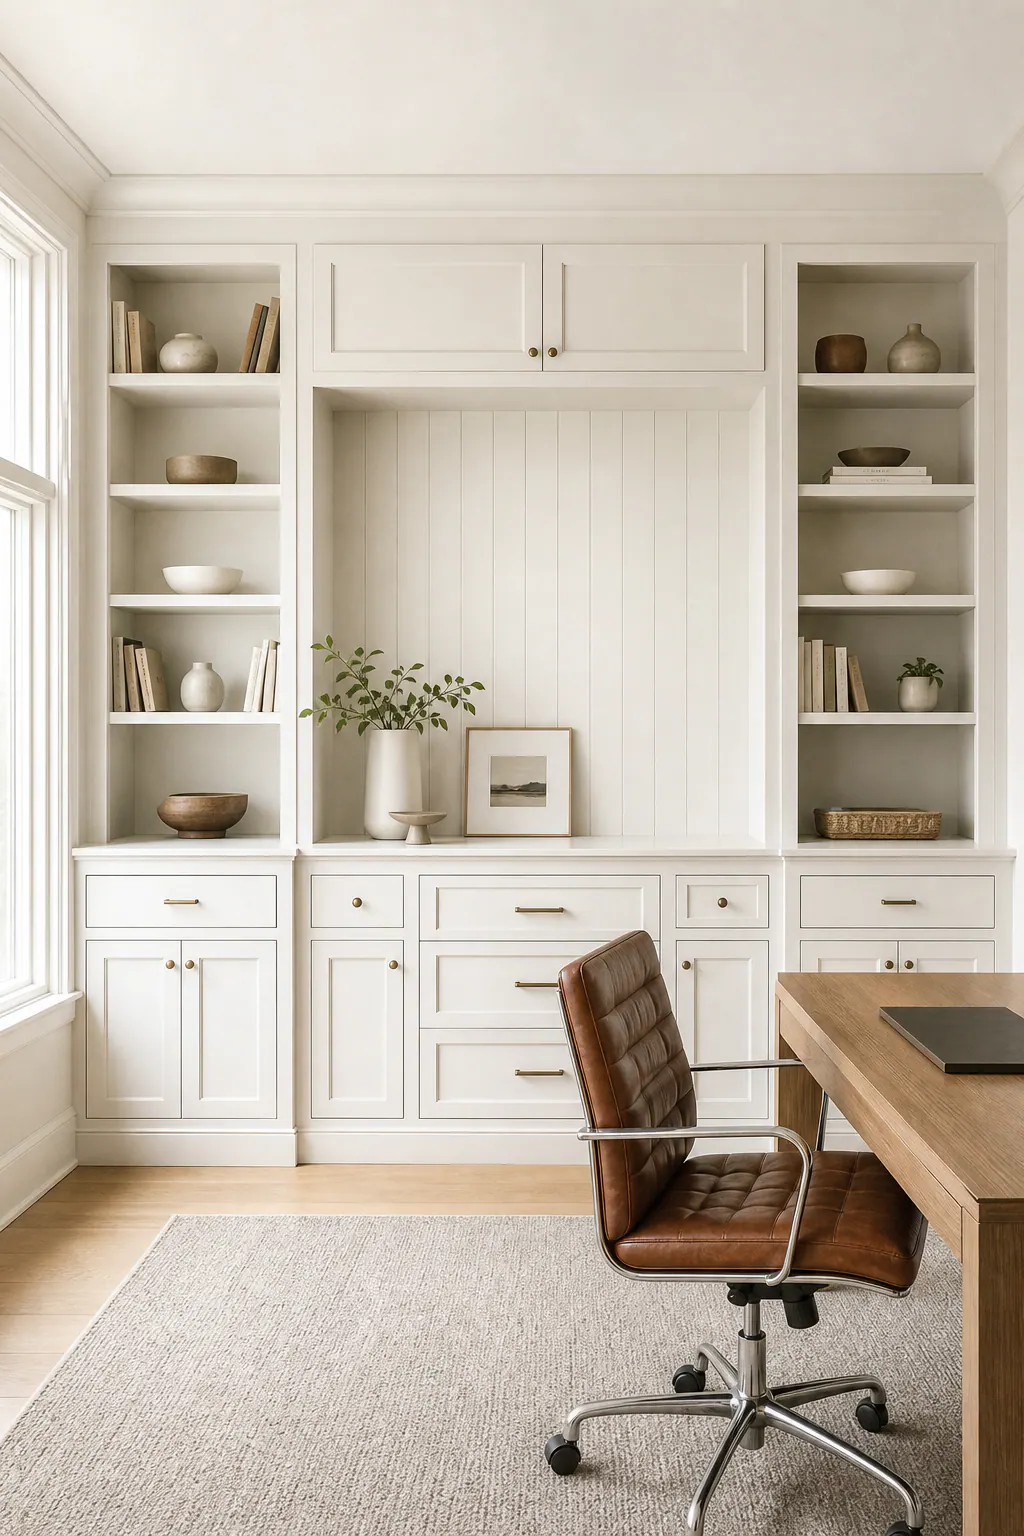
Open bookcases and window-seat storage benefit from details that make frequently used surfaces feel finished. Shelf nosing is the shaped or square-edged trim on a shelf front; it gives a thin shelf more visual weight and provides a consistent line across the unit. A backing panel turns an unfinished wall behind shelves into a composed background, whether it is smooth, paneled, or arranged in a restrained vertical pattern. Decorative panels work best when their spacing relates to the cabinet doors, drawer fronts, or adjacent wall features instead of becoming a competing pattern.
For a media wall, trim should not disguise practical needs. Cabinet-style doors can conceal components and stored items, but their layout should leave usable access for wiring, controls, and equipment service. A television opening also needs to be sized around the planned screen and mounting approach, not merely centered within whatever space remains. Clean finish carpentry in Lakewood Ranch treats cable routes, outlet locations, and ventilation paths as part of the design, so the finished face does not require visible cords or awkward cutouts later.
A trim package is usually enough when shelves are sturdy, spans are sensible, and the built-in has adequate depth for books, office supplies, or media equipment. It is not a cure for shallow shelves, sagging long spans, cramped desk openings, or a media niche that cannot accommodate the intended screen. In those cases, custom shelving can add properly proportioned supports, deeper cabinetry can improve usable storage, and revised openings or cabinet extensions can give the composition the scale that crown, panels, and returns alone cannot create.
What Makes Cabinet and Built-In Trim Look Original Rather Than Added On
The finish is often decided before the first piece of molding is installed. Paint-grade trim, commonly smooth MDF or poplar, is intended to be filled, sanded, and painted so joints and material changes disappear under one uniform coating. Stain-grade work asks more of the material: trim, panels, and fillers should be selected to coordinate with the cabinet's wood species, grain direction, color variation, and sheen. Even then, an older finish or sun-faded cabinet can make a perfect stain match unrealistic; a complementary tone may look more intentional than an almost-match.
Profile choice matters as much as material. A simple, crisp profile can suit flat-panel doors and modern built-ins, while a more shaped molding needs to relate to the existing door edge and room trim. Decorative panels should use a stable, compatible panel material and keep equal reveals, the deliberate narrow gaps around panels, so the added detail follows the cabinet geometry rather than floating unevenly across it.
Close inspection should reveal tight joinery, not filler doing structural work. Miters create the angled corners seen on crown and picture-frame trim; their faces should meet cleanly. Coped joints, in which one molding is shaped to fit the contour of another, can create a tighter inside corner where conditions call for them. Pieces need secure fastening, but the layout also has to allow wood components to move slightly without forcing seams apart.
At walls, a scribed edge is trimmed to follow an irregular surface, while fillers place the necessary spacing where doors, drawers, or adjacent walls need clearance. Small caulk lines can soften a properly fitted painted transition; they cannot make wide gaps, crooked seams, or mismatched profiles look custom. Careful sanding, consistent paint sheen, aligned reveals, and stain or paint blended across new and existing surfaces are what make Lakewood Ranch cabinet trim read as part of the original built-in.
When Trim Is the Right Upgrade, and When a Larger Modification Makes More Sense
A trim-only plan is a sensible fit when cabinet boxes are solid, doors and drawers operate freely, and the room's shortcomings are mostly visual: a modest ceiling gap, unfinished end panels, plain built-in faces, or a need to tie shelving and adjacent millwork together. In that setting, cabinet trim in Lakewood Ranch can refine what already functions well without changing the storage layout.
Replacement or reconstruction is the stronger choice when trim would be asked to hide a deeper problem. Damaged or unstable boxes, a cabinet run that is severely out of level, shallow bookcases, an undersized desk opening, or a media unit in the wrong location call for changes to the structure or layout. Likewise, a large, uneven gap above cabinets is better addressed with an extension; very tall crown used as a cover can look top-heavy and leave the doors visually undersized.
- Choose trim when the existing unit has adequate depth, sound construction, usable openings, and proportions that only need a finished edge or more continuity.
- Choose a larger modification when the desired result requires added storage, revised dimensions, new openings, relocated components, or cabinet construction that cannot accept the planned trim securely.
Cost is scope-driven rather than a single per-room figure. Linear footage affects material and cutting time; layered profiles, decorative panels, difficult access, uneven ceilings or walls, and paint or stain blending add finish-carpentry labor. Cabinet extensions and newly built shelving, media-wall components, or office sections move the work beyond a trim package because they add framing, panel material, fitting, and finishing.
Plan a Cohesive Cabinet and Built-In Trim Upgrade in Lakewood Ranch
Bring the room's intended look into focus before choosing individual moldings. For a Lakewood Ranch kitchen, office, or media wall, note the ceiling gaps, exposed cabinet ends, shelf edges, and nearby trim lines, then decide whether the goal is a quiet painted surround, a more detailed furniture-style face, or added storage above or beside the existing unit.
An on-site review can turn those observations into a workable scope: measure each transition, select profiles and panel materials that suit the cabinet scale, and establish whether paint can unify the additions or whether a coordinated stain tone is the better path. A trim-only scope retains sound cabinetry; an expanded scope adds extensions, panels, or newly built sections where the proportions need more than a surface detail.
Ask for a written plan that identifies the pieces to be added, their termination points, and the finish approach. The goal for built-in trim in Lakewood Ranch is a room-specific composition with aligned details and intentional edges, not a collection of moldings attached wherever space allows.
Plan the next step
Compare the broader Cabinet and Built-In Trim service.
Review the Lakewood Ranch, FL service area for local planning context.
When you are ready, request a free estimate with the rooms, trim goals, city, and available photos.
FAQs
Can crown molding be added to existing kitchen cabinets in Lakewood Ranch?
Yes, crown molding can be added when the upper cabinet boxes are solid and the space above them is modest and reasonably consistent. The profile should be scaled to cabinet height, and large or sharply changing ceiling gaps usually require a cabinet extension instead of oversized crown.
How do you make builder-grade cabinets look taller and more custom?
Add properly scaled crown molding, finished end panels, aligned applied panels, and coordinated paint or stain. To create a taller appearance, extend cabinets upward when the ceiling gap is large rather than using excessively tall molding that makes cabinet doors look undersized.
Do built-ins need scribe molding against uneven walls?
Scribe molding is useful when a wall is slightly out of plumb because it can be shaped to close a narrow, irregular gap. It does not correct loose cabinet boxes, bowed sides, or wall conditions that prevent the built-in from sitting securely.
What should be checked before adding trim to cabinets or an entertainment center?
Measure cabinet depth, door and drawer reveals, door swings, ceiling height at several points, soffits, appliance clearances, outlets, HVAC grilles, lighting, and television wiring. Added trim cannot block handles, stop drawers, reduce appliance access, obstruct lighting, or interfere with media ventilation and cable routes.
When should you choose cabinet trim instead of a larger built-in modification?
Choose trim when existing boxes are sound, shelves are sturdy, openings have adequate depth, and the problems are mainly visual, such as plain faces, exposed ends, or a modest ceiling gap. Choose extensions, reconstruction, or new cabinetry for damaged boxes, shallow shelves, sagging spans, undersized openings, major uneven gaps, or when added storage and revised dimensions are needed.