
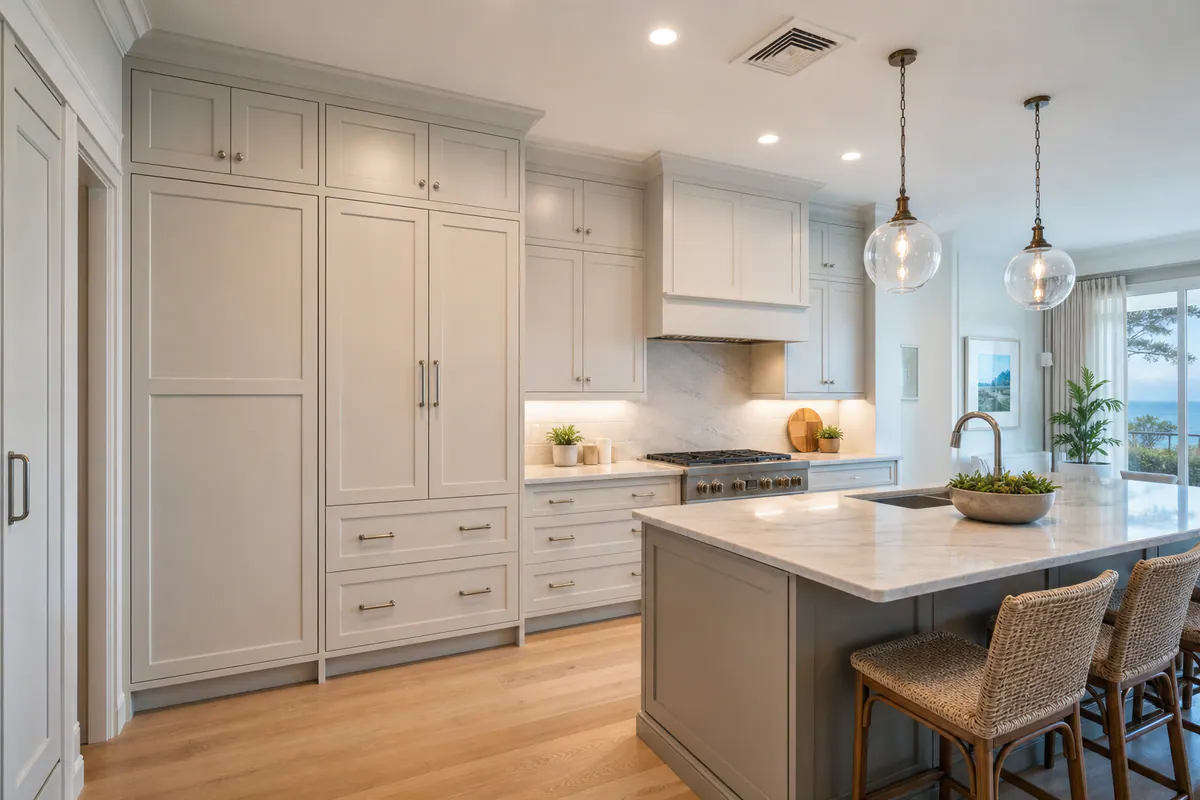
Cabinet and Built-In Trim That Makes Storage Look Integrated
A cabinet-to-ceiling gap, a raw exposed side, or a wavering line where a built-in meets the wall can make otherwise good storage look unfinished. Cabinet trim in Longboat Key gives those edges a deliberate relationship to the surrounding ceiling, flooring, walls, and nearby millwork.
Cabinet crown molding closes or softens the transition above upper cabinets and tall built-ins. Light rail sits beneath wall cabinets or shelves, creating a finished lower edge and a more deliberate line around under-cabinet lighting. At the floor, base trim or a tailored toe-kick treatment helps lower cabinetry relate to the room's baseboards rather than stopping abruptly.
On open shelving and built-ins, face trim gives the shelf edge more presence and can align it with adjacent door stiles or wall trim. Finished end panels address the exposed cabinet side; fillers bridge planned spacing beside walls or appliances; and scribe pieces are narrow, fitted strips that follow an uneven wall transition. These small components prevent telltale gaps, raw ends, and irregular reveals.
Strong built-in trim work looks proportionate rather than merely elaborate: returns meet cleanly, joints line up, seams are placed where they are least conspicuous, and the reveals around doors, panels, and walls appear consistent. A large crown profile can overwhelm a compact room, while a minimal profile may look undersized on a tall, furniture-like built-in.
For built-in trim in Longboat Key homes, selections should begin with the cabinet door style, ceiling height, room scale, existing base and crown profiles, and intended final finish. Paint-ready trim needs smooth, carefully prepared surfaces; stain-ready work demands closer attention to visible grain, color variation, and how new pieces relate to existing cabinetry.
Cabinet Crown Molding and Clean Ceiling Transitions
The line above the cabinets is often where a room's proportions become most apparent. Cabinet crown molding sits at the top of upper cabinets or a full-height built-in, drawing the eye upward and giving the run a deliberate stopping point at the ceiling. When its scale suits the room, it can make a cabinet installation feel taller and more furniture-like without making the detail look heavy.
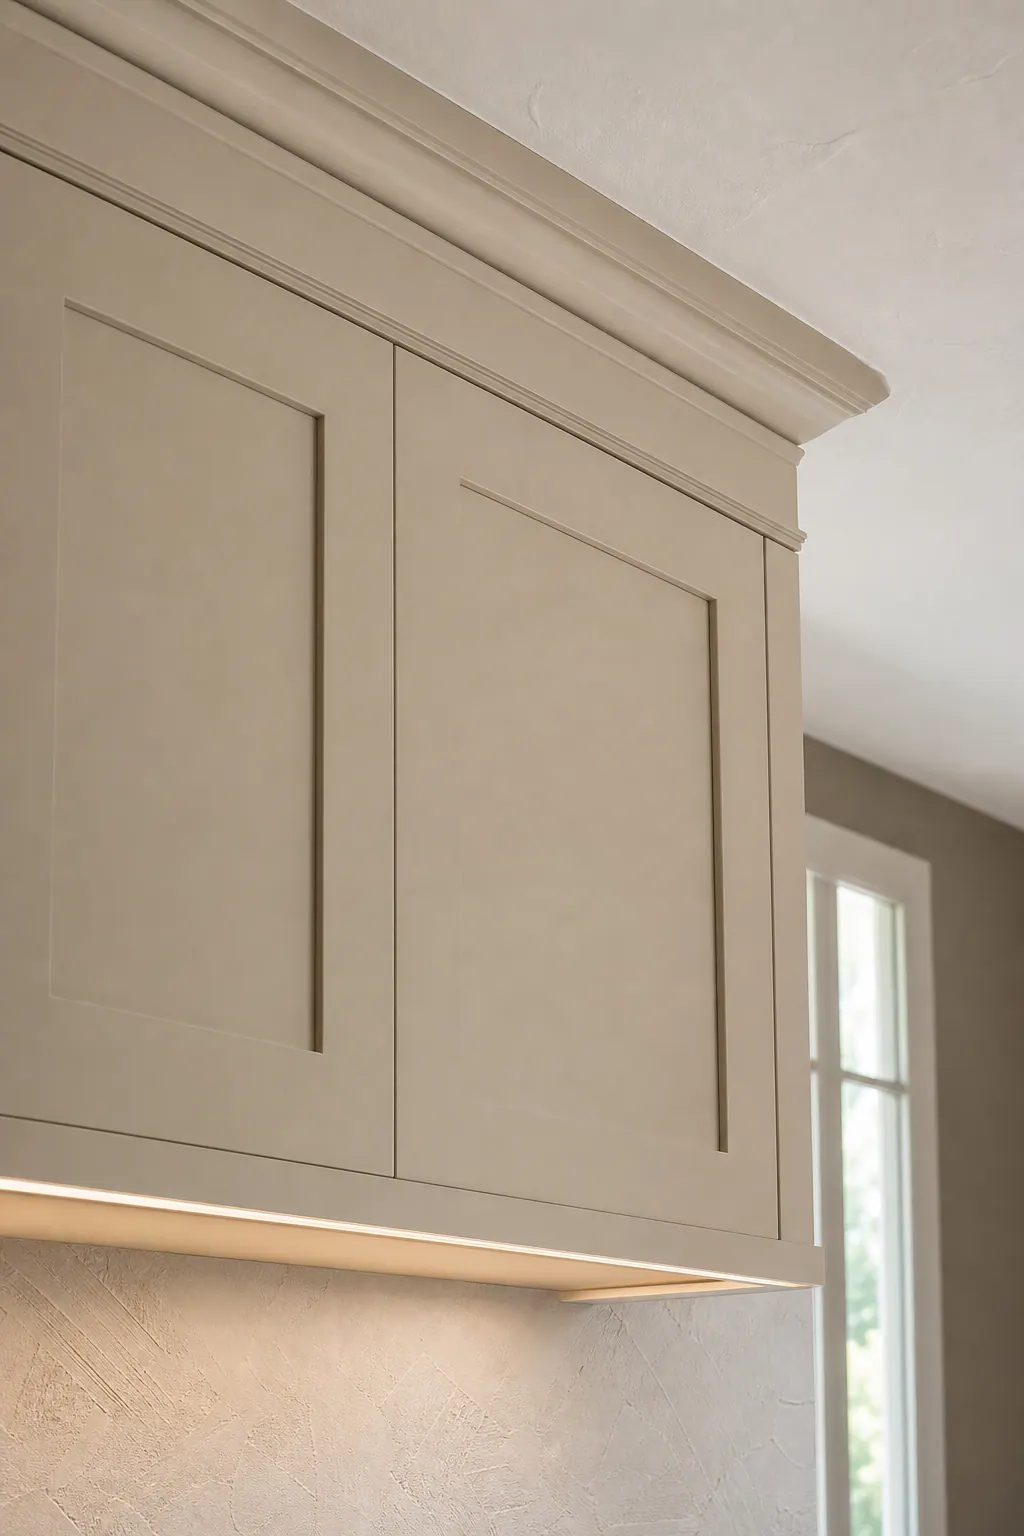
For a lower ceiling or a restrained coastal interior, a modest single-piece profile usually creates the cleaner result. It adds shadow and definition while leaving breathing room above the doors. A built-up crown assembly combines two or more pieces, often a larger crown with a supporting trim or flat band, to create more depth. That approach has more visual weight, so it is better suited to taller rooms, larger cabinet runs, or substantial built-ins that need a stronger ceiling transition. Cabinet crown molding in Longboat Key should relate not only to cabinet height, but also to nearby wall crown and the scale of the doors below it.
Crown is not simply attached in a straight line and expected to hide every condition. Ceilings can rise, dip, or run out of level, while side walls may be out of plumb. Measuring the cabinet top, ceiling clearance, and adjacent trim first makes it possible to choose whether the crown should follow the cabinet line, meet the ceiling selectively, or use a tailored transition. A scribe piece is a narrow strip fitted to the irregular contour of a wall or ceiling; it closes a changing gap without forcing the main profile to twist.
Filler planning matters at ends and corners, where there must be enough material to return the profile cleanly without crowding a wall or interfering with door movement. Outside corners rely on neatly cut miter joints; inside corners may be coped, meaning one profile is shaped to fit tightly over the face of the adjoining piece. Strong upper cabinet molding shows crisp returns, aligned profile lines, and seams positioned away from the most visible sightlines. Gaps at the ceiling, broken profile alignment, or a conspicuous seam in the middle of a focal cabinet run are signs that fitting was treated as an afterthought rather than part of the design.
Light Rail, Toe-Kick, and Cabinet Base Trim for a Finished Lower Edge
Under the upper cabinets, a small detail can change how the work surface feels after the room is in use. Cabinet light rail molding is a narrow trim piece applied along the bottom front edge of an upper cabinet. It gives that edge a deliberate profile and can visually screen the body, wiring channel, or mounting hardware of an under-cabinet light. It is not required for every lighting arrangement, but it is useful when the fixture would otherwise be apparent from across the room or when the cabinets need a slightly more substantial lower line.
The rail should be selected around the lighting plan rather than added by habit. A shallow, simple rail can create a clean shadow line below a flat-panel door, while a deeper or more decorative profile may compete with a cabinet run that already has pronounced door edges, pulls, and crown. For cabinet molding in Longboat Key homes with a light, composed interior, visual restraint often reads as more intentional than a heavy band that makes the upper cabinets appear to droop over the counter. Clean end returns and a consistent projection along the run are the visible signs that the detail was fitted as part of the cabinet, not added as an afterthought.
At the floor, toe-kick trim finishes the recessed area beneath base cabinets, where the set-back allows room for feet at the counter. Cabinet base trim can either preserve that recessed shadow line or add a more furniture-like lower edge, depending on the cabinet design and adjacent millwork. Its profile should relate to the nearby baseboard without forcing an exact duplicate: a simple, coordinated transition usually looks cleaner where flooring meets cabinet ends, while an oversized applied base can make a compact kitchen feel visually crowded.
Thoughtful fitting matters most at exposed ends, changes in flooring, and walls that are not perfectly straight. A well-resolved cabinet base trim line meets the floor neatly, follows the cabinet run consistently, and uses a tailored scribe or transition where needed instead of leaving a widening gap. Those small decisions help the lower edge look settled into the room while keeping the cabinetry's door style, not the trim itself, the focal point.
Custom-Looking Shelving Trim, Finished End Panels, and Built-In Details
A bookcase or media wall starts to look custom when its open and closed sections share the same visual grammar. Shelving face trim, the narrow finished strip on a shelf's front edge, can sharpen a plain shelf, add a controlled shadow line, and align with cabinet-door stiles below. Vertical stiles frame the bays between shelves or doors, making a mixed arrangement of display shelves, drawers, and concealed storage read as one composition rather than separate units pushed together.
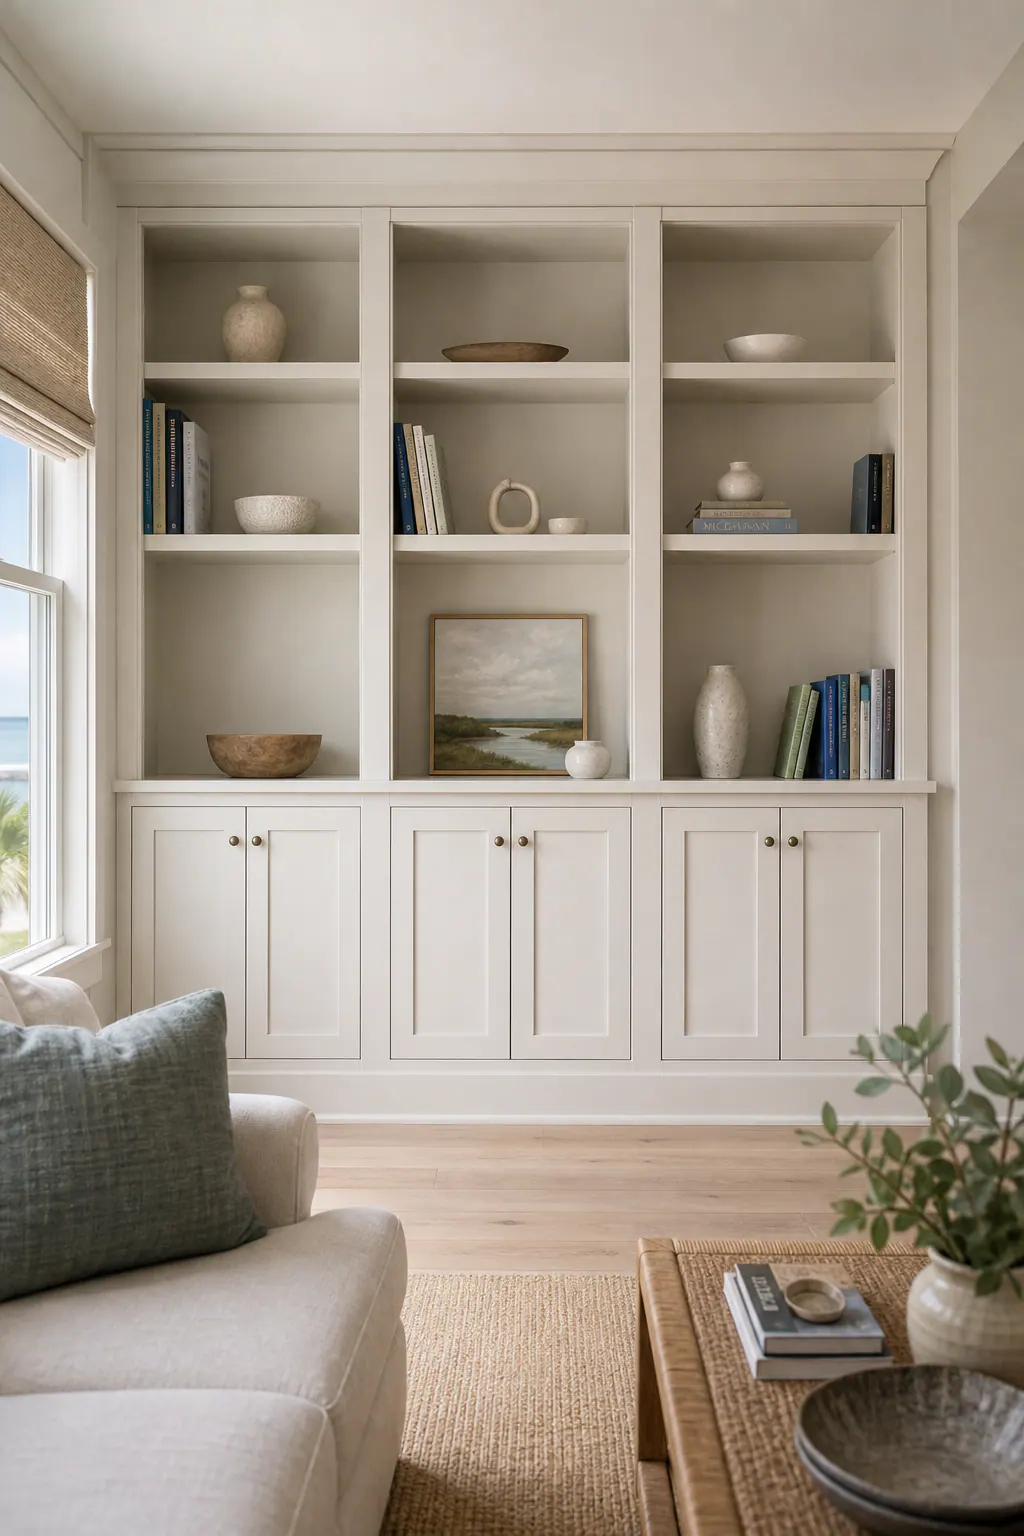
Proportion determines whether those details feel crisp or overbuilt. Narrow face trim suits a simple window-seat surround or a shallow bookcase where the contents should remain the focus. A larger wall unit can carry wider rails, paneled finished end panels, or restrained layered molding to create more architectural weight. Finished end panels cover the exposed cabinet sides; a clean panel edge and aligned stile are stronger signals than a raw-looking box side or a profile that stops awkwardly at the end.
Walls rarely provide perfectly straight boundaries for a built-in. Filler strips create planned clearance beside a cabinet or between sections, giving doors and trim room to operate and allowing the layout to stay centered. Scribe molding is then shaped along the wall line to close a changing gap. The goal is not to force the cabinet out of square, but to make the wall-side transition look intentional. A widening caulk line or a thin, uneven sliver at one end is a weak finish-carpentry signal; a fitted scribe with a consistent reveal is the cleaner result.
For built-in trim in Longboat Key homes, reveal lines deserve the same attention as the profiles themselves. These deliberate, even gaps separate panels, shelving, and cabinet faces so the composition has definition without visual clutter. Base trim can continue the room's lower line across a window seat or media unit, while crown can resolve the top of a tall bookcase. Coordinating those endpoints, returns, and seams lets custom cabinet trim feel designed around the room, whether the final surfaces are prepared for paint or selected with stain-grade grain and color in mind.
Paint-Grade vs. Stain-Grade Trim: Different Standards for the Final Finish
The finish choice sets the standard for every visible surface before trim is cut. Paint-grade trim is intended to receive an opaque coating, so the priority is a smooth, uniform field rather than visible wood character. Suitable smooth materials can be selected for crown, light rail, base trim, or shelving details, then prepared through careful filling, sanding, caulking at paintable transitions where appropriate, compatible priming, and coordinated paint matching. A strong paint-grade result has level profiles, filled fastener locations, controlled joints, and a consistent sheen; a weak one leaves ridges, open seams, or flashing patches that become obvious after paint.
Stain-grade trim takes a different path because the face of the material remains part of the design. Grain direction, color range, and the clarity of each visible piece need to work together across exposed shelving, end panels, and decorative returns. Small repairs or mismatched pieces that might disappear beneath paint can remain apparent under a transparent stain or clear finish. That makes face quality more selective, seams more deliberate, and samples especially useful: a sample can show how the chosen species, stain color, and sheen relate to the existing cabinet doors before the full run is finished.
The practical tradeoff is simple: paint can unify a carefully prepared assembly, while stain asks the assembly itself to be visually consistent. For cabinet finish trim in Longboat Key, decide early whether the goal is painted cabinetry with a matched trim color or wood-forward detailing with coordinated grain. That decision affects material selection, where joints can be placed, how returns are composed, and how noticeable natural variation may be.
A useful finish conversation covers the intended color and sheen, available finish samples, and the preparation sequence from fitting through final coating. It should also account for moisture-conscious material selection and the interior conditions around the built-in, so the chosen trim and finish approach suit the room rather than merely looking right on a small sample.
Choosing Trim Profiles for Longboat Key Coastal Interiors
Profile selection is where a tailored design avoids the two common extremes: trim that disappears and trim that takes over the room. Ceiling height and room size set the starting scale. A modest crown or narrow shelving edge can give a lower-ceiling kitchen or compact alcove definition without lowering its visual ceiling, while a taller room or broad built-in wall may have enough presence for a built-up crown or more substantial base detail.
Door style and surrounding millwork narrow the choice further. Streamlined square-edge trim or a lightly eased profile, with softened corners rather than decorative curves, works well beside flat-panel or simple Shaker doors, clean baseboards, and bright coastal interiors. It keeps shadow lines controlled and lets natural light read across the cabinetry quietly. An ogee profile introduces an S-shaped curve; layered profiles stack multiple moldings for deeper relief. Both can suit more traditional doors, formal adjoining crown, or a generously scaled room, but can feel ornate beside minimal cabinetry or too slight when reduced to a thin, isolated strip.
For cabinet trim in Longboat Key, compare door samples, flooring, nearby baseboards, and crown in the actual room, under daylight and evening lighting. Look for proportions that repeat rather than compete: aligned edges, clean returns, and a consistent reveal at panels and shelving. Material and joint planning should also be moisture-conscious, with movement considered before long runs and stain-grade pieces are selected; the goal is a profile and finish approach that remains visually deliberate at seams, corners, and transitions.
Plan Cabinet and Built-In Trim Around the Details That Matter
A productive trim review begins by marking every edge that still feels unresolved: the space above existing cabinets, open shelf fronts, exposed ends, toe-kick runs, and the joins between separate cabinet sections. Wall and ceiling irregularities matter because trim can be fitted to create a controlled transition, while a wide, uneven caulk line or an abruptly ending profile tends to make the condition more noticeable.
- Choose the crown, light rail, base, and shelving details as one composition, then settle the paint-grade or stain-grade direction before final preparation begins.
- Lay out under-cabinet lighting, door swings, drawer pulls, and appliance clearances before a rail or return is sized; a profile that looks right on paper should not crowd hardware or cast an unwanted shadow.
- Decide where seams can fall discreetly and how corners, fillers, scribes, and changes from cabinet to wall will terminate. Strong finish work keeps reveals consistent and transitions intentional rather than using trim to hide every gap.
Thoughtful finish carpentry is especially useful when crown is being added to existing cabinets, shelving needs a finished face, or separate components need to read as one built-in. If you are considering cabinet trim or built-in finishing in Longboat Key, start a conversation with the areas you want refined, a few finish references, and any lighting or hardware choices already made.
Plan the next step
Compare the broader Cabinet and Built-In Trim service.
Review the Longboat Key, FL service area for local planning context.
When you are ready, request a free estimate with the rooms, trim goals, city, and available photos.
FAQs
What is light rail molding on kitchen cabinets?
Light rail molding is a narrow trim piece installed along the bottom front edge of upper cabinets. It creates a finished lower profile and can conceal under-cabinet lighting fixtures, wiring channels, or mounting hardware.
Can crown molding be added to existing kitchen cabinets?
Yes, crown molding can be added to existing upper cabinets when there is enough material at ends and corners for clean returns. Cabinet top height, ceiling clearance, uneven ceilings, wall conditions, and door clearance should be measured before selecting the profile.
How can built-in shelving be trimmed to look custom?
Add face trim to shelf fronts, vertical stiles between bays, finished end panels on exposed cabinet sides, and coordinated base or crown trim. Use filler strips for planned clearance and scribe molding to close irregular wall gaps while maintaining consistent reveals.
What should you look for when choosing cabinet trim for a Longboat Key coastal home?
Choose trim based on ceiling height, room scale, cabinet door style, nearby baseboards and crown, lighting placement, and the final paint or stain finish. Modest crown and lightly eased or square-edge profiles suit lower ceilings, flat-panel doors, simple Shaker cabinetry, and restrained coastal interiors.
What is the difference between paint-grade and stain-grade cabinet trim?
Paint-grade trim is prepared for opaque paint, with smooth surfaces, filled fastener holes, caulked paintable joints, primer, and a consistent sheen. Stain-grade trim keeps the wood visible, so grain direction, color consistency, face quality, seam placement, and matching samples require closer attention.