
Custom Cabinet and Built-In Trim for a More Coordinated Osprey Home
Custom cabinet trim gives cabinetry the visual connection that makes it feel designed for the room instead of set in place afterward. For Osprey homeowners, that can mean a deliberate finish where upper cabinets meet the ceiling, a vanity meets the floor, or a bookcase meets an uneven wall. Cabinet trim in Osprey, FL is less about adding ornament everywhere and more about resolving those edges with the right scale and profile.
Finish carpentry can coordinate a cabinet crown with existing ceiling molding, carry a related baseboard detail across a built-in, or use a restrained edge profile that suits nearby doors and millwork. Crown closes the upper transition; base or toe-kick treatment gives lower cabinetry a grounded appearance; and carefully fitted side pieces and end panels make exposed cabinet edges look intentional. Light rail, installed beneath an upper cabinet, provides a finished lower edge and can visually conceal under-cabinet lighting.
The difference is visible in the details. Strong work follows a consistent reveal, the small, intentional gap or setback between adjoining faces, keeps profile lines aligned, and accounts for walls or ceilings that are not perfectly straight. Weak finishing often relies on mismatched molding, abrupt filler strips, or seams placed where they draw the eye. Whether finishing cabinets, bookcases, vanities, or an entertainment center, custom cabinet trim in Osprey begins with measured layout, proportionate profiles, and a finish plan that suits the surrounding room.
Cabinet Trim Details and What Each One Does
Each trim piece earns its place by resolving a specific edge, gap, or change in scale. Crown molding for cabinets bridges the space above upper cabinets, especially when cabinetry stops short of the ceiling or needs a measured transition into ceiling trim. A single modest profile may suit low ceilings; a built-up crown assembly can give taller cabinetry more presence. The useful test is proportion: crown should finish the top without making the cabinet run look top-heavy.
- Cabinet light rail molding attaches beneath wall cabinets to finish the lower edge. It can create a clean shadow line and help keep under-cabinet lighting less visible from across the room.
- Valances are deeper trim pieces used below cabinets or across an opening, often where a more noticeable visual band is wanted. They can suit a traditional kitchen or conceal a lighting area, but are usually unnecessary when a slim light rail will handle the transition.
- Toe-kick and base molding finish the recessed area at the bottom of lower cabinets. A toe-kick preserves standing room at the counter, while applied base molding can connect a vanity, cabinet run, or built-in to nearby baseboards when the profiles and heights work together.
At the sides and walls, the fit matters as much as the profile. An end panel gives an exposed cabinet side a finished furniture-like face. A filler strip occupies planned clearance beside a wall or appliance, while scribe molding is a narrow piece shaped to follow a wall that is not straight; it avoids forcing a cabinet box to mimic an irregular surface. On bookcases and entertainment centers, face-frame extensions or applied trim can define openings, strengthen vertical lines, and relate the unit to surrounding millwork.
Custom cabinet molding works best when it answers one of those conditions rather than layering ornament onto every available edge. A good checkpoint is simple: profiles should align where the eye expects them to align, exposed sides should have a deliberate finish, and no piece should look like it was added merely to hide a layout decision.
Crown, End Panels, and Clean Transitions Around Cabinets
The top and exposed ends of a cabinet run are where a profile either feels resolved or visibly runs out of answers. Cabinet crown molding can stop cleanly at the last cabinet when that side dies into a wall or tall pantry. When the cabinet side remains visible, a return wraps the crown back toward the wall, giving the molding a finished end instead of an abrupt cut.
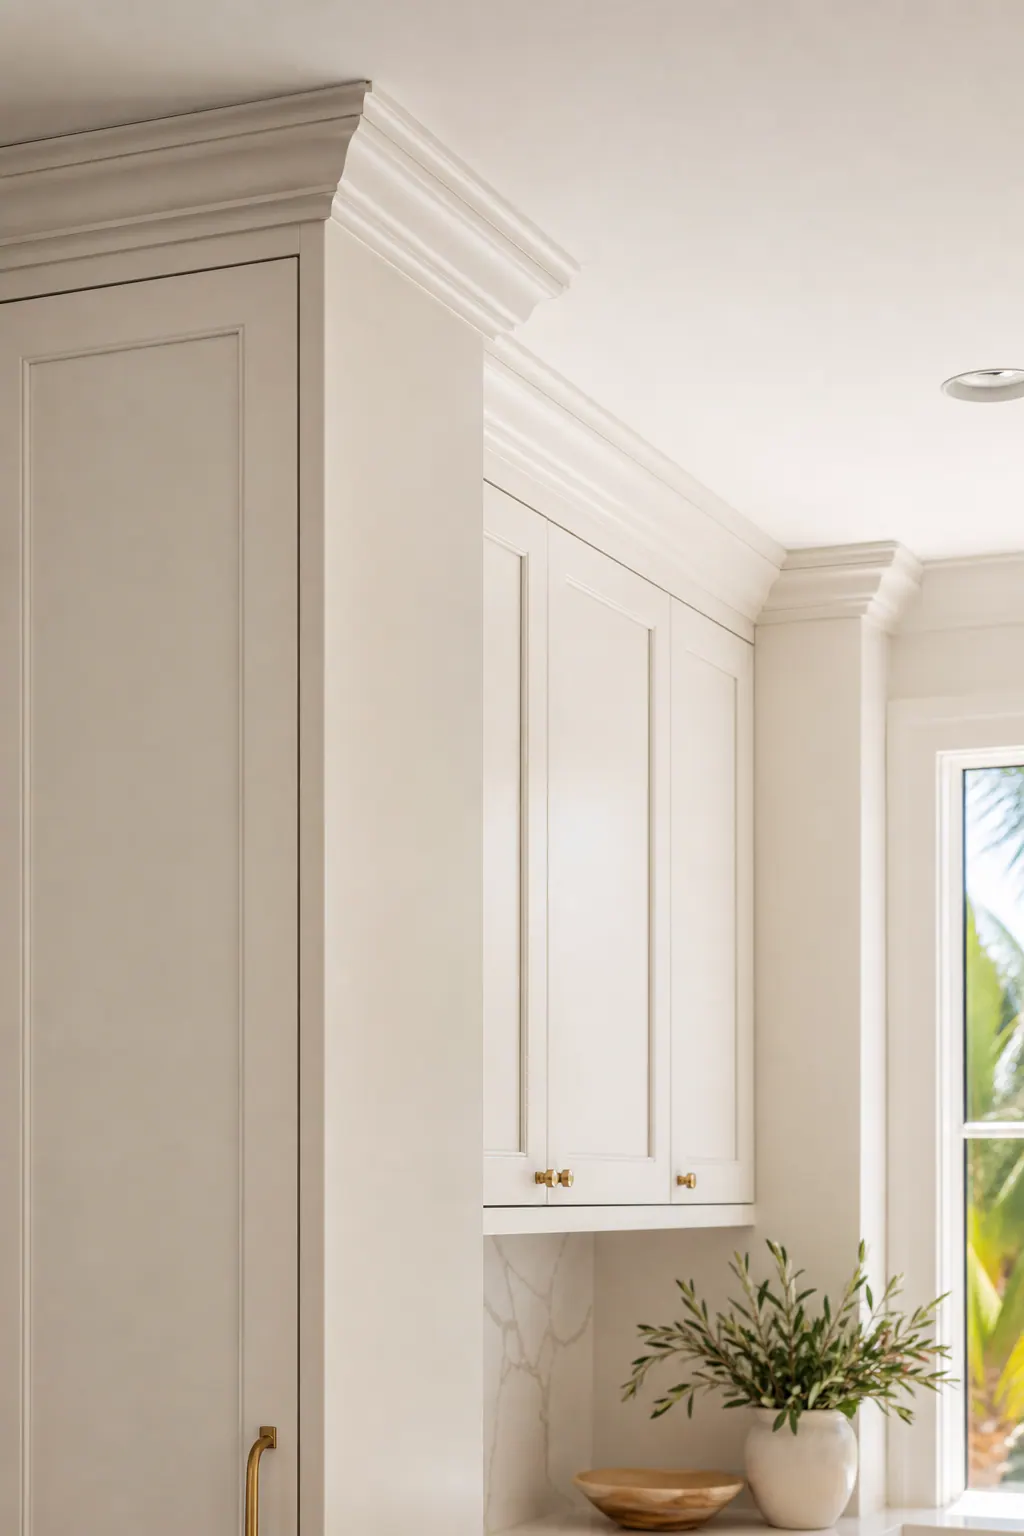
A stacked crown assembly combines smaller layers, often a flat buildup or starter strip beneath a shaped crown, to create more height and shadow definition. It can suit tall upper cabinets or a room with substantial nearby trim. In a lower-ceiling kitchen or utility room, however, a single restrained crown profile may look more balanced. Ceiling height, cabinet depth, surrounding door and window trim, and variations in the ceiling plane should guide the choice; a larger buildup is not automatically a better one.
Where cabinets meet a wall, fillers and scribe pieces keep doors, drawers, and trim from appearing crowded into an uneven edge. Their width should look intentional rather than like a narrow sliver added at the end. Likewise, an exposed end deserves a finished panel or a coordinated trim treatment that relates to the cabinet faces, rather than a raw box side beside an otherwise detailed run.
For cabinet trim in Osprey, FL, look closely at the horizontal lines before settling on a layout. Adjacent cabinet tops should align before crown is installed, profile lines should meet at the same height, and reveals should remain even along end panels and fillers. A clean return, a controlled gap at a changing plane, and a deliberate stop at a soffit or wall read as tailored. Oversized crown, mismatched profiles, visible gaps, or a molding line that drops unexpectedly make even well-made cabinetry feel less integrated.
Built-In Bookcase and Entertainment Center Trim That Looks Integrated
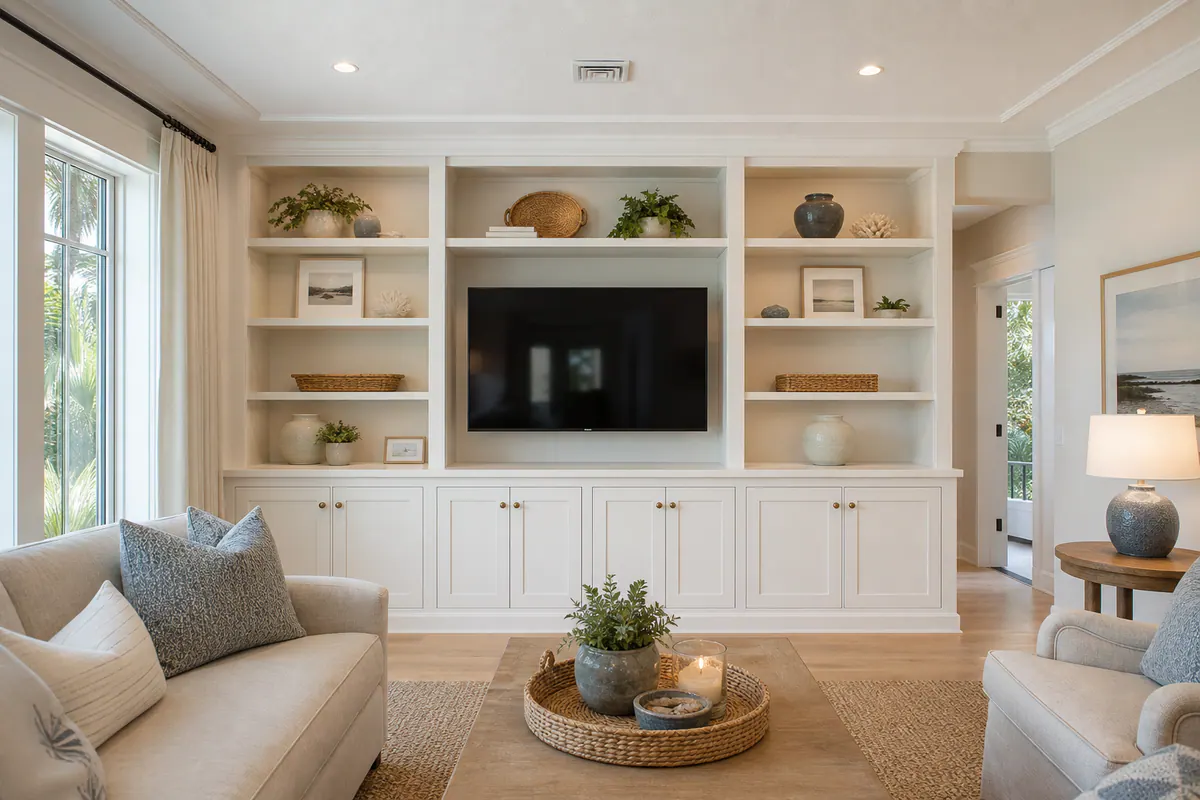
A bookcase reads more like part of the architecture when its openings have a clear frame instead of a collection of exposed box edges. Face-frame details create that finished perimeter at the front of shelving or lower cabinets, while finished side panels give the unit visual depth where it turns toward an adjacent wall. Built-in bookcase trim is most convincing when the face frames, shelf fronts, and side treatment share a consistent thickness rather than stepping in and out without a reason.
At the floor and ceiling, the built-in should join the room's existing visual lines thoughtfully. A baseboard can continue across the front of a low cabinet section, or stop into a plinth that gives the piece a furniture-like footing. Above, a crown detail may carry across the bookcase or meet it at a deliberate height. The stronger result is a continuous line with clean stops; patched-on pieces, uneven depths, or a crown that conflicts with nearby trim make the installation look separate from the wall.
Shadow lines deserve as much attention as the molding itself. A narrow, even setback around cabinet doors or between a shelving bay and its frame helps define the parts without making them busy. Shelf spacing should relate to the objects the unit will hold, while door reveals should remain consistent from one opening to the next. For built-in trim in Osprey, FL, a simple painted frame with balanced openings often has more presence than multiple ornate profiles competing for attention.
An entertainment center adds transitions that need to be planned rather than covered afterward. The television opening, any fireplace surround, and adjoining walls should each have a defined edge and enough room for the intended equipment and access. Entertainment center trim can frame the screen as one composed section of the wall, but it should not crowd the opening or interrupt a nearby mantel line. Judge the design from across the room: trim that is proportionate to the wall, cabinet depth, and ceiling height looks tailored; oversized layers can make the media wall feel heavier than the room.
Bathroom Vanity and Smaller Cabinet Trim Details
Smaller cabinet zones leave little room for a detail that is merely decorative. At a bathroom vanity, a toe-kick can continue the room's baseboard language at floor level while keeping the cabinet visually light; a furniture base instead creates a more freestanding, furniture-style stance. The better choice depends on the vanity's scale and the surrounding trim, not on applying the same treatment to every bath.
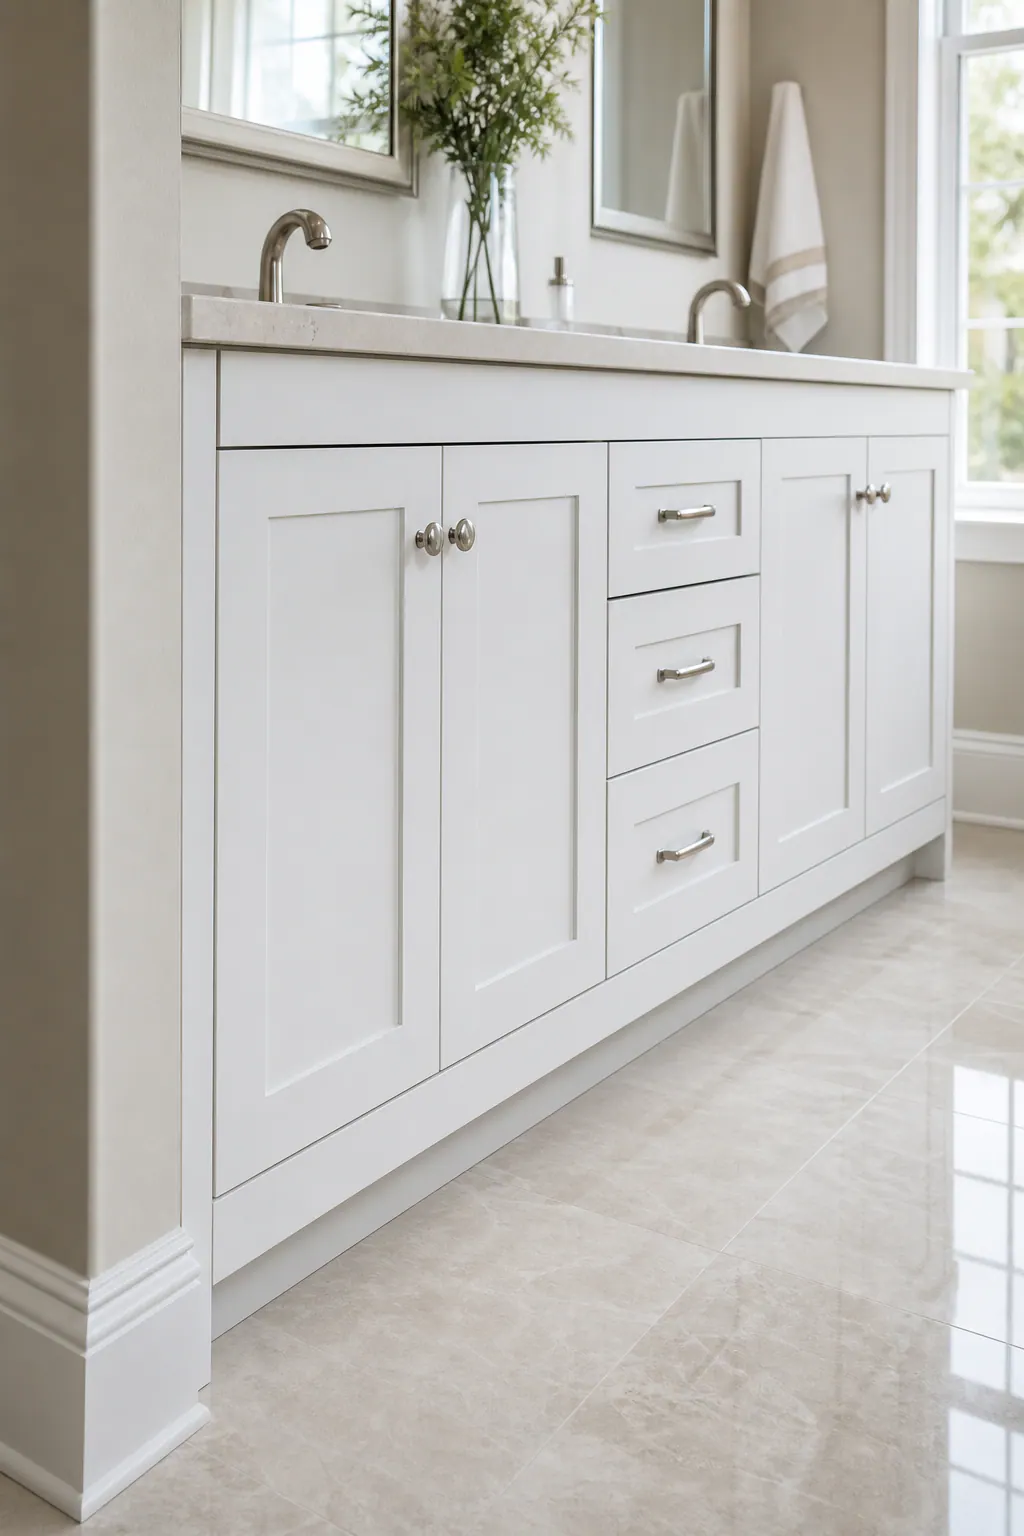
Bathroom vanity trim can also resolve the visible sides that face a doorway or tub. A finished side panel gives that cabinet end a deliberate face, while a narrow wall-side scribe can absorb an irregular wall line without making the vanity box look crooked. Around a mirror, the framing profile should relate to the vanity's trim in width and visual weight. Matching every contour is unnecessary; a simple shared paint color or similarly scaled edge can be enough to make the pieces belong together.
For linen towers, laundry cabinets, and shallow utility built-ins, cabinet light rail molding adds a finished lower edge beneath an upper cabinet and can conceal the abrupt underside of the box. It should stop short of door paths and countertop overhangs. Paint-grade trim is often a practical choice for these painted cabinet areas because it allows the face frame, fillers, and added molding to read as one composed surface after finishing.
In moisture-prone rooms, the trim plan should leave plumbing connections and any intended access panel reachable rather than burying them behind a fixed decorative assembly. Door and drawer swings need clearance from projecting base details, while countertop overhangs should not be crowded by thick side trim. A strong vanity installation has purposeful gaps at the wall, clean transitions at the floor, and trim that frames the cabinet without interfering with how the room works.
What Creates a Clean, Refined Finish: Fit, Proportion, and Paint or Stain Preparation
Precision begins with the room as it exists, not as a drawing assumes it to be. Out-of-square walls and ceiling variation can make a perfectly rectangular cabinet appear crooked if trim is simply cut to nominal dimensions. Careful measuring and templating let the visible front lines remain straight while a scribe piece follows an irregular wall. A filler strip can create needed clearance beside doors or drawers; it should look like a purposeful extension of the cabinet, not a narrow patch packed with caulk.
Profile scale matters just as much as fit. A tall cabinet or substantial built-in can carry a deeper crown or layered base, while a compact vanity usually benefits from a quieter edge. The goal is for the crown and base to frame the cabinet mass without making it look top-heavy or bottom-heavy. Long horizontal runs are a useful visual checkpoint: crown lines should read straight, adjacent reveals should stay consistent, and joints should meet tightly without being forced into place.
A controlled shadow line is a slim, even setback that intentionally separates two surfaces, such as a face frame and a wall panel. It creates definition and can make minor transitions look crisp. An unintended gap changes width, exposes a raw edge, or relies on a broad bead of caulk to hide poor fitting. In finish carpentry in Osprey, FL, scribes, fillers, and properly planned joints are what keep those two conditions from being confused.
Finish preparation determines whether the fitting work remains visible in the best way. Paint-grade trim can use filled fastener holes, sanded joints, and restrained caulk lines to create one smooth painted surface. Stain-grade work demands closer color, grain, and joint alignment because opaque paint will not conceal inconsistencies. Wood also needs room for normal movement, so trim should not be locked into opposing surfaces in a way that invites splitting or opened joints. Smooth surfaces, concealed fasteners, and clean transitions make the final profile look deliberate rather than assembled in place.
Planning Cabinet and Built-In Trim for Your Osprey, FL Home
A productive trim conversation starts with a clear picture of what is already in the room. Bring photos from several angles and basic measurements of the cabinet run, bookcase, vanity, or entertainment center, including ceiling height and the widths of visible side panels. Note whether the cabinetry is solid and stable, where walls or ceilings visibly wander, and which existing crown, baseboard, door casing, or other molding profiles you want the new work to acknowledge.
- Identify exposed cabinet ends, gaps beside walls, and areas beneath upper cabinets that need a finished edge.
- Show appliance doors, drawers, countertop overhangs, plumbing access, and other clearances that limit how far trim can project.
- Decide whether the finish is paint or stain. Paint supports a unified color treatment; stain makes wood selection and matching more prominent.
- Choose the room's intended formality: a simple coordinated profile creates a quieter finish, while layered crown and base treatment adds more architectural presence.
A project-specific review turns those observations into a trim plan that fits the cabinet construction and the room's real conditions. For built-in trim in Osprey, FL, start by discussing the look you want and the millwork already in place to determine whether restrained coordination or a more substantial built-up treatment belongs there.
Plan the next step
Compare the broader Cabinet and Built-In Trim service.
Review the Osprey, FL service area for local planning context.
When you are ready, request a free estimate with the rooms, trim goals, city, and available photos.
FAQs
What is the difference between cabinet crown molding and light rail molding?
Cabinet crown molding finishes the space above upper cabinets and creates a transition to the ceiling or nearby ceiling trim. Light rail molding attaches beneath wall cabinets to create a finished lower edge and help conceal under-cabinet lighting.
Can crown molding be added to existing cabinets?
Yes, crown molding can be added when cabinet tops align and there is enough space for a proportionate profile. A single modest crown suits lower ceilings, while a stacked assembly with a flat buildup and shaped crown can add height to taller cabinets.
How do you make built-ins look seamless with the wall and ceiling?
Use consistent face-frame thicknesses, finished side panels, even door reveals, and intentional shadow lines around openings. Continue or deliberately stop baseboard and crown lines so the built-in aligns with nearby millwork instead of looking patched onto the wall.
Do uneven walls or ceilings affect built-in trim installation?
Yes, uneven walls and ceilings require measured layout, templating, fillers, and scribe molding so visible front lines stay straight. A scribe piece follows an irregular wall, while a planned filler provides door, drawer, and trim clearance without creating a narrow patch.
How do you choose trim for cabinets, built-ins, or a bathroom vanity?
Choose profiles based on cabinet height, ceiling height, exposed ends, nearby crown and baseboard details, and required clearances for doors, drawers, plumbing, and countertop overhangs. Use restrained trim for compact vanities or low ceilings, and reserve deeper crown or layered base treatment for taller cabinetry and more substantial built-ins.