
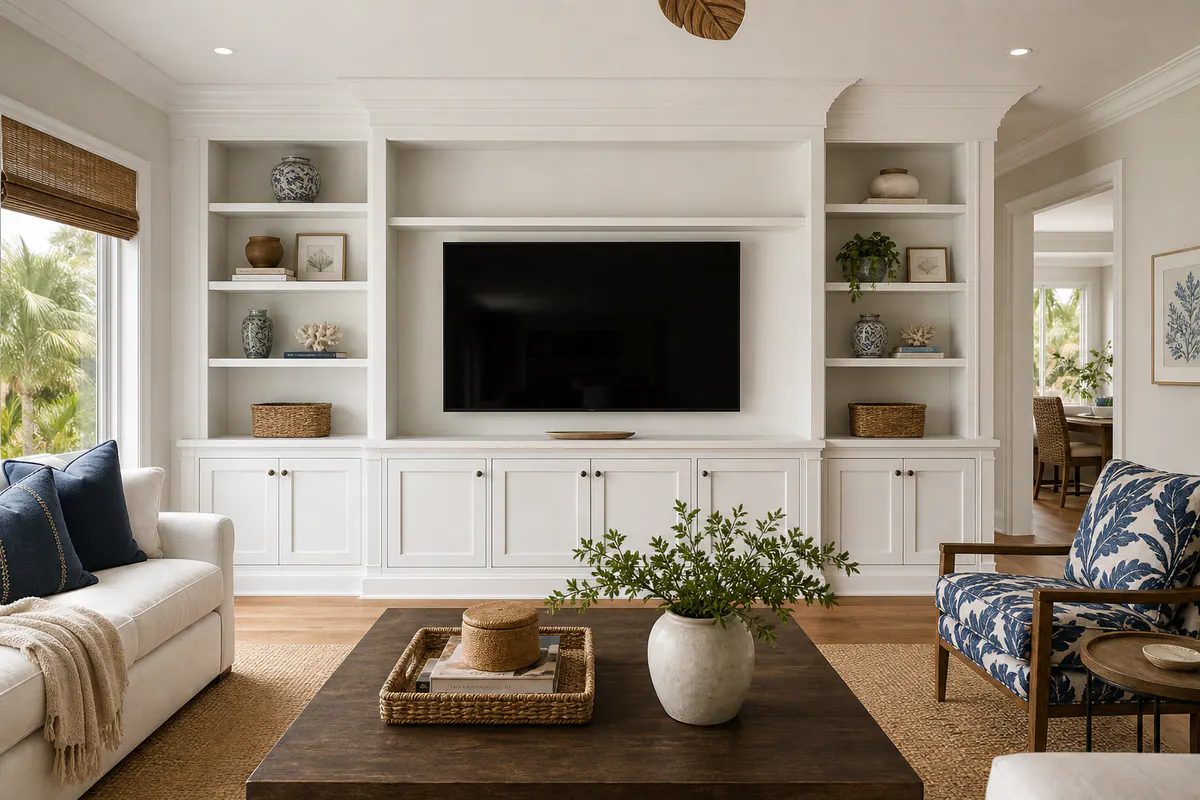
That polished, built-in look comes from the finish-carpentry layer around the storage itself. Cabinet trim in Sarasota, FL can give new or existing cabinetry a deliberate edge at the ceiling, wall, floor, and exposed sides, rather than leaving it to look like a box set into a room.
Crown molding finishes an upper edge and can visually connect a cabinet run or bookcase to the ceiling. Scribe pieces and fillers close changing gaps where walls or corners are not perfectly straight; a fitted transition reads much cleaner than a wide line of caulk. End panels and returned edges cover visible cabinet sides, while base trim and toe-kick details give lower cabinets, benches, and cubbies a grounded appearance.
The same approach applies beyond kitchens. Built-in trim in Sarasota, FL can refine open shelving, library bookcases, entertainment centers, home-office cabinetry, and mudroom storage. Clean miters, consistent reveal lines, minimized fasteners, and smoothly prepared edges help the pieces read as one installation rather than separate components.
Paint-grade trim is suited to a smooth, uniform painted finish. Stain-grade trim keeps wood grain visible, so species, grain direction, and the existing finish all matter; an exact match to aged cabinetry is not always realistic. A project review can establish the cabinet condition, wall transitions, and finish direction before details are fitted.
Where Professional Trim Makes the Biggest Difference
Upper cabinets that stop below the ceiling can leave a horizontal void that feels accidental, especially when the gap changes across the run. A ceiling treatment sized to the cabinet height and room scale turns that unused band into a deliberate top edge rather than an abrupt stopping point.
Exposed cabinet sides deserve the same attention as the doors. A finished end panel or a returned trim edge gives a visible side a face-worthy appearance; leaving a raw panel edge or an unfinished filler can make an otherwise polished cabinet run look incomplete. This is often most noticeable at islands, peninsula ends, and cabinetry that terminates in an open room.
Plain wall shelving gains definition when its front edges, supports, and ends share a consistent visual language. For custom built-ins in Sarasota, trim can establish a stronger frame around shelves so they read as permanent room storage instead of separate boards mounted to a wall.
Bookcases, media centers, and office storage benefit from details that organize large vertical and horizontal surfaces. Built-in bookcase trim in Sarasota can give shelf bays a consistent perimeter and align their edges with nearby cabinets or baseboards. Entertainment center trim in Sarasota can visually contain a screen recess and surrounding storage, avoiding a patchwork look of unrelated boxes. In a home office, matched edge treatment helps desk-height cabinetry, upper storage, and open shelving feel planned as one workspace.
Mudroom cubbies call for proportion as much as coverage. Trim at the bench, vertical dividers, and upper storage can clarify each zone while tying the unit to the room's base detail. The goal is not to add molding everywhere; it is to use fitted edges and balanced lines where they make the installation look integrated.
Cabinet Trim Details and What Each One Does
The profile at each edge should have a job to do, not simply add decoration. Crown molding caps the top of cabinets or bookcases, creating a finished transition above the box. A taller, layered crown can suit a substantial ceiling-height built-in; a single, smaller profile keeps a compact cabinet run from looking top-heavy. For cabinet crown molding in Sarasota, the useful comparison is proportion: the molding should relate to the cabinet height, door style, and nearby room trim rather than compete with them.
- Light rail molding fits beneath upper cabinets or shelves. It softens the lower edge and can conceal the underside where lighting or shadow would otherwise make the cabinet box feel abrupt. A simple rail is often the better choice for sleek doors; a more shaped profile can echo traditional crown above.
- Base molding and toe-kick details ground lower cabinets, benches, and mudroom units. Base molding visually connects a built-in to the room's baseboard, while the recessed toe kick creates foot room at floor-level cabinetry. Using both can make a large unit feel furniture-like; a clean, flat toe-kick may better support a contemporary design.
- Face-frame extensions widen or project the visible front frame beyond the cabinet box. They can create a stronger outline around open shelves, desk sections, and bookcase bays, as well as bring neighboring doors and trim into a consistent plane.
- Finished end panels cover a cabinet side that remains visible from an entry, island, or open living area. The better result is an intentional panel face with aligned edges and finish treatment, rather than a plain box side that stops without detail.
- Filler strips occupy the narrow space between cabinetry and a wall, appliance, or adjoining unit. They provide room for doors and drawers to operate while avoiding an awkward open gap. A fitted filler that follows the wall reads far better than a wide joint hidden with excessive caulk.
- Trim returns turn a molding back into a wall or panel at the end of a run. This closes the profile cleanly, preventing the cut end from appearing unfinished.
Custom cabinet trim in Sarasota works best when these pieces share a clear hierarchy. A detailed crown paired with a modest light rail and simple base can frame a traditional media center without making every edge busy. Conversely, flat end panels, narrow fillers, and square returns may be all a painted office built-in needs. Clean miters, even reveal lines, minimized fasteners, and smoothly prepared surfaces are the visible checkpoints that keep cabinet molding from looking added on after the fact.
Creating Clean Fits at Uneven Walls, Ceilings, and Corners
A cabinet run can be level and still meet a wall that bows, leans, or changes direction. That is where site-fitting matters. A scribed edge is carefully shaped to follow the wall's actual contour, allowing the finished piece to sit close instead of leaving a varying gap. On a painted bookcase or mudroom unit, a narrow scribe can disappear into the wall transition; on stain-grade work, the fit and grain presentation deserve even closer attention because the edge remains more visible.
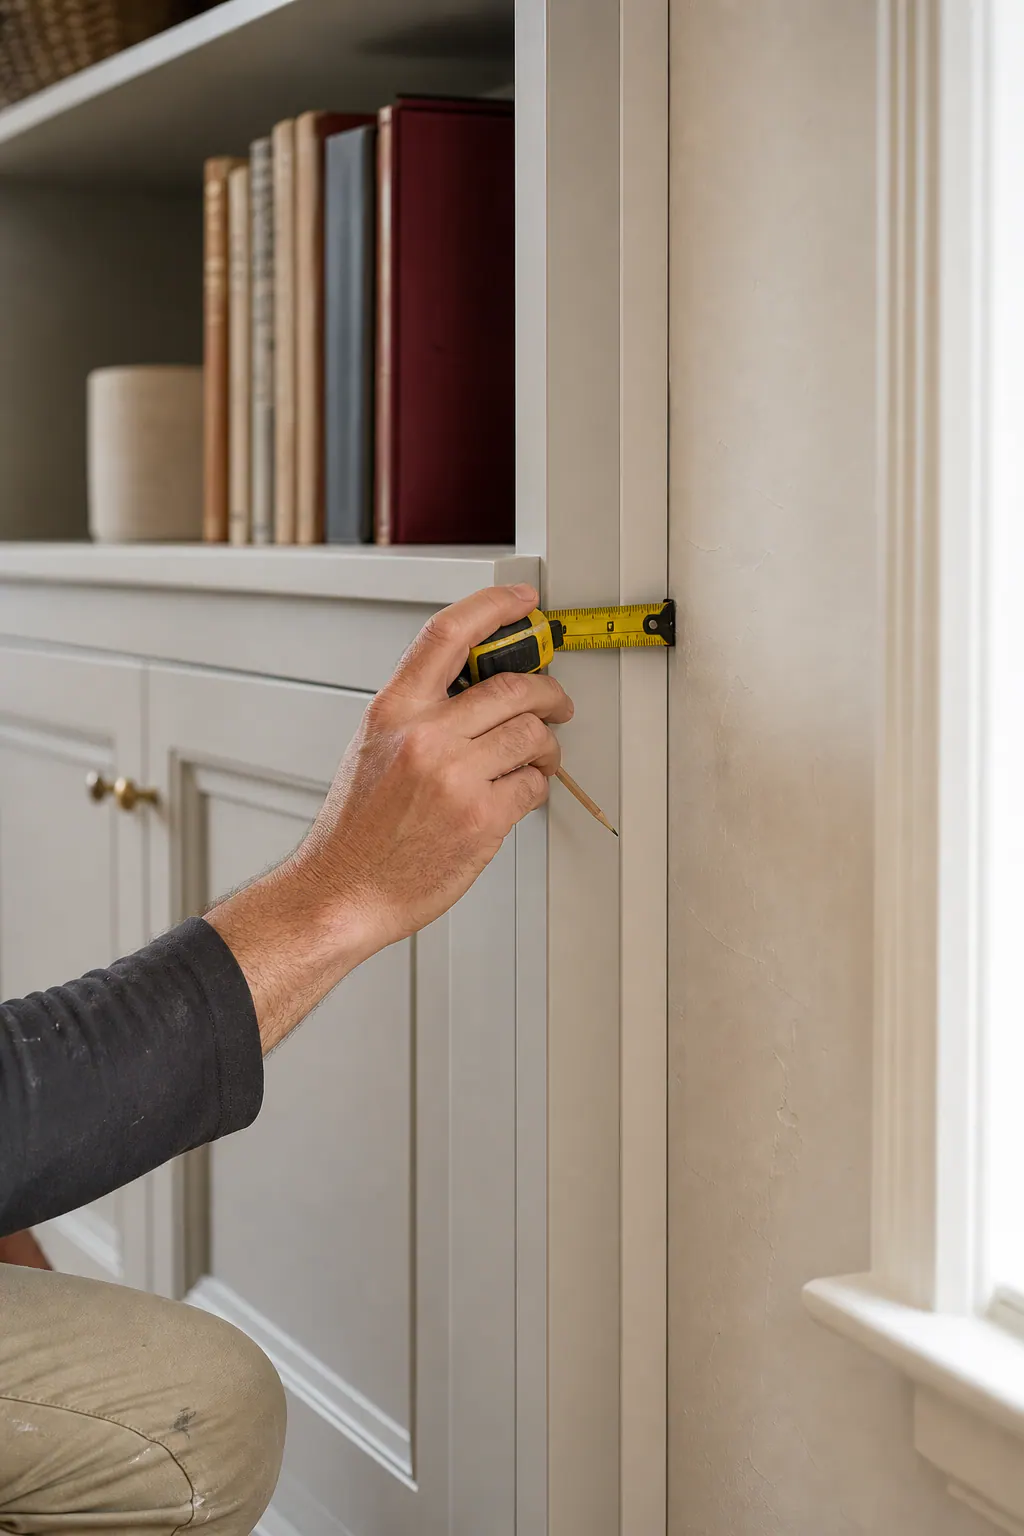
Custom fillers handle a different condition: they create the needed space beside a cabinet while preserving a deliberate face line. The filler may be trimmed to meet an uneven wall, or it may be held as a consistent reveal, a small, intentional shadow line, when a perfectly tight contact would make the installation look crowded. The right choice depends on whether the surrounding wall finish, cabinet door swing, and design call for a fitted edge or a repeatable visual gap. A clean, narrow transition is a stronger signal than a broad joint covered in caulk.
Ceilings and corners require the same measured approach. A ceiling transition may use a fitted top piece or crown adjusted to the ceiling's shape, rather than forcing a straight molding line against an uneven surface. At an out-of-square corner, the visible goal is a controlled miter, return, or reveal line that makes the change of direction look planned. For built-in trim in Sarasota, FL, the practical test is to look along each edge: reveals should remain consistent, returns should close the profile cleanly, and fasteners should be concealed or minimized.
No single trim treatment solves every field condition. The cabinet's placement, the wall and ceiling surfaces, adjacent baseboards or casings, and the intended paint or stain finish all influence whether a scribe, filler, return, or shadow reveal will produce the most natural result. An on-site fit assessment lets finish carpentry in Sarasota, FL respond to the room that exists rather than assuming every corner is square.
Coordinating Paint-Grade or Stained Trim With Existing Cabinetry
Finish is what makes the trim read as part of the cabinetry rather than an added strip at the edge. Paint-grade trim is prepared for an opaque coating, so its value lies in smooth faces, crisp profile edges, filled fastener marks, and tidy joints. A narrow paintable caulk line can soften the wall-side joint; a heavy bead that rounds over a profile or bridges a changing gap will look less precise once painted.
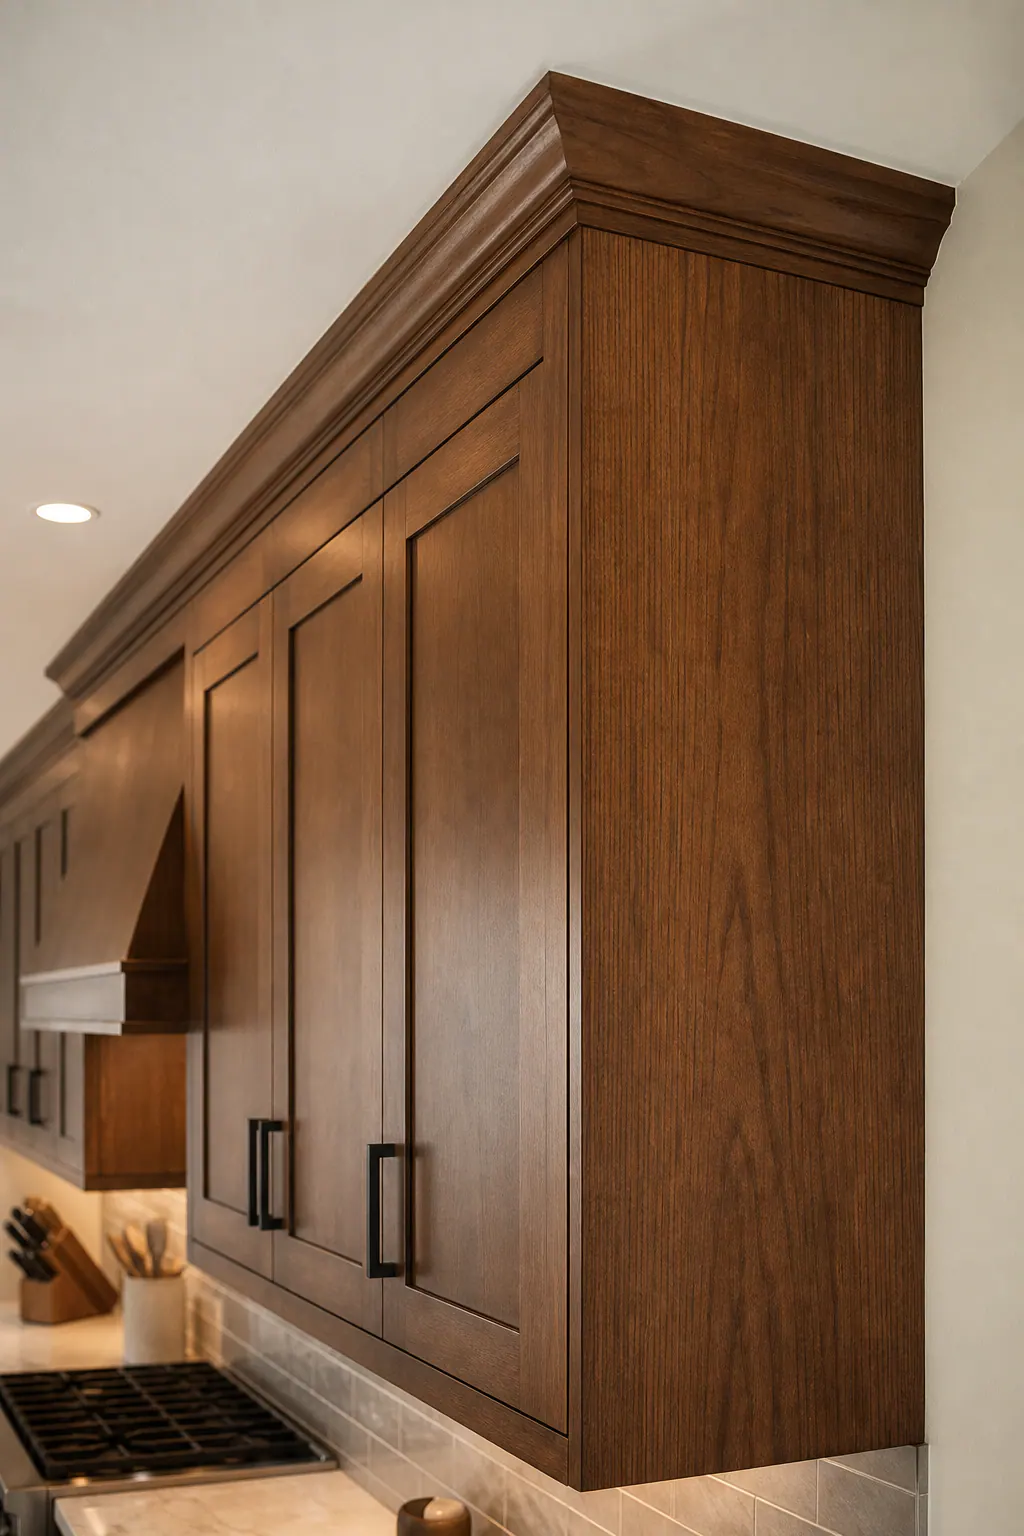
Stain-grade trim takes a different level of visual coordination because the wood remains visible. Grain direction should follow the length of a rail, stile, return, or crown whenever possible, helping the piece look continuous instead of patched together. Clean miters, carefully treated end grain, and a finished return matter more here than on painted work: a raw plywood edge or mismatched grain at an exposed bookcase end is difficult to disguise with stain.
Matching new trim to existing cabinet doors is a project-specific exercise, not a promise made from a color name. Wood species and natural variation can change how stain absorbs, while cabinet age, prior coatings, room lighting, and sheen can alter the color a homeowner sees. Satin and semigloss, for example, may appear noticeably different even when the underlying paint color is the same.
For cabinet trim in Sarasota, FL, placing finish samples beside an existing door or panel gives the comparison its proper context. A small test piece can reveal whether paint needs adjustment, whether a stained trim board coordinates acceptably, and whether a deliberate complementary finish would look more natural than chasing an exact match. That review also guides edge treatment and sheen so new crown, panels, or face-frame details carry a consistent finish across the built-in.
What a Professional Cabinet Trim Project Involves
A careful field review gives the trim plan a workable starting point. The cabinet boxes or built-in are measured in place, with attention to door and drawer clearances, exposed ends, adjacent casing or baseboard, and the actual wall and ceiling lines. That review identifies where a standard-length piece can run cleanly and where a component needs to be site-fit rather than forced into a gap.
Next comes the visual plan: which profile will cap the upper edge, whether an end panel needs a return, how fillers will align with face frames, and where base or toe-kick trim should stop. A simple square panel and narrow reveal suit a restrained design; a shaped crown and framed end panel add more formality. The important checkpoint is that each detail has a defined transition, rather than ending with an exposed cut edge or an oversized caulk joint.
For cabinet trim in Sarasota, FL, components can be dry-fitted before final fastening so miters, returns, and reveal lines can be adjusted against the room itself. Scribed pieces are shaped at irregular wall contacts, while fasteners are placed where they can be concealed or minimized. Joints, nail marks, and edges are then prepared according to the finishing plan: paint-grade work calls for a smooth, continuous surface, while stain-grade work calls for especially deliberate grain and end treatment.
A written scope can keep the project clear by identifying the trim components, areas to be finished, finishing responsibilities, and any site conditions that affect the final fit. That sequence helps the finished cabinetry look considered without adding detail simply for its own sake.
Plan a More Finished Look for Cabinets and Built-Ins in Sarasota
Bring a few photos and rough dimensions to the conversation, along with a close view of the existing doors, panels, or paint. Those details help frame whether the priority is a finished exposed side, a ceiling treatment that closes an uneven gap, a wall-side piece shaped to the room, or a simpler edge treatment that keeps the cabinetry understated.
For a Sarasota kitchen, bookcase, media center, home office, or mudroom, describe the profile and finish you have in mind, and the level of detail you want. A square, paint-grade treatment creates a quieter look; a shaped profile or visible wood return carries more visual presence and requires closer finish coordination. Point out any worn cabinet areas, irregular walls, or transitions to adjacent trim so they can be included in the plan.
If you are considering built-in trim in Sarasota, FL, request a consultation or estimate for your space. The result should be a clear scope for the details that matter most: fitted edges, consistent lines, prepared surfaces, and a finish approach that supports the cabinetry you already have.
Plan the next step
Compare the broader Cabinet and Built-In Trim service.
Review the Sarasota, FL service area for local planning context.
When you are ready, request a free estimate with the rooms, trim goals, city, and available photos.
FAQs
What trim can be added to existing cabinets in Sarasota, FL?
Existing cabinets can receive crown molding, light rails, base molding, toe-kick details, finished end panels, filler strips, face-frame extensions, and trim returns. These details finish exposed sides, close wall and ceiling gaps, and create cleaner transitions around cabinet runs.
Can crown molding be added to built-in bookcases?
Yes. Crown molding can cap built-in bookcases and connect their upper edge to the ceiling, making the installation look more permanent. A taller layered crown suits substantial ceiling-height built-ins, while a smaller single profile works better for compact units.
How do you make built-in cabinets look seamless against uneven walls?
Use scribed edges shaped to the wall’s actual contour and custom filler strips sized for door and drawer clearance. Consistent narrow reveals, clean returns, and minimized caulk create a more deliberate result than covering a wide changing gap with caulk.
What should you look for in professional cabinet trim installation?
Look for clean miters, consistent reveal lines, fitted wall and ceiling transitions, concealed or minimized fasteners, and finished trim returns. Professional work should also account for exposed ends, door and drawer clearances, adjacent baseboards, and out-of-square corners before final fastening.
Should cabinet trim be painted or stained to match existing cabinetry?
Choose paint-grade trim for a smooth opaque finish with filled fastener marks, crisp edges, and tidy joints. Choose stain-grade trim when visible wood grain is desired, but expect coordination rather than an exact match because wood species, grain, cabinet age, lighting, coatings, and sheen can change the final color.