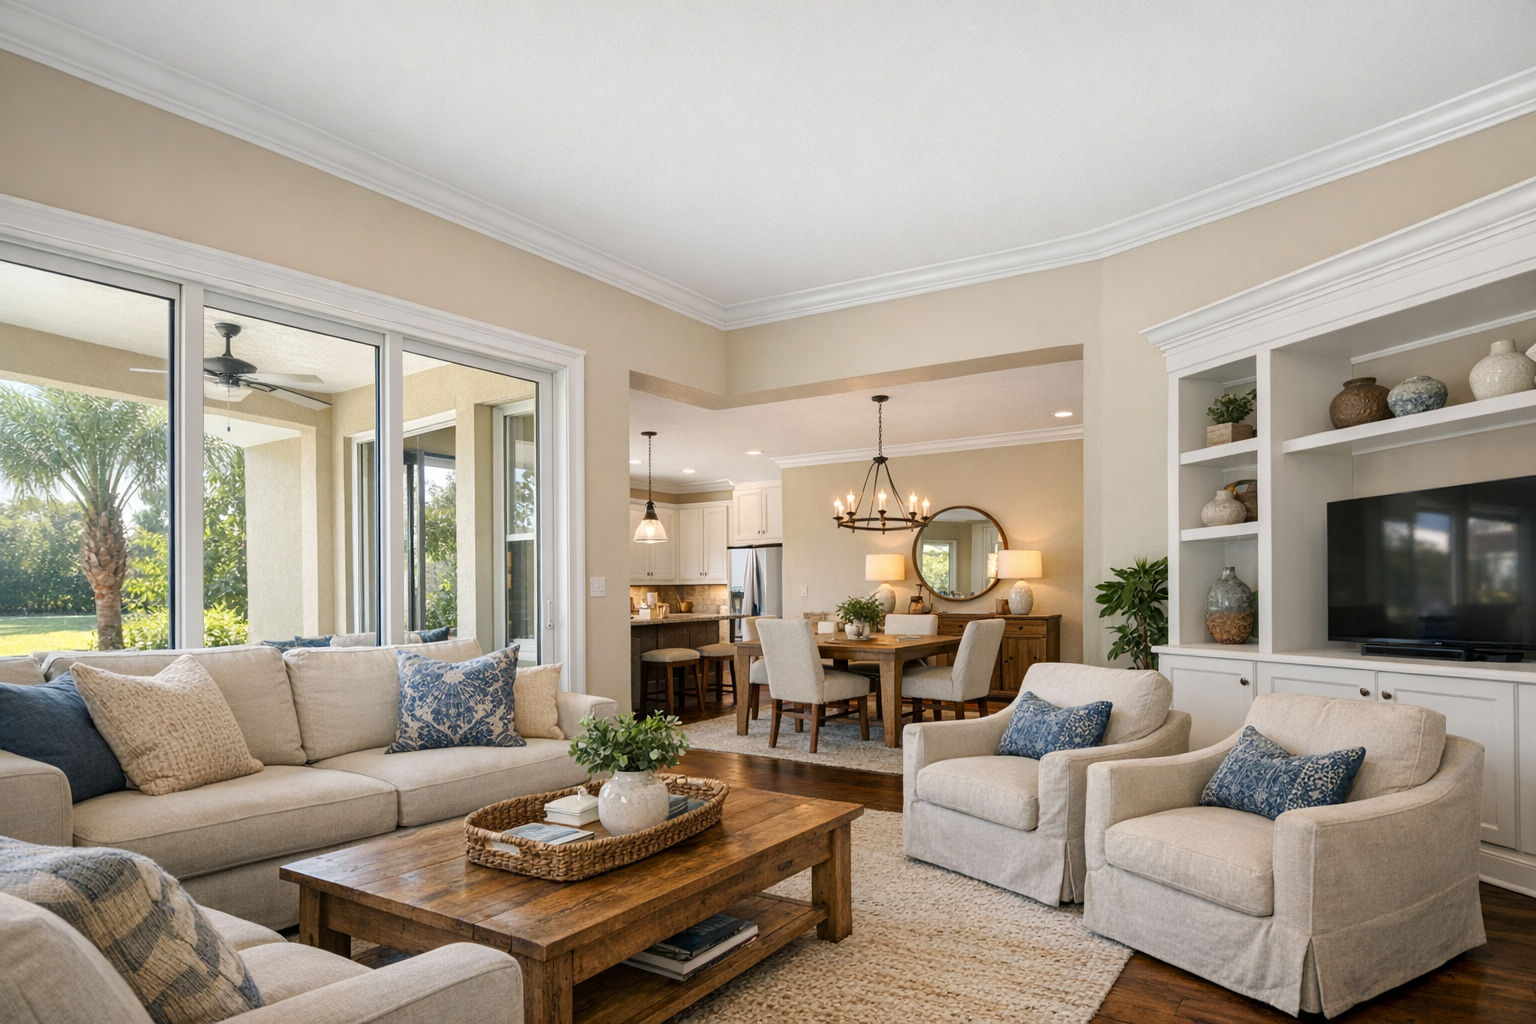
In many Lakewood Ranch open living areas and primary suites, the first checkpoint is the line where the ceiling, wall corners, and existing trim will meet. This Lakewood Ranch crown molding installation service is designed to make that transition feel finished without turning your project into a weekend trial-and-error job. Crown molding creates a finished transition where the wall meets the ceiling, and when it is sized and installed well, it can make living rooms, dining spaces, primary suites, offices, entryways, and open layouts look more intentional and polished.
This is a done-for-you finish carpentry service, not material sales only. The work starts with measuring the room, reviewing the ceiling and wall lines, helping select a profile that fits the space, and planning how the pieces will meet at corners and seams. Installation also includes fastening the molding, caulking edges, filling nail holes, and coordinating the final paint or finish so the trim reads as part of the room instead of an add-on.
Every estimate depends on the actual room conditions: linear footage, ceiling height, number of inside and outside corners, wall or ceiling irregularities, profile selection, and the level of finish required. A simple bedroom with straight runs is different from a large open living area with long sight lines, multiple transitions, or existing trim to match. The goal is to give you clean, tight, integrated crown molding that fits your home's layout and style.
What Our Crown Molding Installation Service Includes
The scope is organized around the room, not just the trim itself. Before any cuts are made, we review where the crown will go, measure the runs, look at ceiling and wall conditions, and talk through the look you want so the installation plan fits the space rather than forcing a stock approach.
- Consultation and measurement come first. This includes room-by-room linear footage, ceiling height, inside and outside corners, transitions into hallways or open areas, and any existing trim that needs to be matched, extended, or repaired.
- Profile and material selection is part of the planning. A simple paint-grade profile creates a clean, subtle edge, while a larger or more detailed profile makes the crown more visible and can change the labor and material requirements.
- Layout planning includes seam placement, which means deciding where two pieces will join. On long runs or highly visible walls, thoughtful seam locations help the finished trim read as continuous instead of chopped up.
- Cutting and corner work are handled as finish carpentry. Outside corners are typically mitered so the profiles meet cleanly, while inside corners may be mitered or coped depending on the room conditions and the molding profile.
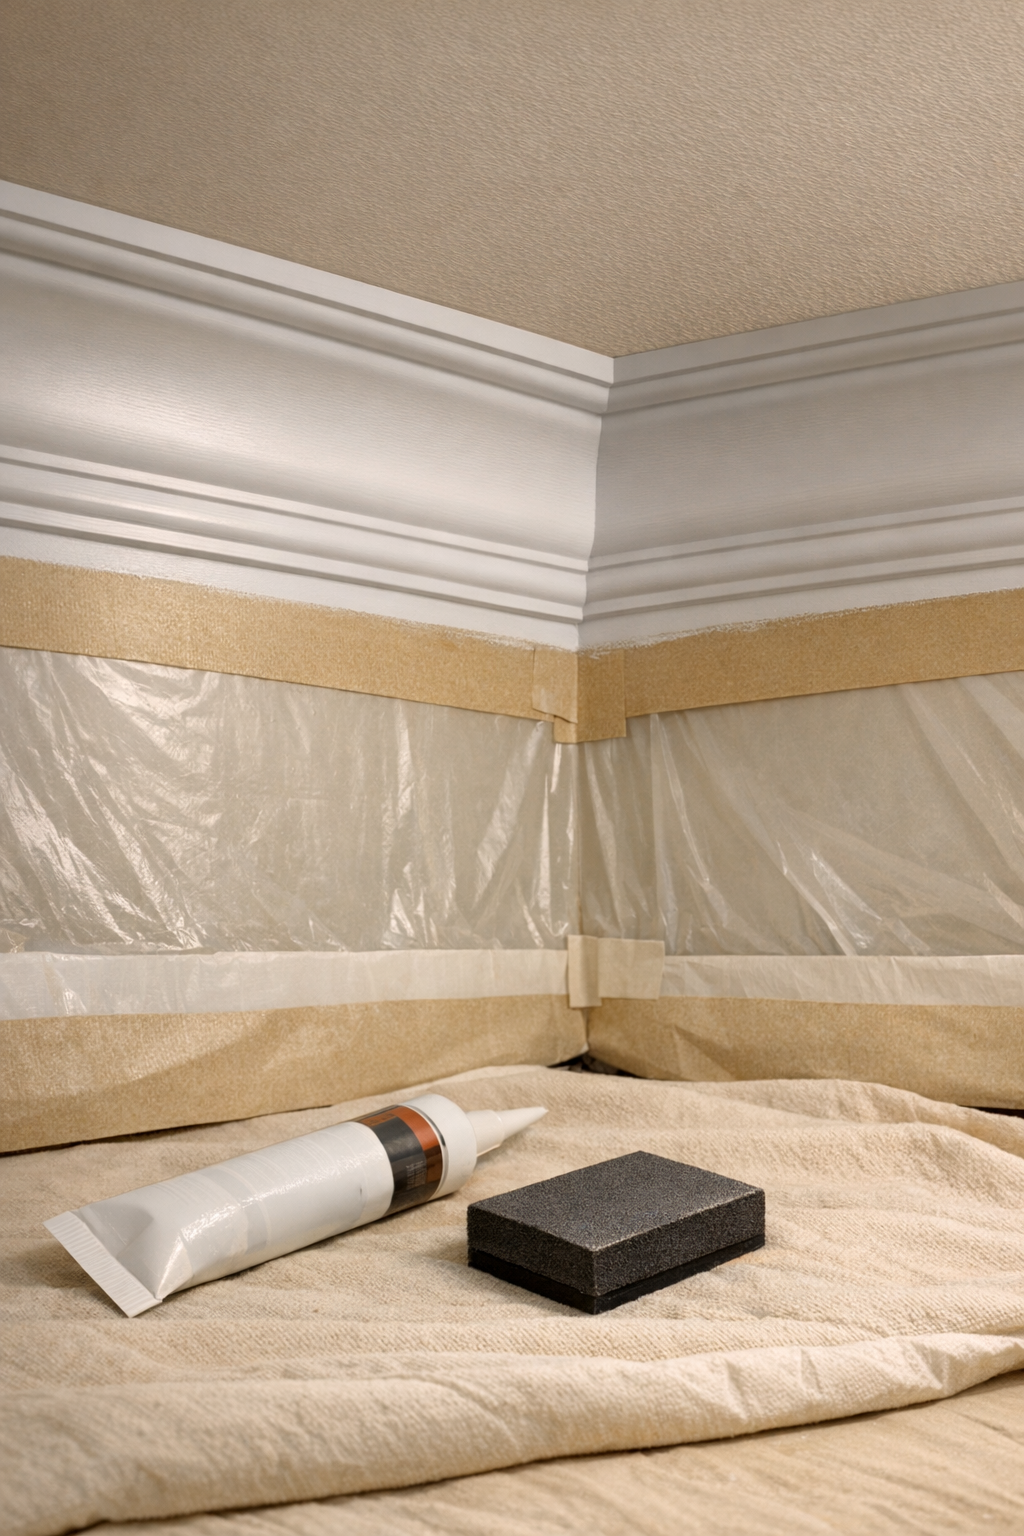
- Installation includes fastening the molding securely, aligning the reveal along the ceiling and wall, filling nail holes, caulking small gaps, and preparing the surface for primer or paint so the final finish looks integrated.
- If you need to install crown molding in a Lakewood Ranch room that already has partial trim, we can plan around profile matching, repaired sections, or a room upgrade rather than treating it like a blank-slate project.
Painting may be coordinated before or after installation depending on the material, room access, and desired finish. The important takeaway is that installation and finish prep are planned together, because even well-cut molding needs clean caulk lines and filled fastener holes to look complete.
Why Professional Installation Makes a Visible Difference
The difference usually shows up at eye level first, even though the molding is near the ceiling. Basic trim attachment means the pieces are fastened in place; true finish carpentry means the crown reads as one continuous architectural line, with tight corners, planned seams, and a reveal that looks consistent as it wraps the room.
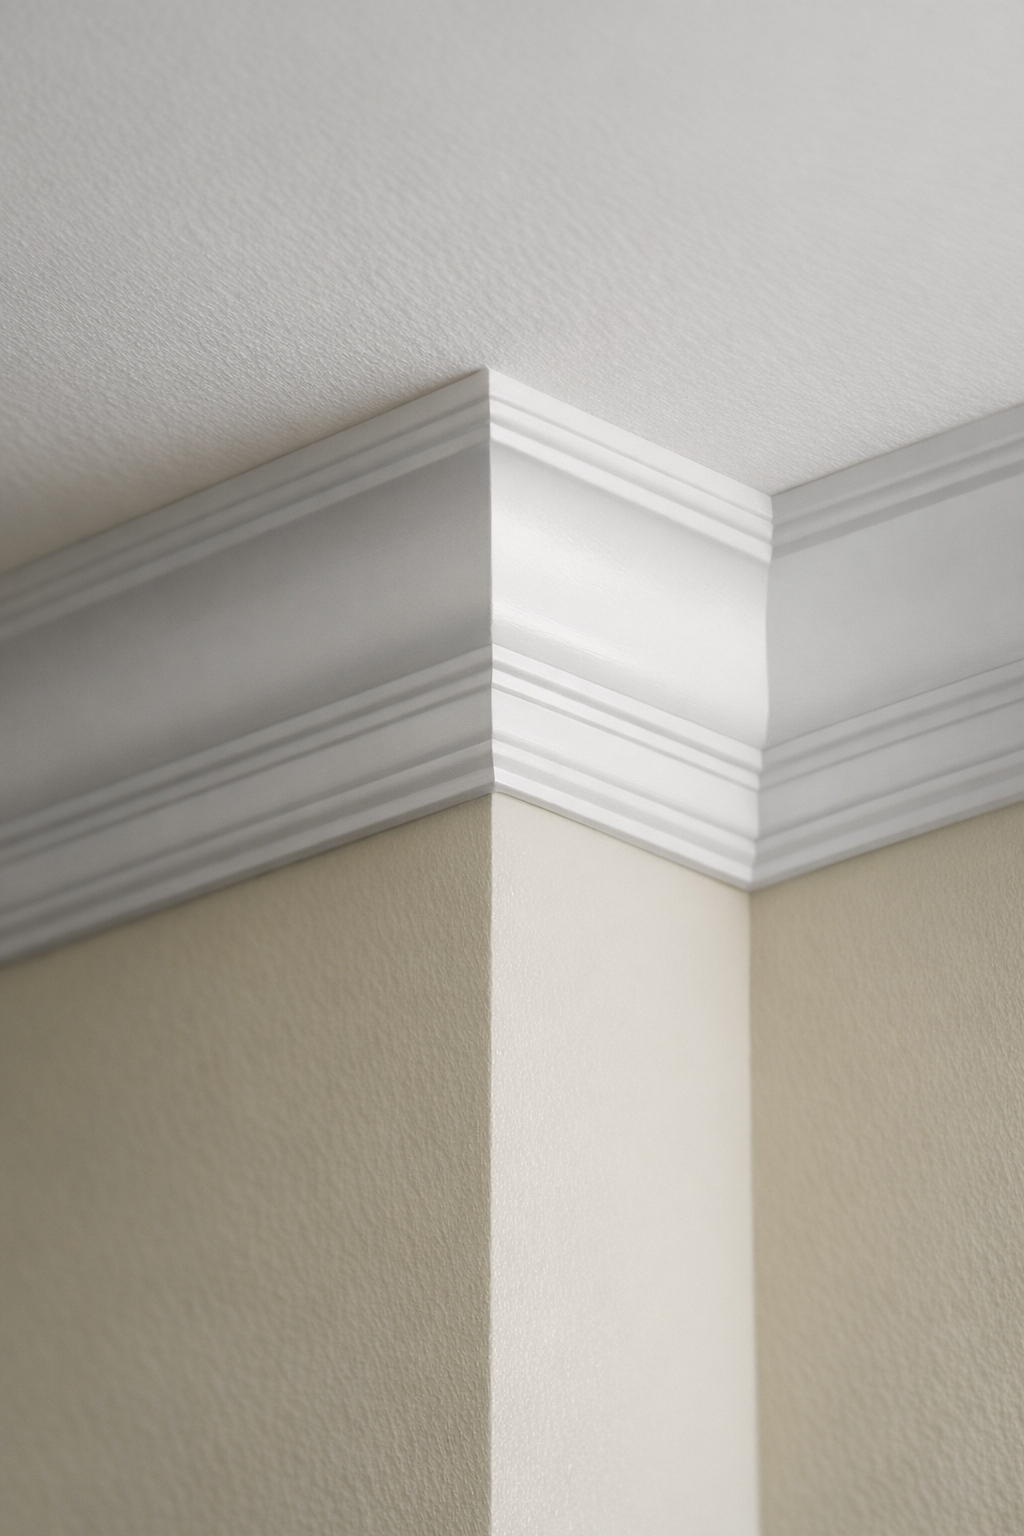
Corners are where weak installation is easiest to spot. Miter joints are angled cuts that meet at a corner, often used on outside corners where two profiles need to come together cleanly. Cope joints are shaped cuts used at some inside corners so one piece follows the face profile of the other, which can help the joint stay tighter when the corner is not perfectly square. The right choice depends on the profile and room conditions, but the homeowner's takeaway is simple: corners should look intentional, not packed with caulk to hide gaps.
- A good installation keeps the ceiling line visually level, even when the wall or ceiling has small irregularities. A weak one can create a wavy shadow line that becomes more noticeable in long open rooms.
- Textured ceilings and slightly uneven walls require careful fitting so the crown transitions cleanly instead of leaving ragged edges, heavy caulk lines, or inconsistent reveals.
- Long spans need smart seam placement. Poorly placed seams can catch the light or interrupt the run, while planned seams help the molding look continuous after filling, caulking, and paint prep.
- High ceilings can change the difficulty of the work because access, alignment, and visibility are less forgiving; small gaps or uneven cuts may stand out more once the room is finished.
That is why homeowners often look for crown molding contractors Lakewood Ranch who treat the project as finish work, not just a fastening job. Accurate measuring, clean cutting, controlled seams, and restrained caulking all work together so the finished crown molding installation Lakewood Ranch homes receive looks built into the room rather than added as an afterthought.
Crown Molding Styles, Profiles, and Room Options
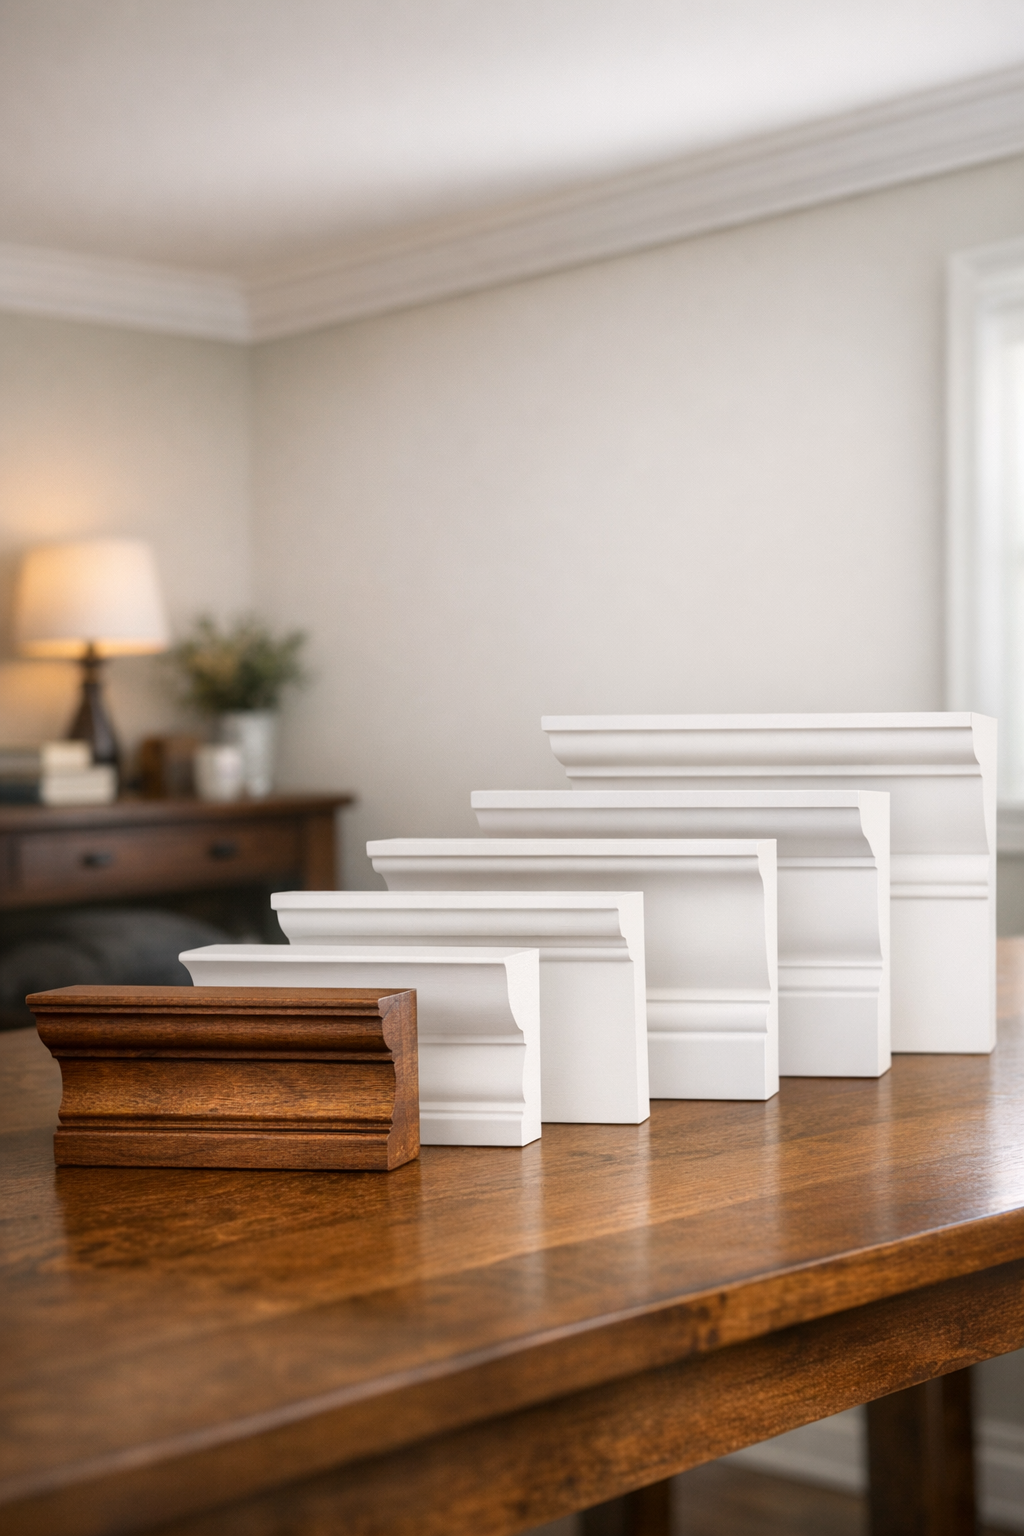
Style decisions start with scale, not with the most decorative sample on the table. The profile is the face shape of the crown, while size and projection affect how far it visually reaches onto the ceiling and wall. A taller room can usually carry a larger crown without looking heavy; a smaller bedroom, hallway, or office often looks better with a cleaner, narrower shape that does not crowd the ceiling line.
Spring angle is the installed angle of the molding between the wall and ceiling, and it matters because the same piece can look different depending on how it sits. Cabinet lines, ceiling height, door casings, built-ins, and open-room sightlines all influence the right choice. In a kitchen, for example, the crown may need to relate to cabinet tops; in a dining room or foyer, the profile may be chosen more for architectural presence.
- Simple modern profiles use cleaner curves or stepped lines, which can suit newer open layouts where the goal is a crisp finished edge rather than ornate trim.
- Traditional or layered profiles add more shadow lines and detail, which can work well in formal rooms, accent spaces, or homes with existing detailed trim.
- Paint-grade looks are typically finished with caulk, filled fastener holes, and paint for a seamless built-in appearance; stain-grade looks put more attention on the natural wood tone and visible grain, so cuts and seams need to be especially clean.
Options can be planned as a single-room upgrade, a whole-home trim package, or an accent-room project for a dining room, office, primary suite, or entry. Custom crown molding in Lakewood Ranch homes can also include matching existing molding during a remodel, expansion, or repair, where the practical goal is to blend the new run with the room's current trim instead of making the update look patched in.
Material Choices for Florida Conditions
A smooth painted dining room crown and a stained office crown may start with the same profile, but they are not the same material decision. The right choice depends on the room, the finish you want, and how much moisture exposure the space may see. Higher-end materials and more difficult installation conditions can also affect the estimate, so material selection is both a design decision and a practical cost factor.

- MDF is commonly used for paint-grade crown because it offers a smooth, consistent surface once seams, nail holes, caulk, and primer are handled properly. It can be a good fit for dry living areas, bedrooms, offices, and dining rooms where the goal is a clean painted look. In moisture-prone rooms, the material choice deserves more care because Florida humidity and room conditions can affect long-term performance.
- Finger-jointed pine is a paint-grade wood option made from shorter wood pieces joined together. It can be more impact-tolerant than some sheet-based trim products and works well when painted, but the joints are not meant to be highlighted with stain. It may cost more than basic MDF depending on profile and availability.
- Solid wood crown molding is the better direction when a stain-grade finish is desired because the grain is part of the final look. That also raises the finish standard: seams, returns, and corner cuts need to be especially clean because stain does not hide filler and caulk the way paint can.
- PVC or composite crown may be considered for bathrooms, kitchens, exterior-adjacent rooms, or other moisture-concern areas. These materials can change the cutting, fastening, adhesive, and finishing approach, and they may influence the project cost compared with standard interior paint-grade trim.
The main takeaway is simple: paint-grade materials are chosen for a smooth, built-in finish, while stain-grade materials are chosen when the natural wood is meant to show. Either way, the material affects how corners are cut, where seams are placed, how gaps are treated, and what the finished crown will look like once the room is painted or stained.
What Affects Crown Molding Installation Cost
The biggest swing in an estimate is often the difference between long, straight runs and rooms with lots of returns, corners, and ceiling changes. Linear footage is a core pricing driver because longer wall runs require more material, more cuts, more fastening, and more finish prep. The number of rooms matters too: one square bedroom is a different job from a connected living room, kitchen, entry, and hallway with changing ceiling lines.
- Ceiling height and access affect labor because tall, vaulted, or open two-story areas take more setup and slower handling than standard-height rooms.
- Profile and material change both material cost and installation time. A simple paint-grade crown is usually more straightforward than a large, detailed, stain-grade, PVC, or custom profile that requires tighter seams and more careful finishing.
- Corners and layout changes influence the amount of cutting and fitting. More inside corners, outside corners, bump-outs, angled walls, and transitions mean more time spent making the crown read as one continuous line.
- Wall and ceiling conditions can affect prep and finish work. Wavy drywall, uneven ceiling planes, gaps, old caulk, removal of existing trim, or previous patchwork may require extra fitting, patching, caulking, priming, or paint touch-up.
- Matching or custom work can add time when new crown needs to blend with existing trim, cabinetry, built-ins, or a discontinued molding profile.
Because those details are hard to judge accurately from photos alone, the most reliable quote comes after measurements, material selection, and a look at the actual wall and ceiling conditions. That keeps the estimate tied to your rooms instead of a generic per-room guess.
Our Installation Process
From the first call, the goal is to turn the room details into a clear work plan. We start with a consultation, take measurements, review ceiling lines and existing trim, and talk through profile and material options so the estimate reflects the actual space rather than a rough guess.

After the option review, you receive a written estimate that outlines the planned scope, rooms included, molding selection, finish expectations, and any conditions that may affect the work. Once approved, scheduling is handled around room access, material readiness, and whether painting or touch-up work is part of the finish.
On installation day, the work area is prepared, the molding is cut and fitted, and attention goes to the details that make finish carpentry look intentional: corners, seams, wall contact, ceiling contact, and consistent placement around the room. Fastener holes are filled, and caulking is applied where needed to create a clean transition before final paint or touch-up.
Project timing depends on scope and finish requirements. A straightforward single-room upgrade is a different schedule than a multi-room layout, tall ceiling area, profile-matching project, or installation with difficult room conditions, so the expected timeline is discussed before work begins.
Before the job is wrapped up, the area is cleaned, loose debris is removed, and we walk through the finished crown with you so any visible touch-up items can be addressed while the project is still fresh.
Schedule a Crown Molding Estimate in Lakewood Ranch
Ready to see what crown molding would look like in your home? Request an estimate for a single-room upgrade, several connected rooms, a remodel, replacement molding, a new construction trim upgrade, or a profile-matching project where the new pieces need to blend with existing trim.
The next step is simple: call, request a quote, schedule a measurement, or send over your project details. A crown molding installer in Lakewood Ranch can review the room dimensions, ceiling conditions, existing trim, preferred material, and finish goals so the recommendation fits the space instead of relying on guesswork.
During the estimate, you can compare profile size, material choices, and paint or touch-up expectations before deciding how far to take the project. If you want cleaner ceiling lines and a more finished look, reach out today to schedule your local crown molding estimate in Lakewood Ranch.
Plan crown molding installation in Lakewood Ranch, FL
Compare the broader Crown Molding Installation service details, then use the Lakewood Ranch, FL service area page if you want the local overview. When you are ready, request a crown molding installation estimate with the rooms, trim goals, and photos that help explain the scope.
FAQs
What does crown molding installation in Lakewood Ranch include?
Crown molding installation includes measuring the room, reviewing ceiling and wall lines, selecting a profile, planning corners and seams, fastening the molding, filling nail holes, caulking edges, and preparing for paint or finish. The service is done for you finish carpentry, not material sales only.
Can crown molding be installed on textured walls or ceilings?
Yes, crown molding can be installed on textured ceilings and slightly uneven walls, but it requires careful fitting to avoid ragged edges, heavy caulk lines, and inconsistent reveals. Professional installation focuses on keeping the ceiling line visually level even when the drywall or ceiling plane is not perfectly straight.
Do I need to paint crown molding before or after installation?
Painting can be coordinated before or after installation depending on the material, room access, and desired finish. Nail holes, seams, and small gaps are filled or caulked before final paint or touch up so the crown molding looks integrated with the room.
What type of crown molding is best for Florida homes?
MDF is a common choice for dry living areas, bedrooms, offices, and dining rooms when a smooth painted finish is desired. PVC or composite crown molding is better for bathrooms, kitchens, exterior adjacent rooms, or other moisture concern areas, while solid wood is best when the natural grain will be stained.