

Crown molding installation in Laurel FL is a smart way to give a room a more finished, intentional look without changing the whole layout. Crown molding creates a clean transition where the wall meets the ceiling, softening that hard corner and adding architectural detail that can make living rooms, dining areas, bedrooms, entries, and kitchen spaces feel more complete.
A clean result depends on more than simply cutting trim and nailing it up. The molding needs to be sized to the room, aligned consistently, joined neatly at corners, fastened securely, caulked smoothly, and prepared for paint or finish. A good installation looks built-in; a weak one draws attention with gaps, uneven seams, bulky proportions, or rough caulk lines.
If you are looking for a crown molding installer in Laurel, this page will walk you through what the service includes, how material and profile choices affect the finished look, and why professional fitting matters. You will also see what to expect when requesting an estimate, so you can describe your rooms, style goals, and finish expectations with confidence.
What Our Crown Molding Installation Service Includes
The service starts by turning your rooms into a clear installation plan: wall lengths are measured, ceiling transitions are reviewed, and each run is mapped so the molding lands evenly instead of looking pieced together.
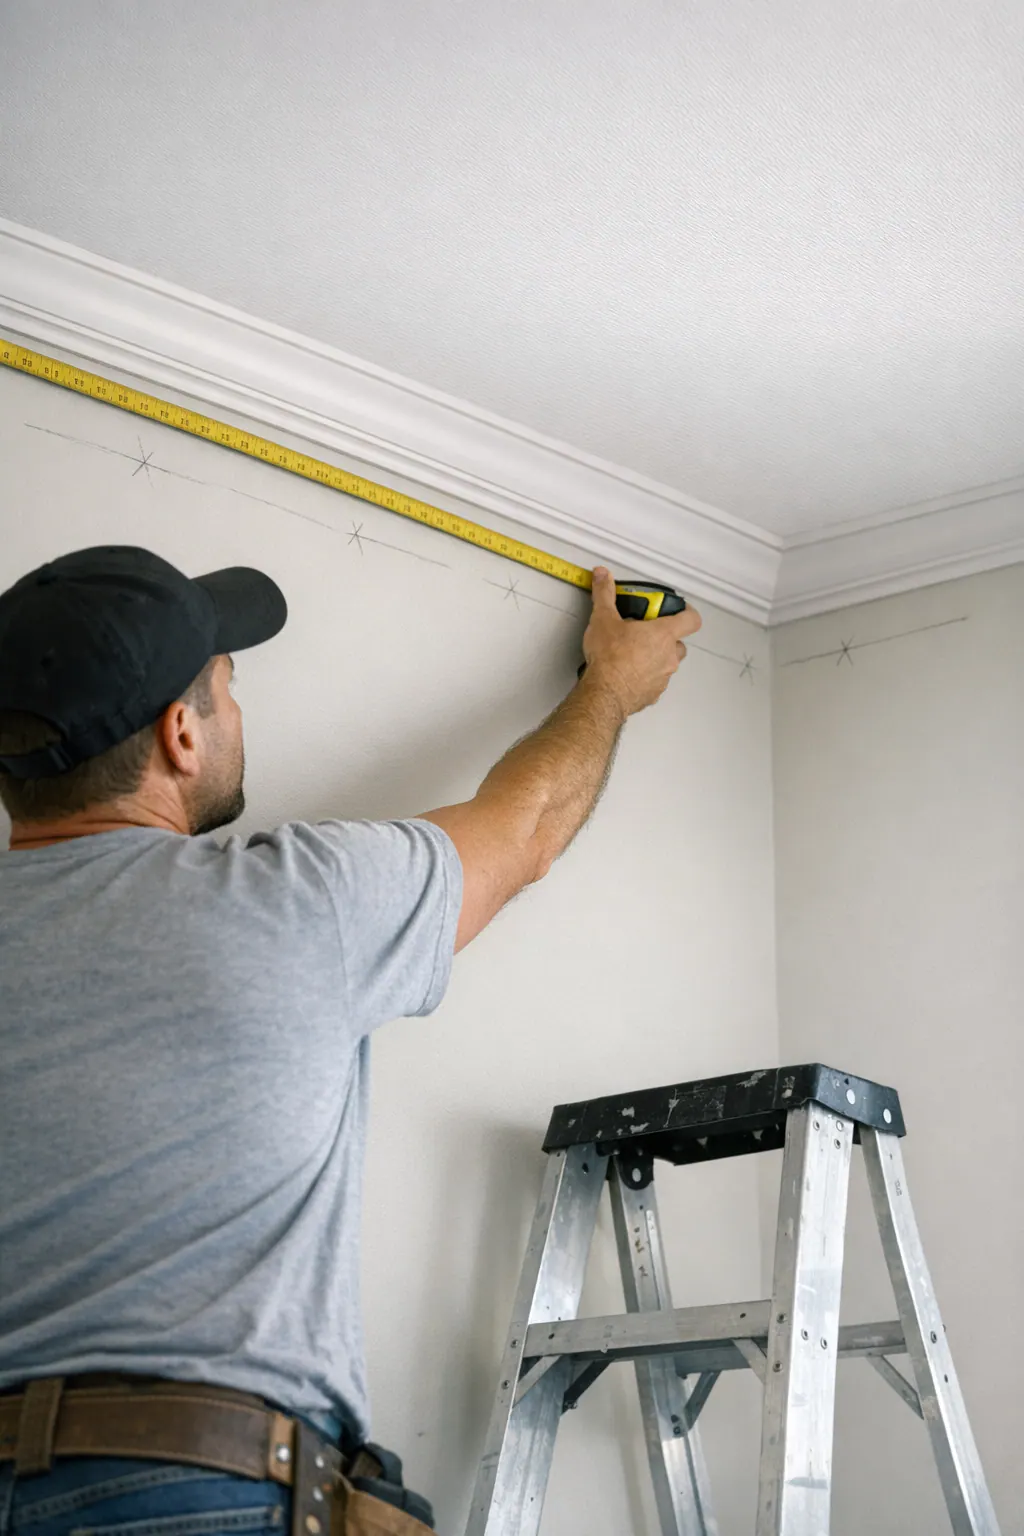
For professional crown molding installation Laurel homeowners can expect help choosing a size and profile that fits the room. Size refers to the height and projection of the molding; a taller profile creates more visual weight, while a smaller profile gives a cleaner, lighter accent. Profile refers to the shape of the molding, from simple curves to more detailed stepped designs, and it affects how formal or subtle the finished room feels.
Corner planning is a major part of the work. Inside corners are where two walls meet inward, such as a typical room corner, and they need tight fitting so the joint does not open up visually. Outside corners wrap around a projecting wall or entry return, so the cuts must align cleanly on the visible edge.
Installation includes cutting each piece to fit the planned layout, positioning the crown at a consistent angle, fastening it securely, and checking that long runs stay straight along the wall and ceiling line. The goal is a built-in look, not trim that appears to float, dip, or fight the room's existing surfaces.
After the molding is set, seams and nail holes are filled, small wall and ceiling gaps are caulked, and the surface is prepared for the chosen finish. Paint-grade crown is typically left smooth and ready for paint; stain-grade work requires extra attention to visible joints because the finish will not hide imperfections the same way paint can.
Where Crown Molding Works Best in Your Home
Some rooms benefit from crown molding because the upper edge of the room is already a focal point. Living rooms and dining rooms are strong candidates when you want a more finished, formal feel, especially if the room has enough ceiling height for a medium or larger profile to look balanced.
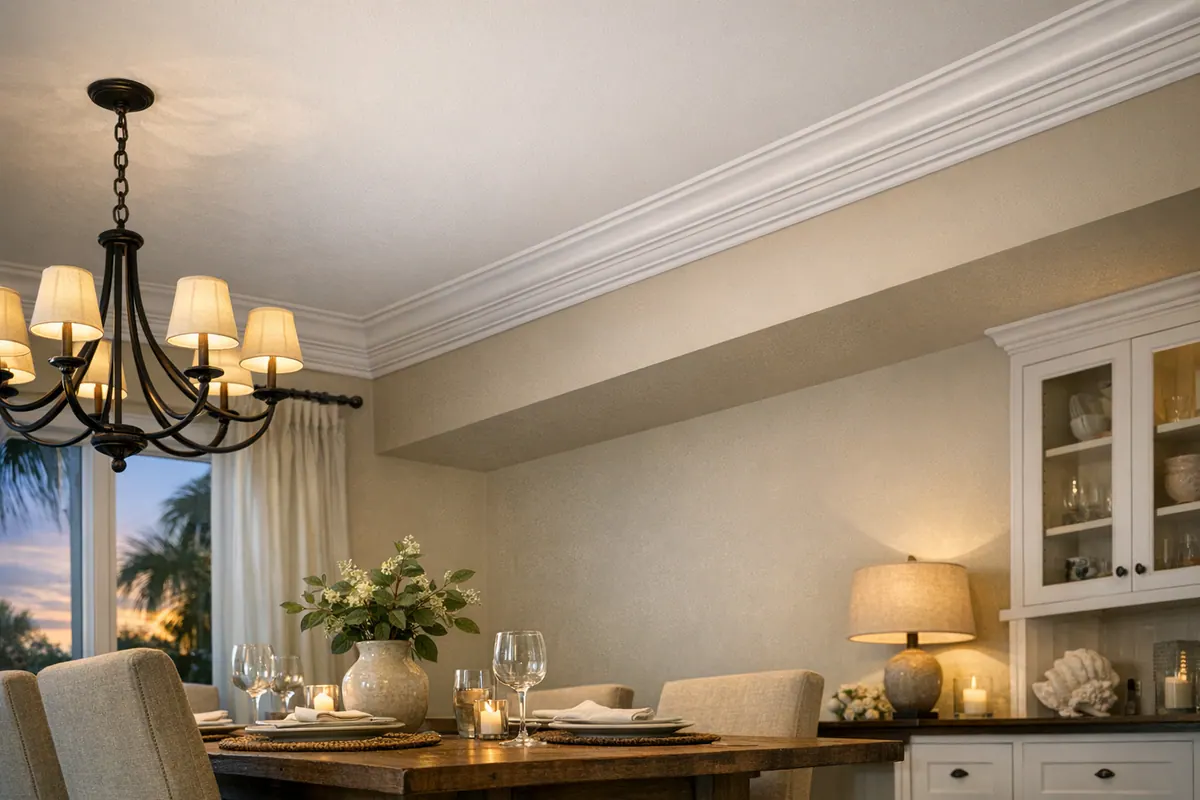
Bedrooms usually call for a softer approach. A simple, paint-grade crown can make the room feel complete without making the ceiling line feel heavy. In smaller bedrooms or rooms with lower ceiling height, a slimmer profile often looks cleaner than a deep, decorative style.
Kitchens can use crown molding in two different ways: around the room at the ceiling line, or at cabinetry transitions where upper cabinets meet the ceiling or a soffit. The cabinet version needs careful profile matching so the trim looks connected to the built-ins rather than added as an afterthought.
Hallways and entryways are good places to install crown molding Laurel Florida homeowners can use to connect nearby rooms visually. Because these spaces are often narrow, the best choice is usually a simpler profile that adds definition without crowding the walls.
Tray ceilings, open wall transitions, arches, and rooms with mixed trim styles need a closer look before choosing the molding. A good signal is a profile that follows the room's architecture naturally; a weak signal is oversized crown that competes with door casing, baseboards, ceiling texture, or existing decorative trim.
Crown Molding Material and Profile Options
The material is the next filter because it affects the finish, the profile detail, and how the molding behaves in rooms that see moisture or everyday wear.

MDF crown molding is a common choice for smooth, paint-grade work. It has a consistent surface, so it works well when the plan is a crisp white or color-matched painted finish. The tradeoff is that it is not meant to show a natural wood grain, and it is best used where the molding will stay dry and be finished cleanly with primer, paint, caulk, and filled nail holes.
Wood crown molding is the better fit when the trim will be stained, when the room already has stained casing or cabinetry, or when the design calls for sharper carved detail. Wood can feel warmer and more traditional, but visible joints matter more because stain does not hide seams the way paint can. For that reason, stain-grade crown needs careful board selection, grain direction, and tighter joint planning.
PVC or moisture-resistant molding can make sense in splash-prone or humidity-sensitive areas, such as certain kitchen, bath, laundry, or exterior-adjacent spaces. These materials are usually chosen for durability and moisture tolerance rather than natural wood appearance. The practical takeaway is simple: use them where conditions matter more than a stained-wood look.
Profile selection is about proportion as much as style. A simple cove or step profile gives a clean transition and works well with modern or low-detail trim. A medium layered profile adds more presence without becoming too formal. Ornate crown, with deeper curves or stacked detail, belongs in rooms with enough ceiling height, larger baseboards, wider door casing, or cabinetry that can visually support it.
For custom crown molding Laurel FL homeowners should look at the whole trim package before choosing a size. A good signal is crown that relates to the baseboards, door casing, cabinet trim, and ceiling height; a weak signal is a profile that looks impressive as a sample but feels too heavy once it wraps the room.
Why Professional Installation Makes a Difference
Even a well-chosen profile can look off if the room conditions are not handled carefully. Crown molding sits at an angle between the wall and ceiling, so small waves, dips, and out-of-square corners become much more visible than they would on flat baseboard or casing.
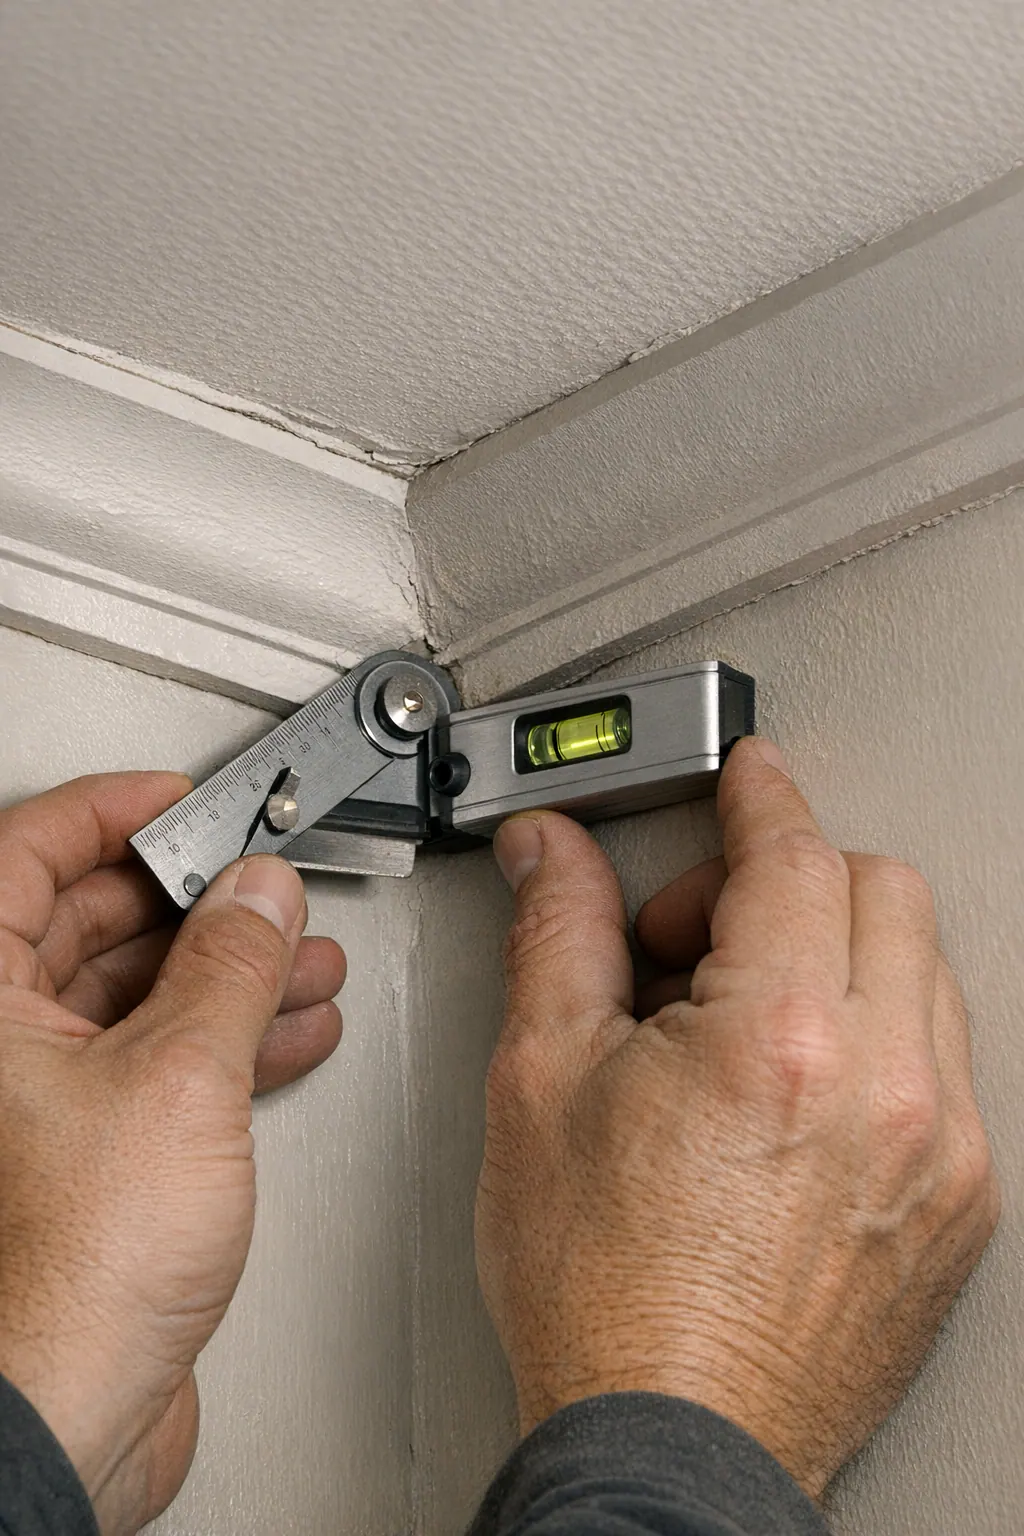
Corner work is one of the biggest differences between a basic install and a clean one. Miter cuts are angled cuts that meet at a corner, and they work best when the corner is consistent and the molding profile lines up precisely. Coping shapes one piece to fit against the face of another, which can help inside corners stay tighter when walls are not perfectly square. The practical takeaway: the right joint method depends on the corner, the profile, and how visible that transition will be once painted or stained.
Long wall runs create another challenge. If pieces are joined without a planned seam location, the connection can draw the eye, especially under natural light. A professional layout considers where seams fall, how the pattern continues across the room, and whether each run stays level so the molding looks symmetrical from wall to wall.
Fastening and finishing matter just as much as cutting. Crown needs to be held securely without twisting, sagging, or pulling away from uneven drywall. After it is set, nail holes, small gaps, and seams need smooth filling and controlled caulking so the surface is paint-ready instead of lumpy or overworked.
Hiring a crown molding contractor Laurel FL homeowners can talk through these details with helps protect the final look. Good installation is not just "trim on the wall"; it is tight joints, steady lines, secure attachment, and a finish that looks intentional once the room is painted.
What to Expect From Estimate to Installation
The next step is turning those installation details into a clear scope of work, so the estimate reflects the rooms you actually want finished rather than a one-size-fits-all trim quote.

For Laurel FL crown molding installation, the first conversation usually starts with the room count, approximate wall lengths, ceiling height, photos of the ceiling line, and whether the molding will be painted or matched to existing trim. If the layout has tray ceilings, cabinet transitions, unusual corners, or uneven ceiling areas, an in-home review may be the better option because it allows the installer to see the conditions that affect cuts, seams, and fastening.
During the estimate discussion, profile selection is where style and practicality meet. A simple paint-grade profile keeps the look clean and usually works well in bedrooms or lower-ceiling rooms, while a taller or more detailed profile can suit formal spaces if the room has enough height and trim balance. Material choice also matters because MDF, wood, and moisture-conscious options differ in finish appearance, durability, and how they should be prepared.
A written estimate should outline the rooms included, molding type, approximate scope, finishing expectations, and whether painting is part of the project or handled separately. Pricing can vary based on room size, molding material, profile complexity, number of corners, ceiling conditions, filling and caulking needs, and whether the work includes paint-ready prep only or full painting.
Once approved, room preparation is simple: move small items, clear wall edges where possible, and make space for cutting and setup. On installation day, expect measuring, layout checks, cutting, fastening, seam filling, controlled caulking, and cleanup. The final walkthrough is the time to review joints, corners, surface preparation, and any notes for coordinated interior trim installation Laurel FL homeowners may want to plan next.
Painting, Matching, and Finishing Details
The finish decision should be made before installation, because it changes how the molding is prepped, handled, and reviewed at the end of the job. Many projects use primed paint-grade trim, which is intended to be painted after the pieces are installed, filled, sanded, and sealed at the wall and ceiling lines. Pre-painting can help with coverage on detailed profiles, but final touch-ups are still usually needed after fastening and seam work.
Matching new crown to existing trim is less about finding an identical piece and more about making the room feel consistent. The installer can compare the crown profile against nearby baseboards, door casing, window trim, built-ins, or cabinetry so the new detail does not look too thin, too ornate, or disconnected from the rest of the home. A good match looks intentional from across the room; a weak match only looks close when you hold two trim samples side by side.
Stain-grade trim may be the better choice when the room already has stained wood doors, cabinets, beams, or casing. Because stain shows grain, seams, and color variation more than paint does, it calls for cleaner material selection and more careful joint placement.
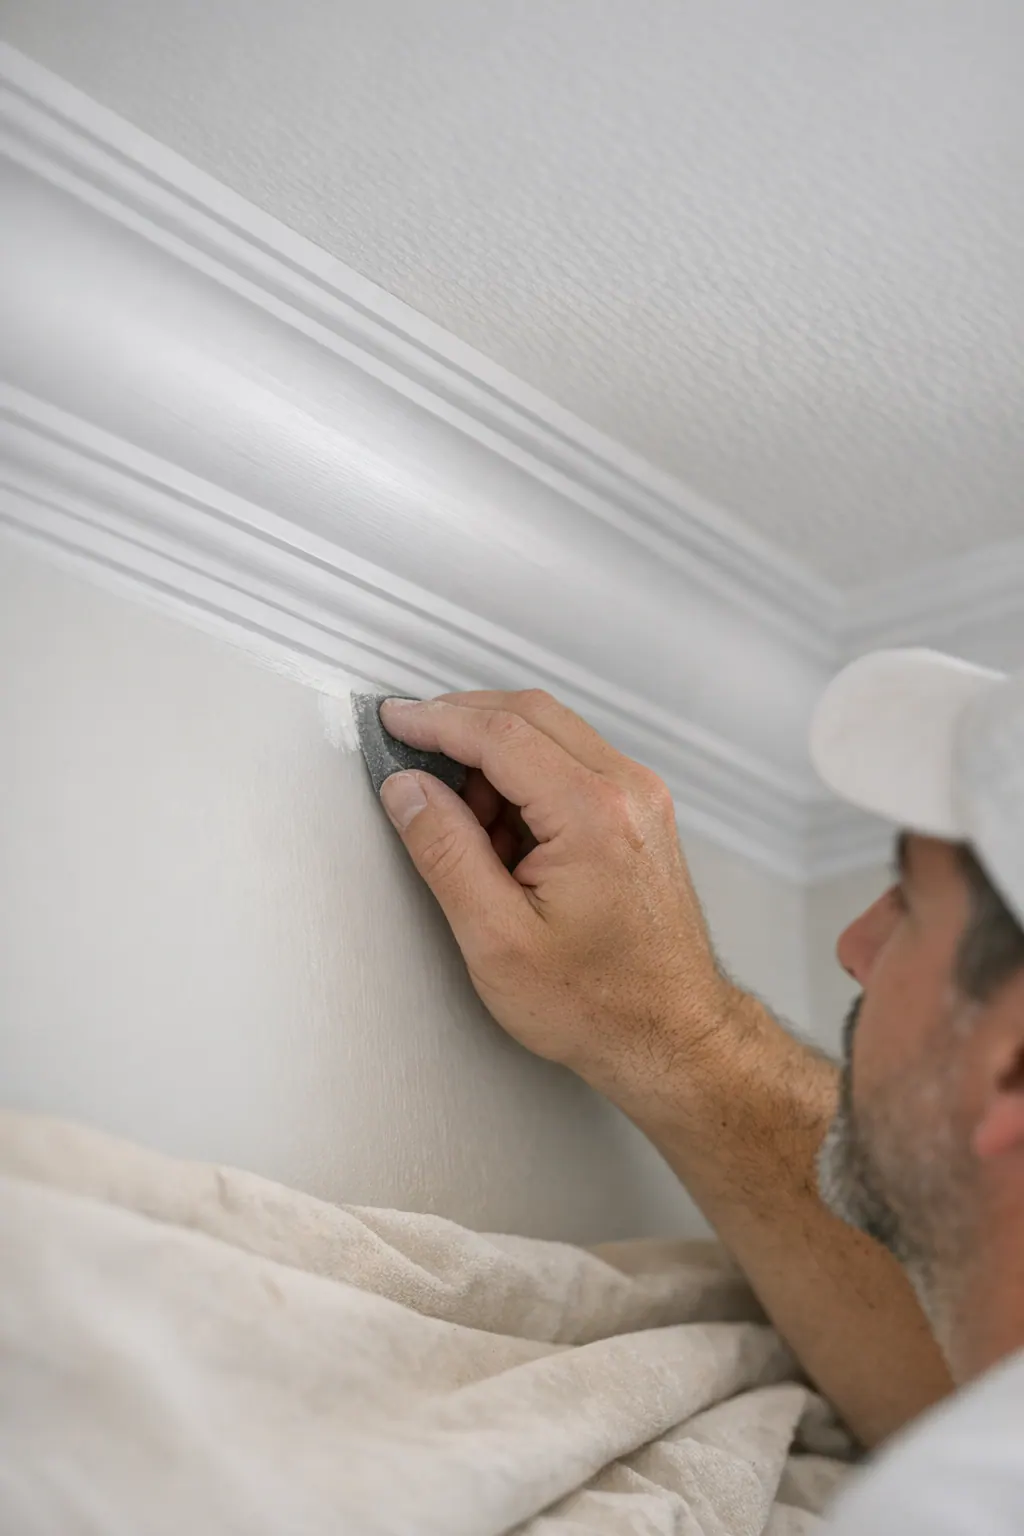
Final details matter. Nail holes should be filled neatly, seams sanded smooth, and caulking kept crisp rather than smeared into heavy lines. For crown molding installation in Laurel FL, ask whether your scope includes paint-ready preparation only, full painting, or painting coordinated as a separate add-on so expectations are clear before work begins.
Request a Crown Molding Installation Estimate in Laurel
A useful estimate starts with the rooms themselves: how many, how large, and what kind of finish you want at the ceiling line. Clear details make it easier to compare profile options, finishing needs, and the overall scope.
- Room count and which areas you want trimmed
- Approximate wall lengths or room dimensions
- Photos of the ceiling line, corners, cabinets, and existing trim
- Your preferred look, such as simple, formal, modern, or matched to current molding
- Whether you need paint-ready prep, full painting, or stain/trim matching
A crown molding installer in Laurel can use those details to recommend a proportionate profile, plan clean joints, and deliver a finished result that looks built into the room rather than added on later. Reach out when you are ready to discuss your rooms and request an estimate.
Plan the next step
Compare the broader Crown Molding Installation service.
Review the Laurel, FL service area for local planning context.
When you are ready, request a free estimate with the rooms, trim goals, city, and available photos.
FAQs
What does crown molding installation include in Laurel, FL?
Crown molding installation includes measuring wall lengths, reviewing ceiling transitions, planning each run, cutting pieces to fit, fastening the molding, and checking that long runs stay straight. After installation, seams and nail holes are filled, small wall and ceiling gaps are caulked, and the surface is prepared for paint or finish.
Can crown molding be installed in kitchens, bedrooms, and living rooms?
Crown molding can be installed in living rooms, dining rooms, bedrooms, kitchens, hallways, and entryways. Kitchens may use crown molding around the ceiling line or at cabinetry transitions where upper cabinets meet the ceiling or a soffit.
Can crown molding be added to rooms with low ceilings?
Crown molding can be added to lower-ceiling rooms, but a slimmer and simpler profile usually looks cleaner than a deep decorative style. Size matters because a taller profile creates more visual weight, while a smaller profile gives a lighter accent.
What is the difference between MDF, wood, and moisture-resistant crown molding?
MDF crown molding is used for smooth paint-grade finishes and works best in dry areas. Wood crown molding is better for stained trim or sharper carved detail, while PVC or other moisture-resistant molding is suited for splash-prone or humidity-sensitive spaces such as some kitchens, baths, laundry areas, or exterior-adjacent rooms.
How do I choose the best crown molding profile for my home?
Choose a crown molding profile based on ceiling height, room size, existing baseboards, door casing, cabinet trim, and the level of formality you want. Simple cove or step profiles fit modern or low-detail rooms, medium layered profiles add presence, and ornate crown works best in rooms with enough ceiling height and trim balance.