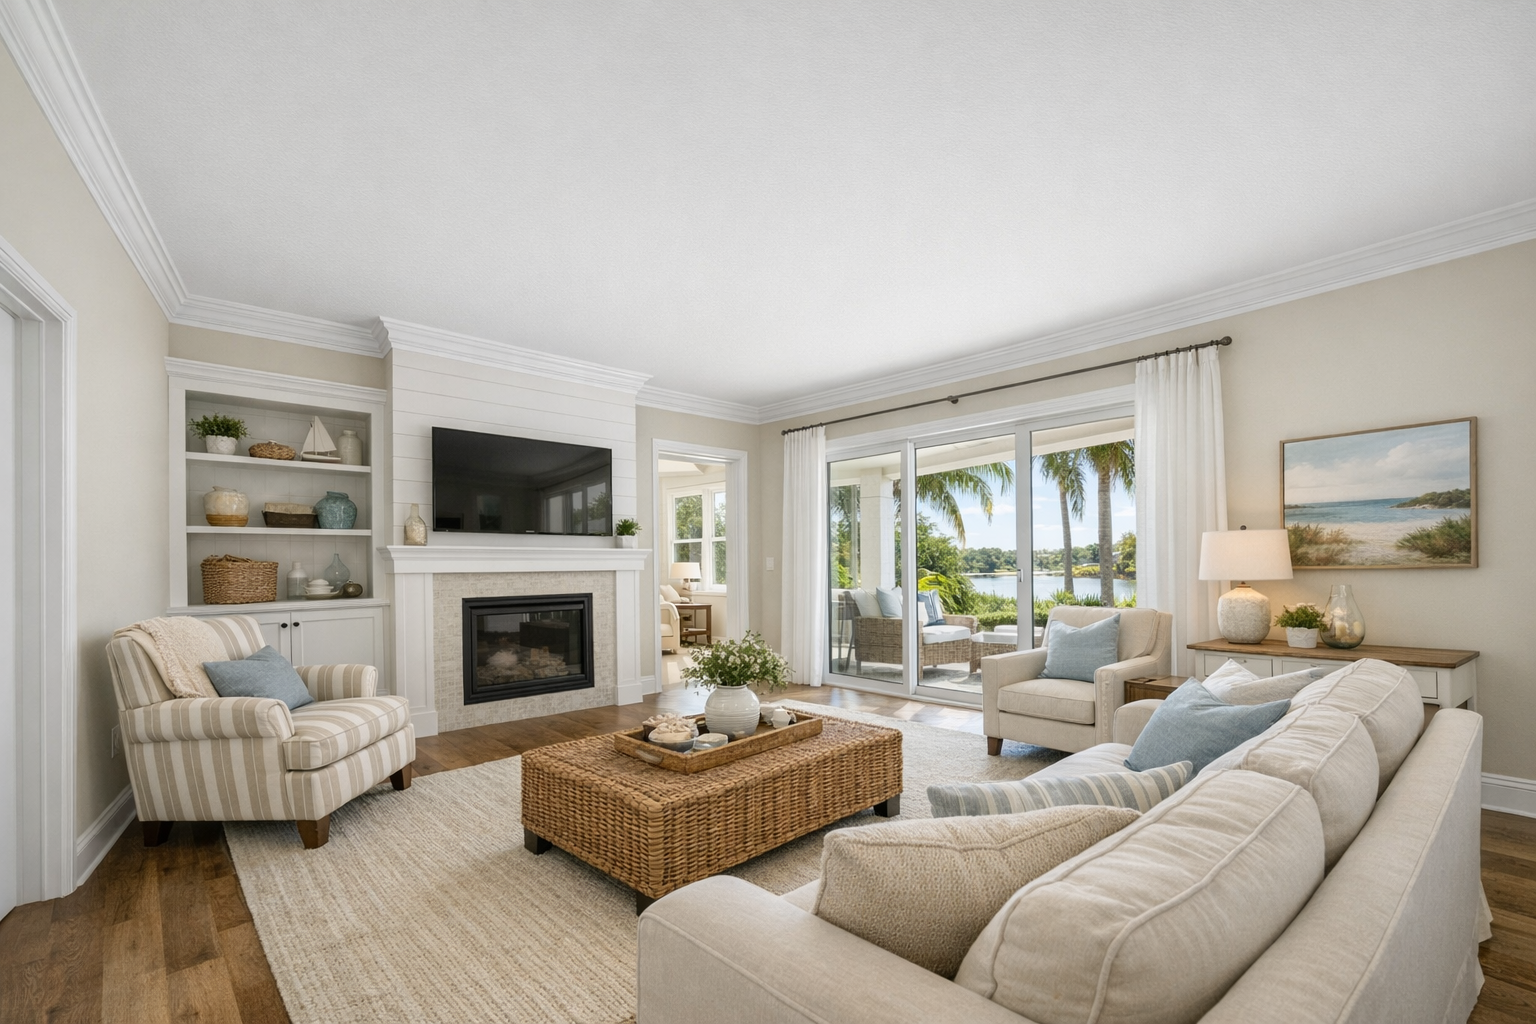
For homeowners looking for crown molding installation in Nokomis FL, this service is focused on creating a cleaner, more finished transition where the walls meet the ceiling. When the molding is scaled well to the room, it can add architectural detail without making the space feel heavy, helping living rooms, bedrooms, dining areas, and entryways look more polished.
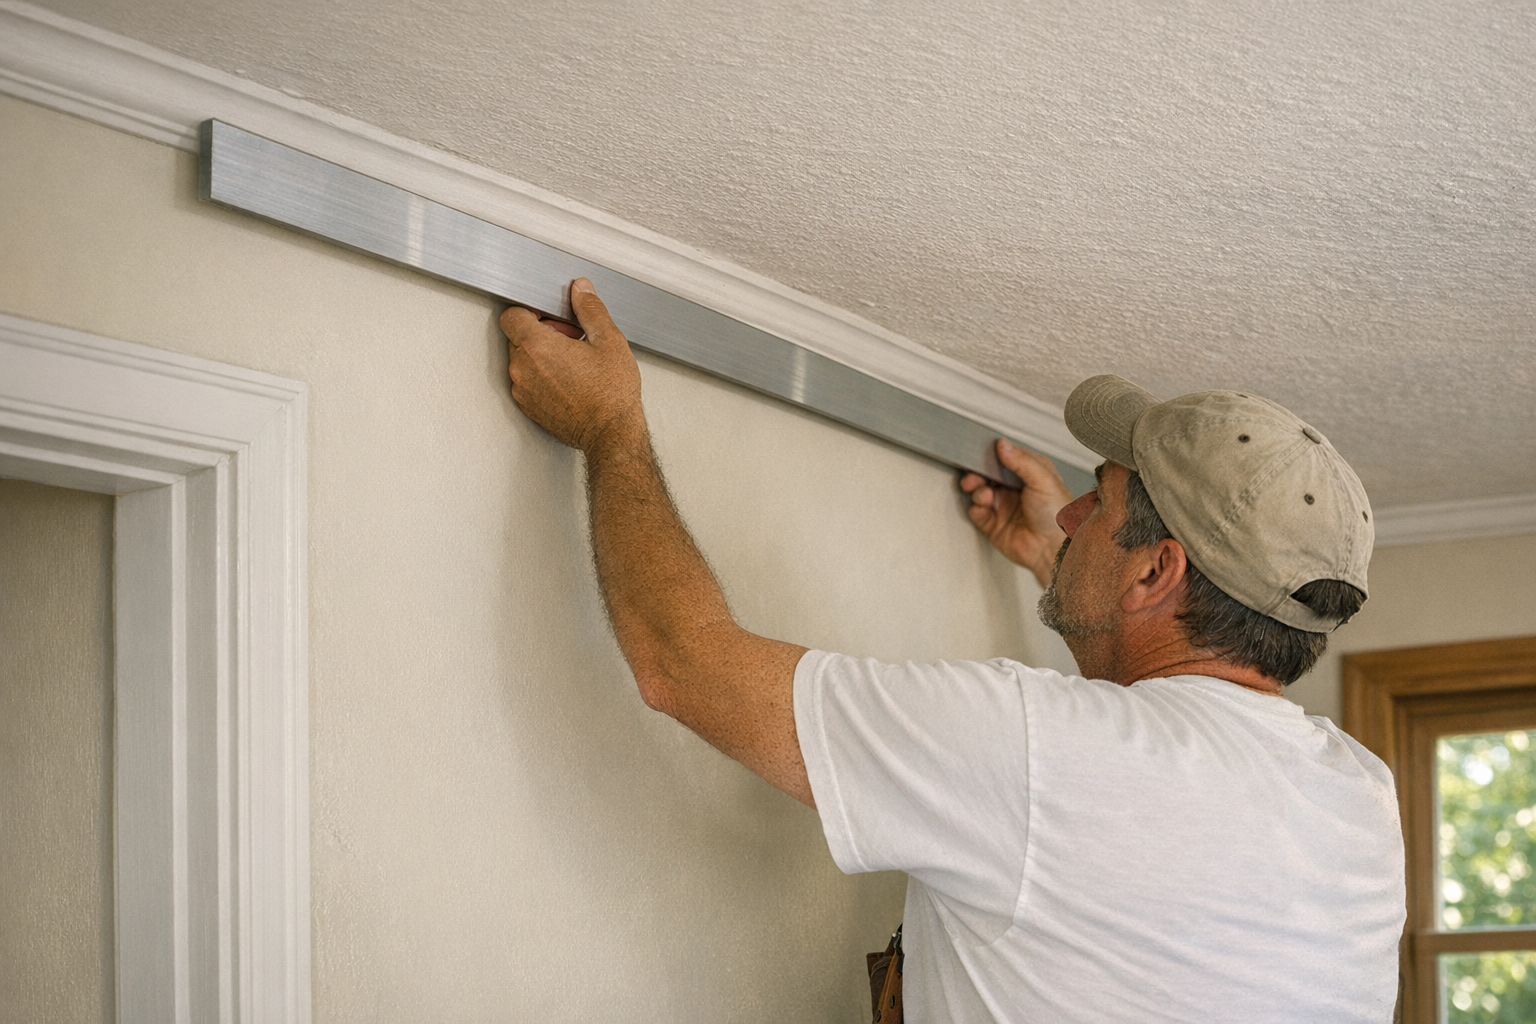
Professional installation matters because crown molding is only as good as the measuring, cutting, fitting, fastening, caulking, and finishing behind it. Strong workmanship shows up in tight corners, straight runs, smooth seams, and even caulk lines; weak installation often shows gaps, wavy alignment, or joints that draw attention once the trim is painted.
This is an installation service, not just a molding supply option. The work begins with understanding the rooms, measuring the space, and planning the scope so the molding profile, layout, and finish approach fit the home. If you are considering ceiling molding in Nokomis, the next step is to request an estimate and discuss which rooms you want trimmed, the look you prefer, and how finished you want the final paint-ready result to be.
What Our Crown Molding Installation Service Includes
A typical project starts by looking at the actual wall and ceiling lines in each room, not by cutting pieces first. The first step is reviewing the space, measuring the wall runs, noting ceiling and wall conditions, and deciding where the molding should start, stop, and continue into adjoining trim or cabinetry.
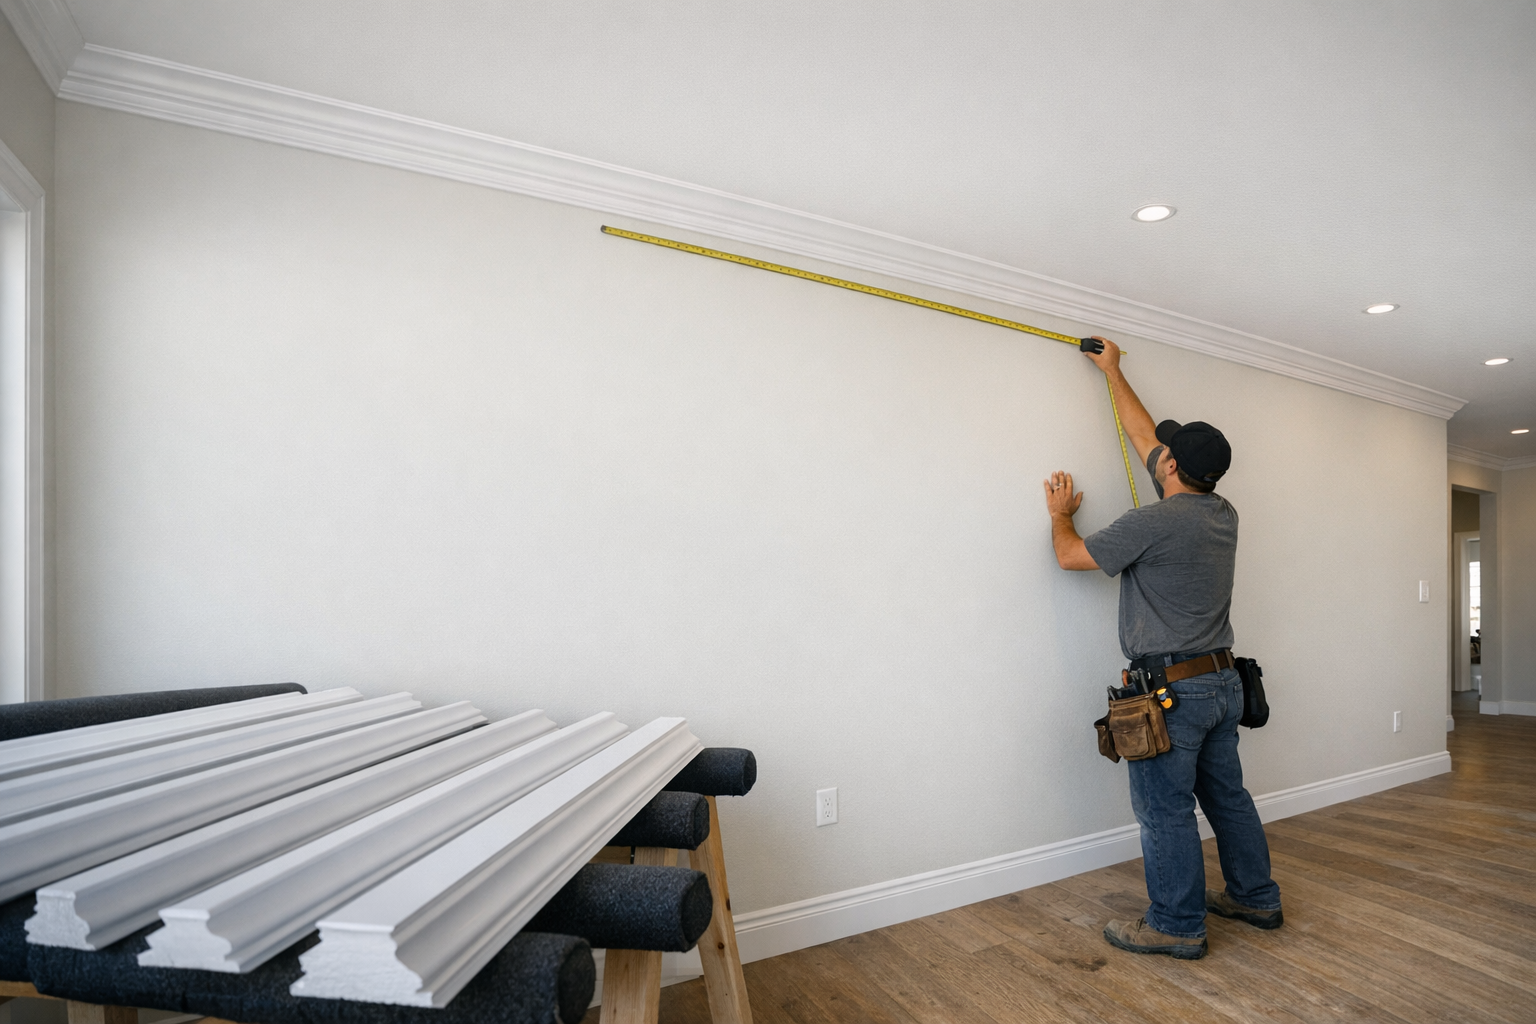
- Room assessment and measuring: each wall length, corner, doorway break, and ceiling transition is accounted for so material quantities and cuts are planned before installation begins.
- Material planning and layout: the molding profile is mapped around the room so long runs, short returns, and visible seams land in sensible places rather than looking random after paint.
- Cutting, fitting, and fastening: installation involves cutting the molding to match the room, test-fitting pieces, keeping the reveal consistent, and fastening the trim securely along the wall and ceiling line.
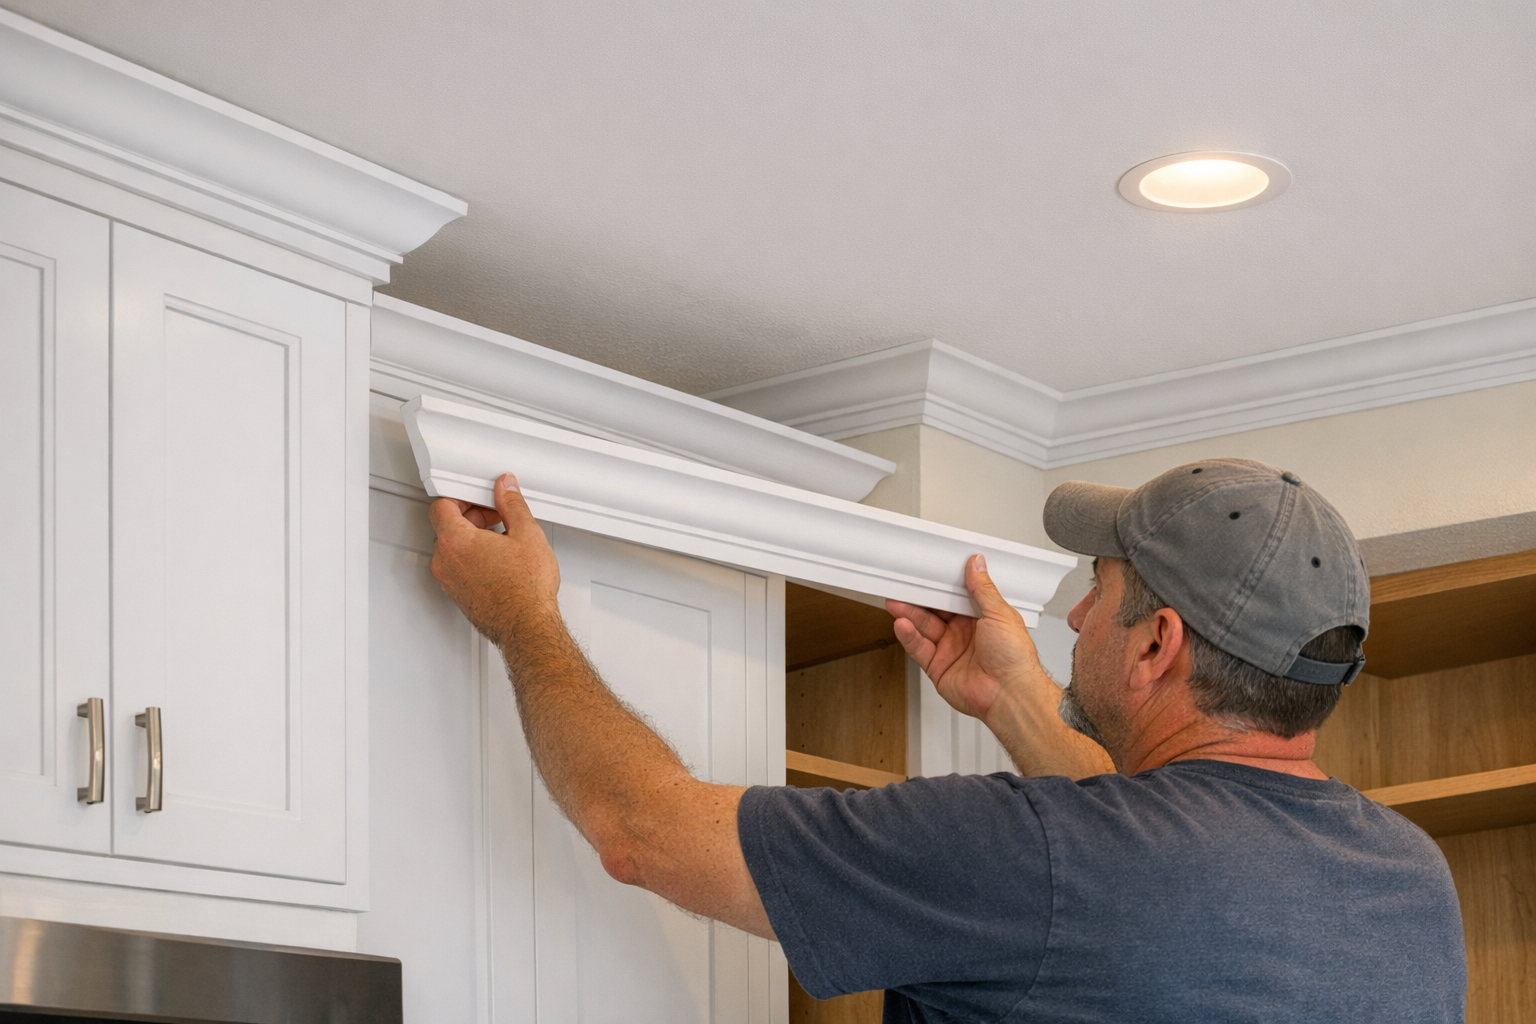
- Inside corners and outside corners: inside corners turn into the room where two walls meet, while outside corners wrap around a projecting wall edge; both need careful fitting so gaps do not become the first thing you notice.
- Seams and joints: longer walls may require joined pieces, and good decorative molding installation keeps those joints aligned, tight, and ready to blend into the final finish.
- Caulking and paint-ready preparation: the final installation includes smoothing appropriate gaps and seams so the molding is prepared for paint or coordinated finishing.
The estimate is also the right time to talk through related details that affect the finished look, such as minor drywall imperfections near the ceiling line, whether priming or painting will be handled separately, and how the new molding should meet existing baseboards, casing, ceiling details, or other interior trim installation work.
Crown Molding Materials, Profiles, and Style Options
Material choice is where the project starts to feel personal. For painted rooms, MDF is a common option because it has a smooth surface, takes paint evenly, and can give a crisp finished look without the grain pattern of natural wood. Finger-jointed pine is also typically used for painted crown; it is made from shorter wood pieces joined together, so it offers a wood-based trim option while keeping visible grain and knots more controlled than many solid boards.
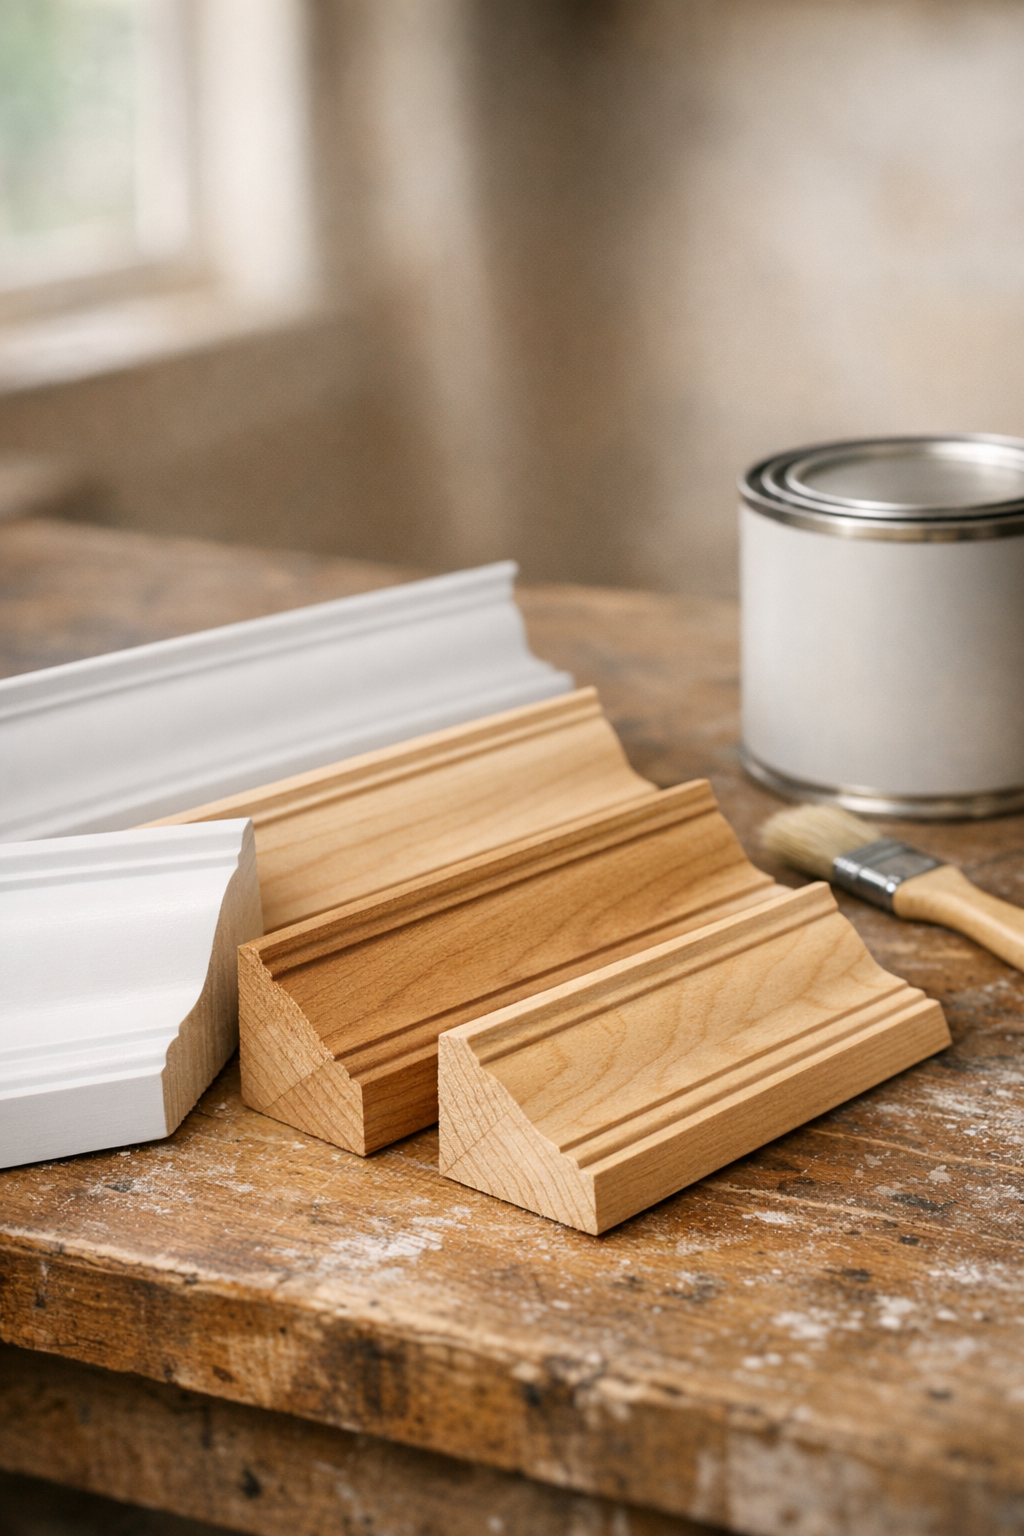
Solid wood crown molding is often chosen when the homeowner wants stain-grade character or a more traditional wood detail. It can look beautiful, but the species, grain, and finish plan matter more because natural wood movement and visible seams are less forgiving. Polyurethane and other composite crown options can be useful for certain interior conditions because they are lightweight, available in detailed profiles, and often used where moisture resistance and dimensional stability are priorities.
Profile size matters just as much as material. A large, built-up crown can make a tall living room or dining room feel more substantial, but the same profile may feel heavy in a room with lower ceilings. On the other hand, a very small crown can disappear in a larger open room. A good visual checkpoint is proportion: the molding should frame the ceiling line without looking like it is squeezing the room.
Style can stay simple or become more decorative. Clean, stepped profiles work well in many Florida interiors because they add definition without making the room feel formal. More ornate profiles can suit dining rooms, entries, accent ceilings, or traditional homes. For homeowners who want something more tailored, custom crown molding can combine multiple trim pieces or match an existing detail so the new installation looks intentional rather than added as an afterthought.
Why Professional Installation Matters for a Clean Finish
The difference between "installed" and "finished" usually shows up at eye level from across the room. Crown sits at an angle between the wall and ceiling, so small measuring errors can travel through the whole run. A professional approach keeps the reveal line consistent, meaning the visible edge and shadow line stay even instead of rising, dipping, or wandering from corner to corner.
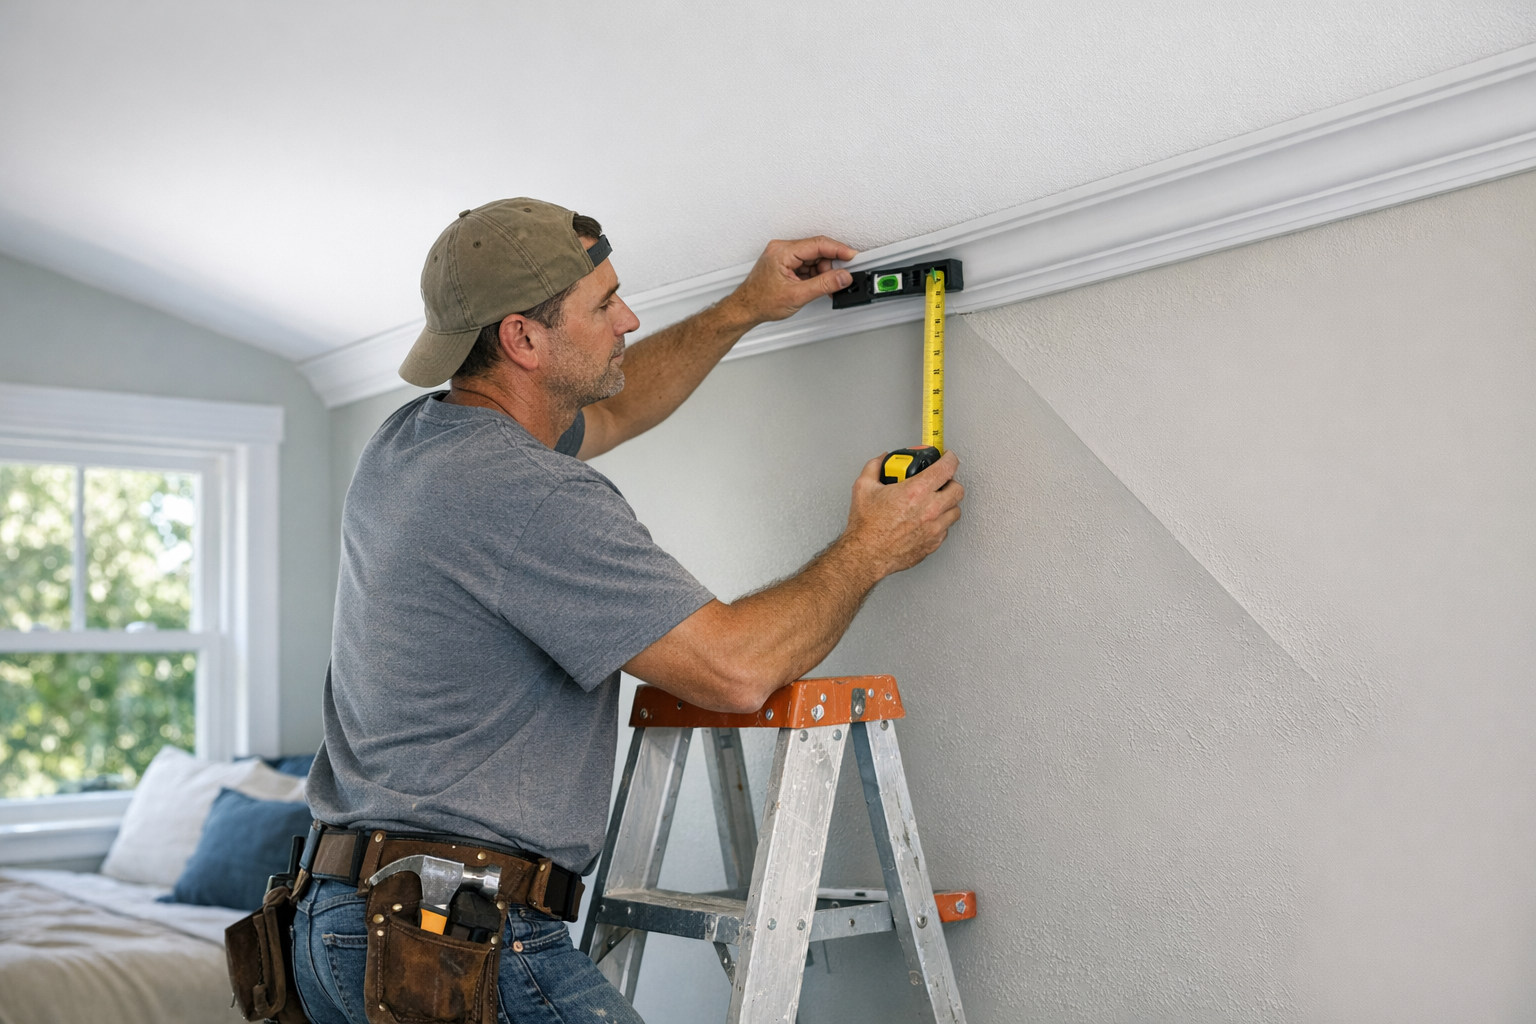
Corners are where finish carpentry really earns its keep. Miter cuts are angled cuts used where pieces meet, often at outside corners or certain returns. Cope joints are shaped inside-corner joints where one piece is cut to follow the face profile of the other, helping the joint look tighter when walls are not perfectly square. The takeaway for homeowners is simple: the corner should look intentional, not forced together and buried under caulk.
- Strong installation signs: tight inside and outside corners, smooth seams, even reveal lines, secure fastening, and clean caulk lines that support the finish without drawing attention.
- Weak installation signs: visible gaps, uneven seams, corners that do not align, heavy caulk buildup, nail movement, or molding that looks too large or too small for the room.
Hiring a Nokomis crown molding installer is less about avoiding the saw and more about getting the judgment right before anything is fastened. The installer has to read the room, account for imperfect wall and ceiling lines, choose where seams should fall, and leave the molding ready for a clean painted finish. For crown molding installation in Nokomis FL, that attention to detail is what helps the final result look built into the home rather than added on after the fact.
Planning Crown Molding for Nokomis Home Styles and Conditions
Room conditions can change the plan as much as the molding itself. Newer builds may have clean drywall but long, open wall runs where alignment is highly visible. Older homes may have ceiling lines that drift slightly, so the layout has to balance the molding against what the eye will notice most. Remodeled rooms can add another layer, especially where new drywall meets existing ceilings, cabinets, tile, or older trim.
Textured walls, textured ceilings, and drywall imperfections near the top of the wall affect how crisp the final edge will look. A light texture may only need careful caulking and paint prep, while heavier texture can make shadow lines more noticeable if the molding is too small or the caulk line is rushed. The goal is not to pretend every surface is perfect; it is to choose an installation and finishing plan that makes the transition look deliberate.
Open-plan spaces also need thoughtful stopping points. Crown can continue through connected living and dining areas for a unified look, or it can be limited to one room when ceiling height, soffits, beams, or cabinet layouts create a natural break. In coastal-inspired interiors, cleaner profiles often feel lighter, while taller ceilings can usually carry a larger profile than a compact bedroom or hallway.
That is why professional assessment is part of crown moulding installation Nokomis FL homeowners should expect. The profile determines scale and style, the fastening approach determines how securely the molding sits against the wall and ceiling, and the finishing plan determines how seams, nail holes, caulk lines, and paint prep will read once the room is complete.
What to Expect During the Installation Process
Once the room plan is set, the project moves through a straightforward sequence: an initial conversation, in-room measurements, material and profile decisions, a written scope or estimate, then scheduling. The estimate should separate the installation work from the molding selection itself so you know what is being installed, where it will go, and how the finished trim will be prepared for paint.
Before installation day, the rooms are prepared by clearing access along the walls and protecting the work area as needed. During professional crown molding installation Nokomis homeowners can expect layout marks, careful cutting and fitting, fastening, seam treatment, nail-hole filling, and caulking where the molding meets the wall and ceiling. A strong finish has tight corners, even reveal lines, and smooth caulk transitions rather than obvious gaps or heavy, uneven beads.
Priming and painting may be included in the project scope or coordinated separately, depending on the material, room schedule, and finish plan. Project length varies with the number of rooms, profile complexity, inside and outside corners, ceiling or wall conditions, and whether painting is part of the same visit. After the installation work is complete, the final step is cleanup and a walkthrough so the seams, corners, caulk lines, and paint-ready surfaces can be reviewed together.
Request an Estimate for Crown Molding Installation in Nokomis
For the most useful starting number, send a simple room-by-room snapshot rather than one whole-house description. Helpful details include the number of rooms, approximate room sizes, ceiling height, the molding material or style you like, whether the trim needs to be painted, and photos of the wall-to-ceiling areas if you have them.

- Room count and approximate sizes help establish the total linear footage, which is the amount of molding needed around the room perimeter.
- Ceiling height and molding size affect scale; a taller room can often carry a larger profile, while a smaller room may look better with a simpler, narrower crown.
- Material type and preferred style shape the scope because paint-grade trim, stain-grade wood, simple profiles, and more detailed profiles can require different preparation and finish planning.
- The number of inside and outside corners matters because each corner requires careful cutting, fitting, and alignment for a clean finished look.
- Wall and ceiling conditions, finish requirements, and painting needs affect the scope because gaps, texture, nail holes, seams, caulk lines, and paint preparation all influence the final result.
If you are ready to plan crown molding installation in Nokomis FL, reach out with your room details and photos. From there, we can turn the measurements, material preferences, and finish goals into a clear local estimate.
Plan crown molding installation in Nokomis, FL
Compare the broader Crown Molding Installation service details, then use the Nokomis, FL service area page if you want the local overview. When you are ready, request a crown molding installation estimate with the rooms, trim goals, and photos that help explain the scope.
FAQs
What does crown molding installation in Nokomis, FL include?
Crown molding installation includes room assessment, measuring wall runs, planning the layout, cutting, fitting, fastening, treating seams, and caulking for paint-ready preparation. The work also accounts for inside corners, outside corners, doorway breaks, ceiling transitions, and how the molding meets existing trim or cabinetry.
Do crown molding installers handle caulking and finishing?
Professional crown molding installation typically includes caulking appropriate gaps, smoothing seams, filling nail holes, and preparing the trim for paint or coordinated finishing. A clean finish should show tight corners, smooth seams, even reveal lines, and clean caulk lines.
How long does crown molding installation usually take?
Project length depends on the number of rooms, profile complexity, inside and outside corners, wall and ceiling conditions, and whether painting is included. The process usually moves from an initial conversation and measurements to material decisions, a written estimate, scheduling, installation, cleanup, and a final walkthrough.
Is MDF or wood crown molding better for a Florida home?
MDF is a strong choice for painted rooms because it has a smooth surface, takes paint evenly, and avoids natural wood grain. Solid wood is better when you want stain-grade character or a traditional wood detail, but species, grain, seams, and natural wood movement require more careful finish planning.