
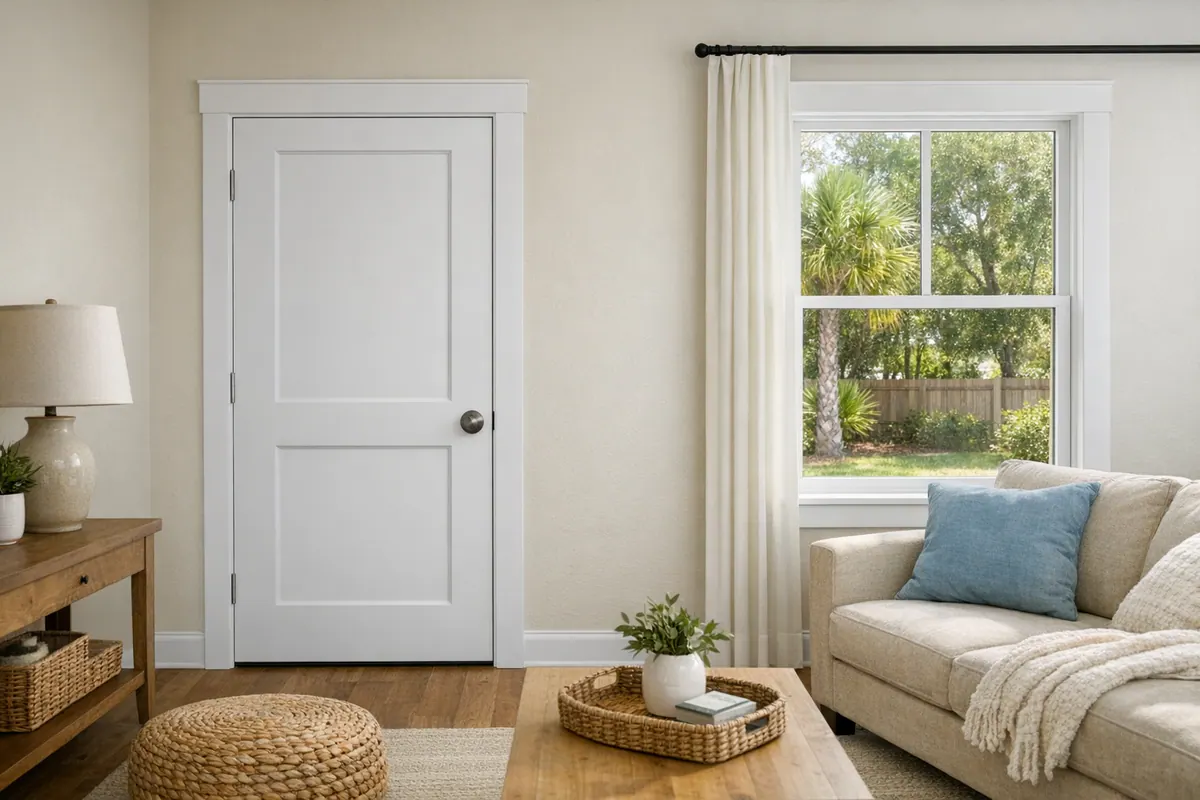
Door and Window Trim Services That Finish Interior Openings Cleanly
Exposed wall gaps, chipped casing, wavy caulk lines, and mismatched profiles can make an otherwise sound opening look unfinished. Cleanly fitted casing creates the visual checkpoint: a deliberate frame that connects the wall, jamb, and surrounding millwork.
Casing is more than decoration. Door casing covers the transition where the wall meets the door jamb, while window casing covers the comparable gap around a window frame. Properly sized and fitted trim conceals those installation gaps while creating a consistent visual border. It can also resolve awkward transitions into baseboards and help nearby openings look aligned rather than pieced together.
For door trim in Laurel, FL, homeowners may be planning a straightforward replacement of damaged casing, a new casing installation around an untrimmed opening, or a coordinated upgrade across doors and windows in one room. A simple, narrow profile keeps a newer or minimal room crisp; wider or more detailed casing creates a stronger frame where existing millwork has more presence.
The finished look comes down to details: even reveals around the jamb, tight joints at corners, secure attachment, filled nail holes, and smooth edges prepared for caulk and paint. An estimate can map out the openings to refresh, the desired trim style, and how the new work should connect with the trim already in the room.
When to Replace Existing Trim or Install New Door and Window Casing
A close look at the opening usually makes the scope clearer. Interior trim replacement is the right path when existing casing is swollen, split, loose, heavily patched, chipped beyond a clean repair, or simply out of step with the room's current style. Replacing it removes the compromised pieces and creates an opportunity to reset the visual relationship between the opening, wall, and baseboard.
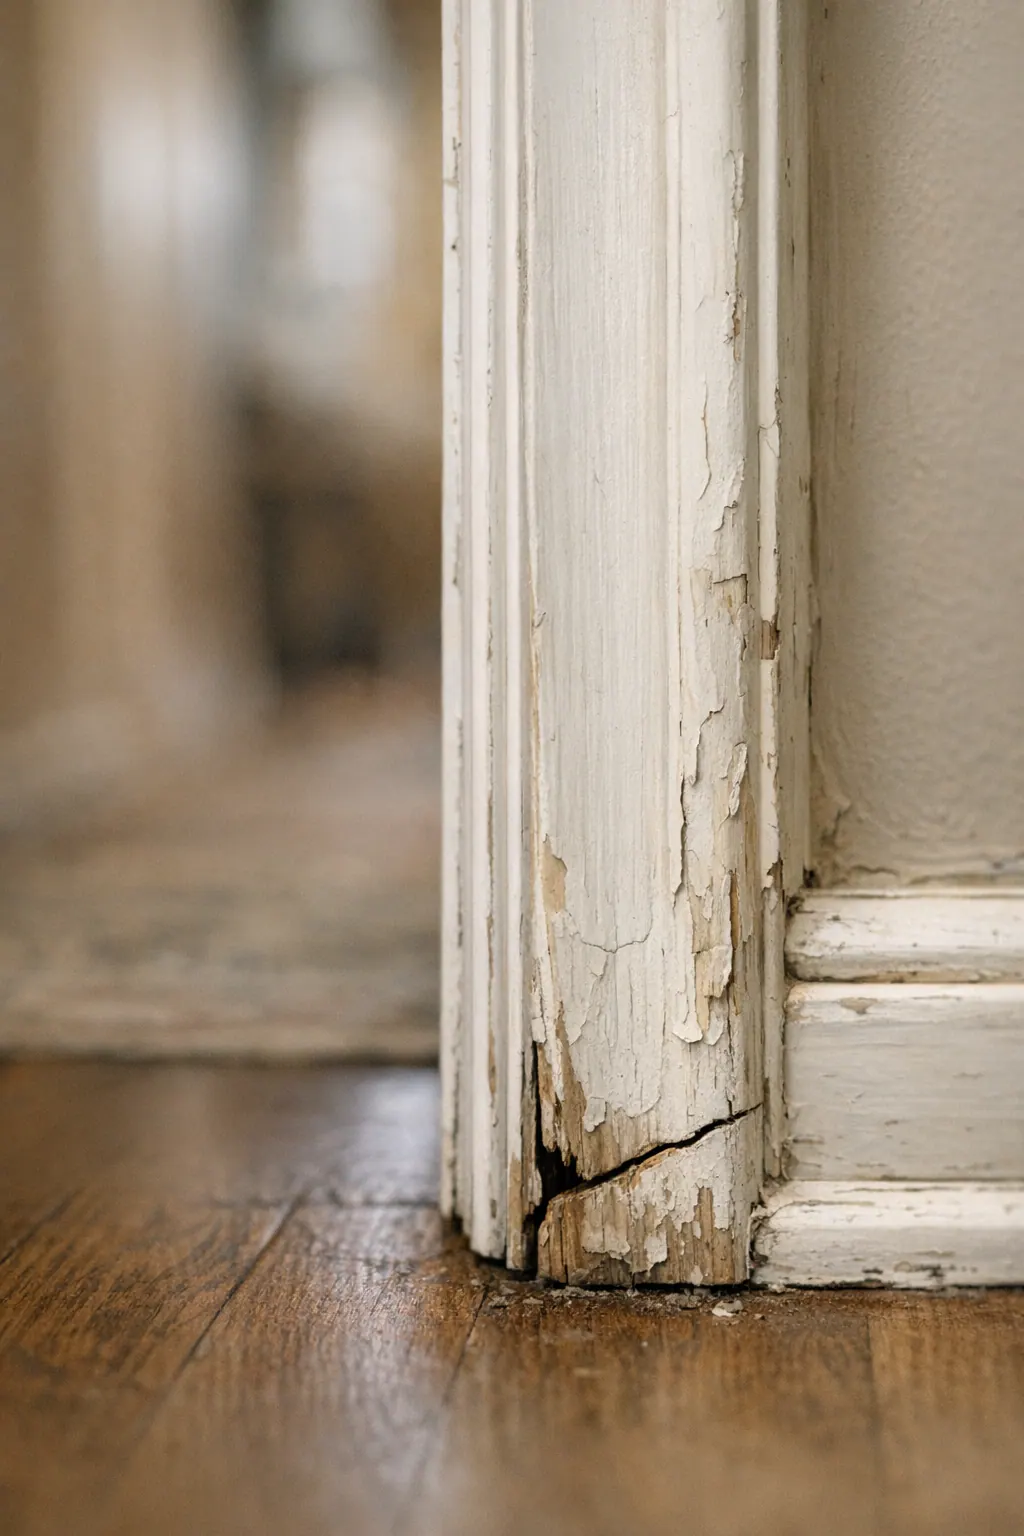
New door casing installation is different: the door itself can remain in place while trim is added around it. The same applies to window casing installation around an existing window. This approach works when the jamb and frame are sound, the wall edges can accept a clean trim line, and there is enough room around the opening for the selected profile. A door that rubs, a damaged jamb, unstable wall material, or an opening with unusually tight clearance may need adjustment or repair before new casing can sit evenly.
One-opening-at-a-time work can be a practical choice for a single damaged doorway, a recently repaired wall, or an isolated window that lacks trim. The tradeoff is that new material may make older surrounding casing look more dated by comparison. Updating several nearby doors and windows together gives the room a more coordinated finish, especially when openings share sightlines or meet the same baseboard.
For an estimate, it helps to identify which pieces are being replaced, which openings are receiving casing for the first time, and whether nearby trim should be matched or refreshed as part of the same interior trim replacement project.
Choose a Trim Profile That Fits the Room and Existing Millwork
The profile you choose sets the visual weight of every opening. Clean flat stock or a simple ranch-style casing keeps the outline quiet, making it a strong fit for smaller rooms, lower ceilings, contemporary interiors, and homes where the existing baseboards are narrow and uncomplicated. It delivers a finished edge without competing with cabinetry, flooring, or other focal points.

Traditional mitered casing uses angled corner joints to create a familiar framed look around doors and windows. It can suit rooms with established traditional details, especially when nearby openings already use a shaped profile. Wider craftsman-inspired trim takes a different approach: broader, straighter boards give an opening more presence and work well beside substantial baseboards, taller ceilings, and simple architectural lines. In a compact room with thin baseboards, however, an overly wide casing can look disconnected from the rest of the millwork.
For more decorative custom interior trim, layered details add depth rather than simply adding width. Backband is a secondary molding installed along the outside edge of casing, while plinth blocks are square or shaped blocks at the bottom corners where casing meets the baseboard. These choices can make sense in a formal room or an older-style interior with other layered trim, but they may feel overly ornate in a clean, minimal space.
Baseboard and casing matching is what makes opening trim upgrades read as part of the room rather than a later add-on. The casing should relate to the baseboard's height, profile, and visual weight; its corners should use the same design language across nearby doors and windows. Even more important, the reveal, the narrow, intentional line left between the jamb and casing, should stay consistent. Straight alignment, tidy corner treatment, and balanced transitions at the floor help the finished trim look deliberate from every sightline.
Interior Trim Materials: Paint-Grade, Stain-Grade, MDF, Wood, and PVC
Finish choice should lead the material decision. Paint-grade trim is made to receive an opaque painted finish, so its surface is selected for smooth coverage rather than visible grain. It is a practical direction when the room's baseboards, doors, and interior window trim will share one painted color. A sample piece is useful here: look for a clean face, crisp profile detail, and a surface that will look even after filling and painting.
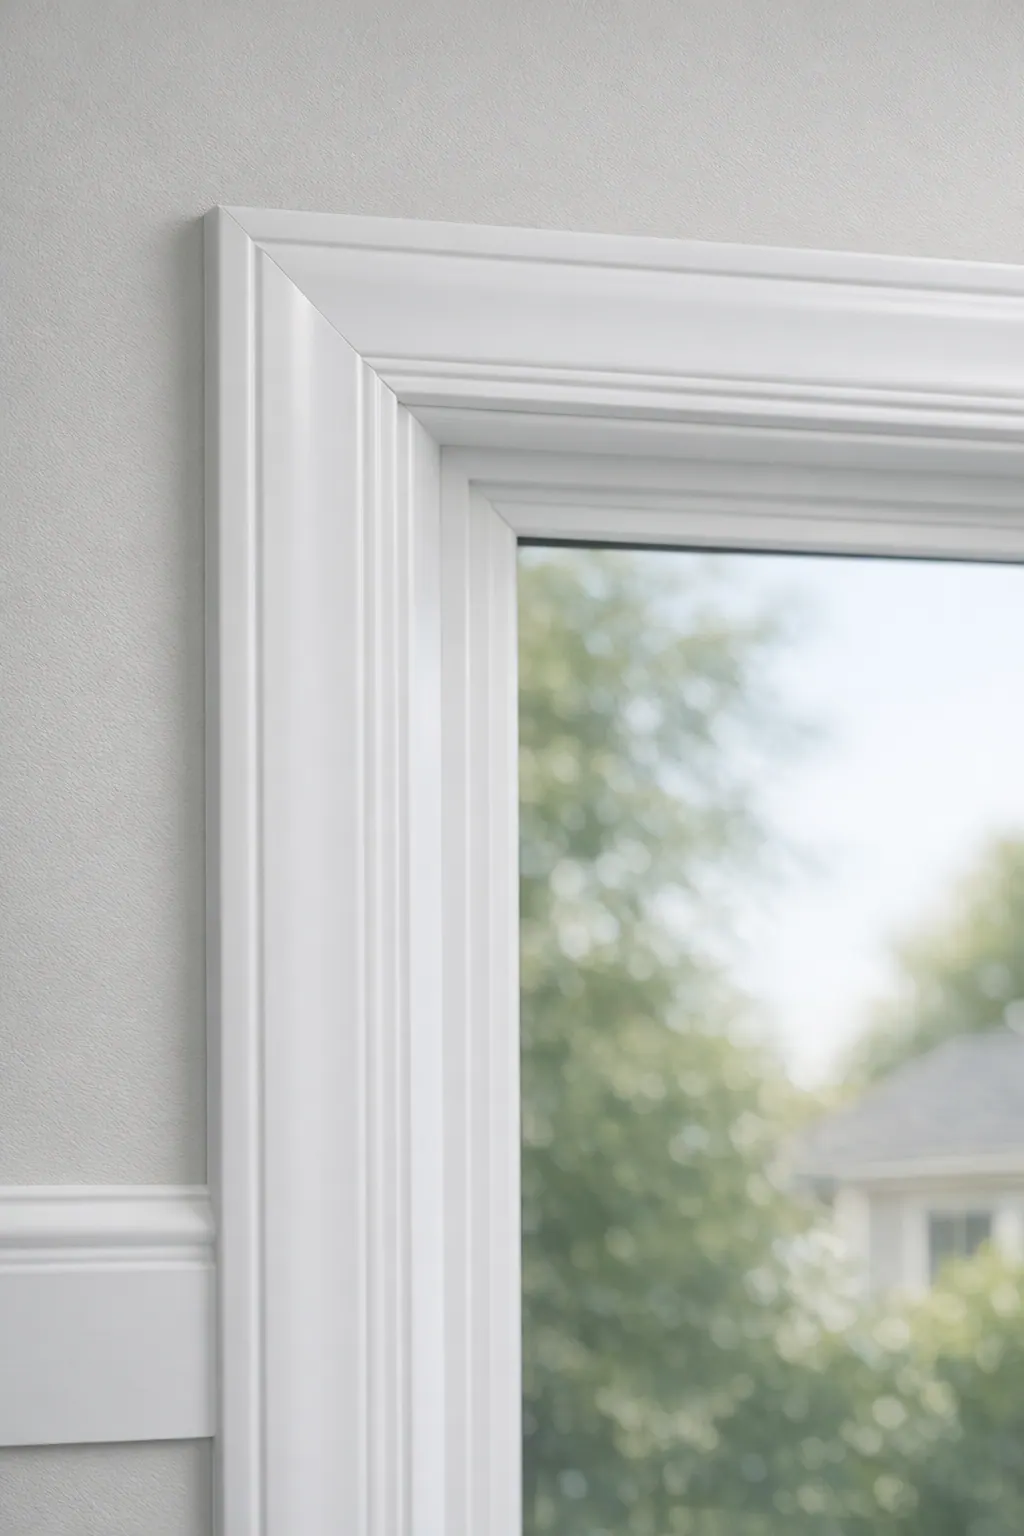
MDF is a dense, smooth engineered trim material that works especially well for painted casing in dry interior rooms. It can deliver sharp, consistent profiles without asking paint to hide grain variation. Solid wood can also be paint-grade, but it becomes the more natural choice when the project calls for stain-grade trim: wood selected and prepared so its grain remains part of the finished appearance. For stained millwork, compare species, grain direction, color variation, and the sheen of nearby doors or built-ins before choosing a match.
Wood brings natural character and can suit repairs or new interior door trim in Laurel where existing casing has a stained or wood-toned finish. Its tradeoff is that grain, joints, and color are more visible, which makes careful material matching important. PVC trim has a uniform, paintable appearance and may be considered where moisture exposure is a concern, but the surrounding wall condition, fastening approach, and finish plan still need to support a clean interior result.
Bathrooms, laundry areas, and other moisture-prone spaces deserve a more deliberate conversation than a standard bedroom opening. The goal is not to apply one material everywhere, but to pair the casing with the room's moisture conditions, planned paint or stain, and adjacent millwork. Bringing photos or small samples of existing baseboards, door frames, and window casing to an estimate helps narrow the selection before replacement or new installation begins.
What Quality Door and Window Casing Installation Looks Like
An opening rarely arrives perfectly square, flat, or even from side to side. Careful door casing installation begins with measuring the jamb, wall plane, and nearby baseboard rather than cutting every piece to a nominal size. The installer sets a consistent reveal, the narrow, intentional strip of jamb left visible inside the casing, so the frame looks balanced around the opening. If a wall bows or a jamb sits slightly proud, each piece may need individual fitting to avoid a casing line that appears to wander.
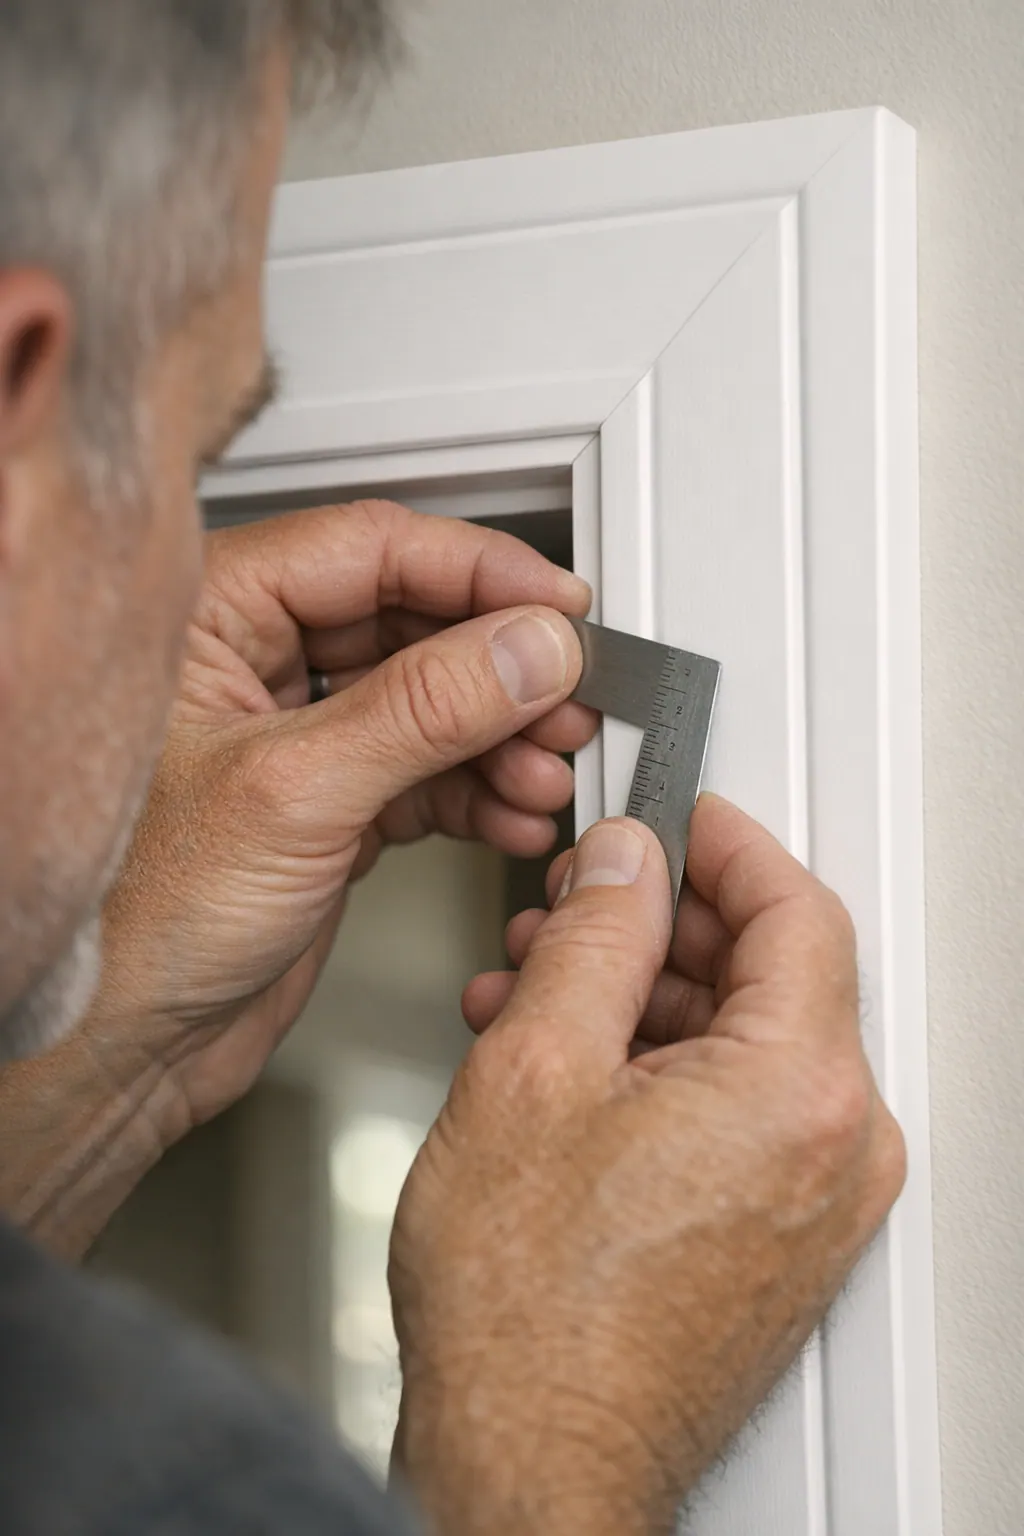
Corner treatment should suit the selected profile and look deliberate. Mitered corners use two angled cuts that meet at a crisp 90-degree-looking corner, while butt joints bring a horizontal head piece into square-cut side pieces for a simpler, more substantial appearance. Neither approach should leave open seams, mismatched edges, or corners that pull apart visually. At the bottom of a doorway, casing should meet or transition into the baseboard cleanly; across nearby openings, its height and alignment should feel planned rather than pieced together.
For door casing in Laurel, FL, the finishing sequence matters as much as the cuts. Trim should be securely fastened, nail holes filled, and edges left smooth and ready for a restrained caulk line where the casing meets the wall. Caulk can soften small paint-line gaps, but it should not be used to disguise poor fit or major wall irregularities. Window casing can cover the normal transition gap between the wall finish and window frame, creating a clean visual border. It does not correct a loose jamb, damaged wall area, moisture issue, or a window that is not soundly installed; those conditions need to be identified in the scope before new trim goes on.
Refresh One Opening or Coordinate Trim Throughout a Room
A single visibly damaged doorway does not always require a room-wide project. Door casing replacement in Laurel can be a sensible focused repair when the surrounding casing is in good condition, the profile is still available or can be reproduced, and the new piece can meet the existing baseboard without an obvious change in height or shape. This approach keeps the work targeted while restoring a clean edge around that opening.
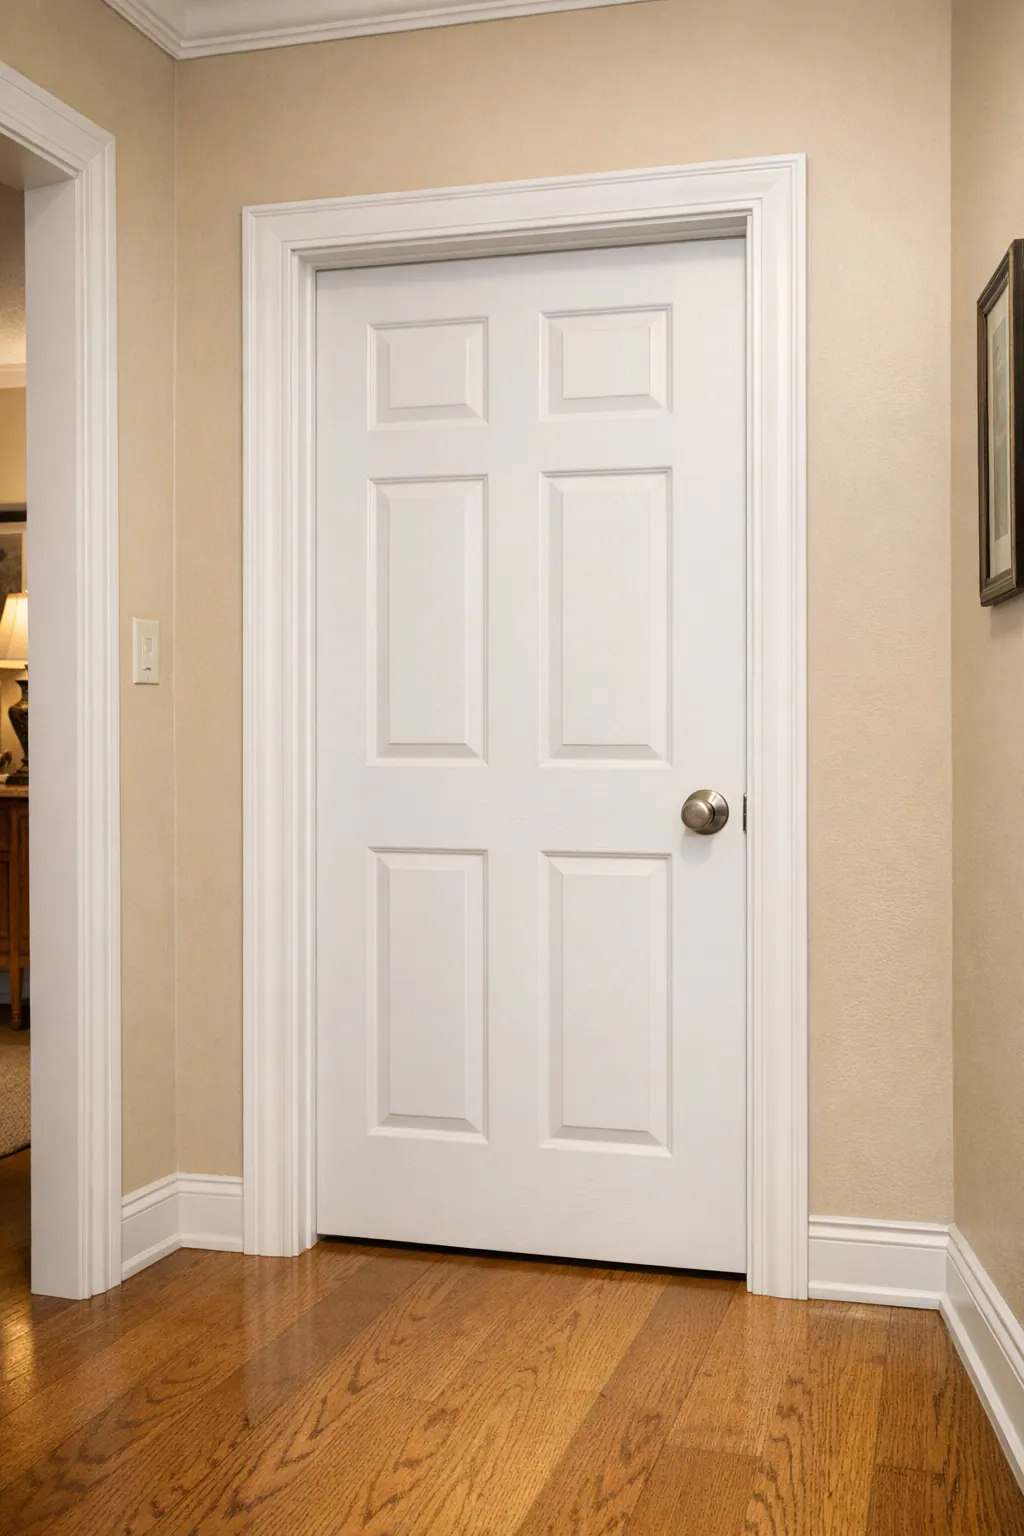
A coordinated update becomes more compelling when several nearby openings show different profiles, paint wear, patch repairs, or uneven proportions. Replacing casing at connected doors and windows gives the eye a repeated frame to follow, rather than making one freshly trimmed opening stand apart from older millwork. It is especially useful in an open living area, hallway, or bedroom where a door, window, and closet opening are all visible at once.
There are two clear directions. Matching existing millwork preserves the room's established character; the goal is to match casing width, profile, corner style, paint sheen, and the way it lands at the baseboard. Intentionally updating the room uses a new profile across the selected openings, creating a deliberate change instead of a near-match that exposes age and color differences. Plinth blocks, small, squared blocks at the bottom of casing, can provide a planned transition where a wider casing meets a shorter or more detailed baseboard.
Photos of each opening, including lower corners and transitions into adjacent rooms, help define the scope for trim around doors in Laurel, FL. They reveal whether the practical choice is one repaired frame, a matched group of openings, or a contained room-level refresh with consistent paint-ready detailing.
Request a Door and Window Trim Estimate in Laurel, FL
The most useful estimate request starts with a simple inventory of the openings you want addressed. Note how many are doors and how many are windows, whether each opening needs existing casing removed or new trim added, and whether the work is limited to one room or carries into connected spaces. A door with damaged casing is a replacement scope; an untrimmed cased opening or window is a new-installation scope. That distinction affects the preparation and fitting included in the plan.

It also helps to share the look you want: a simple painted profile, a wider built-up treatment, or a close match to existing baseboards and casing. Identify the intended material and finish where possible. Paint-grade trim supports a smooth, uniform painted result, while stain-grade wood is chosen when its grain will remain visible. If matching matters, photos of nearby doors, windows, baseboards, and lower-corner transitions make it easier to evaluate the profile, width, color, and sheen together.
Include clear photos of each opening from straight on and at the jamb, corners, and baseboard connection. Point out loose trim, patched drywall, gaps, bowed walls, jamb damage, or any area that may need repair beyond the casing itself. An in-home assessment can provide a closer look when those conditions are difficult to judge from photos.
For door trim replacement in Laurel, FL or window trim in Laurel, FL, request a project-specific estimate that separates removal, surface preparation, installation, finishing, and any separately needed wall or jamb repairs. That conversation clarifies the recommended scope and the finish goal without assuming a fixed price, schedule, material availability, or warranty arrangement. Reach out with your opening list and photos to start planning a cleaner, more coordinated interior finish.
Plan the next step
Compare the broader Door and Window Trim service.
Review the Laurel, FL service area for local planning context.
When you are ready, request a free estimate with the rooms, trim goals, city, and available photos.
FAQs
Can new door casing be installed without replacing the door?
Yes. New casing can be installed around an existing door when the door jamb is sound, the wall edges can accept a clean trim line, and there is enough clearance for the selected profile. A rubbing door, damaged jamb, unstable wall material, or tight clearance should be repaired or adjusted first.
Can window casing hide gaps between the wall and window frame?
Yes. Window casing covers the normal transition gap between the finished wall and window frame, creating a clean visual border. It does not fix moisture damage, a loose jamb, damaged wall material, or an unsound window installation.
What is the best material for interior window trim?
MDF is a strong choice for painted casing in dry interior rooms because it has a dense, smooth surface and consistent profiles. Solid wood is the better choice for stain-grade trim where visible grain is desired, while PVC may suit moisture-prone spaces such as bathrooms and laundry areas.
What should I look for in quality door and window casing installation?
Quality installation includes a consistent reveal between the jamb and casing, tight mitered or butt-joint corners, secure fastening, filled nail holes, and smooth edges ready for paint and caulk. Casing should also align cleanly with baseboards, without open seams, wandering lines, or caulk used to hide poor fit.
Should I replace one damaged opening or update all nearby door and window trim?
Replace one opening when the surrounding casing is in good condition, the existing profile can be matched, and the new trim can meet the baseboard without an obvious change. Update several nearby openings together when profiles, paint wear, patch repairs, or proportions differ, especially in rooms where doors and windows share sightlines.