

Builder-basic casing, rough edges left after wall work, or mismatched profiles from room to room can make an otherwise updated interior feel unfinished. Replacing the visible frame around an opening creates a cleaner line where the wall meets the door or window and helps repeated details read as intentional. Casing is that visible frame; a consistent width and profile gives simple painted rooms a more coordinated appearance.
Not every worn-looking opening needs the same scope. If the jamb, the interior frame behind the casing, is sound and sits properly in relation to the finished wall, replacing the visible trim may be primarily a cosmetic update. But a recessed jamb, uneven drywall edge, split jamb material, thick old caulk, or casing that cannot align cleanly may call for preparation beyond new face trim. Jamb adjustment or an extension can create the surface needed for casing to sit evenly rather than forcing a cover-up.
A polished result also depends on finish details: straight, consistent casing lines; tight joints; filled nail holes; and neatly caulked wall transitions where appropriate before paint. Trim can improve an opening's appearance, but it should not disguise active moisture, severe rot, or ongoing structural movement. Addressing those conditions first gives the new finish a sound place to start.
Start With the Opening: Casing, Jamb Depth, Walls, and Existing Conditions
A close look at the opening separates a straightforward trim refresh from work that needs attention behind the face pieces. Dated casing, such as a profile that no longer matches the room, chipped paint, or minor nail holes, can often be removed and replaced. Soft material, dark staining, a jamb that moves when pressed, split wood, or wide recurring gaps point to a condition that should be repaired before replacement door trim is installed.
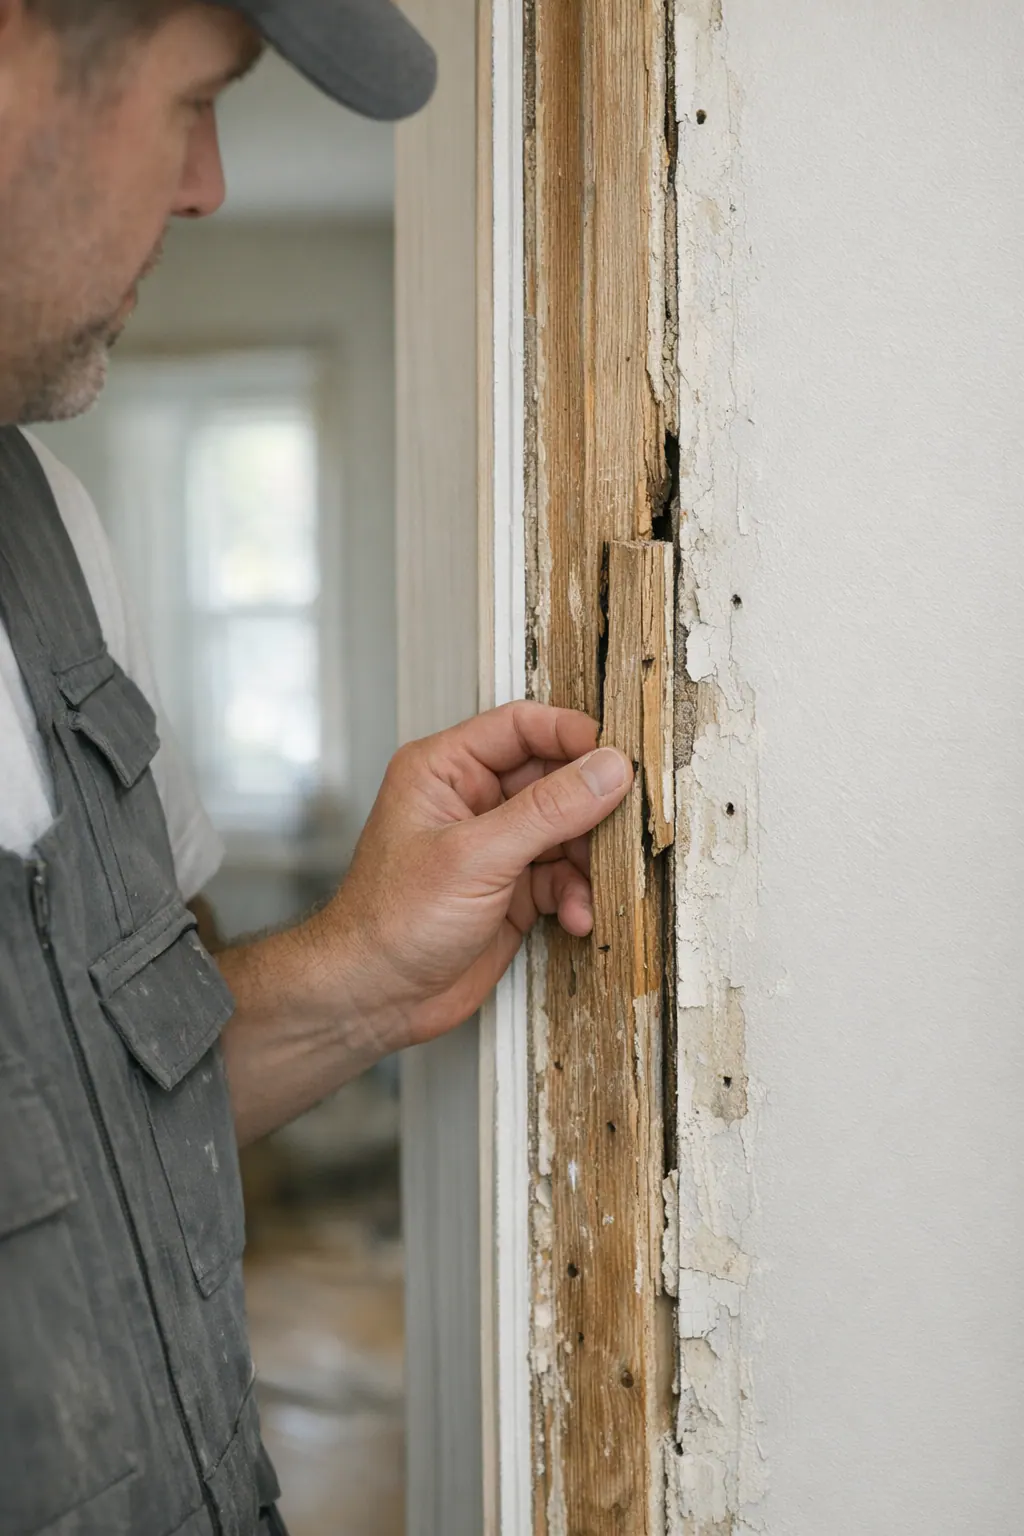
The jamb is the built-in lining of the door or window opening, while the casing covers the seam where that lining meets the wall. Ideally, the jamb finishes flush with the wall surface. When it sits noticeably back from the drywall, new casing has no even surface to land on; when it projects beyond the wall, its edge may need to be brought into a clean plane. A reveal is the narrow, intentional strip of jamb left visible inside the casing. Keeping that strip even around an opening makes the frame read as aligned rather than improvised.
Wall condition matters just as much. Appropriately sized replacement window trim can cover small chipped drywall edges or a narrow uneven paint boundary. Crumbling drywall, a large void, or a bowed wall needs patching and stabilization first. A scribe is a custom cut along trim's wall-facing edge that follows a slight wall irregularity; it helps close a small visual gap, not correct major damage.
Fit also depends on whether the opening is stable and reasonably square. A shim is a thin spacer used behind a component to bring it into alignment. It may help support or position loose jamb areas, but it is not a fix for loose framing or unresolved movement. Finally, a caulk line is the small finished bead where casing meets the wall; it softens minor seams before paint, rather than hiding water damage, substantial gaps, or failed material. Where those warning signs appear, door jamb repair belongs ahead of new casing.
Choosing a Door or Window Casing Profile That Fits the Room
Profile and proportion set the room's visual tone. Simple flat-stock trim is a smooth, square-edged board with little or no ornament; it gives an opening a crisp, updated outline. A wider flat casing can make a plain painted room feel more intentional and can span a slightly broader wall-to-jamb transition, while a narrower version is often more comfortable in compact rooms or beside already detailed wallpaper, tile, or cabinetry.

Colonial casing has curved or stepped routed detail along its face, creating more shadow and a traditional look. It generally fits rooms with other classic millwork better than a stark flat board. Craftsman-style trim is usually built from clean, square pieces with a wider head casing across the top; its emphasis is on strong horizontal and vertical lines rather than curves. Colonial trim commonly uses mitered corners, where the two pieces are cut at angles to meet at the corner. Craftsman assemblies often use square butt joints, with the header resting across the side pieces. Either approach can look right when repeated consistently around nearby openings.
A backband is a smaller decorative molding added around the outer edge of casing, increasing depth and formality. It can help a built-up trim design relate to substantial baseboards, but it may look crowded beside low ceilings, close furniture, or simpler existing millwork. For windows, a stool is the interior ledge at the bottom of the opening, while an apron is the trim board installed below that ledge. Together, they give a window more furniture-like presence than casing alone.
For door trim in Nokomis, FL, compare a proposed profile against the baseboards, closet openings, and windows visible from the same room. Matching every detail is not required, but casing should share a similar scale and level of formality. A deliberate transition, such as wider flat casing in a renovated main room while retaining simpler trim in a secondary area, works best when it occurs at a natural room boundary, not randomly from one opening to the next. Oversized or highly ornate trim can turn an opening into an unintended focal point when the rest of the home is restrained.
MDF or Paint-Grade Wood: Matching Trim Material to the Space
The material beneath the paint affects how the finished casing looks and how easily small marks can be addressed later. MDF trim is an engineered fiberboard product with a smooth, uniform face. For straight painted profiles, especially flat stock, simple stepped casing, or other low-ornament designs, it can create a consistent surface without visible grain competing with the paint color. Factory-made MDF profiles can also provide crisp, repeatable edge detail across a group of openings.
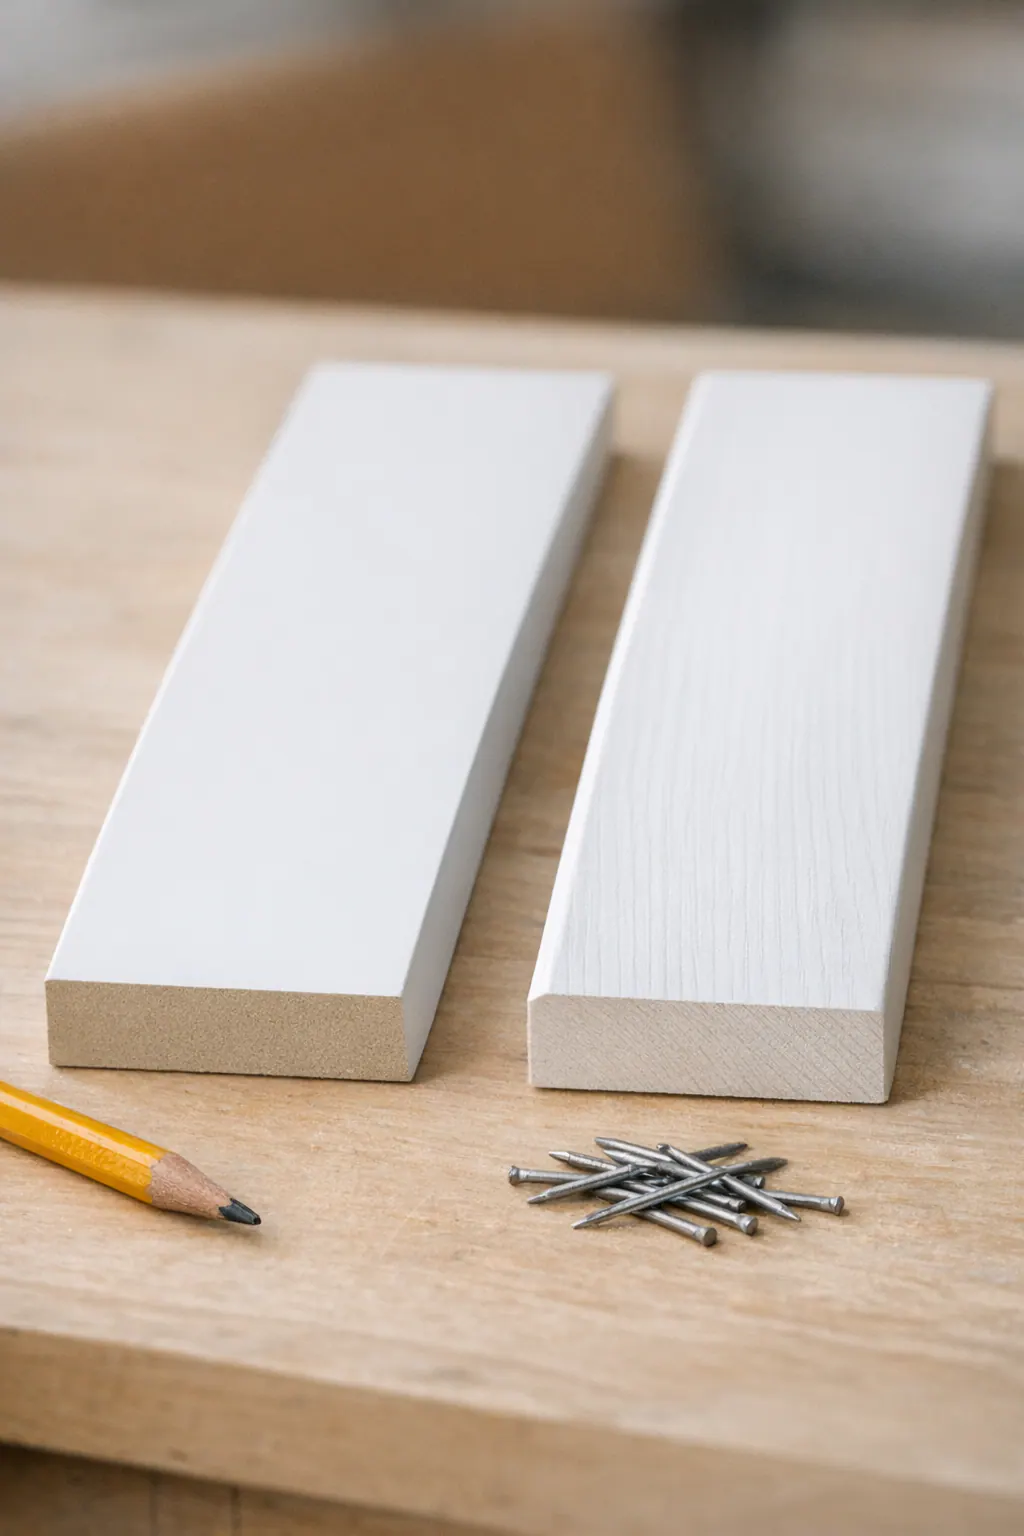
That does not make MDF the automatic choice. Cut ends, dents, fastener holes, and any damaged areas need careful filling, sealing, and preparation for a truly paint-ready trim result. MDF is often a practical fit for dry interior rooms where the goal is a smooth painted finish, but the installer should look beyond the room label. Past staining at a window, softened material near a bathroom opening, recurring condensation, or damp drywall at the wall edge changes the conversation.
Paint-grade wood is wood intended to be coated rather than selected for a clear stained finish. It may suit a profile, repair approach, or installation location where its characteristics are preferable for the individual opening. Small dents, nail holes, and minor surface imperfections can still be filled and painted; the important distinction is that wood's grain and its response to cuts and repairs are not identical to MDF's uniform surface.
Neither choice corrects an active water issue, a loose jamb, or unstable material behind the casing. Before material is selected, the opening should be dry and sound, with old caulk buildup, uneven wall edges, and damaged trim-area surfaces identified rather than covered. That lets the material decision support the design instead of asking new casing to solve a condition underneath it.
When Jamb Extensions or Jamb Repairs Are Part of a Clean Trim Installation
A recessed jamb is easy to spot once the old casing is off: the edge of the door or window lining sits back from the finished drywall instead of meeting it flush. A jamb extension is a fitted strip that brings that lining outward to the wall plane, giving the new casing a solid, even surface to land on. Jamb extension installation can be useful after replacement windows, added wall material, or changes in wall depth leave the jamb too far inside the opening. It refines the interior opening; it is not a replacement of the door or window itself.
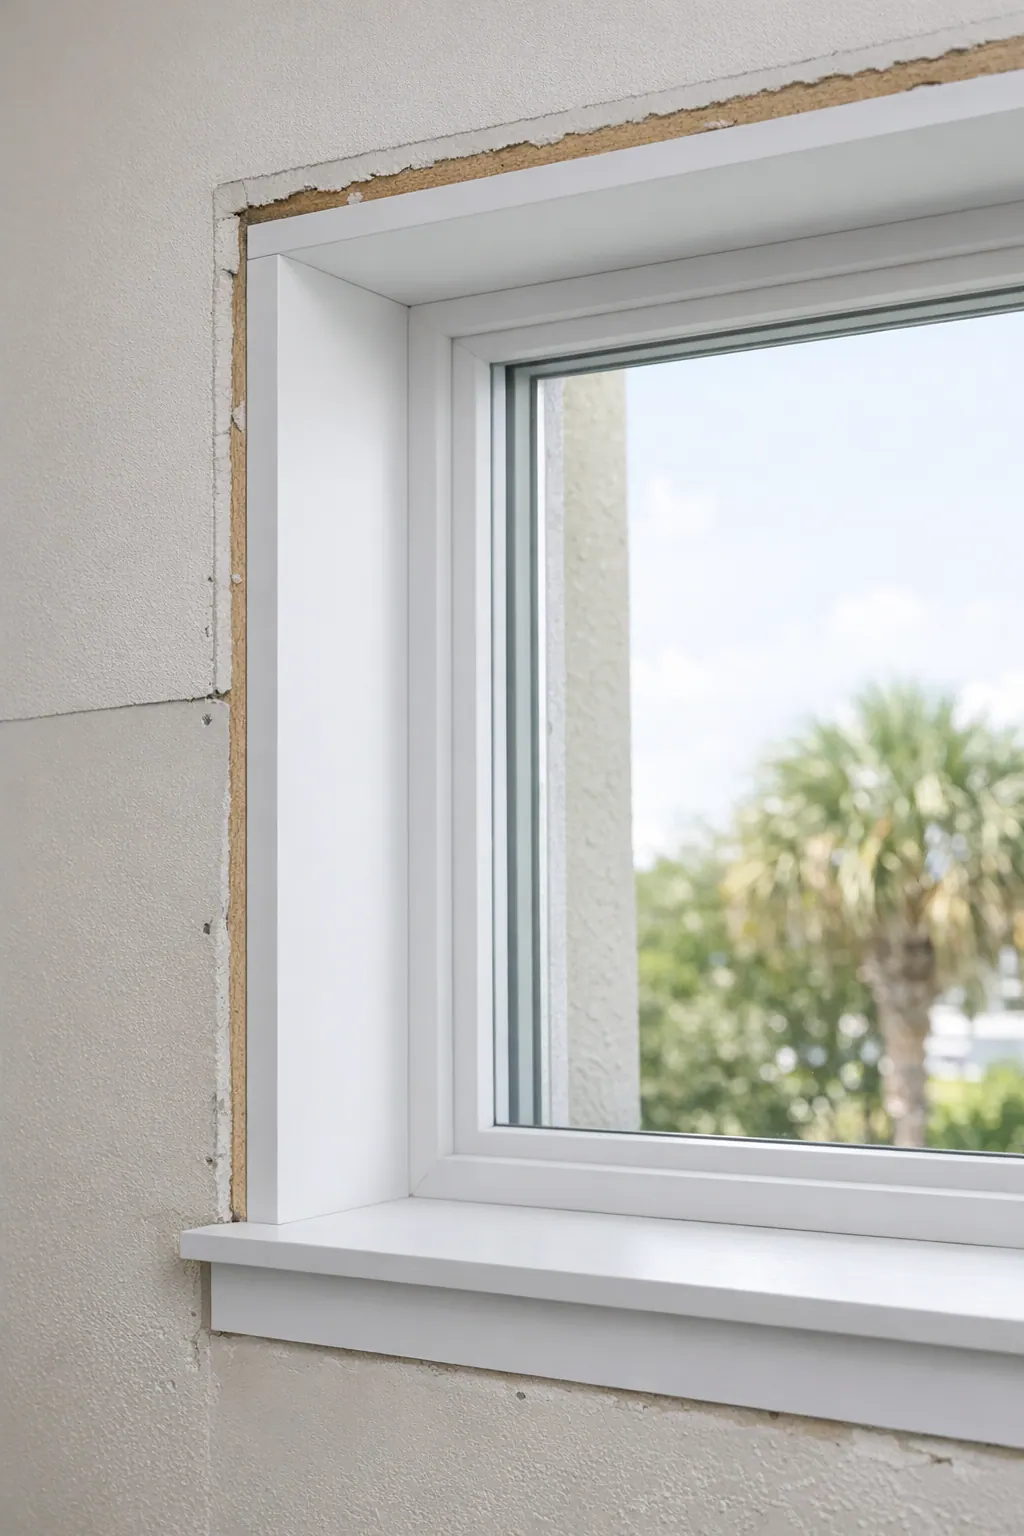
Some openings need localized repair rather than an extension. A split jamb edge, old fastener damage, heavy caulk buildup, or a rough prior trim removal can often be corrected so the casing has a clean edge and the wall transition looks intentional. Uneven drywall may also need attention where it meets the jamb. For door casing in Nokomis homes, the useful distinction is whether the problem is limited to the finish area or comes from something deeper. Rot, active leaking, major movement, or compromised framing need their underlying cause addressed before finish trim is installed.
Careful fitting makes the difference visible. Shims can support a minor low spot or help position a stable jamb area; scribing trims an edge to follow a slight wall irregularity; and a reveal is the narrow, deliberate strip of jamb left visible beside the casing. Together, these details help window casing in Nokomis projects maintain straight-looking lines and an even reveal from one side of the opening to the other. They can refine modest variation, but they cannot make a seriously out-of-square or moving opening sound. The goal is casing that meets the wall cleanly without wide gaps, forced joints, or an uneven border around the jamb.
The Details Behind a Paint-Ready Door or Window Opening
The finish starts before the first fastener goes in. Each casing piece should be dry-fitted so its lines read straight, the reveal stays even, and the corners close properly. Mitered corners suit many profiled casings because the angled cuts carry the face detail around the opening. Butt joints, where a horizontal piece meets the square end of a vertical piece, are often the cleaner choice for simple flat-stock or craftsman-style layouts. Neither joint style should depend on caulk to hide an open seam.
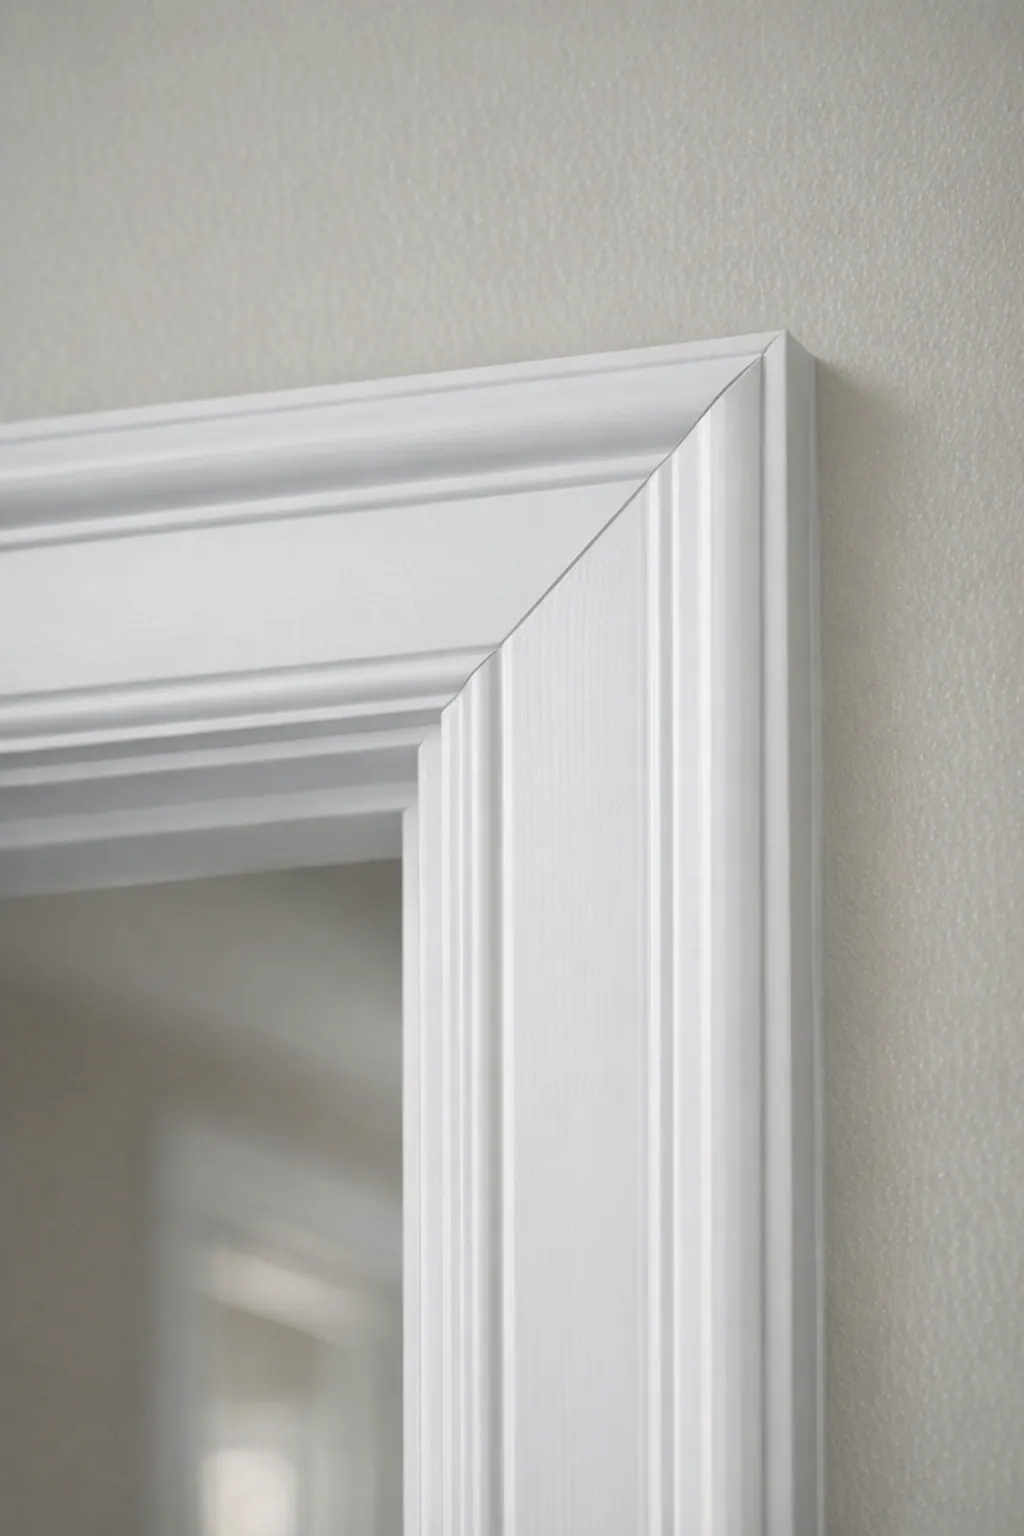
Once the layout looks right, clean fastening holds the casing without leaving conspicuous marks or pulling a joint apart. Nail holes are filled, joints are refined, and the wall-to-casing transition receives a narrow, smooth caulk line where a small finish gap needs it. A clean result has crisp corners, consistent spacing beside the jamb, and no heavy bead of caulk spilling onto the wall. Visible fastener dents, uneven reveals, open miters, or thick caulk usually signal fitting issues that paint will not truly solve.
Paint-ready trim means the surface has been prepared for a uniform final coat: filled areas are sanded smooth, dust is removed, and bare or repaired spots are primed as needed before painting. Some projects paint casing before installation to limit brushwork near finished walls; others paint after installation so nail holes, joints, and caulk lines receive one continuous final coat. The better workflow is the one that protects surrounding surfaces while still allowing thorough touchups and a seamless finished appearance. Paint preparation should refine well-fitted, stable work, not disguise a moving jamb, poor joint, or wide gap.
Planning Door and Window Trim Updates in a Nokomis Home
A few notes and photos can make the first site visit far more productive. Before requesting an assessment, make a room-by-room list of the door and window openings you want addressed, then photograph each one straight on and from an angle that shows its relationship to nearby baseboards, cabinetry, or other trim.

- Note whether the goal is to match the existing look or modernize it. Matching keeps additions visually continuous; modernizing may mean carrying one simpler, wider casing design through several connected rooms.
- Photograph a representative baseboard and any trim profile you want to retain. Its width, edge detail, and visual weight help guide a casing that looks intentional rather than unrelated.
- Flag peeling paint, soft or split jamb areas, heavy old caulk, uneven drywall, recurring gaps, or suspected moisture. These conditions can change the scope from face-casing replacement to localized repair or postponement while the underlying issue is addressed.
- Choose the paint direction: retain the current trim color, repaint all coordinated trim, or plan a contrast color. This affects how much surrounding trim should be included for a unified result.
An on-site review can sort a cosmetic casing update from a larger interior-trim plan, a jamb extension where the wall plane has changed, or targeted jamb and wall repair. Request an assessment for door and window trim in Nokomis, FL focused on clean alignment, coordinated profiles, and paint-ready openings, not full door or window replacement when the opening itself remains serviceable.
Plan the next step
Compare the broader Door and Window Trim service.
Review the Nokomis, FL service area for local planning context.
When you are ready, request a free estimate with the rooms, trim goals, city, and available photos.
FAQs
What is the difference between door casing and a door jamb?
The jamb is the built-in lining inside a door or window opening, while casing is the visible trim that covers the seam between the jamb and wall. A properly fitted installation leaves a narrow, even reveal of jamb visible inside the casing.
Can window casing be replaced without replacing the window?
Yes, window casing can be replaced when the window and jamb are dry, stable, and properly positioned relative to the finished wall. Soft material, dark staining, recurring gaps, rot, or a moving jamb should be repaired before new casing is installed.
When does a door or window need a jamb extension?
A jamb extension is needed when the jamb sits recessed behind the finished drywall and new casing has no flat, even surface to land on. The extension brings the jamb outward to the wall plane, which is common after replacement windows, added wall material, or wall-depth changes.
Can new trim be installed over damaged drywall around a window or door?
New trim can cover small chipped drywall edges or a narrow uneven paint boundary, especially with appropriately sized casing. Crumbling drywall, large voids, bowed walls, active moisture, or unstable material must be patched and stabilized first because caulk and trim cannot provide a lasting repair.
Is MDF or paint-grade wood better for interior door and window trim in Florida?
MDF is well suited to dry interior rooms when a smooth, uniform painted finish is the goal, particularly for flat stock and simple stepped profiles. Paint-grade wood may be preferable for certain profiles or repairs, while either material should be avoided until recurring condensation, water staining, damp drywall, or other moisture issues are corrected.