
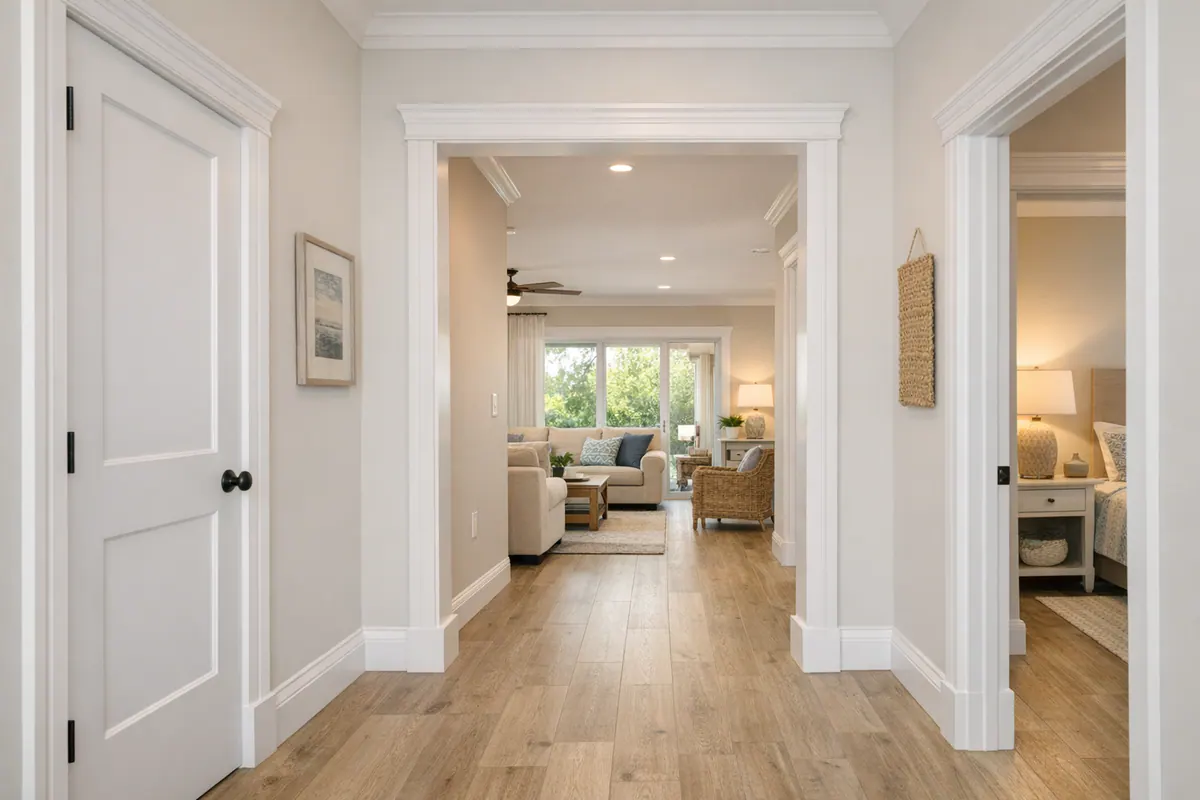
Door and Window Trim That Makes North Port Homes Feel Finished
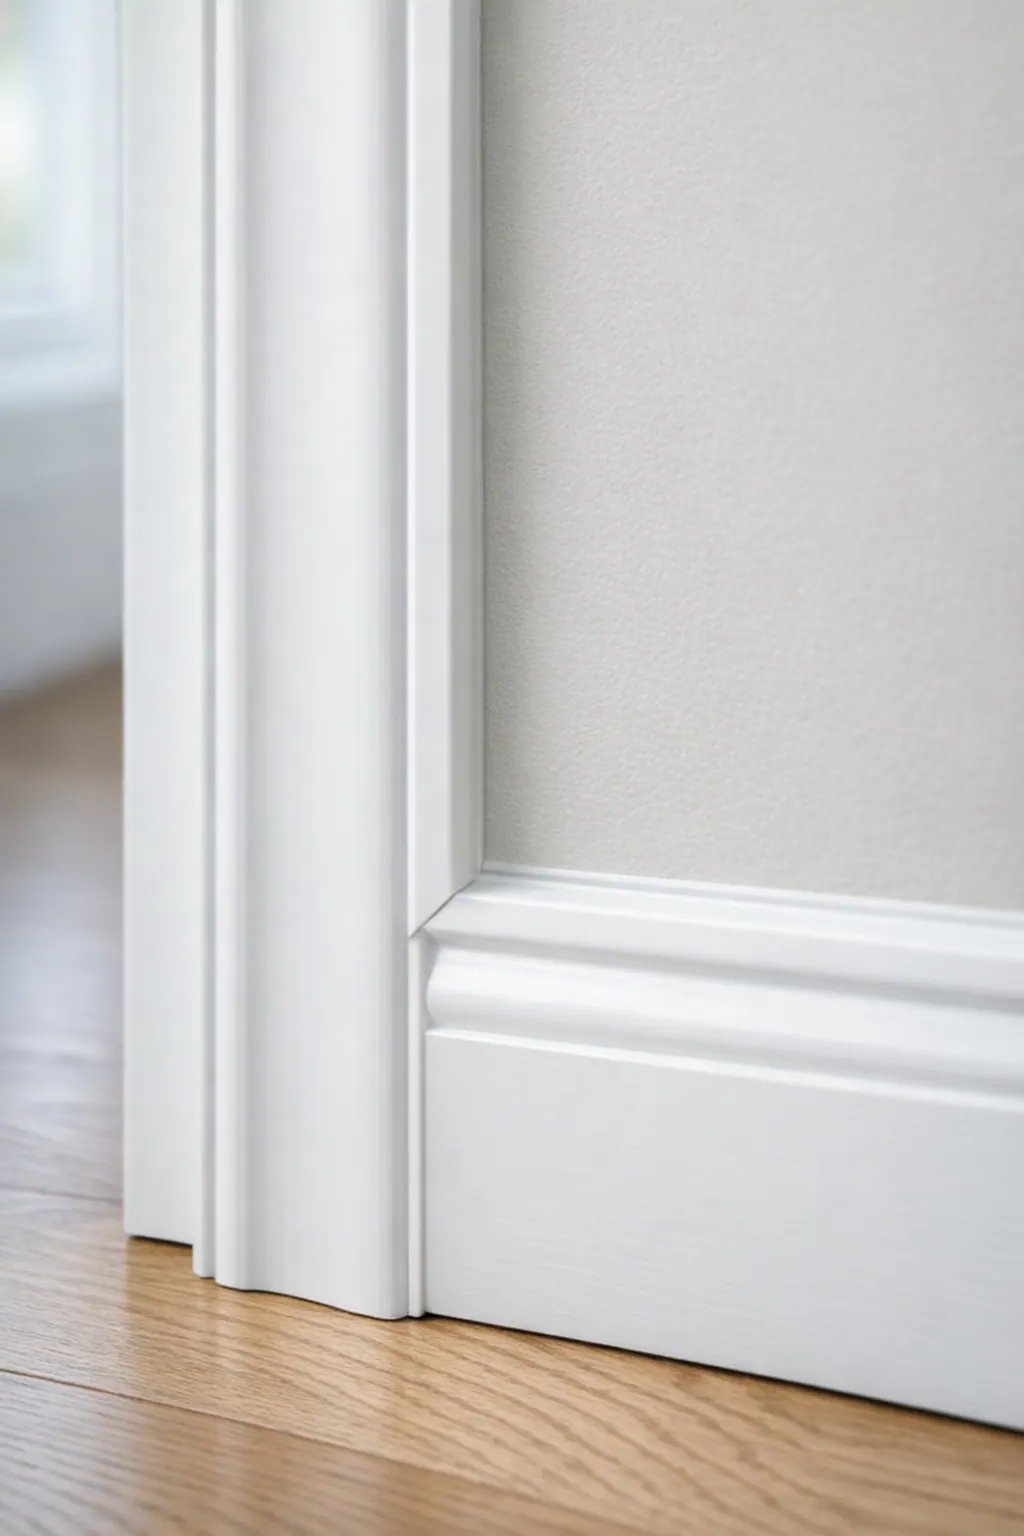
Start at the junction where casing meets the baseboard: a clean, proportionate transition makes an ordinary opening feel designed, while an abrupt mismatch can make even new paint look unfinished. Upgrading builder-grade interior casing changes the framework around existing doors and windows; it does not mean replacing the units themselves. Consistent reveals, well-fitted corners, appropriate jamb extensions, and paint-ready caulk lines are the details that make the millwork read cleanly.
This page covers simple interior casing, streamlined modern profiles, Craftsman-inspired assemblies, and decorative surrounds for focal windows or prominent openings. Modern trim uses flatter, uncluttered lines for a restrained look. Craftsman casing adds wider boards and stronger horizontal-and-vertical geometry, giving an opening more presence. Decorative surrounds layer profiles or headers to create greater visual weight, best reserved for areas that need to stand out.
A cohesive plan matters as much as any individual profile. Matching casing widths, repeating compatible details at doors and windows, and transitioning neatly into baseboards help separate rooms feel connected rather than upgraded one opening at a time. Material and paint choices can then support the same finished look throughout the home.
What Door and Window Trim Includes
A complete trim assembly starts at the gap where the finished wall meets the door or window jamb, the built-in lining of the opening. Casing is the face trim that covers that transition. Door casing typically runs down both sides of the jamb and across the top, creating a clean frame around a passage or a hinged door. In door casing installation, the visible gap between the inside edge of the casing and the jamb is called a reveal; keeping that narrow line even makes the frame look deliberate rather than wavy.
Window casing North Port homeowners choose can use the same side-and-top framing, but a window often needs a few additional parts. If the jamb sits back from the wall surface, a jamb extension brings it flush so the casing has a proper surface to meet. A header is the horizontal trim at the top. At the bottom, a stool projects into the room like a shallow interior sill, while an apron is the trim board directly below it. These pieces give a window more visual structure than a typical door opening needs.
Some assemblies add backband, a secondary molding applied around the outside edge of casing to create depth and shadow lines. Optional plinth blocks sit at the bottom of door casing, providing a larger transition point where the vertical trim meets the baseboard. Traditional casing often uses mitered corners, where two 45-degree cuts meet at the top; crisp, closed miters and straight reveal lines are visible signs of careful fitting.
The practical starting point is to assess each opening's jamb depth, wall condition, and nearby baseboard. That determines whether simple casing will finish the opening cleanly or whether extensions, a stool-and-apron detail, or a more built-up surround makes sense.
Choose a Casing Style That Fits the Home
The profile selected for an opening sets its visual weight: how quiet or prominent the frame feels against the wall. Streamlined modern trim uses flat stock or a simple squared-edge profile, usually with little ornament and a narrow, even shadow line. Square corners or a clean horizontal top piece reinforce that geometry. It fits contemporary rooms, low-contrast paint schemes, and spaces where the door or window should feel integrated rather than framed as a feature. A very narrow profile can look under-scaled beside tall ceilings, wide baseboards, or substantial crown molding.

Traditional mitered casing has a shaped edge, often a small bead, eased curve, or stepped contour, and 45-degree corners at the top. The profile brings a softer, more familiar detail without making the opening overly formal. It works well in many established interiors because it can relate naturally to existing rounded baseboards or crown. The key is proportion: casing should have enough width to read from across the room, while the header should not appear heavier than the vertical legs. Closed miters, aligned profile lines, and a clean baseboard transition keep this classic approach looking intentional.
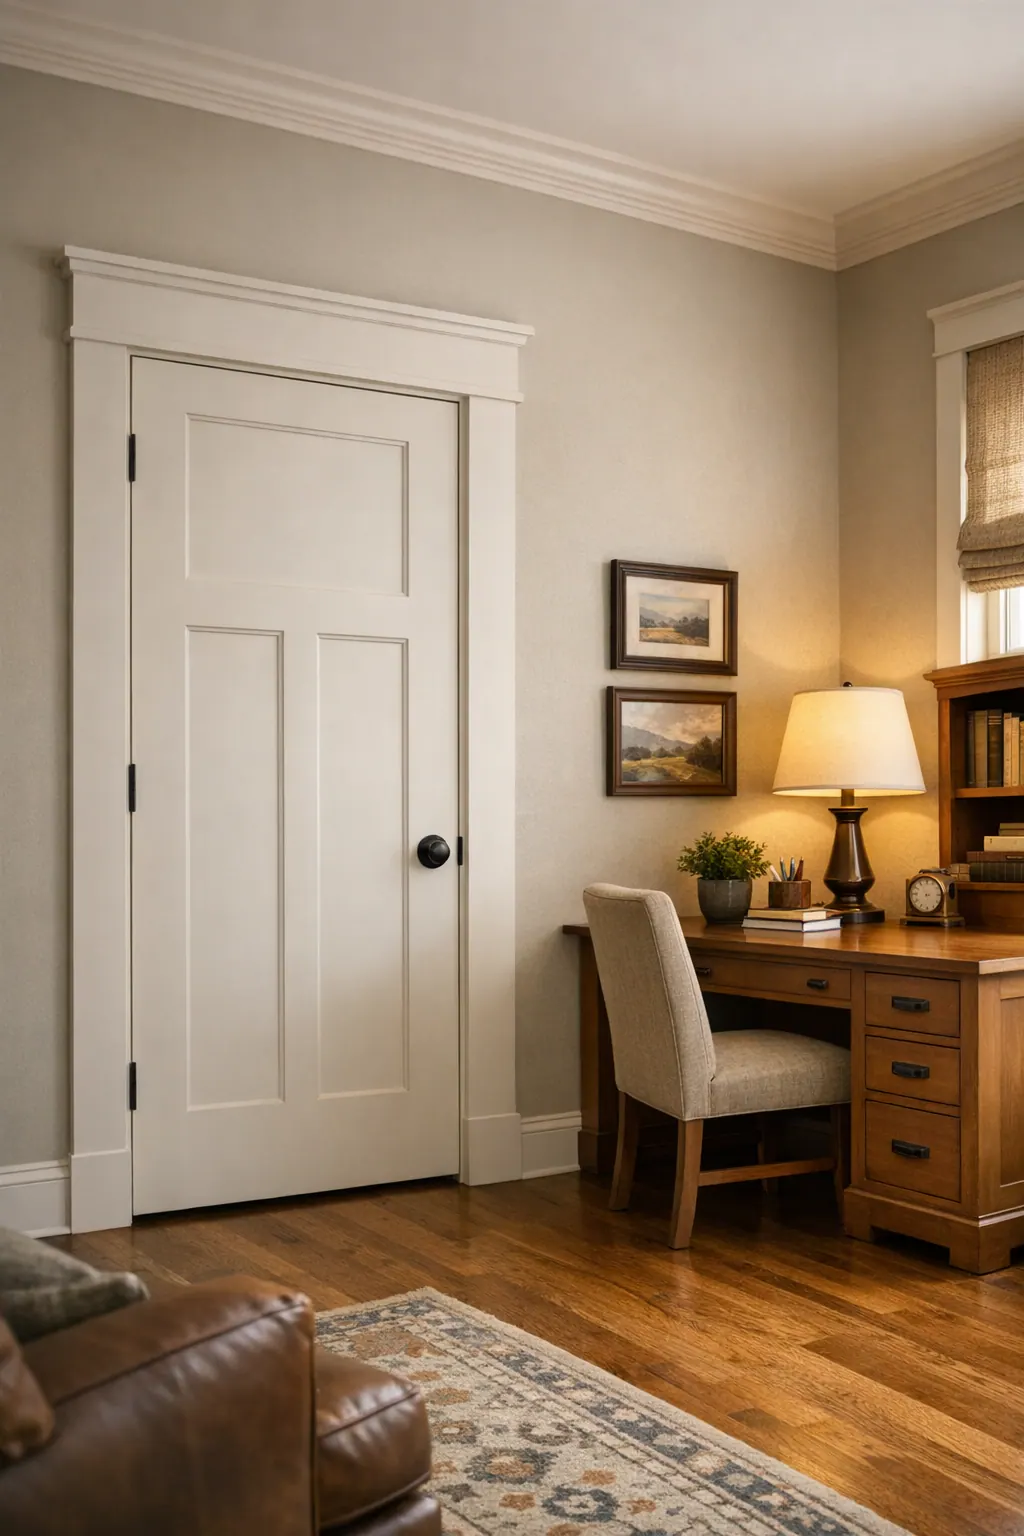
Craftsman casing takes a bolder, more architectural route. Rather than relying on curved molding and miters, it typically uses flat vertical boards capped by a wider built-up header, with square-cut joints and clear horizontal lines. This style gives doors and windows stronger presence and can suit homes with warm wood tones, simple geometry, or a desire for more substance around standard openings. Craftsman casing needs enough wall space and room scale to support its header; a large cap over a small window or in a compact hallway can feel top-heavy.
Decorative profiles add depth through layered casing, backband, or a more pronounced header treatment. They are often most effective on a focal window, entry passage, dining room opening, or other area that can carry extra detail. Used everywhere without regard for scale, ornate trim can compete with the room instead of supporting it. For custom trim North Port homeowners can compare profile samples beside their existing baseboards, crown, doors, and paint colors before choosing a direction. That side-by-side view makes it easier to spot a good fit: the casing feels related to nearby millwork, its header has a believable width, and the amount of detail matches the home rather than overpowering it.
Decorative Window Surrounds for Focal Areas
A focal window earns extra trim when it already anchors the room: the broad opening behind a dining table, a paired window in a living room, or the window visible from an entry. Decorative window surrounds give that opening a stronger visual boundary without asking every smaller bedroom or hallway window to carry the same weight.

A built-up header adds layers above the window, often a wider flat board, cap, or stepped molding, so the top reads as an architectural feature rather than a simple horizontal casing piece. Backband adds a secondary outer edge around the casing, creating a controlled shadow line and more depth. Either choice can give a standard-size window greater presence, but the header width and projection should suit the wall area around it. A surround that nearly reaches the ceiling or crowds neighboring openings can feel oversized rather than intentional.
For windows where a more furniture-like treatment fits, a stool-and-apron combination changes the lower edge as well as the sides and top. The stool forms the interior ledge at the sill; the apron is the trim board directly beneath it. Together, they create a grounded finish that works especially well in dining rooms, living spaces, and other rooms where the window is meant to read as a feature. A strong installation keeps the apron centered below the stool, aligns header and side-casing lines, and leaves joints, caulk lines, and paint transitions clean rather than distracting.
Decorative does not have to mean ornate. In a modern interior, restrained decorative window surrounds can use square-edged stock, a shallow backband, and a simple layered header with no curved profile. The effect comes from proportion and crisp shadow lines, not extra ornament. Comparing a drawing or visual mockup against the actual window, ceiling height, and nearby openings helps show whether the planned surround adds focus, or simply makes the room feel crowded.
MDF, Solid Wood, and Installation Details That Matter in Florida
Material choice changes both the appearance of the paint finish and how well the trim suits its location. Paint-grade MDF is an engineered, smooth-faced material that produces crisp, consistent profiles and paints evenly, making it a practical fit for dry, conditioned rooms such as bedrooms, halls, and living areas. It is generally a more budget-conscious painted option than solid wood trim, but its edges can be vulnerable to damage and it is not the automatic choice where repeated moisture exposure is likely.

Solid wood trim brings natural grain, stronger edge durability, and the option to stain or paint. It can be a good choice for details that may take everyday bumps, for stain-grade work, or where a particular wood character is part of the design. The tradeoff is a higher material cost and natural variation from board to board; a finish carpenter in North Port, FL can select and place pieces so the visible grain and joints look considered rather than random.
Bathrooms, laundry areas, and interior openings near exterior doors deserve a location-specific material plan. Moisture-resistant trim products can offer a more suitable painted option in these higher-humidity areas, while the exact product should match the room conditions and intended finish. Reviewing actual samples with the planned paint sheen makes the difference in edge sharpness, surface smoothness, and profile definition easier to see before installation begins.
The details at the wall matter as much as the board itself. Trim should be allowed to adjust to the interior environment when appropriate, fastened securely, and set to a uniform reveal along each jamb. A strong result has tight miters or clean square joints, jamb extensions that bring recessed jambs flush with the wall plane, and baseboards that terminate neatly against casing instead of leaving an awkward gap.
Before paint, nail holes and joints need filling and sanding, and the small wall-to-trim seam needs a smooth, controlled caulk line. Good paint preparation makes the assembly read as one finished frame; rushed caulk, uneven reveals, or shifting transitions around an existing jamb remain visible even under fresh paint.
Create a Cohesive Trim Plan Throughout the Home
Think of the hallway as the test of a trim plan: doors, nearby windows, and adjoining rooms should feel related at a glance, even when they do not all receive the same level of detail. A consistent profile family and paint color create that connection. Casing width should also have enough visual presence beside the baseboards; a narrow, plain frame can feel disconnected next to a tall, substantial baseboard, while an overly broad casing can crowd a small room or low ceiling.
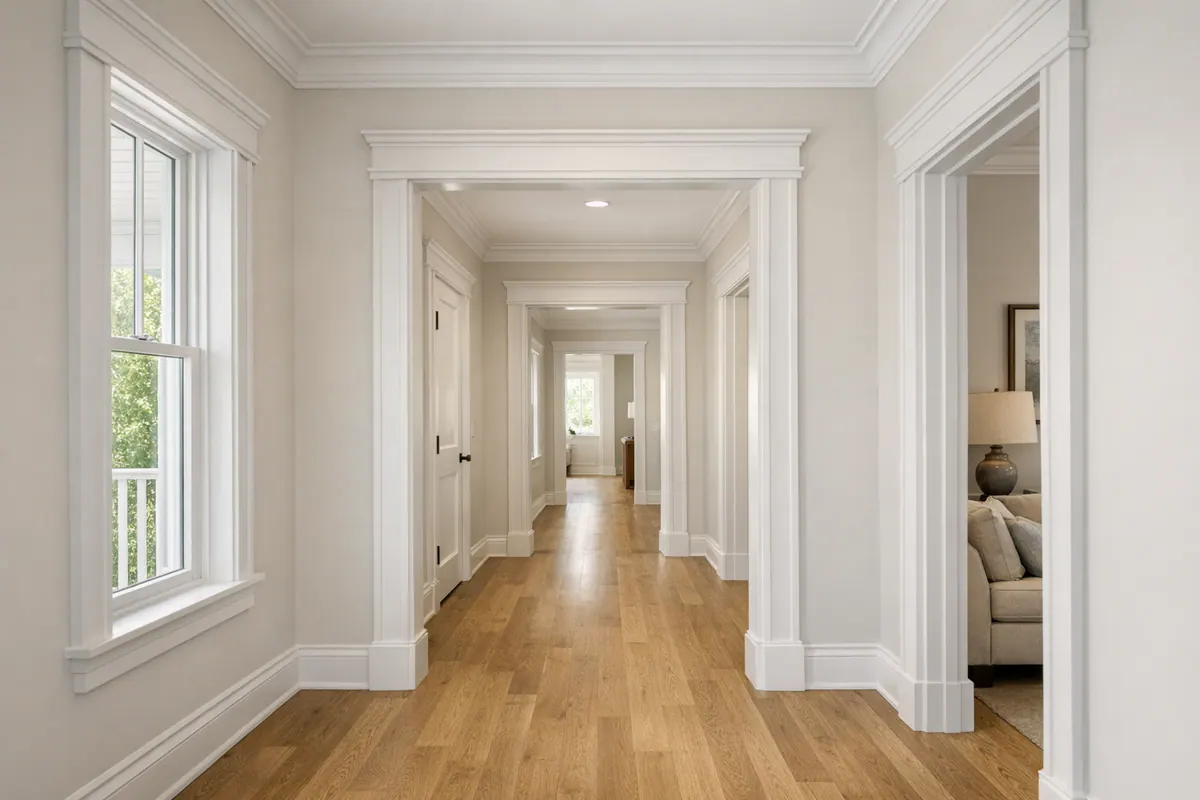
Scale sets the hierarchy. Taller doors and high-ceilinged public rooms can support wider casing, a stronger header, or crown moulding with more projection. Standard bedrooms and secondary windows can use the simpler version of the same profile family. For example, square-edged casing throughout a home may gain a layered header only at an entry-facing living-room window. The feature reads as intentional because its underlying lines, color, and proportions still relate to the everyday openings.
Paint is another unifier. Matching trim paint across room-to-room transitions lets doors, windows, baseboards, and crown read as one system; a contrasting color makes the millwork more graphic and asks for especially disciplined alignment. A useful interior trim North Port FL plan starts with a trim schedule: a room-by-room list identifying the standard casing, feature surrounds, baseboards, crown, and paint finish.
For phased upgrades, establish that schedule before the first room is trimmed. Begin with the most visible shared areas, then carry the same casing width, profile, and paint specification into later rooms. Keep samples or offcuts for comparison so a future feature window adds emphasis without introducing an unrelated design language.
Plan Your Door and Window Trim Upgrade
Bring photos of the rooms you want to improve and a few examples of the look you prefer. A productive consultation for door and window trim in North Port, FL starts with measuring each opening, noting jamb depth and wall conditions, and looking at the baseboards, crown, doors, and nearby windows that the new work must meet. It also clarifies whether the priority is a close match to existing millwork or a coordinated upgrade with a new visual direction.
Discuss the preferred profile, material, paint sheen, and level of detail, from simple square casing to a Craftsman header or a focal-window surround. Portfolio images help turn broad style preferences into clear choices about width, layering, and proportion. A finish carpenter in North Port, FL can then prepare a written, scope-specific quote that identifies the trim components, selected materials, finish expectations, and installation work. Request a tailored estimate after the openings and site conditions have been assessed.
Plan the next step
Compare the broader Door and Window Trim service.
Review the North Port, FL service area for local planning context.
When you are ready, request a free estimate with the rooms, trim goals, city, and available photos.
FAQs
What is the difference between door casing and window casing?
Door casing covers the gap between the finished wall and the door jamb, running up both sides and across the top. Window casing uses similar side and top trim but may also include jamb extensions, a header, a projecting stool, and an apron below the sill.
Can new trim be installed around existing doors and windows?
Yes. Upgrading interior casing changes the framework around existing doors and windows without replacing the units themselves. The installation should account for jamb depth, wall condition, baseboards, and a consistent reveal between the casing and jamb.
What door and window trim styles work best in North Port homes?
Modern trim uses flat or square-edged stock with restrained lines, while traditional casing uses shaped profiles and 45-degree mitered corners. Craftsman casing uses wider flat boards with a built-up header and square joints, and layered decorative surrounds work best on focal openings.
Is MDF or solid wood better for interior door and window trim in Florida?
Paint-grade MDF provides a smooth, consistent painted finish and works well in dry, conditioned rooms such as bedrooms, halls, and living areas. Solid wood offers stronger edges, natural grain, and stain-grade options, while moisture-resistant trim products are better suited to bathrooms, laundry areas, and openings near exterior doors.
What should I look for when choosing a finish carpenter for door and window trim in North Port?
Ask for a scope-specific written quote that identifies trim components, selected materials, finish expectations, and installation work. The carpenter should measure each opening, assess jamb depth and wall conditions, and coordinate the casing with existing baseboards, crown, doors, paint sheen, and nearby windows.