

Uneven gaps, cracked joints, or a swollen interior sill can make an otherwise updated room look unfinished. Finish carpentry corrects those opening details as part of a renovation, a paint-ready refresh, resale preparation, or a targeted repair in an Osprey home.
Door surrounds frame an entry with side and header casing; window trim frames the opening, while a sill creates the lower ledge and an apron is the board beneath it. Each piece affects the visual weight and proportion of the opening. When profiles or finishes were added at different times, even a well-kept room can look pieced together.
Paint alone rarely solves trim that has shifted away from the wall, deteriorated material, or poorly matched additions. Moisture around vulnerable window areas, settling, and earlier remodeling work can leave visible inconsistencies. A repair may make sense for an isolated seam or small surface defect; replacement is often the cleaner option when a profile cannot be matched or pieces no longer fit properly.
Professional door and window trim in Osprey, FL is visible in the details: consistent reveals around openings, tight aligned joints, securely fitted sills, and clean transitions into walls and baseboards. Proper filling, caulking, and sanding leave the opening paint-ready rather than simply covered up.
What Door and Window Trim Includes
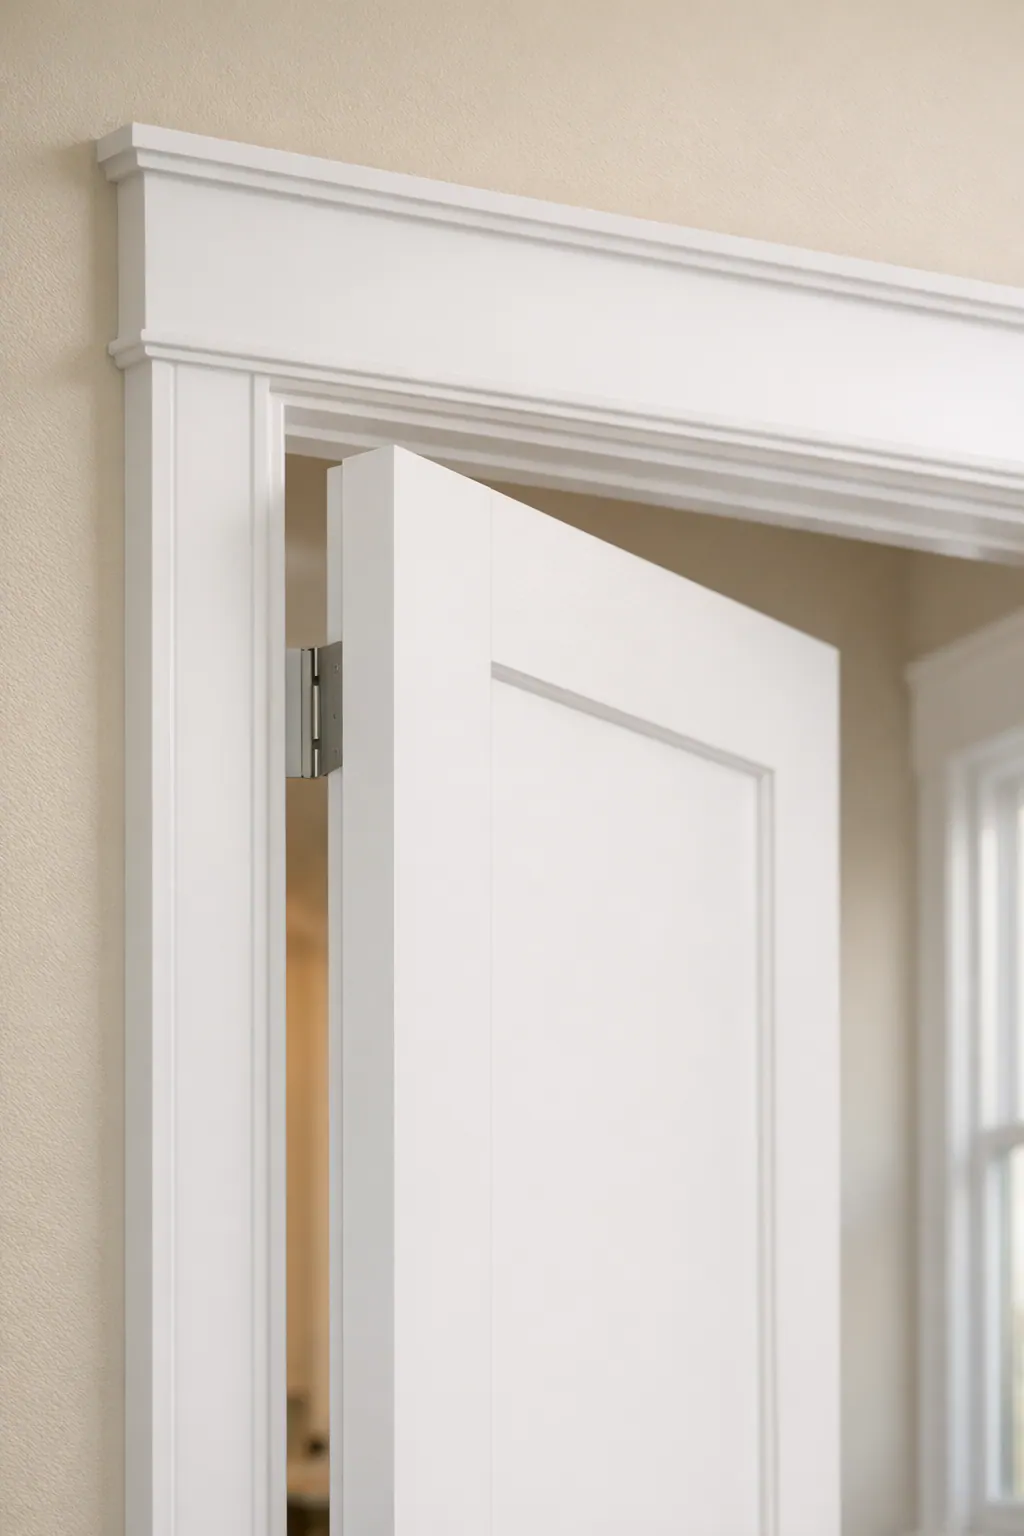
A door opening is usually a small system of parts rather than one piece of molding. The door jamb is the built-in frame that the door closes against. If the wall is deeper than that frame, a jamb extension fills the gap so the finished surface reaches the wall cleanly. A door surround trim then covers the perimeter: vertical side casing runs alongside the jamb, while header casing spans across the top. Together, those pieces hide the joint between wall and frame and give the doorway a deliberate outline.
Windows use a related arrangement, but the lower portion has its own layers. Window casing is the trim around the sides and top of the opening. The sill is the horizontal lower ledge, creating a finished edge at the bottom of the window. Below it, the apron is the decorative board on the wall face. In practical terms, casing frames the opening, the sill finishes its bottom plane, and the apron visually anchors the assembly. Matching their profile, thickness, and proportion to nearby door trim helps a room read as one coordinated interior rather than a series of unrelated updates.
Baseboards complete the connection at floor level. They may run into the side casing with a tidy joint, end against a thicker plinth-style block, or step into the casing through a shaped transition. The best choice depends on the existing trim language and how much visual weight the doorway needs; a tall, detailed casing can look abrupt beside a very thin baseboard without a considered transition.
Homeowners can choose a complete assembly for a renovation or new paint plan, including jamb extensions, casing, sill, apron, and baseboard connections. Individual work also has a place: replacing one damaged sill, repairing a localized apron seam, or adding a missing jamb extension can improve a specific opening without changing every piece of trim in the room.
What Professional Trim Installation Looks Like
Precision begins before the first piece is cut. A trim carpenter measures the opening, checks whether the jamb sits flush with the wall, and looks for walls that bow, taper, or fall out of square. The reveal, the narrow, intentional strip of jamb left visible beside casing, should be balanced and consistent from one side to the other. That even spacing gives door and window trim a calm, centered appearance; a reveal that wanders makes an otherwise new installation look improvised.

Replacement windows and doors can expose a wall-depth mismatch. When the jamb ends short of the finished wall surface, a jamb extension brings the frame outward so casing has a flat, solid plane to meet. This is a correction to the opening itself, not a gap to hide with a thick bead of caulk. For uneven walls or nonstandard openings, careful fitting may include scribing a piece to the wall, shimming behind trim where appropriate, or adjusting the assembly so the face remains straight and the casing is not forced into a wave.
At corners, clean work shows in the joinery. Miter joints are the angled connections commonly used where casing changes direction, while coped transitions are shaped connections that let one profiled piece nest tightly against another. Both should meet cleanly, align across the profile, and remain secure after fastening. Vertical casing legs should be plumb-looking and equal in height, while the header should sit level and carry the same reveal on both sides.
Window details deserve the same attention. A sill should fit tightly at the jambs and wall, with neatly aligned returns rather than gaps filled heavily with caulk. Where casing meets baseboard, the transition should look intentional, whether the baseboard dies into the casing or steps through a block. Filling small nail holes, caulking minor paint joints, and sanding for paint are finishing steps. Open miters, split trim, uneven casing legs, or wide caulk-filled gaps are signs that fitting was used to conceal a problem instead of solve it. For door trim installation in Osprey, those visible details are what separate a polished opening from a merely covered one.
Choosing a Trim Style and Material for Your Home
Style choices work best when they relate to the rest of the room rather than treating each opening as a separate project. Simple flat stock has straight, square edges and a quieter, more contemporary look; it can also suit modest rooms where wider or ornate trim would feel heavy. Profiled casing adds shaped edges, steps, or curves that create more shadow and formality. Match an existing profile when adjacent doors, windows, and baseboards are in good condition and already establish a consistent look. A coordinated room update makes more sense when replacement pieces would noticeably conflict with dated or mismatched millwork.
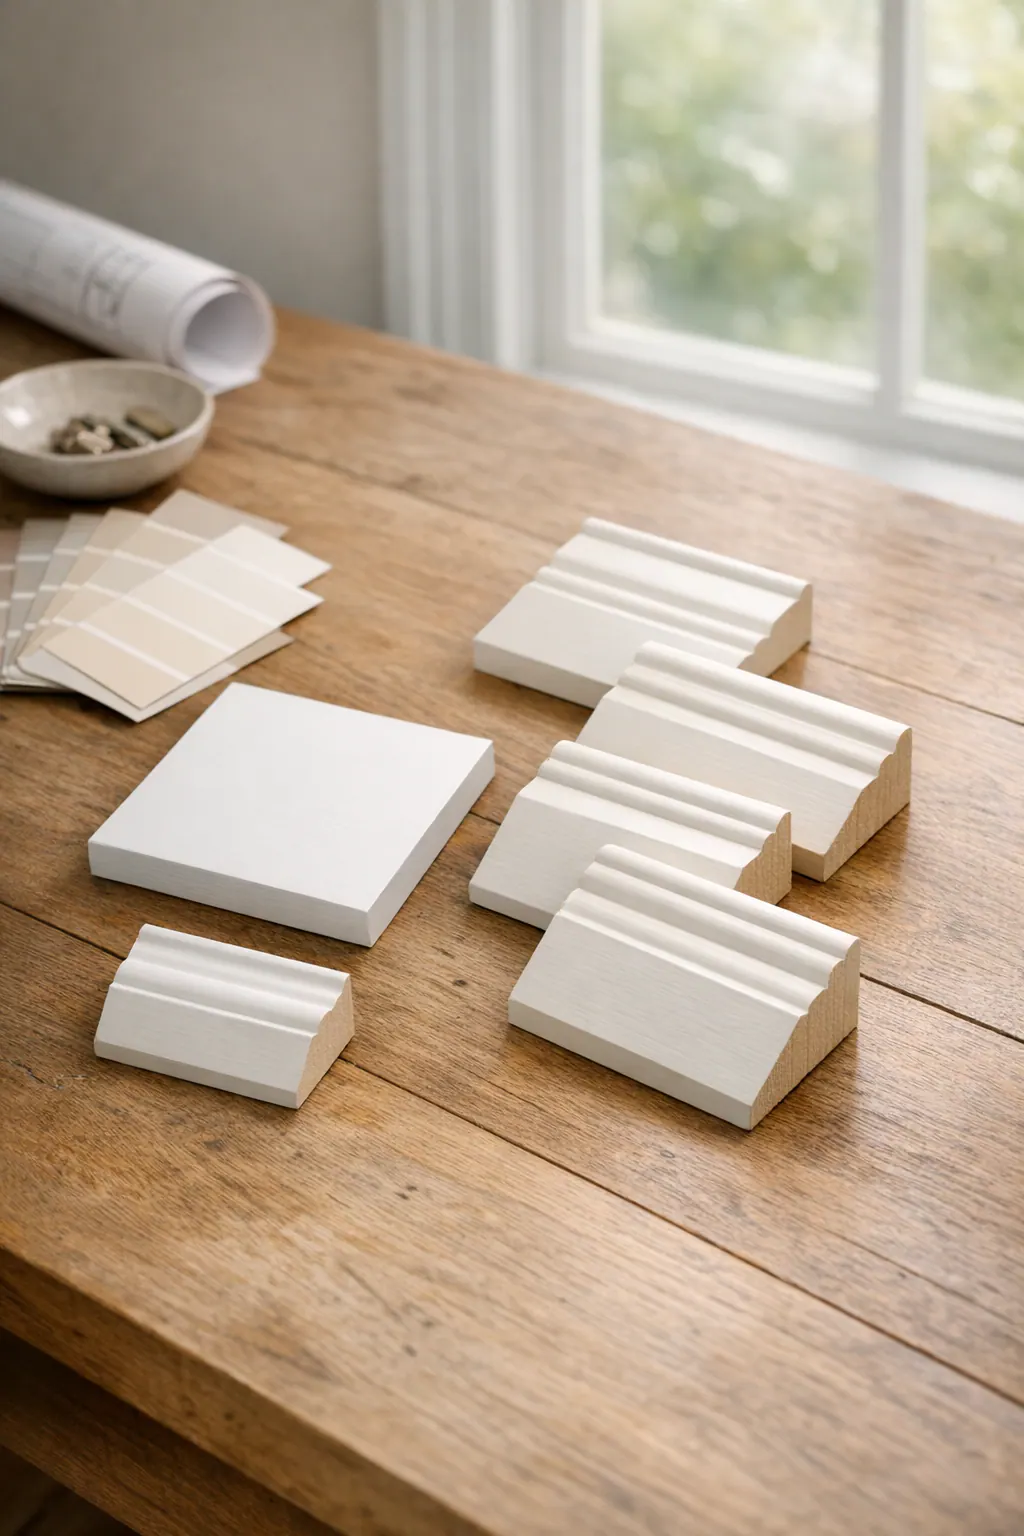
Compare more than the face pattern before selecting interior door and window trim. Casing width and thickness affect how substantial an opening appears, while the reveal, baseboard height, door style, and paint sheen determine whether the pieces look like one system. For example, a broad, detailed casing beside a thin, plain baseboard can look unbalanced unless the transition is intentionally designed. Carrying one profile and finish through connected spaces usually creates a calmer result; a distinct style can work in a separate room when it has a clear architectural reason.
Finish plans narrow the material decision. Paint-grade trim is intended for an opaque painted surface, making it a practical choice when a smooth, uniform color is the goal. MDF offers a consistent, paint-ready face for stable, dry interior locations, while solid wood can be shaped, repaired, and selected for stain-grade work where its natural grain is meant to remain visible. Stain-grade trim demands more visual consistency because grain, color variation, and joints remain on display. PVC trim is a nonwood option often considered for interior areas near exterior doors or window sills where incidental moisture is a concern; its appearance and finishing approach should still suit the surrounding millwork. Material selection does not correct an active leak or ongoing water intrusion around an opening.
For interior trim in Osprey, FL, bringing photos or a small sample of nearby casing, baseboard, and door finish helps turn a general preference into a coordinated selection. The strongest result is not necessarily the most elaborate profile or the most expensive material, it is trim whose scale, finish, and details belong together from the opening to the adjoining wall.
Trim Repair or Replacement: Making the Right Call
A repair decision starts with whether the piece is still stable and able to sit correctly against the jamb and wall. Minor dents, small surface cracks, nail holes, limited paint damage, and a casing joint that has opened slightly can often be addressed without replacing the whole assembly. A sound repair means more than covering the mark: loose material is resecured, separated joints are brought back into alignment, gaps are filled appropriately, and the surface is sanded for a paint-ready finish.
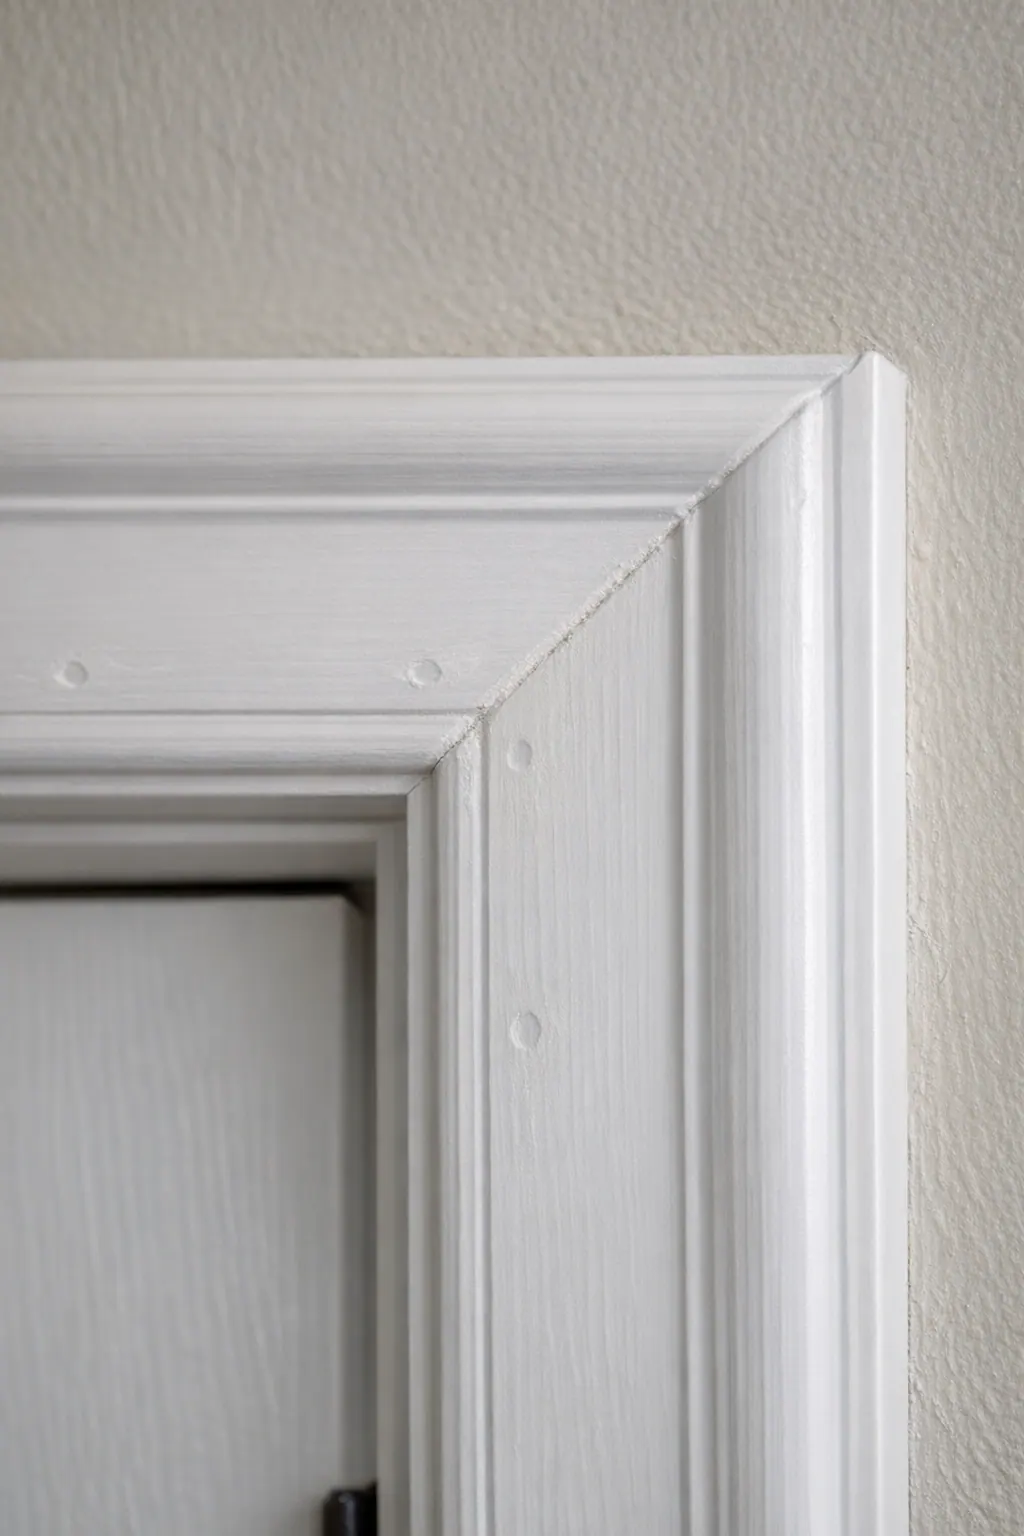
Replacement becomes the stronger option when damage changes the shape or holding strength of the trim. Substantial swelling, rot, extensive splitting, severe warping, missing sections of a profile, or casing that cannot maintain a tight fit can leave an opening looking uneven even after patching. In those cases, replacing the affected casing, jamb trim, apron, or sill creates a stable surface that can be fitted with consistent reveals and clean wall transitions. For trim repair in Osprey, the goal is not simply to hide damage; it is to restore an opening that looks properly assembled.
A damaged window sill does not always require rebuilding the entire window surround. Targeted window sill and apron installation can replace the lower components while retaining sound side and header casing, provided the new pieces can blend cleanly with the profile and finish. When swelling or deterioration appears near a window, the moisture source should be identified and addressed before new material goes in. Otherwise, even carefully fitted interior trim repair in Osprey may be exposed to the same conditions again.
An on-site review makes the distinction clearer: intact trim with localized flaws is a candidate for careful repair, while compromised or poorly fitting material is usually better replaced. The finished result should show secure attachment, aligned joints, smooth filled areas, and no reliance on thick caulk to disguise a failed fit.
Planning Door and Window Trim Work in Osprey
Planning starts by looking at the room as a whole, not just at the most damaged opening. Reviewing adjacent baseboards, door slabs, wall surfaces, and existing profiles helps determine whether a new piece should blend in or whether several openings should be updated together. Grouping related doors and windows is especially useful when consistent sightlines and clean transitions matter across a living area, hallway, or bedroom.
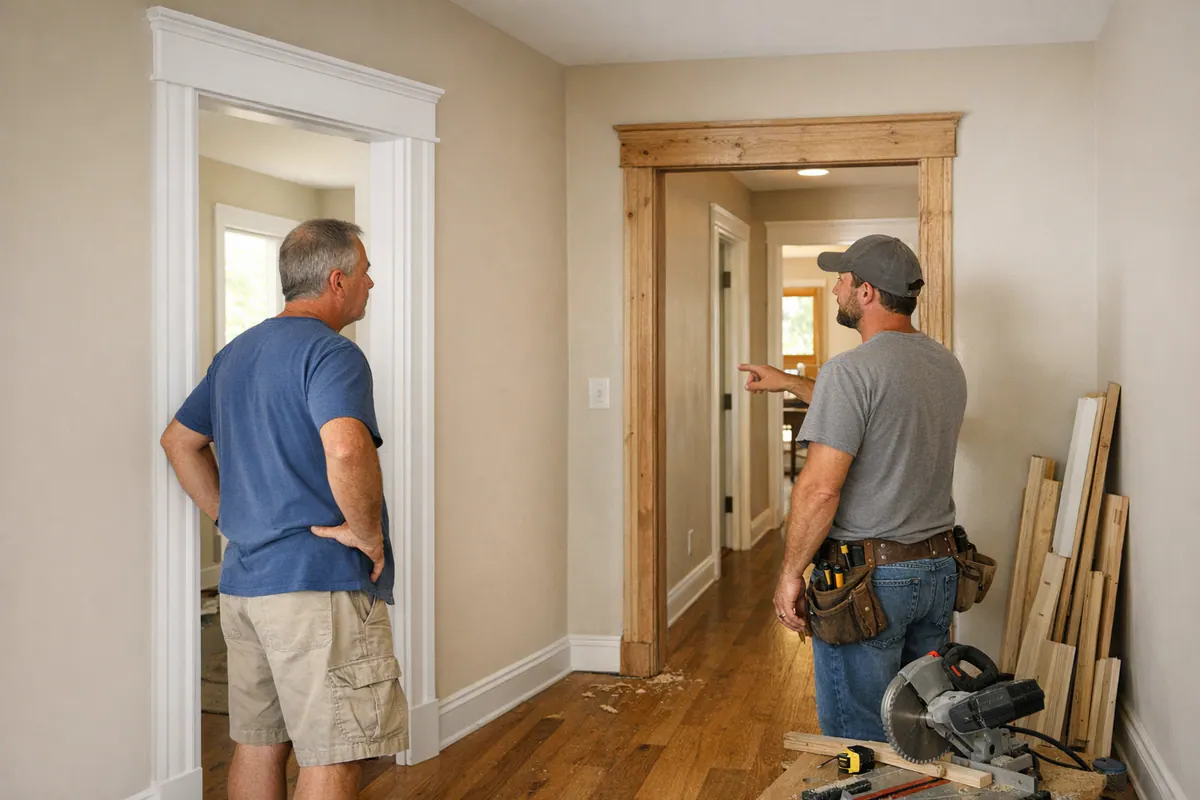
Next, decide which pieces are being retained, repaired, or replaced, then select the casing profile and material around the finish plan. Paint-grade trim is chosen to be filled, caulked, primed, and painted for a uniform color; stain-grade material is selected for its visible grain and needs more careful color and grain matching. Measurements should account for each opening's width, height, wall depth, and any jamb extensions needed to bring the frame flush with the finished wall.
Installation scope varies with the number of openings, profile complexity, uneven walls, custom profile matching, repair work, and the amount of filling and sanding needed before paint. For door and window trim in Osprey, FL, it also helps to coordinate the sequence with other interior work: complete wall repairs and major painting preparation first, fit the trim, then caulk, fill, sand, and finish the new millwork for a clean final edge.
Refresh Your Door and Window Openings With Finished, Coordinated Trim
When you are ready to tighten up the details, a trim carpenter in Osprey, FL can assess a single problem opening or a coordinated group of doors and windows. New interior casing can bring consistency to a room; a replacement door surround can correct a mismatched or damaged entry; and sill and apron work can give a window a cleaner lower edge. Targeted repair remains a practical choice when the surrounding trim is worth preserving.
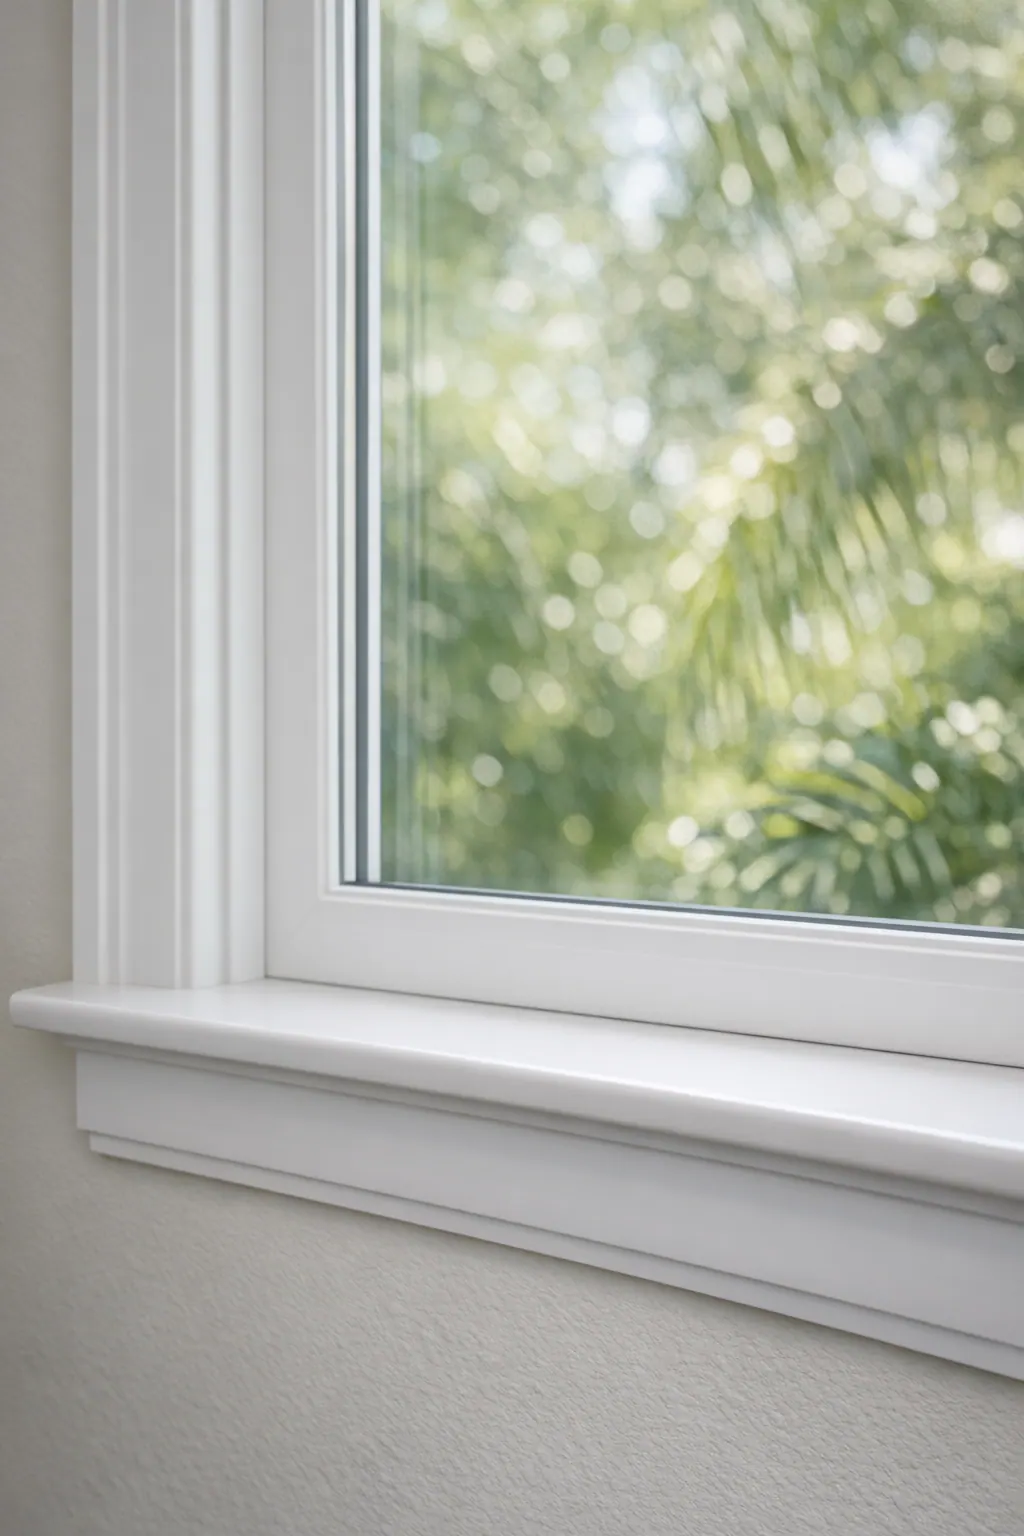
A well-fitted result is easy to recognize: lines sit evenly around the opening, joints meet cleanly, sills feel secure, and the trim transitions smoothly into the wall and nearby baseboard. Filling, caulking, and sanding should leave paint-grade work ready for its final coat rather than drawing attention to seams or gaps.
For door and window trim in Osprey, FL, share a few photos of each opening, approximate measurements, the number of doors or windows involved, and any visible swelling, cracks, loose pieces, or prior repairs. Include photos of trim you want to match and describe the room's finish goals, such as blending with existing millwork or creating a more unified look, so the scope can be evaluated appropriately.
Plan the next step
Compare the broader Door and Window Trim service.
Review the Osprey, FL service area for local planning context.
When you are ready, request a free estimate with the rooms, trim goals, city, and available photos.
FAQs
What is the difference between window casing, a sill, and an apron?
Window casing trims the sides and top of the opening. The sill is the horizontal lower ledge, while the apron is the decorative board mounted on the wall directly below the sill.
What is a jamb extension and when is one needed?
A jamb extension fills the space between a door or window jamb and the finished wall when the frame sits short of the wall surface. It creates a solid, flush plane for the casing instead of relying on a wide bead of caulk to hide the mismatch.
What should quality door and window trim installation look like?
Quality installation has consistent reveals around the opening, level headers, equal-height casing legs, and tight aligned miter or coped joints. Sills should fit securely at the jambs and wall, with small nail holes filled, minor paint joints caulked, and surfaces sanded paint-ready.
Can a trim carpenter replace a window sill damaged by moisture?
Yes, a carpenter can replace a damaged sill and apron while retaining sound side and header casing if the new pieces can match the existing profile and finish. The moisture source must be identified and corrected before installing replacement material so the damage does not recur.
Should damaged door casing be repaired or replaced?
Repair is appropriate for stable trim with minor dents, nail holes, small cracks, limited paint damage, or a slightly opened joint. Replacement is the better choice for swollen, rotten, severely warped, extensively split, missing, or poorly fitting casing that cannot hold a tight, aligned fit.