
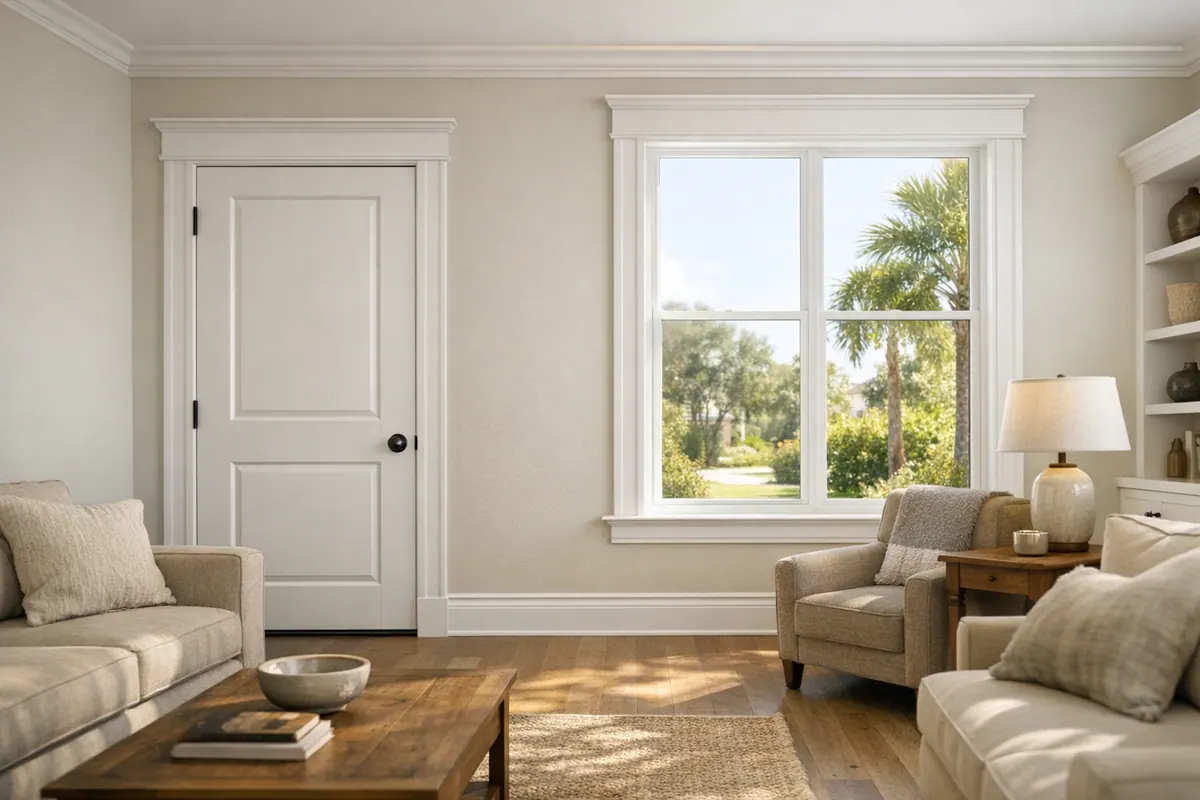
Door and Window Trim That Makes Each Opening Feel Intentional
The casing line should sit evenly around an opening, with clean corners and a deliberate transition from the jamb to the wall. It covers that joint, but it also determines the opening's visual weight, formality, and relationship to the rest of the room.
That distinction matters when an established interior is being refreshed one room at a time. Replacing thin, damaged, or mismatched casing with a deliberate profile can make an existing opening read as cleanly planned rather than merely covered. In a broader renovation, the same decision becomes a way to carry one millwork language through halls, bedrooms, living areas, and adjoining sightlines.
A simple square-edge casing creates a quieter, more contemporary outline, while a stepped or layered casing adds shadow lines and a more traditional sense of depth. Width matters, too: casing that is too narrow can look lost beside tall walls or substantial baseboards, while an overly elaborate profile can compete with a modest room. The goal is proportion, not ornament for its own sake.
This guide walks through profile choices, material and paint or stain considerations, clean reveals and joints, wall and jamb conditions, and the relationships among casing, baseboards, crown molding, and built-ins. Those details are what turn individual upgrades into a coordinated interior.
Understanding Casing Profiles, Reveals, and Layered Trim Details
Profile choices become easier to read when each piece has a clear role. Flat-stock casing is a plain board with square or lightly eased edges; it gives doors and windows a crisp, restrained border. Molded casing adds a shaped face for more contour and shadow. A header casing is the horizontal piece across the top of an opening, while a jamb extension brings a recessed jamb flush with the finished wall so the casing has a clean surface to meet.

The small, intentional gap between the jamb edge and casing is the reveal. Keeping that line even around an opening makes the work look measured rather than improvised. A stepped assembly uses more than one trim plane to add depth; backband is a narrow molding applied around the outside of casing to create an additional shadow line and a more traditional, built-up appearance. These details can suit formal rooms or homes with existing layered millwork, but a backbanded door casing in Palmer Ranch can feel disconnected if nearby baseboards remain thin and plain.
At the floor, a plinth block is a taller, squared block that lets door casing terminate neatly into the baseboard instead of forcing unlike profiles into an awkward joint. For windows, a stool is the interior ledge at the bottom of the opening, and an apron is the trim directly beneath it. That combination gives a window a furniture-like presence; it is most convincing when the window's proportions and surrounding millwork support it. Whether the choice is simple flat casing or a layered window casing Palmer Ranch renovation, straight alignment, tight corners, and continuous reveal lines will do more for the finished impression than ornament added without a larger profile plan.
Choose Trim Style and Proportions for the Home, Room, and Opening
Start by reading the room's scale rather than choosing a favorite profile in isolation. Ceiling height, wall width, the size of the opening, and the millwork visible from adjoining rooms all affect how much visual weight the casing can carry. In a room with modest ceilings and compact doors or windows, a wide, heavily built-up surround can consume too much wall area and make the opening feel crowded. In a taller room with broad walls, very narrow casing may fade into the background and leave the opening looking underfinished.
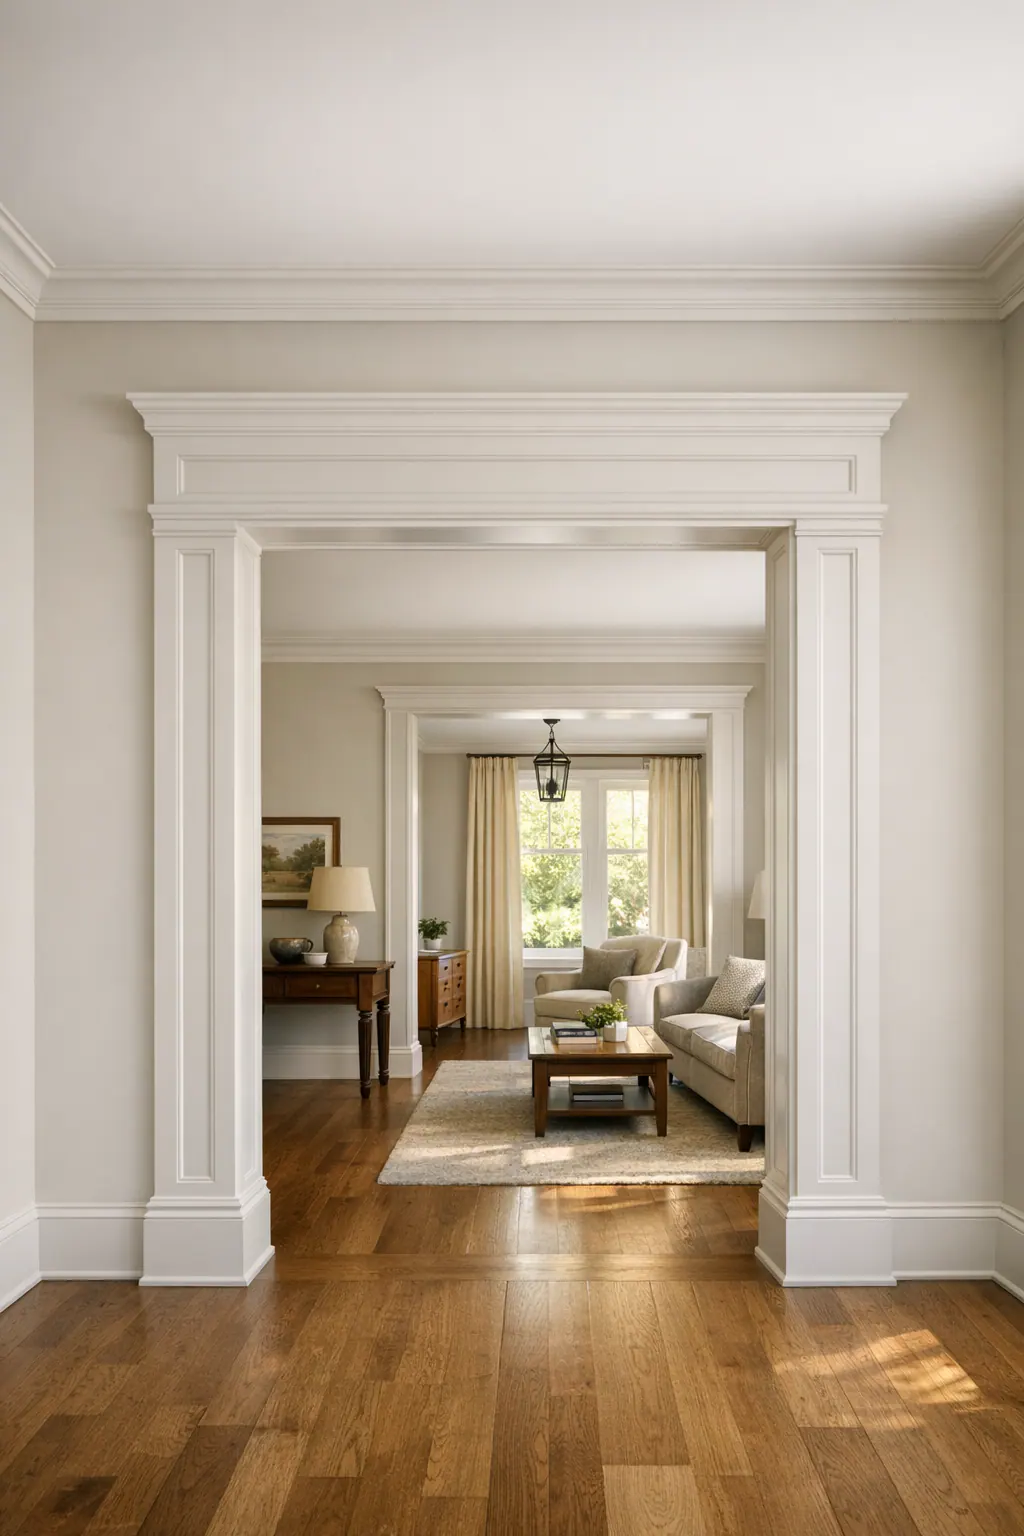
Width should also have a clear relationship to the baseboard and crown. A restrained casing can pair well with a similarly clean baseboard and a simple crown or no crown at all. When baseboards are taller or crown has more projection and detail, casing usually needs enough width or layering to hold its place between them. The goal is not identical dimensions; it is a believable hierarchy. An ornate door surround above a short, plain baseboard is a weak combination because the elements appear to come from different design plans.
For a quieter, updated interior, square or lightly eased casing creates a clean edge and works especially well when doors, built-ins, and baseboards share the same straightforward geometry. Traditional layered profiles add contour, shadow, and formality, making them a stronger fit where existing millwork already has shaped edges or where a renovation is intentionally moving the entire home in that direction. Backband can make a casing feel more substantial, but it is best reserved for openings with sufficient wall space and for rooms where that extra depth is repeated elsewhere rather than appearing as a one-off flourish.
The first decision is whether to match what remains or establish a new whole-home language. A close match preserves continuity in an established interior, particularly along sightlines where old and new trim meet. A deliberate refresh can be more successful when several rooms are being renovated, but it should carry through the visible doors, windows, baseboards, and crown rather than stopping at a single opening. For door trim Palmer Ranch projects, laying sample pieces beside the existing baseboard, crown, door, and paint color makes proportion easier to judge before the final profile is selected.
MDF, Paint-Grade Wood, and Stain-Grade Wood: Select Materials for the Finish and Conditions
Finish intent should lead the material decision. MDF trim is an engineered, paint-grade option with a consistently smooth face and no visible grain pattern, making it well suited to crisp painted casing profiles. Its cut edges need careful sealing and finishing so they read as cleanly as the face. It is generally best reserved for dry interior locations; where an opening is exposed to recurring humidity or incidental moisture, a moisture-aware material selection matters more than a uniform painted surface.

Paint-grade wood offers another route for painted trim, especially when a project calls for custom shaping, repairs to existing woodwork, or a material that better matches what is already in the home. Solid wood is the natural choice when the finish is meant to show grain. Stain-grade wood is selected for its species, grain direction, color variation, and ability to take stain as part of the design rather than conceal it under paint. A stained surround with varied grain can feel intentionally crafted; the same variation would be a distraction in a uniform painted scheme.
Dent resistance, seasonal movement, and edge detail also influence the practical result. A sharp square edge, a deeply routed molding, and a delicate backband do not all respond the same way to handling, fastening, filling, and finishing. The material should support the profile's level of detail rather than force compromises at corners, returns, or joints.
Matching work deserves a sample-led decision. For window trim Palmer Ranch renovations, compare a proposed MDF or wood profile beside an existing casing offcut, baseboard, and the intended paint or stain. A painted match may depend on profile and sheen more than species; a stained match depends on grain and color as well. Seeing those pieces together before fabrication helps prevent a near-match that becomes obvious across an adjoining sightline.
Coordinate Door and Window Casing With Baseboards, Crown, and Built-Ins
The most convincing rooms have a clear hierarchy: casing frames the opening, baseboard grounds the wall, and crown finishes the ceiling line. These pieces do not need to be identical, but their widths, edge shapes, and amount of detail should look as though they belong to one design decision. A square-edge casing can pair naturally with a simple, taller baseboard and a restrained crown; a layered casing generally needs baseboard and crown with enough visual substance to keep the opening from looking overdressed.
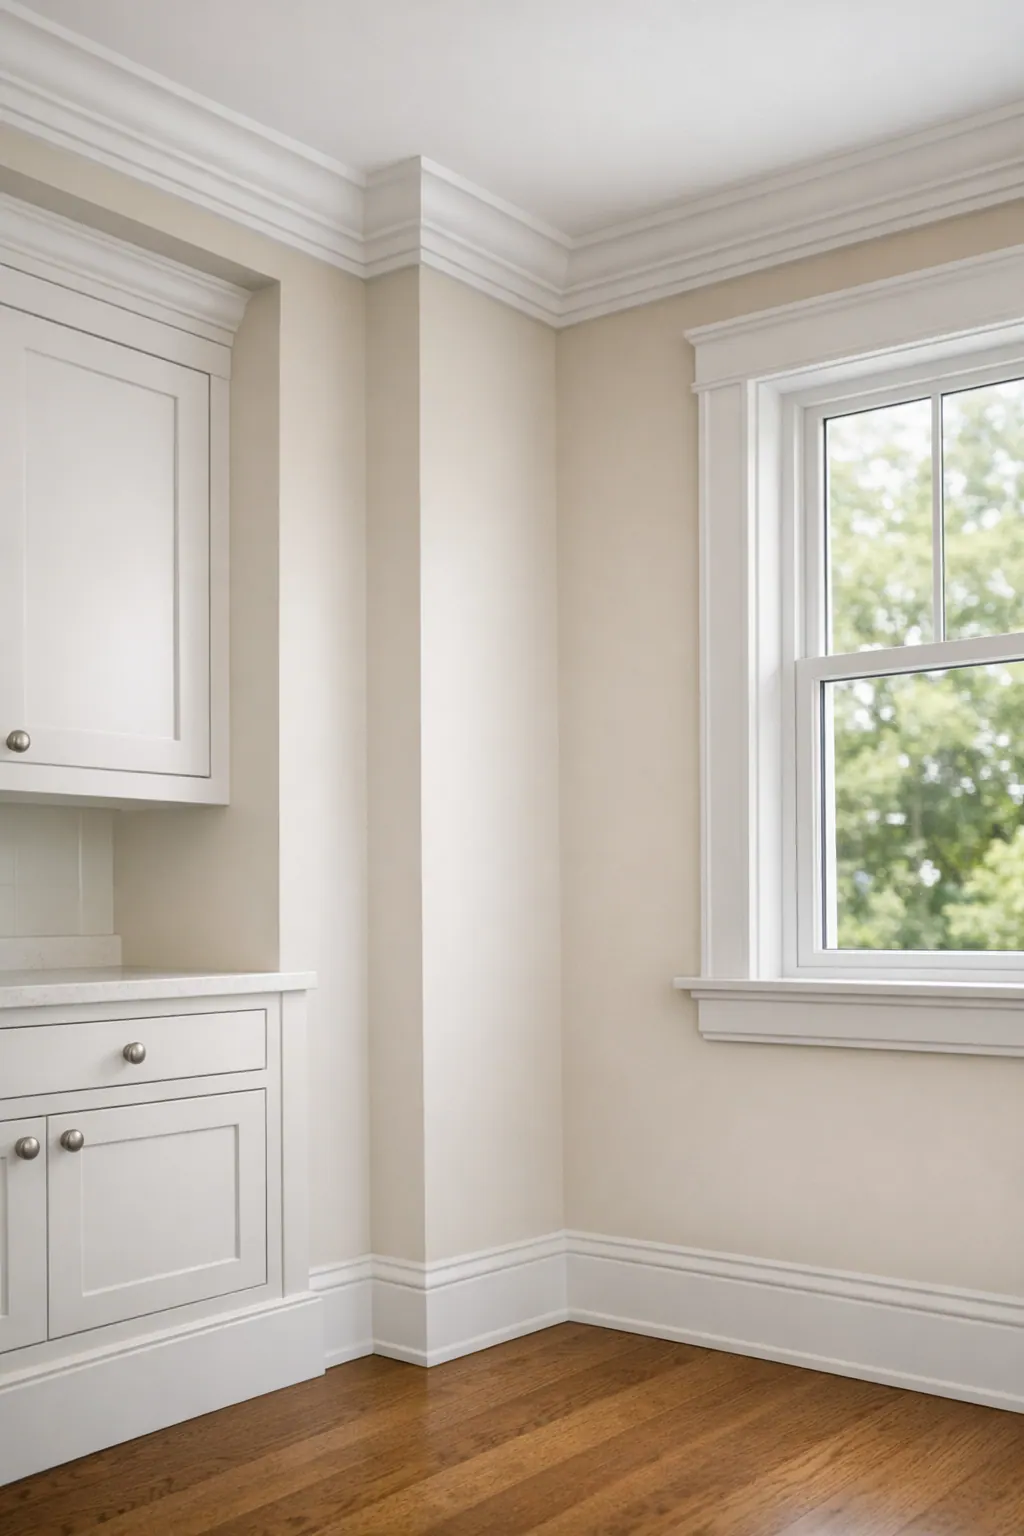
Where a door casing reaches the floor, the transition deserves as much attention as the header above it. A plinth block creates a deliberate stopping point between a profiled baseboard and the vertical casing, especially when their contours would otherwise collide. In simpler schemes, the baseboard can die cleanly into a square casing or make a small return, a short piece that turns the profile back into the wall, rather than ending with an exposed, abrupt cut.
Look across adjoining rooms, not only at one elevation. Door headers should align consistently in their profile language, while built-in face frames, shelving trim, and window casing should repeat compatible square edges or molding curves. A wide, ornate header beside thin flat baseboard, or different casing widths visible through an open doorway, can make an otherwise careful renovation feel assembled in stages.
Paint can provide useful flexibility. Keeping trim in one color and sheen can visually connect rooms whose profiles vary slightly because of existing conditions or a gradual update. The effect works when the scale and geometry remain related; paint will not disguise a sudden shift from crisp modern casing to heavily ornamental crown. For custom millwork Palmer Ranch projects, reviewing wall elevations and sightlines together helps settle these relationships before individual pieces are cut and finished.
Installation Considerations for Existing Doors and Windows
Before a profile is cut, the opening needs to be read as it actually sits, not as a perfectly square drawing. A finish carpenter in Palmer Ranch will measure jamb depth against finished wall thickness, look for walls that lean or wave, and note uneven drywall, old paint buildup, damaged corners, and gaps around the existing unit. A door or window can often receive new interior casing without replacing the unit, but the planned reveal and profile need enough sound, consistent surface to land on cleanly.

When the jamb sits back from the wall face, a jamb extension creates the missing depth so casing does not bridge an awkward void. Where a wall bows or varies slightly, a scribed edge is trimmed to follow that irregularity rather than leaving a conspicuous shadow gap. Window work also calls for a close look at the stool: a loose, heavily painted, undersized, or damaged stool may need repair or replacement before the side casing and apron can meet it neatly.
Joinery should suit the profile rather than follow one rule everywhere. A miter joint joins two angled cuts, commonly at the upper corners of a traditional or molded casing; its diagonal seam can carry a continuous profile around the opening when it is tight. A butt joint brings a square-cut piece directly into another piece, often useful with flat stock, square headers, plinth blocks, or deliberately modern trim. Neither is automatically more refined. The better choice is the one that preserves straight lines, consistent reveals, and clean intersections without forcing a profile into an unstable-looking connection.
At close range, quality shows in the finishing sequence. Casing should sit aligned to the jamb rather than wandering with the drywall; nails should secure the piece without leaving obvious surface damage; and joints should close without broad, filler-dependent gaps. Nail holes and minor wood imperfections are filled, seams are lightly caulked where trim meets the wall, and the surface is sanded and primed as needed before paint. In door and window trim Palmer Ranch renovations, those preparation steps are what let the final color emphasize the profile instead of highlighting every transition.
Plan a Custom Door and Window Trim Upgrade With Clear Decisions Up Front
A clear plan prevents a one-room improvement from becoming a patchwork of nearly matching details. First, mark which casing, baseboards, crown, and built-ins will remain and which will change. Photograph adjoining sightlines, measure the casing face width and jamb-to-wall depth on representative doors and windows, and save an offcut or straight-on profile photo when an existing match matters.

Then choose one direction: preserve the current profile language, or introduce coordinated new casing and finish across the defined rooms. Approve a sample assembly, or one completed opening, before repeating it. It should show the casing width, header treatment, even reveal, paint or stain color and sheen, plus the transition into the baseboard; a sample that looks balanced beside one door but overwhelms the adjacent baseboard is a useful warning to adjust the proportions first.
A finish carpenter consultation is the practical place to compare those samples against actual jamb depths, bowed walls, outside corners, and connected millwork. Define the scope opening by opening, including jamb extensions and any baseboard, stool, apron, or crown adjustments, so door and window trim in Palmer Ranch reads as one considered update rather than a series of isolated replacements.
Plan the next step
Compare the broader Door and Window Trim service.
Review the Palmer Ranch, FL service area for local planning context.
When you are ready, request a free estimate with the rooms, trim goals, city, and available photos.
FAQs
What is the difference between simple casing and backband trim?
Simple casing uses flat stock or a lightly molded profile to create a clean border around a door or window. Backband is a narrow molding installed around the outside of casing, adding another trim plane, deeper shadow lines, and a more traditional layered appearance.
How do you choose casing width for windows and doors?
Choose casing width based on ceiling height, wall width, opening size, and the scale of nearby baseboards and crown molding. Narrow casing can look underfinished beside tall walls or substantial baseboards, while wide layered trim can crowd compact openings and modest rooms.
Should door and window casing match baseboards and crown molding?
Casing, baseboards, and crown molding do not need identical dimensions, but their widths, edge shapes, and level of detail should create a believable hierarchy. Square-edge casing pairs well with simple baseboards and restrained crown, while layered casing needs surrounding trim with enough visual weight to avoid looking overdressed.
Can a finish carpenter install trim around existing doors and windows without replacing them?
Yes, existing doors and windows can often receive new interior casing without replacing the unit. The installer must check jamb depth, finished wall thickness, bowed walls, damaged corners, and reveal consistency, adding jamb extensions when the jamb sits back from the wall face.
Is MDF or wood better for interior door and window trim?
MDF is a smooth paint-grade option for dry interior locations, but its cut edges require careful sealing and it is not ideal for recurring humidity or moisture. Paint-grade wood works well for painted custom profiles and repairs, while stain-grade wood is best when visible grain, species, and color variation are part of the finished design.