
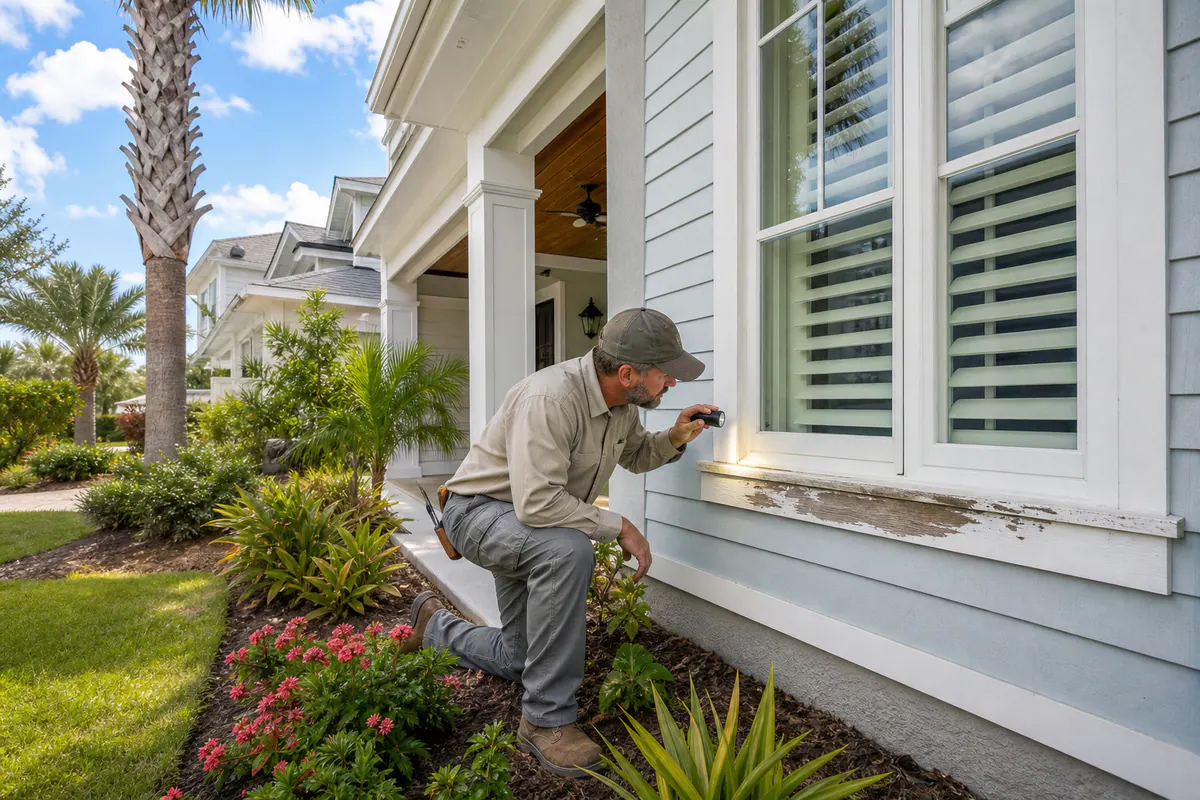
Exterior Trim Damage Can Be More Than a Paint Problem
For Laurel homeowners, exterior trim repair starts with looking past the finish. Exterior trim is the protective and decorative material that frames windows and doors, closes roof edges with fascia and rake boards, covers the underside of eaves with soffits, finishes outside corners, and wraps porch columns. Each piece helps create a finished transition between exterior surfaces, but many also sit at joints where water can work its way behind a board.
Peeling paint by itself can be a worn-finish issue when the board beneath remains hard, firmly attached, and dry. Staining that returns after painting, soft or crumbling wood, open seams, loose boards, split edges, and cracked or missing caulk point to a more involved problem. Around windows and doors, water may enter at a failed joint or at the upper casing; at the roofline, it can reach fascia or soffit areas from above; and at column wraps, it may collect at seams or near the base.
That distinction matters because paint can renew appearance, but it cannot restore wood that has decayed, re-secure a loose board, or stop moisture intrusion behind the trim. A responsible plan to repair damaged exterior trim in Laurel begins by identifying where the water is reaching the assembly, then determining whether the affected material is still sound enough to repair or should be replaced.
Where to Inspect Exterior Trim for Rot, Gaps, and Water Damage
A walk around the house can narrow the search before any trim is removed. Start at windows: look closely at the lower casing and trim beside the sill, where darkened paint edges, soft spots, split grain, or a joint pulling away from the wall deserve attention. A problem concentrated at the bottom may be different from a gap at the top casing, so note exactly where the finish and board have changed before planning window trim replacement in Laurel.
At exterior doors, inspect both vertical casing legs, the top corners, and the trim where it meets the threshold. Separating miters, swollen lower ends, loose fasteners, and recurring discoloration near the threshold can indicate that water is reaching the trim assembly rather than merely weathering its painted surface. Door trim repair in Laurel should include a look at the adjacent wall surface and the threshold area when damage keeps returning.
From the ground, scan fascia and rake boards for peeling along the lower edge, stains below the gutter line, bowed sections, open end joints, or dark streaks running down the face. Fascia repair in Laurel may involve more than the visible board: staining or decay near a roof edge can coincide with gutter overflow, roof-edge drainage, flashing details, or water entering from above.
Look underneath eaves as well. Sagging, broken, stained, or separated soffit panels can accompany a roof-edge moisture issue, while repeated deterioration in one area calls for the nearby fascia, gutter, and concealed backing to be evaluated together. Soffits also need to remain properly connected and intact rather than treated as a purely decorative cover.
Finish the walk at corner boards and column wraps. Open vertical seams, cracked caulk, paint blistering at board ends, soft material near grade, and loose wrap panels are useful checkpoints. When damage clusters around one joint or reappears after finishing work, the surrounding surfaces and framing behind the trim may need inspection before a new board is installed.
When Exterior Trim Can Be Repaired vs. When Replacement Makes More Sense
The key decision is whether the problem is confined to a small part of an otherwise dependable board or whether the board, and possibly the area behind it, has stopped providing a sound base for a finish.
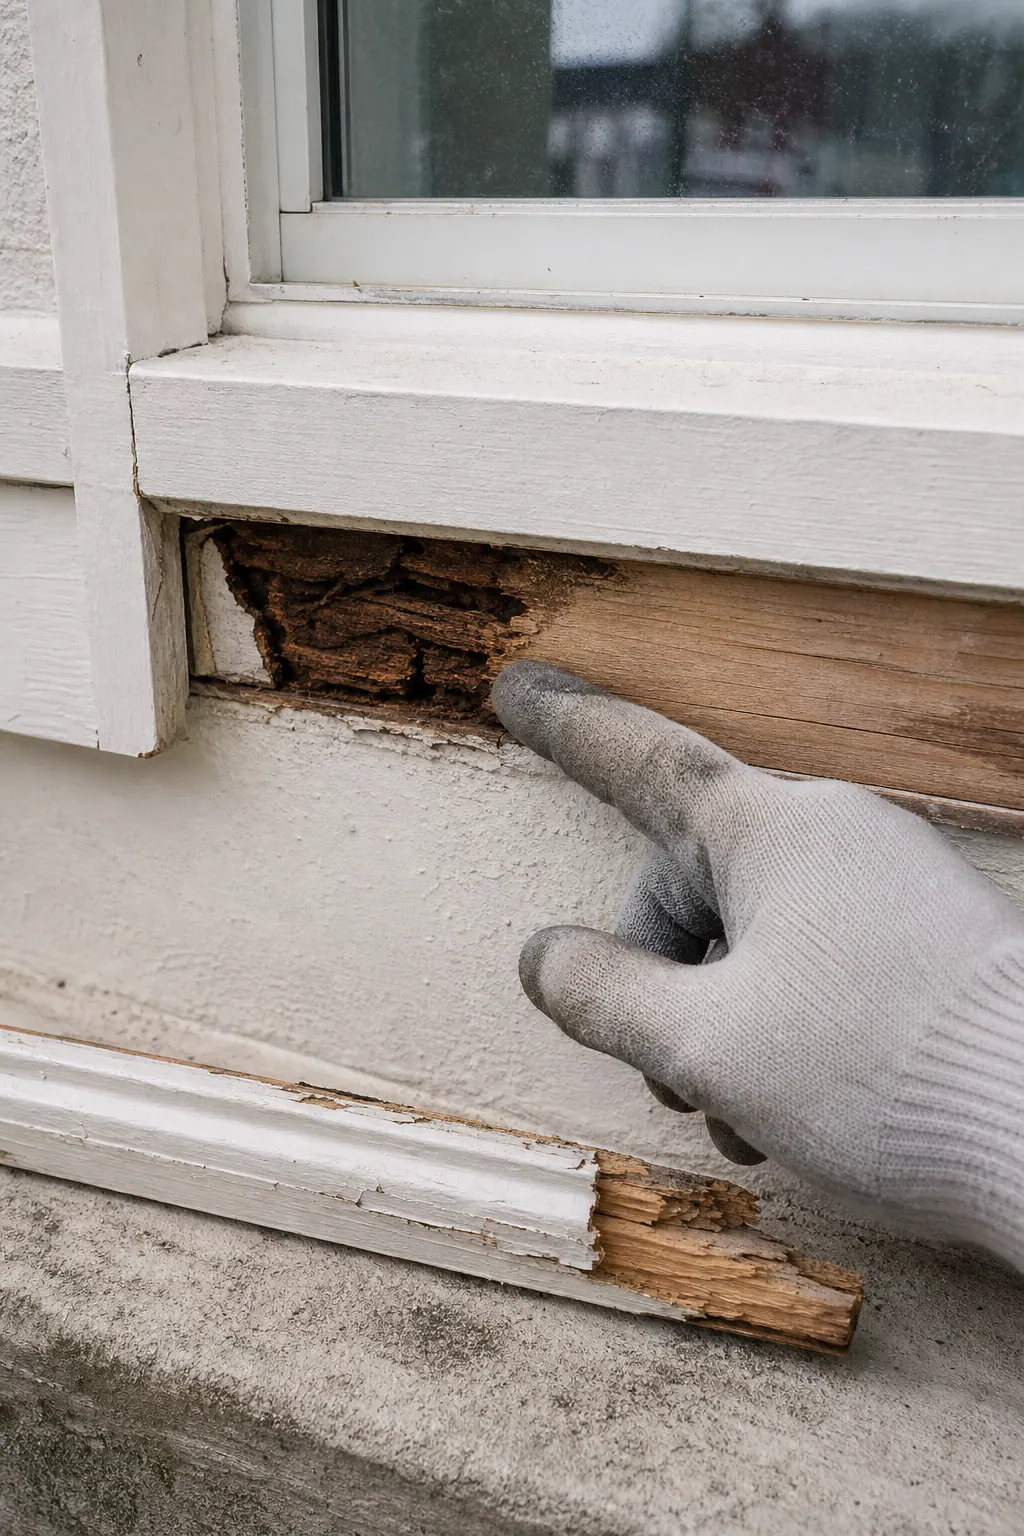
Limited repair can be a reasonable option when damage is shallow and localized, the surrounding trim remains hard and firmly attached, and the moisture path that caused the damage has been addressed. For example, a small deteriorated spot on a window casing or column wrap may be repairable if the board does not flex, its edges are intact, and adjacent joints are stable. The repair should restore a smooth, paintable surface; it should not simply cover soft or missing material.
Replacement makes more sense when decay extends along the board, edges crumble, the trim has split, or fasteners no longer hold it securely. A loose fascia board, a door casing with swollen lower sections on both legs, or a corner board with repeatedly opening seams are broader failures than a cosmetic patch is designed to solve. In those cases, rotted trim replacement in Laurel can provide a continuous, secure piece rather than leaving weak material at either end of a repaired area.
- Good repair signal: one contained defect surrounded by solid material, with no movement at the board, joints, or fasteners.
- Weak repair signal: recurring paint failure, soft areas that continue beyond the visible spot, open joints, or a board that moves when pressed.
- Replacement signal: rot running into an end, miter, lap joint, or attachment point, where a patch would leave deteriorated material connected to the new work.
Removing failed trim is often the only way to see whether the backing, wall sheathing, flashing area, or fastening surface remains sound. Around windows and doors, removal may expose a gap or damaged material behind the casing. At fascia and soffits, it can reveal deterioration at the roof edge or backing that needs attention before a new board is installed. At column wraps, the condition of the structure inside the wrap may change the scope entirely.
A responsible exterior trim repair in Laurel, FL therefore starts with the smallest practical scope, but expands when the board condition or concealed area shows that a durable repair needs more than a surface patch.
Choosing Wood, PVC, or Composite Exterior Trim by Location
The replacement board has to fit both the damaged location and the character of the house. A crisp window casing profile, a deep fascia face, or a built-up column wrap can make profile matching as important as the material itself. If the new piece cannot recreate the existing reveal, edge detail, and thickness, even sound work can look like an obvious patch.
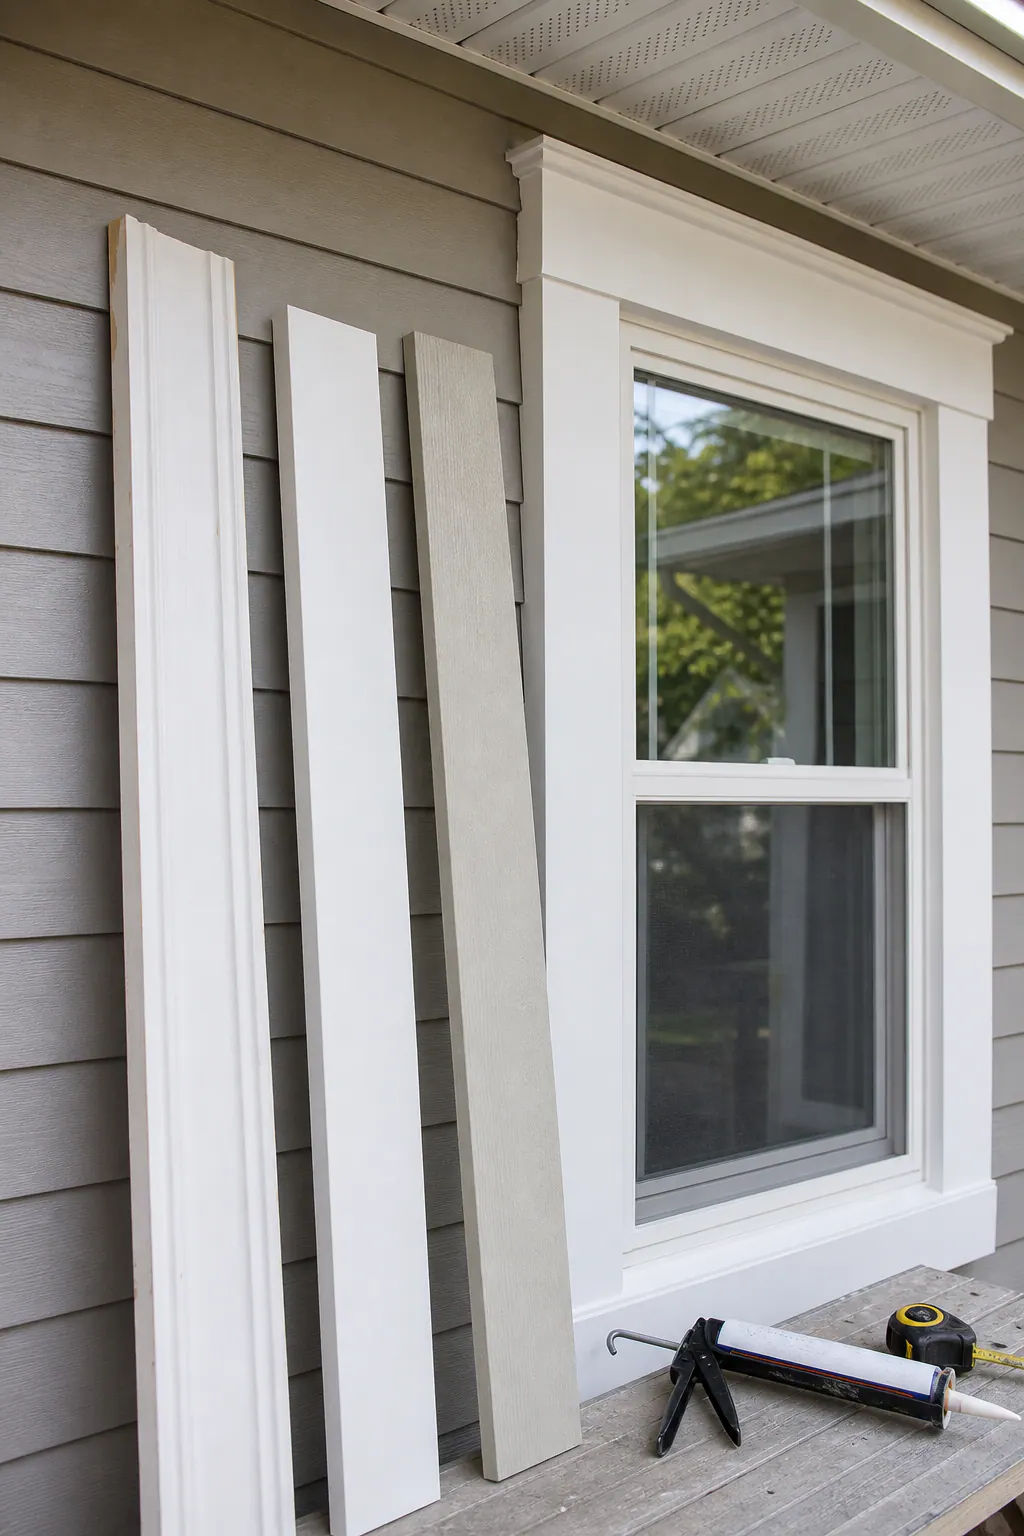
- Primed wood trim is real wood supplied with a factory primer. It is often the most straightforward choice when an existing window or door casing has a traditional routed profile, visible grain, or detailed joinery that needs to be duplicated. Wood can be cut, shaped, and repaired readily, but its end cuts, joints, and painted surfaces need careful finishing because exposed or repeatedly wet areas can deteriorate again.
- Cellular PVC is a solid, wood-look trim material made from expanded PVC rather than lumber. It does not absorb moisture in the same way as wood, making it a practical consideration for lower window and door trim, corner boards, and other frequently damp areas. It is paintable and can be worked into many trim details, but it moves differently with temperature changes, so board lengths, joints, fastening, and paint selection need to suit that movement.
- Composite trim combines manufactured materials to create a paint-ready exterior board. Its appearance and workability vary by product, so it can be useful where a stable, uniform trim face is wanted without requiring every detail to be milled from wood. Before using composite trim for a fascia run, soffit return, or column wrap, the intended profile, thickness, edge treatment, and fastening surface should all be part of the selection.
Location changes the decision. Window and door casing may call for a close profile match beside brick, stucco, siding, or existing woodwork. Fascia needs a straight, clean face that works with the roof-edge details and supports secure attachment. Soffit trim and returns must meet adjacent panels neatly, while column wraps need corners and seams that remain visually consistent from every viewing angle. PVC exterior trim in Laurel can make sense in exposed spots, but it is not an automatic substitute where a historic profile or wood-specific detail defines the home's appearance.
The condition behind the trim also matters more than the board label. A new wood, cellular PVC, or composite piece still needs a flat, solid substrate and a detail that directs water away from its edges. Material selection should follow the required profile, exposure, nearby surfaces, and soundness of the backing, not simply the visible board that failed.
Proper Installation, Caulking, Sealing, and Paint Finishing
A durable result depends on the condition revealed once the old trim comes off. The exposed backing should be solid, dry, and able to hold fasteners; soft sheathing, deteriorated blocking, or loose attachment points need repair before a new casing, fascia board, soffit return, or column-wrap panel is fitted. The replacement piece should sit flat, align with adjoining surfaces, and be fastened securely without forcing a bowed wall or roof-edge detail into place.
Joints and transitions deserve the same care as the board face. Caulking exterior trim is useful for narrow, properly fitted seams where it helps close a paintable transition, such as a casing-to-wall edge or a clean miter joint. It is not a filler for missing sections of trim, a wide moving gap, or a failed flashing detail above a window, door, or roof edge. If water can enter behind the assembly, that path needs correction before sealant is applied.
Finish work begins with a clean, dry surface and properly prepared cuts, fastener heads, and joints. Primed wood may need primer on field-cut ends and bare areas before paint; PVC and composite trim require a coating system suited to that specific material when painting is part of the design. Paint then serves as a continuous protective finish, not the step that makes an unsound installation acceptable.
- After the work, watch for cracked or separating caulk, paint blistering, exposed board ends, or joints that reopen.
- At fascia and soffit transitions, look for staining or recurring drips; around windows and doors, note any separation at the casing edge.
- Address failed caulk or coating breakdown while the trim beneath is still firm, rather than waiting for open seams to become another replacement project.
What a Thorough Exterior Trim Repair Visit Should Include
A useful service visit ends with a written plan, not just a recommendation to patch and paint. A Laurel exterior trim contractor should examine the affected board along with the adjacent wall, roof edge, window or door opening, soffit, gutter line, or column base to determine where moisture may be entering and whether the damage stops at the trim.
The scope should identify each location and the proposed action: retain and repair a sound section, remove and replace a failed board, or open a limited area to assess the backing. It should also name the replacement material by location, such as profile-matched wood for a painted casing, cellular PVC for a moisture-prone trim detail, or composite trim where its appearance and dimensions suit the assembly, rather than treating every board as the same product.
- Describe the specific casing, fascia, soffit, corner board, or column-wrap sections included, plus any nearby surfaces that need removal and reattachment for access.
- Separate trim work from related corrections, such as a roof leak, overflowing gutter, missing flashing, siding defect, or damaged framing. Those conditions may affect the trim repair, but they are distinct work items that should be clearly listed if they are to be addressed.
- State the finishing steps: preparation of exposed areas, fastening and fitting of new trim, treatment of joints and cut ends, paintable sealant at appropriate seams, primer where needed, and paint preparation or finish coating.
For exterior trim replacement in Laurel, FL, that level of detail helps prevent a vague "replace rotten wood" allowance from becoming confusion about what was actually inspected, removed, sealed, painted, or left for a separate repair.
Address Damaged Exterior Trim Before the Problem Spreads
Small warning signs are worth acting on while the affected area is still easy to define. Request an assessment if trim feels soft, fascia has loosened, window or door casing is separating, a soffit is stained or sagging, paint keeps peeling in the same spot, or a caulk joint repeatedly opens after being renewed.
The visible board is only one part of the decision. Looking across the adjoining roof edge, wall, opening, gutter line, or column base helps distinguish a localized finish failure from a moisture path that could undermine new work. That inspection can establish whether a limited repair is appropriate or whether rotted trim replacement in Laurel should include adjacent boards or backing.
For exterior trim repair in Laurel, FL, do not wait for a loose piece to become a larger exterior opening. Schedule a focused evaluation, get the affected locations and corrective work identified clearly, and choose a repair or replacement plan that addresses both the damaged trim and the condition that caused it.
Plan the next step
Compare the broader Exterior Trim Repair and Replacement service.
Review the Laurel, FL service area for local planning context.
When you are ready, request a free estimate with the rooms, trim goals, city, and available photos.
FAQs
What causes exterior window and door trim to rot?
Window and door trim commonly rots when water enters through failed caulk joints, gaps at upper casing, separating miters, or threshold areas. Darkened paint edges, soft spots, swollen lower casing ends, and recurring discoloration indicate moisture is reaching the trim assembly.
How do I know if my fascia board has water damage?
Check fascia for peeling paint along the lower edge, stains below gutters, bowed sections, open end joints, loose boards, and dark streaks down the face. Damage near the roof edge can also indicate gutter overflow, drainage problems, flashing defects, or water entering from above.
Can rotted exterior trim be repaired, or does it need to be replaced?
Repair is appropriate for one shallow, contained defect surrounded by hard, firmly attached trim after the moisture source is corrected. Replace trim when rot extends along the board or into an end, miter, lap joint, or fastener location, or when the board splits, crumbles, flexes, or no longer holds fasteners.
Should exterior trim be caulked before painting?
Caulk narrow, properly fitted paintable seams, such as casing-to-wall edges and clean miter joints, before finishing. Do not use caulk to fill missing trim, wide moving gaps, or failed flashing details, because the water entry path must be corrected first.
Is PVC exterior trim better than wood in Laurel, FL?
Cellular PVC is often a better choice for lower window and door trim, corner boards, and other damp locations because it does not absorb moisture like wood. Primed wood is usually better when a traditional routed profile, visible grain, or detailed joinery must closely match existing trim; PVC installation must account for temperature-related movement with proper lengths, joints, fasteners, and paint.