

New Construction Trim Is a Coordinated Finish System
For new construction trim in Longboat Key, the work begins well before baseboards and door casings are installed. A trim package is a connected finish system: it ties the home's architectural direction to its doors and windows, cabinet lines, flooring heights, wall finishes, and paint plan.
That coordination prevents accidental mismatches. A clean contemporary home may use simple, square-edged casing and restrained baseboards, while a more traditional interior may carry a layered profile through casings, crown, and feature walls. Either approach can work; the important point is that transitions look intentional rather than like unrelated selections meeting at a doorway.
Room conditions also shape the plan. A conditioned bedroom, a bath with regular moisture exposure, and an enclosed utility area do not necessarily call for the same trim material or installation detail. Product choice, acclimation, humidity management, finish system, and the exposure expected at each location all affect how the package should be specified.
Scheduling matters just as much. Drywall must provide a sound surface, flooring elevations influence baseboard decisions, cabinets and built-ins establish critical lines, and doors need to be set before their casings can be fitted. Coordinating these dependencies early gives the painter a trim scope with clean joints, filled fasteners, aligned margins, and caulk-ready transitions instead of a late-stage punch-list problem.
What a New Build Trim Package Can Include
A useful scope starts by naming the pieces at every opening and wall edge. Baseboards finish the floor-to-wall junction; door and window casing frame openings; crown molding finishes the wall-to-ceiling line. Jamb extensions bring a door or window frame flush with the finished wall, while sills provide the lower window ledge. Returns turn an exposed trim edge back toward the wall, and transition pieces resolve changes in flooring, wall depth, or adjacent trim. Closet openings, utility rooms, access panels, and under-stair areas should be listed rather than assumed.
A straightforward paint-grade package may specify one baseboard profile, one casing profile, selected crown locations, and simple sill and return details. A custom trim package Longboat Key project can add chair rail, wainscoting, full wall paneling, beam wraps, built-ins, and tailored transitions. It can also use reveal details, deliberate narrow gaps between surfaces, or shadow gaps, which create a recessed line instead of applied molding. These details produce a cleaner contemporary effect, but they require more precise layout than conventional casing and baseboard.
Drawings turn those choices into an installable scope. Interior elevations can show exactly where paneling stops, how a built-in meets baseboard, which windows receive casing, and whether crown continues through a room. A room-by-room finish schedule should identify profiles, heights, paint-grade or stain-grade intent, trim at closets and utility areas, and responsibility for each transition. That clarity prevents a common gap: one trade expecting another to finish an exposed edge, fill a void beside cabinetry, or resolve a change in wall treatment.
Choose Trim Materials by Interior Location and Finish Plan
The finish schedule should do more than label a room "trim"; it should match the material to the intended look and the conditions at that wall. In stable, conditioned living rooms and bedrooms, paint-grade MDF can suit clean painted profiles and uninterrupted runs where a uniform, grain-free face is the goal. Solid wood or engineered wood can be a better fit when the profile requires a particular machining detail, a longer piece needs to be joined thoughtfully, or the design calls for a wood substrate beneath a painted finish. The practical takeaway is visual as well as technical: sample the actual profile, edge shape, and paint finish rather than choosing solely by a material name.
Stain-grade trim is a different commitment. Its species, grain direction, color variation, joint placement, and cut quality remain visible after finishing, so a stain-grade schedule should identify the wood and the finish expectation by room or feature. A clear-coated white oak casing and sill, for example, will read differently from a painted casing even when their dimensions match. Engineered wood may also be considered where its specified face and construction support the desired appearance, but exposed edges, end grain, and transitions need to be planned as part of the detail, not hidden as an afterthought.
Bathrooms, laundry rooms, entries, and trim near exterior openings deserve a separate room-condition review. PVC or cellular PVC may be appropriate for specified interior details where the product's approved use, profile limitations, fastening method, expansion allowance, and finish system suit that location. It is not an automatic substitute for every painted molding: its movement characteristics and available profiles can change joint and transition detailing. Likewise, a wood or MDF selection should be tied to the expected moisture exposure, ventilation, acclimation, substrate condition, and installation method.
For Longboat Key new construction trim, a useful checkpoint is a room-by-room material and finish matrix before ordering: identify paint-grade versus stain-grade locations, note higher-moisture or exterior-adjacent conditions, and pair each product with its specified primer and topcoat system. A physical mockup can reveal whether the profile has crisp edges, whether a stain treatment reads evenly, and whether joints and returns will be caulk-ready or intentionally visible. Product specifications, substrate preparation requirements, ventilation conditions, and paint-system compatibility should then be confirmed for the actual installation.
Build a Cohesive Profile Language Throughout the Home
A home feels composed when its trim pieces appear to belong to the same architectural family. A simple contemporary package may use square-edged casing, restrained baseboards, and clean reveal details, the deliberate narrow lines where two finished surfaces meet, or shadow gaps that create a crisp recess instead of applied molding. The result is quieter wall planes and a more streamlined relationship between doors, cabinets, and ceilings.
A layered traditional direction creates depth by combining a casing with a backband, adding crown at the ceiling, using panel molding on selected walls, and choosing a base profile with more projection. These pieces do not need to be ornate, but their shapes should be scaled together. Casing width, baseboard height, crown size, door style, cabinet proportions, flooring transitions, window-treatment clearances, and ceiling height all affect the read. A tall baseboard can look intentional below a substantial casing and higher ceiling; paired with narrow, flat casing in a low-ceiling room, it can feel unrelated. Scaled room elevations and a profile board make those relationships visible before material is cut.
Finish carpentry Longboat Key coordination also allows for purposeful exceptions. A formal dining room might receive crown and panel molding while adjoining rooms retain simpler walls, provided the baseboard, door casing, finish color, and key profile edges maintain a connection. Likewise, a slatted feature wall, fireplace surround, or built-in can become a focal point without introducing a second design language. The useful test is whether transitions are clean: consistent casing margins at openings, baseboards resolving neatly into built-ins, and window treatments clearing the selected trim rather than crowding it.
Coordinate Finish Carpentry at the Right Stage of Construction
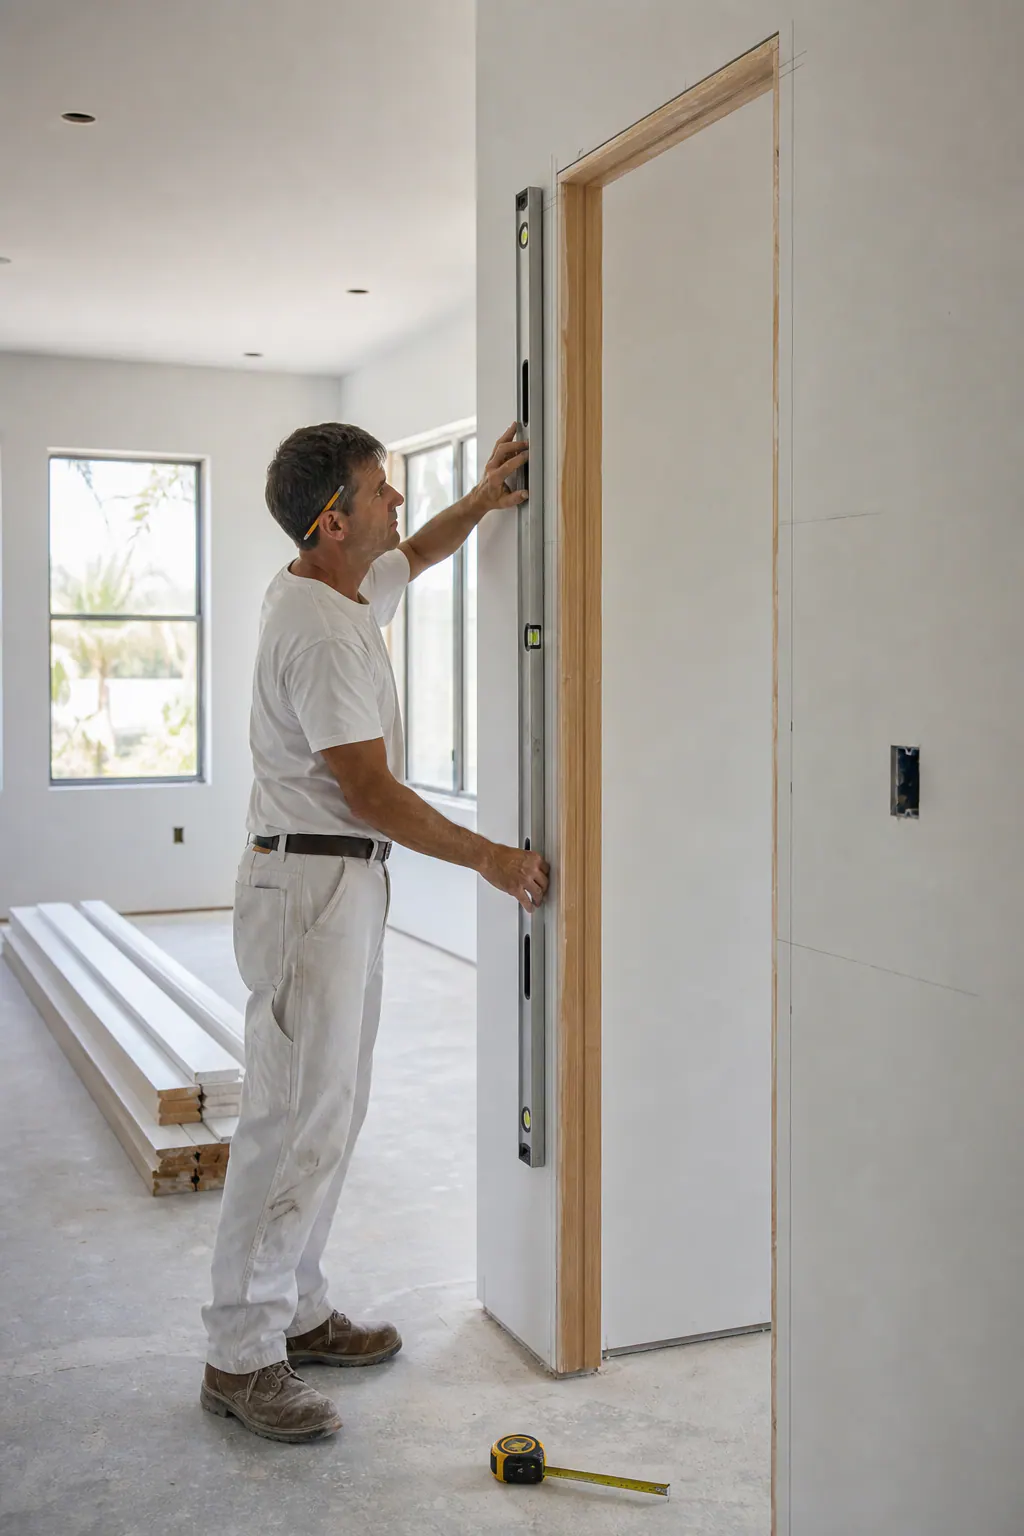
The cleanest trim details are often decided before the first piece is cut. A new home trim installation in Longboat Key should begin with field measurements: confirm that door and window openings are consistent, walls are sufficiently straight for the intended casing, and drywall has been finished without proud seams or damaged outside corners. An out-of-plumb wall can force a casing to sit unevenly against the surface; uneven openings can turn what should be matching margins into visibly different reveals.
Flooring, cabinetry, and built-ins set the next critical elevations. The flooring team needs to establish whether baseboards will be installed before or after finished flooring, since that decision changes the floor-to-base gap and any needed shoe molding or flooring transitions. Cabinet and built-in dimensions establish where baseboards stop, where scribe work closes a small irregular gap against a wall, and how appliance panels, end panels, and trim returns meet. Late changes to island size, wall paneling, tile thickness, or a built-in depth can leave previously planned trim short, crowded, or misaligned.
Once drywall conditions, finished-floor plan, cabinet lines, and door specifications are settled, door units can be set and casing fitted to the actual jambs. Baseboard, crown, paneling, and built-in trim follow in an order that preserves access and clean intersections. Door suppliers should provide the final jamb and slab details; electricians and HVAC trades need locations for grilles, switches, and access panels before trim blocks them; painters need a stable scope rather than a moving target. Before paint, the finish-carpentry punch list should address final scribe work, casing margins, coped inside corners, miter joints, fastener filling, and joints ready for caulk. That sequence gives the painter a surface prepared for finish work instead of a list of unresolved fit problems.
Use a Pre-Paint Trim Walkthrough to Review Finish Readiness
Before primer obscures the joinery, walk every trimmed room with the plans, finish schedule, and a written punch list in hand. This is the moment to judge the work at normal viewing distance as well as up close: casing and baseboard profiles should remain consistent where the design calls for continuity, vertical casings should read plumb, and the reveal, the narrow exposed margin between a jamb and casing, should be even from one side of an opening to the other.

- Open and close each door. It should operate freely without casing crowding hinges, stops, flooring, or adjacent trim.
- Inspect coped inside corners and outside miters for tight, intentional connections rather than open seams or mismatched profile edges.
- Look at scribe work where trim meets an uneven wall, cabinet end panel, or floor; a close-fitting contour is preferable to a broad gap covered with excess caulk.
- Review fastener placement, nail fills, caulk lines, damaged faces, dents, glue residue, and unfinished transitions at returns, jamb extensions, and paneling.
A pre-paint trim walkthrough Longboat Key projects can use should also assign every correction by trade: finish carpentry resolves fit and damaged trim, while the painter handles required surface preparation, priming, and the specified paint system. Photograph reveals, joints, fills, and transitions before work proceeds so the punch list is specific and trackable. The walkthrough is a visual and functional quality-control step, not a promise of future paint durability or a replacement for the painter's preparation procedures.
Plan Your Longboat Key Trim Package Before Installation Begins
Bring the decisions together in one working package before materials are ordered. Share floor plans, interior elevations, finish schedules, inspiration images, door information, and site notes with the finish-carpentry team. Mark paint-grade areas, where a smooth painted surface is the priority, separately from stain-grade areas, where wood grain and color must read consistently; that distinction affects material selection, matching, and handling.
Then set the profile direction and identify intentional room-by-room changes, such as a simplified utility room or a paneled dining room. Review each material against its location, finish system, and expected moisture exposure, and align installation with drywall completion, finished-floor elevations, cabinetry, doors, HVAC operation, and painting.
A clear proposal for new construction trim packages in Longboat Key should list included profiles and materials, installation details, exclusions, and the pre-paint walkthrough process. Early selections give homeowners, builders, and designers a shared reference point, and give the installed work a better path to clean, paint-ready completion without late-stage substitutions or improvised transitions.
Ready to begin? Send your plans, elevations, finish selections, and inspiration images to start a coordinated trim-package review.
Plan the next step
Compare the broader New Construction Trim Packages service.
Review the Longboat Key, FL service area for local planning context.
When you are ready, request a free estimate with the rooms, trim goals, city, and available photos.
FAQs
What is included in a new construction trim package in Longboat Key?
A trim package can include baseboards, door and window casing, crown molding, jamb extensions, window sills, returns, and flooring or wall transition pieces. Custom packages may also include chair rail, wainscoting, wall paneling, beam wraps, built-ins, reveal details, and shadow gaps.
When should finish carpentry be installed during a new home build?
Finish carpentry should begin after drywall conditions, finished-floor elevations, cabinet lines, and door specifications are confirmed. Door units are set before casing is fitted, while baseboards, crown, paneling, and built-in trim follow in an order that preserves clean intersections and trade access.
What should be checked during a pre-paint trim walkthrough?
Check that doors operate freely, casing reveals are even, vertical casings read plumb, and profiles remain consistent between rooms. Inspect coped corners, outside miters, scribe work, fastener fills, caulk-ready joints, returns, jamb extensions, dents, and unfinished transitions.
How do I keep trim profiles consistent throughout a new construction home?
Use a room-by-room finish schedule and interior elevations that identify profile widths, baseboard heights, crown locations, casing details, and paint-grade or stain-grade intent. Compare casing width, baseboard height, crown size, door style, cabinet proportions, flooring transitions, and ceiling height on scaled elevations or a profile board before cutting material.
Should I choose MDF, wood, or PVC trim for a Longboat Key new build?
Paint-grade MDF works well in stable, conditioned living areas when a smooth, grain-free painted finish is desired. Wood or engineered wood suits stain-grade work and detailed profiles, while PVC or cellular PVC can be specified for moisture-prone or exterior-adjacent locations when its approved use, expansion allowance, fastening method, and finish system fit the detail.