
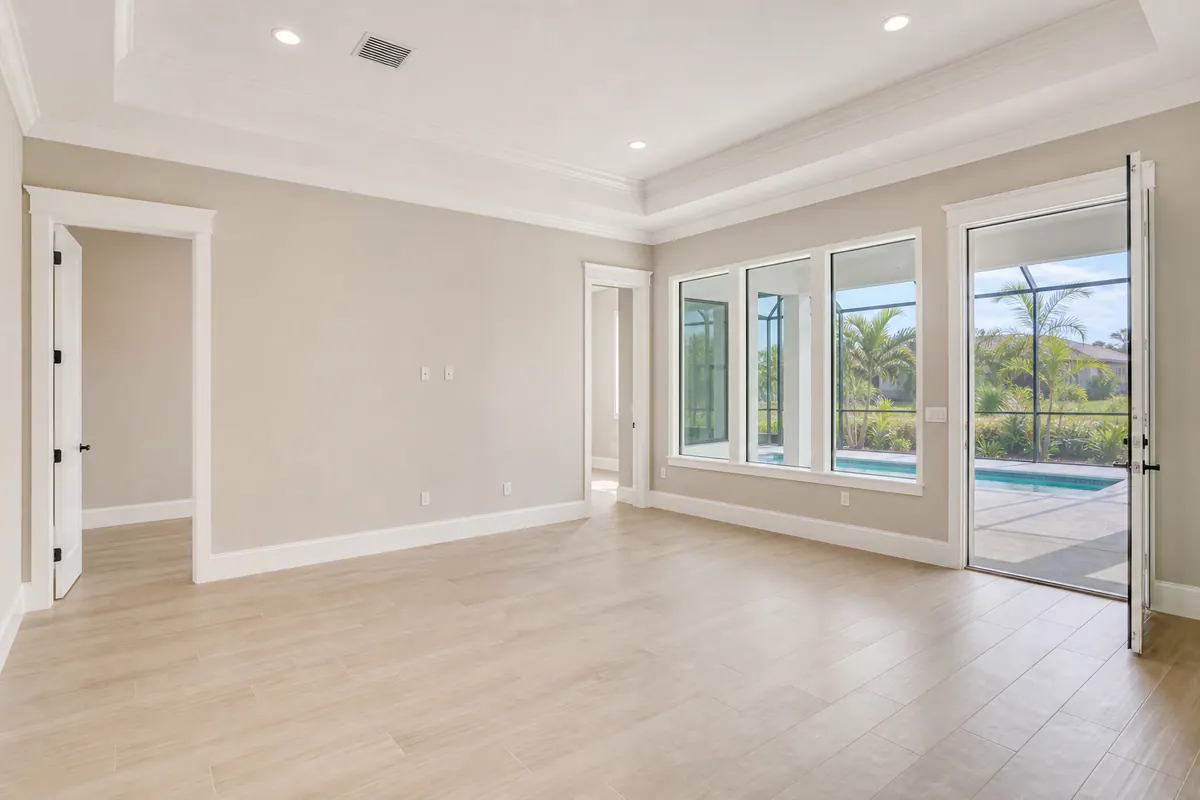
Coordinated Trim Packages for New Homes in North Port
A well-planned trim package makes each room feel connected rather than finished one board at a time. For new construction trim in North Port, FL, the goal is to coordinate the lines that frame floors, doors, windows, ceilings, and changes in materials.
Baseboards create the visual finish at the wall-to-floor edge; door and window casing frames openings; crown molding adds a ceiling transition where the design calls for it. Returns are the small finished ends used when molding stops at an open edge, while shoe molding is a narrower piece that can cover the final gap between baseboard and flooring. Transition details resolve places where trim meets cabinets, tile, built-ins, or a change in wall depth.
Consistency is visible in matching profiles, deliberate heights, aligned casing reveals, and joints that meet cleanly. A weak result can show up as mismatched profiles between rooms, open miters at outside corners, abrupt unfinished ends, or trim that crowds an adjacent cabinet or flooring transition.
Before installation, a homeowner-focused scope review should identify the rooms and openings included, selected profiles and material, painted or stained finish expectations, crown locations, flooring-related details, and any optional upgrades. That conversation turns a new build trim package into a clear finish-carpentry plan instead of a list of assumptions.
What a New Build Trim Package Can Include
A useful trim schedule turns the design into an installable room-by-room plan. It can list the profile, material, dimensions, finish intent, and locations for every component, so a wider living-room casing is intentional rather than an accidental mismatch with the bedrooms.
- Baseboards finish the bottom of the wall and establish a consistent horizontal line. A package may use one height throughout, or reserve a taller profile for main living areas.
- Door jamb extensions bring the jamb flush with a thicker wall surface when the existing jamb does not reach the finished wall plane. Casing then has a flat, even surface to frame.
- Door and window casing provides the visible border around openings. Wider casing creates a stronger architectural frame, while narrower casing keeps the look simpler and uses less wall space.
- Return trim finishes a molding end where it stops short of a wall or meets an open edge. It prevents the cut end from looking abrupt.
- Shoe molding is the small flexible-looking trim at the baseboard-and-floor line. It can conceal a narrow perimeter gap without changing the main baseboard profile.
- Crown molding adds a deliberate wall-to-ceiling transition. It is often concentrated in entry, living, dining, or primary-suite spaces rather than applied automatically in every room.
Selected details can extend the package with window stools and aprons, wrapped openings, feature-wall panel layouts, decorative headers, or more refined transitions at built-ins and flooring changes. These are visual upgrades, but they also create more intersections and end conditions that need to be planned rather than improvised.
A simple paint-grade package may pair modest baseboards with straightforward casing and limited shoe molding. A mid-level package might add taller baseboards, wider casing, and cleaner upgraded transitions. A detailed package can add crown, wrapped openings, and selected feature details. The practical choice is not "more trim" by default; it is a level of detail that suits the room proportions, finish budget, and desired consistency.
Scope should identify exceptions as clearly as inclusions: closets, utility rooms, wet-area transitions, stair details, feature walls, and openings affected by cabinetry may need different treatment or may be excluded. That clarity keeps baseboard installation and door casing installation from becoming a collection of last-minute assumptions.
Choosing Profiles, Materials, and Finish Levels That Work Together
Profile choices read best when they match the scale of the room rather than compete with it. In a straightforward, lower-ceiling plan, a modest baseboard and narrower casing can keep doors and wall space from feeling crowded. Rooms with taller ceilings or larger openings can carry a taller baseboard, broader casing, and a more substantial crown profile without making the trim look oversized. The goal is a clear visual hierarchy: casing frames the openings, baseboard anchors the walls, and crown, when selected, finishes the ceiling line.
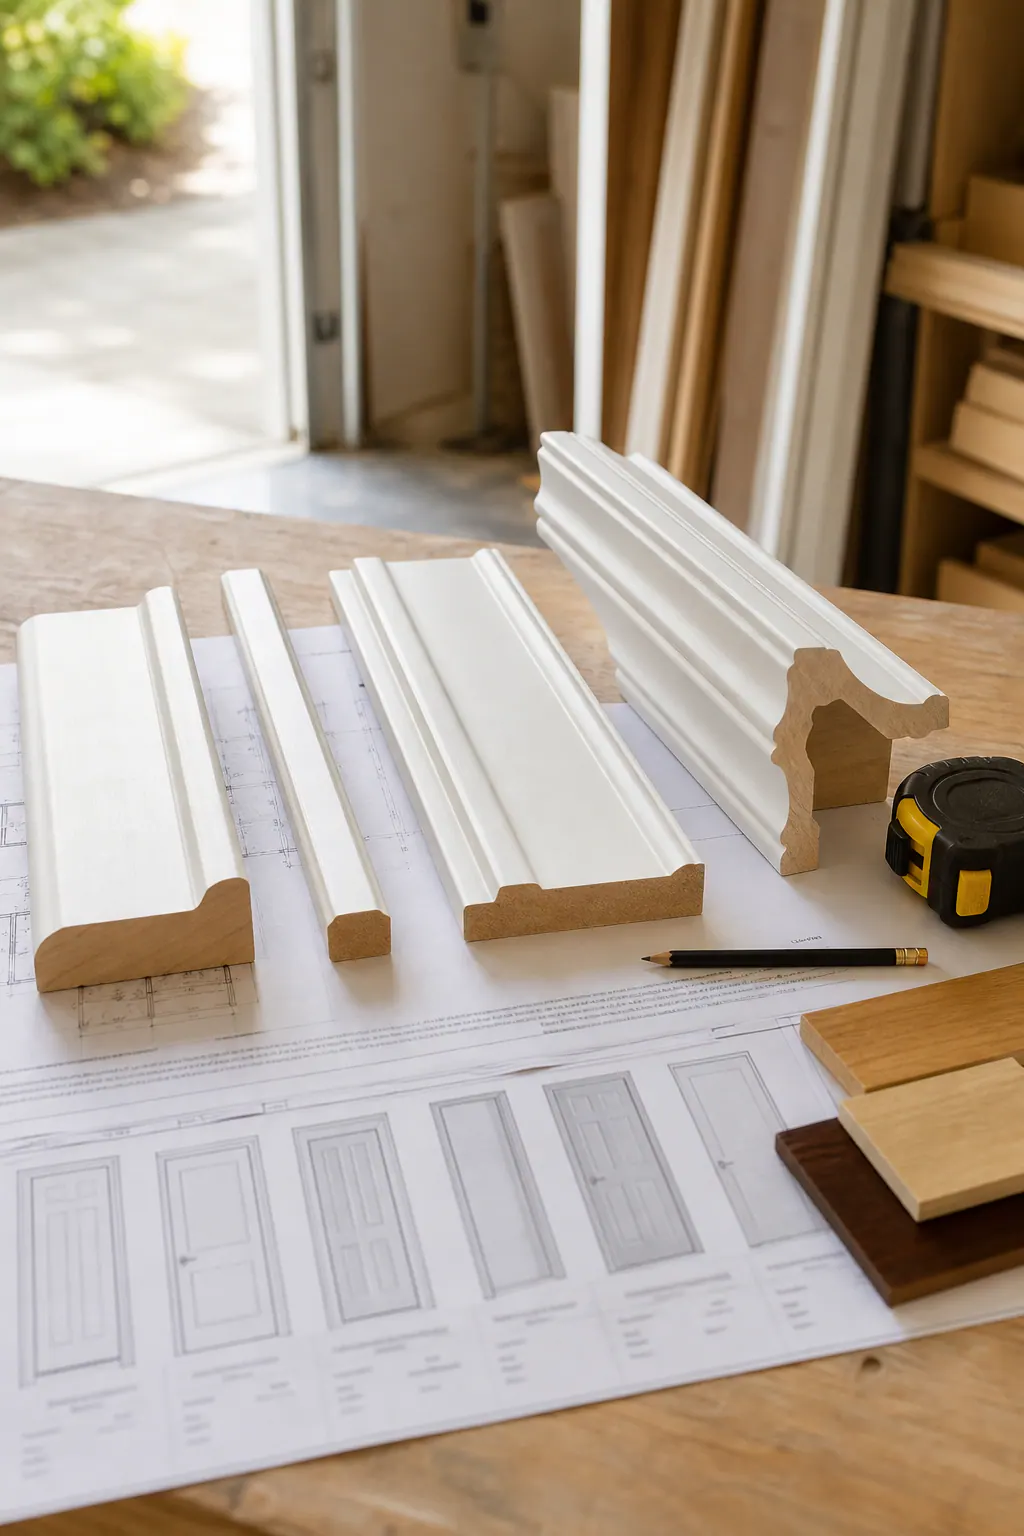
For paint-grade trim, MDF, finger-jointed pine, and solid wood each support a different set of priorities. MDF is a smooth, manufactured fiberboard option often chosen for crisp painted profiles and a consistent look on straight runs. Finger-jointed pine uses shorter wood pieces joined together, making it a practical paint-grade choice when a wood-based product is preferred. Solid wood trim brings natural grain and can suit stained work or a more traditional detail, but its color, grain, and finish preparation become part of the design decision. Material selection should account for the individual room, the paint or stain plan, expected moisture exposure, and the level of upkeep the homeowner wants.
A cohesive combination might use a simple squared or eased-edge baseboard with casing that repeats a related edge detail, then crown with a profile of similar character. A weak combination is easier to spot: an ornate crown paired with very plain, undersized casing; a tall baseboard that overwhelms a narrow hallway; or unrelated curves and stepped details at every transition. Viewing full-length samples together, not as isolated pieces, helps reveal whether the package feels intentional.
Finish carpentry in North Port, FL also comes down to the small decisions at the ends and intersections. A reveal is the narrow, deliberate setback between casing and a door jamb; keeping it even gives an opening a balanced frame. Returns should turn a molding end back neatly instead of leaving an exposed cut. Before paint, look for consistent spacing, flush joints, tight miters, and nail holes and seams prepared for the intended finish. Those details let the paint complete the trim rather than disguise unfinished work.
How New Home Trim Installation Is Sequenced
The cleanest joints depend as much on when trim goes in as on how it is cut. In a typical new-build finish sequence, installation begins after drywall is complete and the major wall surfaces have been prepared, but it must be coordinated with hanging doors, cabinetry, flooring, painting, and the remaining fixture work. The exact order can shift by room: baseboards may wait until finished flooring is down, while casing often follows door-jamb installation and adjustment.
Before cutting long runs, the installer should account for wall flatness, jamb alignment, floor-height changes, and places where cabinets or tile will meet the trim. Those conditions affect fit. A baseboard installed against an uneven wall, for example, may need a planned caulk line for a finished paint edge; forcing it tight can create a wavy run. At a doorway between floor materials, the transition detail needs to be established before trim ends are finalized rather than improvised after both surfaces are complete.
For trim installation for new construction North Port projects, the visible checkpoints are straightforward: casing reveals should remain even around each opening, baseboards should read as straight from one end of a wall to the other, and inside baseboard corners should be coped so one profile fits tightly over the other. Outside corners rely on tight miters, while exposed molding ends need clean returns instead of raw cut edges. Fasteners should secure the trim without leaving damaged faces, and nail holes, seams, and planned caulk lines should be prepared for paint. When surfaces or adjacent work change after installation, additional touch-up may be needed; that is why coordination before paint matters.
Pre-Paint Trim Walkthrough and New Construction Punch-List Work
Before the finish coat makes every surface look uniform, walk each room in good light and treat the trim as a visible system of lines, joints, and edges. A pre-paint trim walkthrough in North Port gives the homeowner, trim installer, painter, and builder a practical chance to separate items that need correction from normal finish preparation. It is a quality-control step, not a promise that paint or the broader construction project will have no later defects.
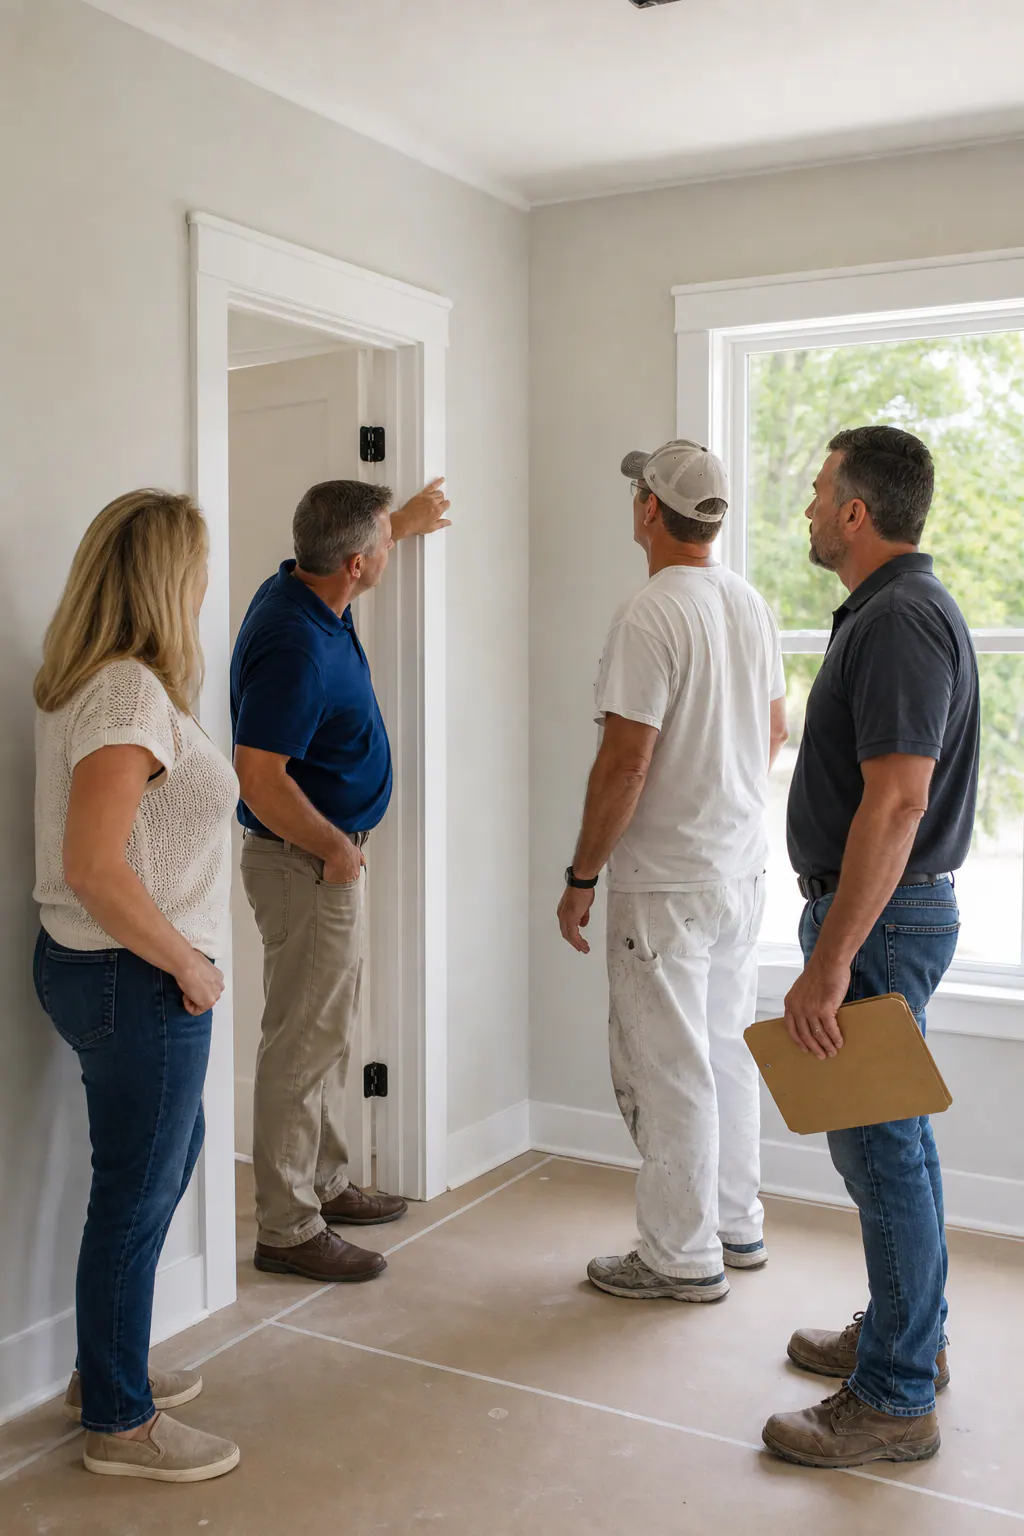
Use marked-up photos or a written list organized by room and opening. A useful new construction punch list for North Port homes identifies the location, the condition, and the responsible trade instead of relying on a general note such as "fix trim." Review:
- Joints and ends: open outside miters, separated seams, unfinished returns, and gaps where baseboard meets another wall or flooring transition.
- Alignment: casing that sits unevenly around a door, inconsistent reveals, baseboard runs that visually wander, or a profile that changes unexpectedly from one room to the next.
- Condition and fastening: loose pieces, dents, splits, damaged corners, proud fasteners, and nail holes that remain unfilled.
- Paint-readiness: rough filler, irregular caulk lines, excess caulk at edges, and seams that have not been prepared for a smooth painted appearance.
Small, uniform nail-hole filling and a restrained caulk line at a wall-to-trim edge are normal parts of paint preparation. A visibly open miter, a casing leg that does not align with the jamb, a raw exposed end, or trim pulling away from the wall is different: those are installation concerns best corrected before the finish coat makes repair more disruptive.
Some items belong outside the trim scope. A wall that is bowed, a door that needs adjustment, a flooring-height conflict, or damage caused after trim installation may require builder coordination or another trade. Recording each issue while it is accessible keeps the conversation specific and gives the final interior a cleaner path to completion.
Planning Trim Work for a North Port New Build
A smooth trim phase starts with a short coordination plan, not with boards arriving at the curb. Confirm where material can be delivered and staged without blocking other trades, when rooms will be available for installation, and who will communicate changes from the builder or project manager.
Storage is part of that plan. If climate-controlled space is available, it can provide a more stable place for trim before cutting and installation. In Florida's humid, changing jobsite conditions, discuss the material-handling and acclimation approach for the selected product rather than assuming every material should be treated the same way.
- Flooring sequence: establish whether finished flooring, tile, or carpet is in place before baseboard work. That decision affects the finished gap at the floor and whether shoe molding is part of the agreed scope.
- Paint schedule: identify what the trim installer prepares, what the painter completes, and when primer and finish coats are planned. This prevents a repair from being mistaken for unfinished installation.
- Written selections: keep the approved profiles, locations, exclusions, and finish intent together with the walkthrough date so late changes can be evaluated before material is cut.
For new construction trim in North Port, FL, timely room-by-room access matters as much as the calendar date. A walkthrough scheduled while joints, edges, and transitions remain visible gives the team a practical opportunity to assign corrections before paint, flooring protection, or final cleaning makes them harder to address.
Start With a Clear New Construction Trim Scope
Bring the decisions that shape the finish to the scope review before material is ordered or cut. For a North Port new build, that means floor plans and elevations, ceiling heights, door and window schedules, inspiration photos, any selected profiles, paint-grade or stain-grade intent, and the builder's working timeline.
A useful written scope separates the parts that can otherwise blur together: included rooms and openings; profile and material selections; crown, baseboard, and casing locations; installation tasks; paint-preparation responsibilities; exclusions; and the timing for a pre-paint walkthrough and any agreed punch-list corrections. For example, "install casing at listed interior doors" is clearer than assuming every opening, closet, or cased pass-through receives the same treatment.
If you want coordinated new construction trim North Port FL support, start the conversation with those project details. Profile guidance can turn a saved photo into a practical room-by-room selection, while a defined walkthrough plan gives visible joints, transitions, and finish-prep items a place in the process.
A clear new build trim package in North Port helps everyone see the same finish line before the final interior work begins. Reach out to review your plans, selections, installation needs, and pre-paint punch-list priorities.
Plan the next step
Compare the broader New Construction Trim Packages service.
Review the North Port, FL service area for local planning context.
When you are ready, request a free estimate with the rooms, trim goals, city, and available photos.
FAQs
What is included in a new construction trim package in North Port, FL?
A new construction trim package can include baseboards, door and window casing, jamb extensions, return trim, shoe molding, and crown molding. Optional details include window stools and aprons, wrapped openings, decorative headers, feature-wall panels, and transitions at built-ins or flooring changes.
When should interior trim be installed in a new build?
Interior trim is typically installed after drywall is complete and major wall surfaces are prepared. Casing generally follows door-jamb installation, while baseboards may wait until finished flooring is installed so the floor gap and shoe molding scope can be finalized.
What should be checked during a pre-paint trim walkthrough?
Check for open outside miters, separated seams, unfinished returns, uneven casing reveals, wandering baseboard lines, loose trim, dents, proud fasteners, and unfilled nail holes. Also inspect caulk lines, filler, and seams to confirm they are smooth and ready for paint.
How do I choose matching baseboard, casing, and crown profiles?
Choose profiles that fit the room scale and create a clear hierarchy: casing frames openings, baseboard anchors walls, and crown finishes the ceiling line. Lower ceilings often suit modest baseboards and narrower casing, while taller rooms can support wider casing, taller baseboards, and more substantial crown molding.
Is MDF or wood better for baseboards and casing in a Florida home?
MDF is commonly selected for smooth, crisp painted profiles on straight runs, while finger-jointed pine is a practical paint-grade wood option. Solid wood works well for stained trim or traditional details, but the choice should account for moisture exposure, finish plans, maintenance expectations, and Florida jobsite acclimation conditions.