
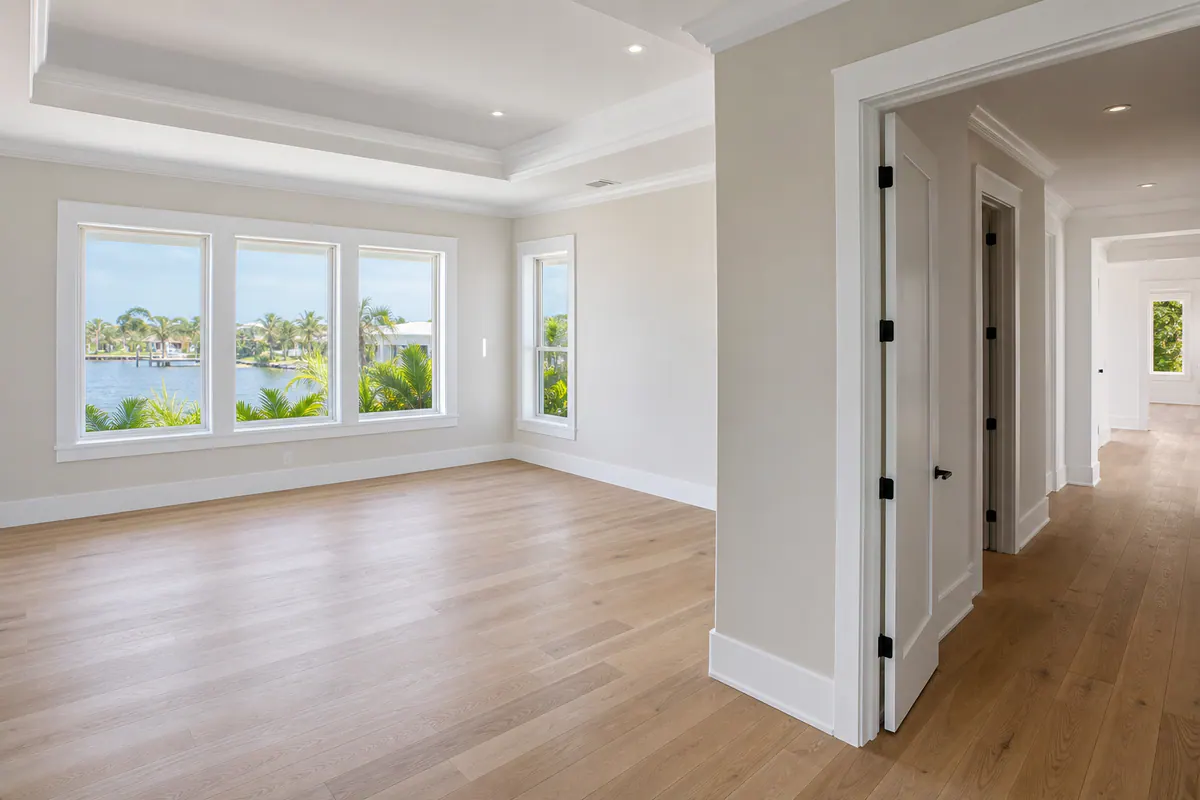
For new construction trim Sarasota FL projects, the package should begin as a coordinated interior finish scope, not a loose order for baseboards and door casing. It ties each visible edge together: baseboards meeting flooring, casing wrapping doors and windows, transitions between rooms, and details that must read consistently once the home is painted. A clean, square-edge profile supports a restrained contemporary look; layered casing or crown creates more depth for traditional or coastal-inspired interiors. The choice changes the visual language of the rooms, as well as the cuts, returns, and transitions the installation requires.
Material and profile decisions work best when they follow the approved plans, interior elevations, finish schedule, and physical samples, not an allowance description alone. The scope should identify which rooms receive which profiles, where window conditions require jamb extensions, how trim meets tile or wood flooring, and whether built-ins, cabinetry, painting, flooring, or exterior millwork are separate trades. That distinction prevents a finish-carpentry scope from quietly expanding after installation begins.
Installation also has to fit the build sequence. Drywall condition, interior door placement, finished-floor elevations, and the painter's preparation window all affect the final appearance. Before paint, the team should have a practical opportunity to review alignment, joints, fastening, transitions, and caulk readiness against the agreed scope. For homeowners, builders, and project managers, that coordination is what turns a new-build trim package into a finished interior rather than a collection of individual moldings.
What Belongs in a Residential New-Build Trim Package
A usable trim scope starts by naming every finished edge in every room, rather than relying on a single allowance label. Core line items can include baseboards along the floor, casing around interior doors, window casing at trimmed openings, and the interior door trim that completes each opening. Jamb extensions are added when the finished wall plane sits deeper than the door or window frame; they bring that frame face flush with the wall so casing has a clean surface to cover.
Floor and window conditions need their own entries. Shoe molding is a small, separate profile at the baseboard-to-floor joint that can cover a narrow flooring gap; a room designed for a tight baseboard-to-floor meeting may omit it. A window stool is the horizontal interior ledge, while apron trim is the piece directly below it. Crown molding finishes the wall-to-ceiling line and may be one profile or a built-up combination of crown, backer, and smaller accent moldings. The schedule should also show where baseboards terminate at stairs, tile, cabinetry, cased openings, and changes in flooring.
A new build trim package Sarasota homeowners select can extend beyond those essentials with wall paneling, wainscoting, feature walls, or layered casing and crown assemblies. Wainscoting is a lower-wall treatment built from rails, stiles, panels, and often a cap; a feature wall uses applied trim or panel layout to create a focal point. Interior elevations should establish panel spacing, rail height, end points, and how the layout works around outlets, switches, cabinetry, and wall fixtures before pieces are cut.
"Standard trim" and "custom trim" are too broad to direct interior trim installation. A stronger room-by-room schedule identifies the profile, size, material, finish intent, included doors and windows, stools, aprons, shoe molding, crown, and special wall details for each space. It should also state exclusions and responsibility boundaries, for example, flooring perimeter gaps, supplied doors or window components, and cabinetry-related scribe or filler work. That specificity gives baseboard and casing installation Sarasota projects a defined scope to price, sequence, and review before paint.
Choose Trim Profiles That Support the Home’s Architecture
Profile decisions are where a room's trim begins to look deliberately composed rather than simply finished. Square-edge or lightly eased-edge baseboards and casing have a crisp, quiet face that works naturally with contemporary interiors, flush details, and simple door styles. Layered casing adds stepped depth around an opening; paired with taller baseboards, crown, or built-up assemblies, it gives traditional and coastal-inspired rooms a more formal frame. Neither direction is inherently better, the profile should reinforce the architecture and the level of visual detail elsewhere in the home.

Scale matters as much as shape. A narrow casing can look lost beside tall doors, high ceilings, or generously spaced windows, while an oversized built-up treatment can crowd a small room or compete with low soffits. Interior elevations should show casing width, baseboard height, crown treatment, and any paneling layout together. Review how those lines meet at adjacent openings, stair walls, ceiling changes, and cased passages; an attractive molding on its own can still create an awkward stop, uneven reveal, or misaligned transition.
Consistency does not require every room to receive identical trim. It means changes have a reason: a quieter secondary bedroom, for example, may use the same baseboard and a simpler casing than a formal entry feature wall. For a custom trim package Sarasota project, select physical profile samples or create a labeled wall mockup before material is ordered. Place the sample near an actual door, window, ceiling, and flooring selection so the team can judge face width, projection, layering, and paint-shadow lines at full scale. Approving that reference gives the installer, builder, and painter one clear visual target throughout the house.
Select Paint-Grade or Stain-Grade Trim Materials for the Conditions
The finish sample should drive the material choice as much as the selected profile. Paint-grade trim is intended to receive an opaque coating, so the decision centers on surface smoothness, edge detail, joint treatment, and the painter's specified system. Stain-grade trim leaves the wood visible, making grain pattern, color variation, board matching, and cut ends part of the finished design rather than details hidden beneath paint.
Paint-grade MDF offers a consistently smooth face and clean machined detail, which can suit crisp contemporary casing, baseboards, and more elaborate painted profiles in dry, conditioned interior areas. Its practical tradeoff is location: identify bathrooms, laundry areas, wet-bar surrounds, exterior-adjacent openings, and other places where moisture exposure or material transitions deserve a separate decision. Long, uninterrupted runs also need a plan for seams, wall variation, and the finished appearance of joints.
Finger-jointed pine is a paintable wood option assembled from shorter pieces. It can be a workable choice where a wood substrate is preferred, but natural variation and finger-joint locations should be considered in relation to the paint color, sheen, and expected surface appearance. Poplar is another paint-oriented wood option, valued when a machinable hardwood is useful for custom parts, shaped edges, returns, or details that need to be fabricated to suit the opening.
Stain-grade hardwoods belong where visible grain and color are intentional parts of the room, such as a wood-cased opening, beam treatment, or contrasting feature detail. Species selection changes the grain character, color range, and how consistently boards can be matched across a room. Before ordering, approve a finish sample on the selected material and review it beside the flooring, doors, wall color, and lighting. That checkpoint gives the finish carpentry team a clear target for material transitions and the painter or finisher a defined expectation for the final surface.
Coordinate Trim Installation With Doors, Drywall, Flooring, and Paint
Fit begins at the openings and floor line, not when the first casing is cut. Trim is commonly installed after drywall is complete and ready for finish work, but the exact point in the schedule depends on the approved door, window, flooring, and paint details. Interior door frames must be set and their swing, jamb depth, and finished-wall relationship resolved before casing can frame them. Where the jamb sits back from the wall face, a jamb extension brings it flush; where a profile terminates into another surface, a planned return gives that edge an intentional finish.
Flooring strategy changes the baseboard decision. Installing baseboard after finished flooring establishes the visible clearance directly, while installing it before flooring requires the planned floor thickness to be carried accurately through every room. Shoe molding is the small trim piece used at the baseboard-to-floor transition; it can cover a narrow irregular gap, but it should be included only where its profile and paint treatment belong in the design. Floor elevations at tile, wood, carpet, and threshold transitions should be field-verified before new home trim installation Sarasota crews begin.
Drywall corners, wall straightness, opening dimensions, and access also affect how finish work proceeds. Wall paneling or other decorative treatments may need to go in before adjacent baseboard or casing so seams and edges land in the intended order. The painter needs access for primer, caulk, sanding, and coating, while the trim team needs a clean, stable work area free of unfinished flooring or active wet trades. A strong new construction finish carpentry plan identifies who handles caulk, nail-hole filling, paint touchups, and minor transition corrections, rather than leaving those handoffs unresolved after installation.
For interior trim installation Sarasota projects, the practical checkpoint is a current schedule paired with a field walk: confirm door and window conditions, jamb extensions, finished-floor heights, wall-treatment limits, paint sequence, and protected areas before material is staged. That coordination protects the intended reveals and keeps the final order aligned with the project's approved construction schedule and finish details.
Use a Pre-Paint Trim Walkthrough to Catch Finish Details Before Coating
A pre-paint trim walkthrough is the point to catch visible installation issues while corrections are still direct, rather than trying to hide them under primer and finish coats. Walk each room with the approved profile sample or trim schedule in hand. Look for consistent profile use where it was intended, securely fastened pieces, straight baseboards and casing, and even alignment across related openings. At doors and windows, confirm that casing sits consistently against the jamb and that reveals read evenly from side to side.
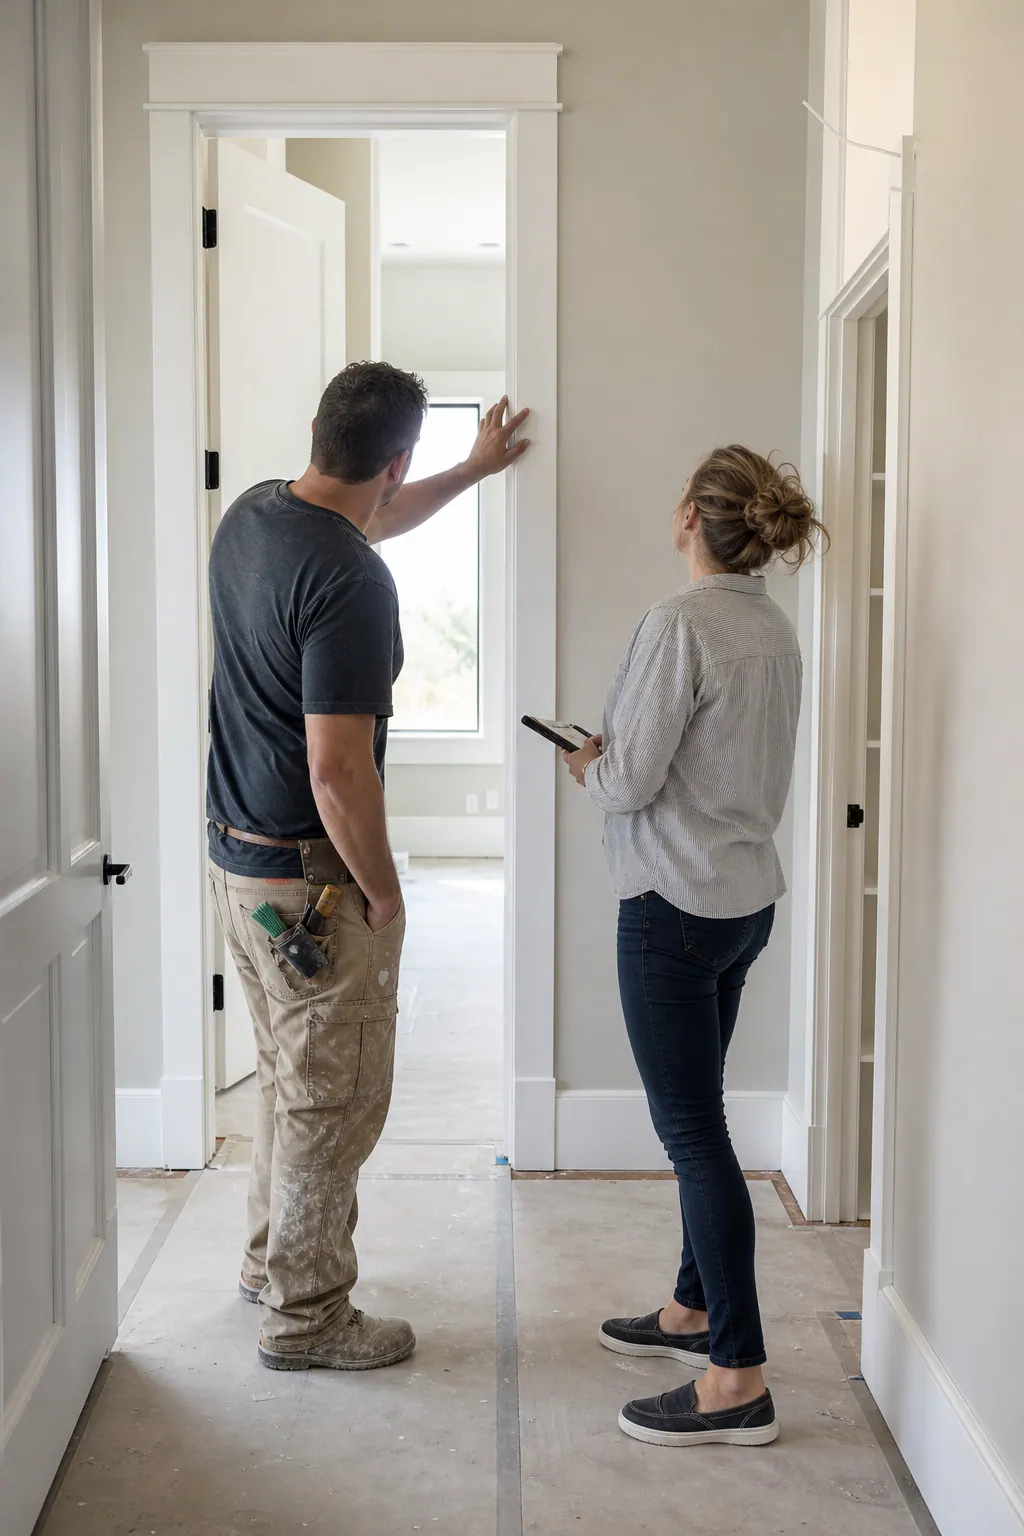
- Review joints closely: tight miters, clean coped inside corners where coping was specified, and outside corners that meet without a noticeable offset.
- Identify visible gaps, open end grain, loose returns, proud fasteners, split material, or baseboard transitions that do not meet the finished floor cleanly.
- Check feature walls for intended layout, symmetrical spacing, level rails or panels, and trim edges that terminate in the planned locations.
- Note whether nail holes are set for filling and whether joints and wall-to-trim edges are ready for the assigned caulk process.
The distinction between a correction and paint preparation should be clear. A separated miter, misaligned casing leg, bowed board, poorly placed fastener, or missing return is a trim correction to address before primer. Filling properly set nail holes, applying specified caulk at paintable seams, sanding filled areas, spot-priming, and preparing for final coats are often painter responsibilities, but only if the scope assigns them that way. A weak handoff simply says "paint-ready." A useful pre-paint trim walkthrough Sarasota checklist names the room, component, observed condition, required action, responsible party, and target completion date.
Photograph each punch item from a wide view and a close view, then mark its exact location: "primary bedroom, east wall, closet-door head casing," for example. That record helps the builder, trim team, and painter distinguish completed corrections from final coating prep before paint makes small defects harder to evaluate.
Plan Your Sarasota New-Construction Trim Scope Before Installation Begins
Bring the decision-making materials together before requesting a proposal. Useful inputs include plans and interior elevations, door and window schedules, ceiling heights, flooring selections, paint or stain intent, profile photos or samples, material preferences, and any wall panels, beams, or other optional details. A flooring selection matters because it establishes the baseboard relationship; a stain selection matters because visible grain and board matching become part of the finish.
For a Sarasota finish trim contractor, the strongest starting package also identifies the construction schedule and the intended pre-paint walkthrough. A clear room-by-room scope lets the owner, builder or project manager, trim installer, painter, flooring installer, and door supplier work from the same decisions. In contrast, a vague allowance leaves material, profile, included openings, and responsibility boundaries open when those choices are harder to change.
Ask for a written proposal that names the rooms and components included, selected profiles and materials, exclusions, installation assumptions, optional upgrades, and the walkthrough process. That level of detail makes proposals easier to compare and gives the team a practical path for resolving decisions before installation is underway. Share your project documents and finish references to begin coordinating a custom trim package Sarasota homeowners and building teams can follow from layout through paint preparation.
Plan the next step
Compare the broader New Construction Trim Packages service.
Review the Sarasota, FL service area for local planning context.
When you are ready, request a free estimate with the rooms, trim goals, city, and available photos.
FAQs
What is included in a new construction trim package in Sarasota, FL?
A complete trim package typically includes baseboards, interior door casing, window casing, jamb extensions where wall depth requires them, and interior door trim. It may also include shoe molding, window stools and aprons, crown molding, wainscoting, feature walls, and built-up casing assemblies.
When should interior trim be installed in a new build?
Interior trim is commonly installed after drywall is complete and ready for finish work, with door frames and window conditions already resolved. Finished-floor elevations, jamb depths, flooring sequence, and the painter’s access for caulk, primer, sanding, and coating should be verified before trim installation begins.
What trim material is best for a Sarasota home?
Paint-grade MDF works well for smooth painted trim in dry, conditioned interior areas, while finger-jointed pine and poplar are paintable wood options for custom parts and shaped details. Stain-grade hardwood is best when visible grain and color are intentional, but moisture-prone locations such as bathrooms, laundry areas, wet bars, and exterior-adjacent openings need separate material decisions.
What should be checked during a pre-paint trim walkthrough?
Check that baseboards and casing are straight, securely fastened, aligned across openings, and installed with consistent jamb reveals. Inspect miters, coped corners, returns, fasteners, gaps, split material, feature-wall spacing, nail-hole filling readiness, and caulk readiness before primer and finish coats.
Can a builder use a custom trim package instead of standard baseboards and casing?
Yes. A custom package can combine specific baseboard heights, casing widths, crown treatments, jamb extensions, window stools, aprons, wainscoting, feature walls, and layered trim assemblies by room. The scope should identify profiles, sizes, materials, included openings, exclusions, and responsibility boundaries so it can be priced and installed accurately.