

Remodel Trim Packages That Make a Laurel Renovation Look Complete
For remodel trim Laurel FL projects, trim is the finishing system that ties a renovation together, not a last-minute cosmetic add-on. Baseboards establish a clean edge where walls meet new flooring; door and window casings frame the openings; crown can finish the wall-to-ceiling line; and transition details resolve changes between floor materials, heights, and rooms.
A coordinated package makes new doors, cabinets, wall finishes, and paint colors read as part of one plan. The opposite is easy to spot: a tall, ornate casing can overwhelm a low-ceiling contemporary room, thin baseboards can look lost beside tall doors, and a glossy touch-up stripe beside satin walls can make otherwise fresh paint feel patchy. A poorly planned floor transition may also leave an awkward gap or force trim into an uneven line.
The right scope depends on what the remodel changes and what stays. Retaining original trim may call for careful profile matching around a single renovated room, while a whole-home update can support one new profile family throughout. Room scale, ceiling height, existing character, cabinet style, flooring thickness, and the order of drywall, flooring, door, cabinet, and paint work all affect the result. Clean finish carpentry shows in aligned casing legs, controlled caulk lines, filled nail holes, and transitions that look deliberate rather than improvised.
What a Coordinated Remodel Trim Package Can Include
A useful scope starts by separating the trim required to finish the room perimeter from the upgrades that add architectural emphasis. Core items usually include baseboards along exposed walls, door casings that cover the joint between the jamb and drywall, and window casings where windows are being reframed or updated. Shoe molding or quarter round is a smaller strip at the baseboard's bottom edge; it can soften an uneven floor line or cover a narrow perimeter gap without replacing the baseboard itself.
- Perimeter trim: baseboards, door casings, window casings, and any needed shoe molding or quarter round. This is the practical starting point for a kitchen, bath, bedroom, or addition remodel.
- Decorative additions: crown molding at the ceiling line, wall trim such as panel molding or board-and-batten, and built-up headers. These details can give a room more presence, but they are optional rather than automatic parts of trim packages in Laurel, FL.
- Finish details: returns where an exposed trim end needs a finished edge, deliberate transitions where profiles or floor levels change, filled nail holes, smooth caulk lines, and paint preparation that avoids ridges or flashing around new work.
A room-specific package might give a remodeled kitchen new baseboards, adjusted door casings where a jamb has changed, and clean terminations at cabinetry and flooring. A whole-home interior update can instead establish the same baseboard height, casing profile, paint sheen, and transition approach from room to room. Neither approach needs crown molding or wall trim; the choice should reflect the rooms being altered and the visual standard the finished areas need to meet.
Completeness is visible in the small connections. Casing legs should land evenly at the floor, inside corners should close cleanly, and a baseboard should not wander over a low spot without a planned transition. Those details turn installed boards into a finished trim package rather than a collection of new pieces.
Choose Profiles and Proportions That Fit the Home and Remodel
Proportion is often the difference between trim that feels settled and trim that looks pasted onto a remodeled room. Start with the openings: taller doors and generously sized windows can carry taller baseboards and broader casings, while compact rooms or lower ceilings usually benefit from a quieter profile. A narrow baseboard beside tall doors can feel undersized; an oversized, ornate casing can make a low-ceiling contemporary room feel crowded.
- Simple squared-edge profiles use flat faces and crisp, minimal steps. They suit contemporary cabinetry, slab or Shaker doors, and restrained wall colors. Pair a clean, taller flat baseboard with similarly simple casing rather than adding heavily decorative crown molding.
- Craftsman-style trim relies on flat stock, defined edges, and often a slightly built-up header. It brings visual weight without curves, making it a natural direction for rooms with Shaker cabinetry or straightforward architectural lines. Keep cabinet-adjacent trim similarly plain so the details do not compete.
- Colonial profiles introduce softer curves, beads, or ogee-like contours. They can relate well to traditional doors, existing rounded casings, and more layered interiors, especially when the baseboard, casing, and crown molding share a similar level of detail.
- More ornate profiles add deeper relief and stronger shadow lines. Used selectively, they can give a formal room presence; used everywhere beside sleek cabinets, low ceilings, or limited wall space, they can overwhelm the remodel.
For baseboard replacement in Laurel, FL, look at the relationship between the new baseboard and the casing before choosing either piece alone. A taller baseboard generally needs casing with enough width and presence to keep door openings from looking visually slight. Crown molding should also have a reason to be there: it can complete a taller, more traditional room, but a simple ceiling line may better support a modern profile package.
Matching existing trim makes sense when most connected rooms, doors, and windows remain intact. If the remodel changes several visible openings, cabinets, and floor areas, replacing enough adjacent elements to establish one intentional profile family often produces a cleaner result than forcing a near-match beside obviously new work. Wall color matters, too: same-color trim creates a quieter architectural edge, while contrasting paint makes every profile, joint, and transition more prominent.
Compare Trim Materials and Finish Plans for Florida Interiors
The finish you want should drive the material choice from the start. Paint-grade MDF is an engineered trim option often selected for smooth, consistent painted profiles, particularly where a room calls for long, simple runs of baseboard or crisp casing detail. Its tradeoff is that locations with repeated splash exposure, an unresolved leak risk, or dampness near an exterior opening deserve more deliberate material and finish planning than a dry bedroom or living area.
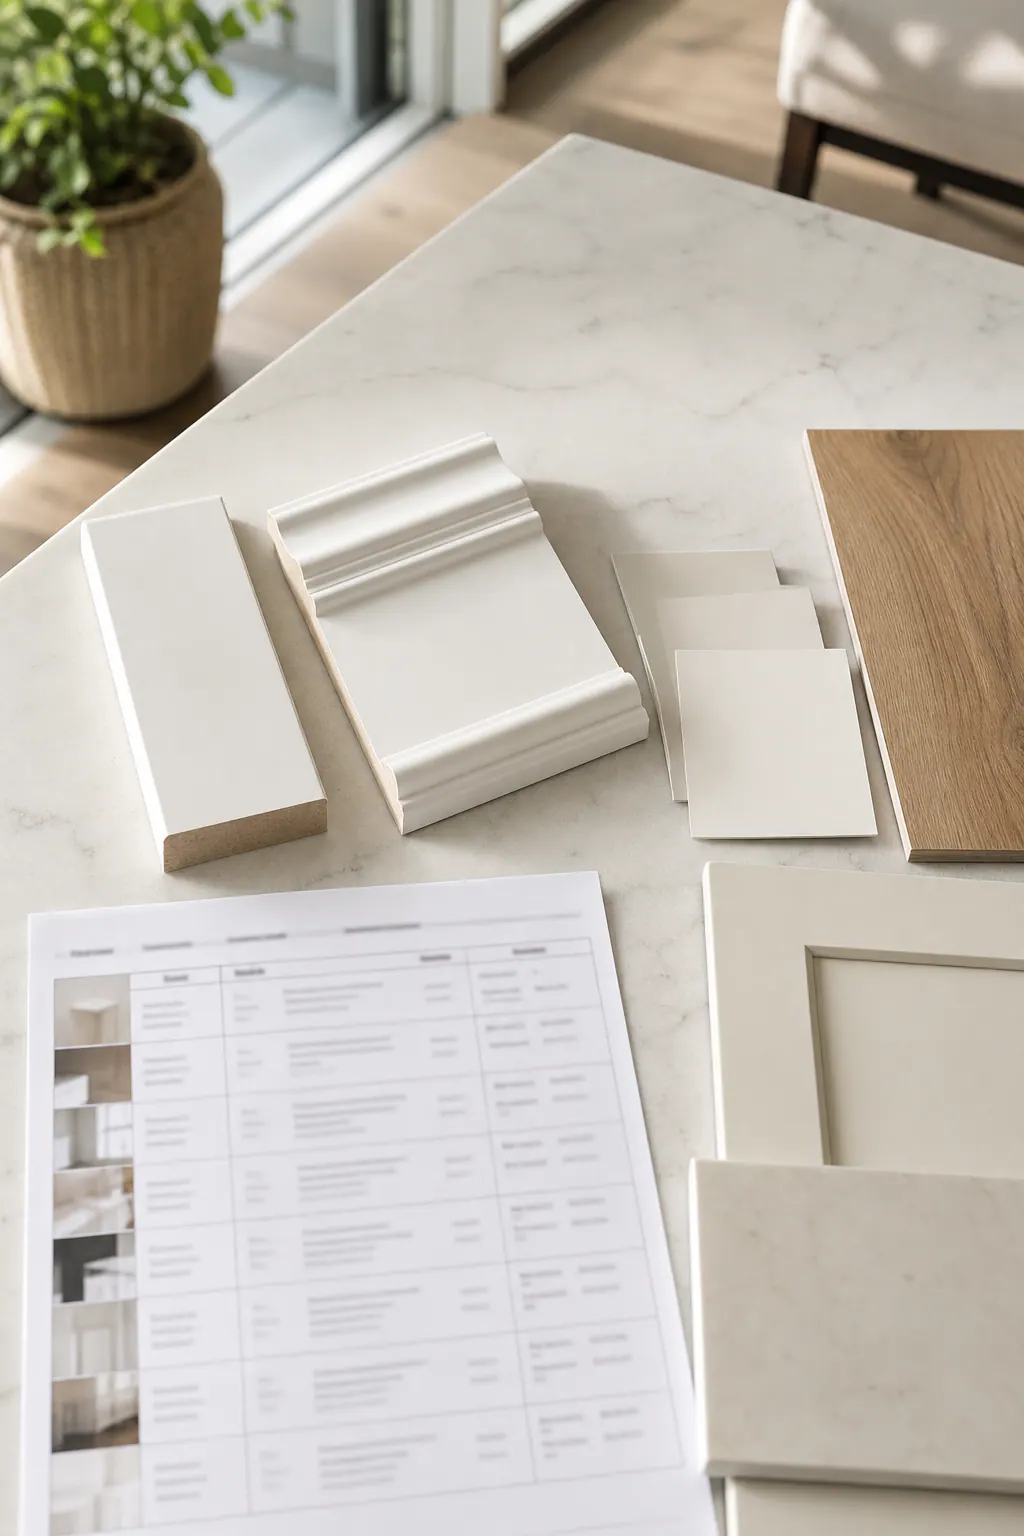
- Finger-jointed wood combines shorter wood sections into paint-ready boards. It can be a practical fit when the package needs painted trim with a wood-based installation feel, but visible joints, dents, and end conditions need to be prepared carefully before paint.
- Solid wood is the natural choice when the goal is a stain-grade trim package that shows grain and color variation. It also gives individual damaged areas more potential for localized repair, though the selected species, board appearance, and site conditions all affect how consistent the finished runs look.
- Project-specific composite or moisture-tolerant options may make sense at a bath perimeter, laundry area, or transition close to an exterior door. The point is not to use one material everywhere, but to avoid treating a high-exposure location like an ordinary dry-wall run.
For trim replacement in Laurel, FL, material is only half the decision. Pair it with a paint and caulking plan: define the sheen, decide whether trim and walls will contrast, and choose a caulk approach that produces a narrow, controlled paint line rather than a swollen seam. Dark or high-contrast paint makes nail filling, joints, and caulk lines especially visible.
Before cutting begins, let trim acclimate in the remodeled interior and account for walls or floors that are not perfectly straight. A polished paint-grade trim result has aligned casing legs, filled nail holes that disappear under finish paint, and caulk used to refine small wall gaps, not to hide poor-fitting boards or failed transitions.
Coordinate Trim Installation With Flooring, Doors, Cabinets, and Paint
Installation order is where a well-chosen package either keeps its clean lines or starts accumulating workarounds. Demolition, framing adjustments, drywall repair, and wall flattening should be settled before final measuring; a casing cannot maintain an even reveal, the narrow, consistent strip of jamb left visible around a door, if the jamb is twisted, proud of the wall, or changed later.
Flooring is a major sequencing decision because its finished thickness determines where baseboard lands. In many projects, flooring goes in before baseboard so the trim can sit neatly on the finished surface. In others, particularly with a floor system that needs perimeter expansion space, baseboard may be installed after the flooring while leaving the required gap hidden behind it. Shoe molding is the small, flexible-looking strip added at the baseboard's bottom edge. It can cover a modest perimeter gap or a slightly uneven floor line; it should not become a substitute for a baseboard that was cut too short or installed over a severe dip.
New doors deserve the same advance planning. A replacement slab may leave the existing jamb and casing intact, while a new prehung door changes the jamb, hinges, and the drywall-to-jamb connection that casing must cover. For door casing installation in Laurel, FL, measure after jamb work is complete and before final paint so both casing legs can finish evenly at the floor and keep matching reveals from side to side.
In kitchens and baths, set cabinets, countertops, backsplashes, and permanent built-ins before resolving adjacent trim ends. This prevents a baseboard or window casing from being installed only to be cut back when a cabinet panel, tile edge, or countertop return arrives. Plan whether baseboard dies cleanly into a cabinet side, meets a finished end panel, or transitions at a doorway.
A practical sequence is wall repair, finished floor and door-jamb decisions, cabinet and backsplash placement, trim fitting, nail filling and controlled caulking, then final paint and touchups. The exact order can change with the flooring system and scope, but the checkpoint stays the same: no trade should force a visible trim joint, uneven transition, or painted patch after the finish work is supposed to be complete.
What Clean Remodel Finish Carpentry Looks Like
At the final walkthrough, look past the profile choice and follow each line from one surface to the next. Clean remodel finish carpentry in Laurel is visible in consistent casing reveals, level-looking baseboard runs, and casing legs that finish at matching heights. A reveal that narrows at the top of a door or one leg that appears to float above the floor draws attention because the opening no longer reads as balanced.

- Outside corners: Tight miter joints meet at a crisp point without an open V-shaped seam. A small paintable line may be refined during finishing, but heavy caulk used to bridge a separated miter usually leaves a rounded, soft-looking corner.
- Inside corners: Coping means one baseboard end is shaped to fit the face of the adjoining piece. It often produces a more deliberate inside-corner connection than simply forcing two square-cut boards together, especially where walls are not perfectly square.
- Ends and transitions: Exposed trim ends should receive a clean return, a short piece that turns the profile back to the wall, instead of showing raw end grain. Where a wall bows or a floor dips, a scribed fit follows that irregular surface more closely than a wide, uneven caulk gap.
- Paint preparation: Nail holes should be filled smoothly, sanded flush, and disappear under paint. Caulk lines should be narrow and controlled, defining the trim-to-wall edge rather than becoming a visible bead.
Older homes may not offer straight walls, square openings, or perfectly flat floors. The goal is not to pretend those conditions do not exist; it is to resolve them intentionally. A tailored scribe, discreet transition, or carefully placed shoe molding can look far cleaner than forcing straight stock into an irregular surface and relying on excessive filler to hide the result.
Plan a Trim Replacement Scope That Supports the Entire Remodel
Put the decisions on one room-by-room worksheet before ordering trim. Mark what remains, what is replaced, and each opening or edge that needs baseboard, casing, crown, shoe molding, or a transition. Choose one profile family and finish direction: a simple painted square-edge package reads differently from a layered traditional profile, so carry that choice through connected rooms rather than selecting pieces one at a time.
- Record finished flooring thickness, flooring-change locations, door and window conditions, cabinet ends, and paint colors.
- Review actual profile samples beside existing trim, flooring, doors, and paint swatches. A sample that looks balanced in isolation may feel too heavy beside a low ceiling or too slight next to a tall door.
- Before broad installation, approve a fitted sample area with the intended reveal, corner treatment, and paint line.
For trim packages in Laurel, FL, this written scope keeps late changes from turning into piecemeal fixes. Cost and timing depend on the material, number of rooms, wall and floor conditions, and coordination with the wider remodel, but a defined package gives the final walkthrough a clear standard: every transition has a planned finish, not an improvised one.
Plan the next step
Compare the broader Remodel Trim Packages service.
Review the Laurel, FL service area for local planning context.
When you are ready, request a free estimate with the rooms, trim goals, city, and available photos.
FAQs
What is included in a remodel trim package in Laurel, FL?
A core remodel trim package includes baseboards, door casings, window casings where needed, and shoe molding or quarter round for small floor gaps. Optional upgrades include crown molding, panel molding, board-and-batten, built-up headers, finished returns, and planned transitions.
Should trim be installed before or after new flooring?
Baseboard is commonly installed after finished flooring so it sits neatly on the completed surface and hides required perimeter expansion gaps. Flooring thickness must be confirmed before final trim measurements because it determines where baseboard and casing legs land.
How do I choose the right baseboard height and casing profile for a remodel?
Match trim proportion to room scale, ceiling height, and opening size: taller doors and large windows can support taller baseboards and broader casings. Lower ceilings and compact contemporary rooms typically look better with quieter, simpler profiles instead of oversized ornate casing or crown.
What trim material works best for humid Florida interiors?
Paint-grade MDF works well for smooth painted trim in dry living areas and bedrooms, while solid wood is the preferred option for stain-grade trim that shows natural grain. Baths, laundry areas, exterior-door transitions, and locations with splash or dampness need moisture-tolerant materials and a deliberate paint and caulking plan.
How can I tell whether finish carpentry is installed well?
Look for consistent door-jamb reveals, casing legs that end evenly at the floor, level-looking baseboards, tight outside miters, coped inside corners, and returned exposed trim ends. Nail holes should be filled and sanded flush, while caulk lines should stay narrow and controlled rather than hiding gaps or poor-fitting boards.