
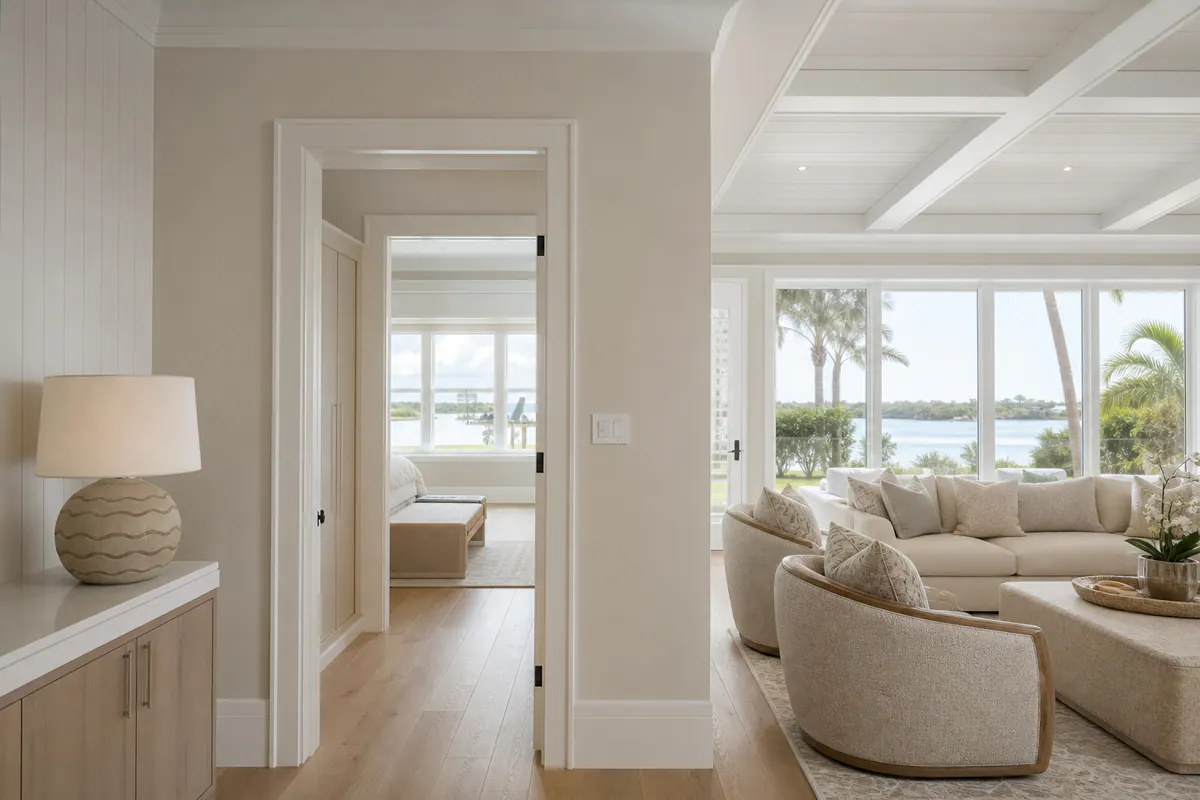
Remodel Trim Packages That Make a Longboat Key Home Feel Complete
A remodel feels more resolved when trim is planned as one visual system instead of selected room by room. A coordinated package can bring together baseboards at the floor, door and window casings around openings, crown molding at the ceiling, flooring transitions, wall paneling, and smaller details such as returns, caps, and built-up surrounds. Each piece has its own job, but the shared profile language is what makes new flooring, cabinetry, doors, and wall finishes appear intentional.
For remodel trim in Longboat Key, proportion and continuity matter. A clean, square-edge casing may complement contemporary flat-panel doors and streamlined cabinetry, while a more layered casing and crown arrangement can support a traditional interior. Tall, elaborate crown can feel crowded beneath a lower ceiling; a restrained profile often creates the stronger result. Existing millwork worth retaining should guide the new package, rather than becoming an isolated mismatch.
Location also changes the material decision. Interior trim in a conditioned living room faces different conditions than trim near a humid bath, a frequently opened exterior door, or a more exposed enclosure. Humidity, moisture, salt air, and temperature movement call for a room-by-room approach to stock, joints, and finish, not a single material choice applied everywhere. Thoughtful trim packages Longboat Key homeowners choose begin with those conditions, then carry the same design language throughout the remodel.
What to Include in a Coordinated Trim Package
Begin at the floor line: baseboards cover the flooring edge, create a clean wall termination, and absorb the everyday scuffs that would otherwise mark the lower wall surface. Around openings, casing provides a finished border that helps new doors, windows, and wall finishes read as part of the same remodel.
- Core package: Baseboards and casing are the practical foundation for most remodeled rooms. Crown molding defines the wall-to-ceiling transition and can add formality in living areas, dining rooms, or entries, but it is not necessary in every space.
- Gap-solving details: Shoe molding is a small strip at the baseboard and floor that covers minor flooring gaps. Jamb extensions bring a door or window frame flush with a thicker finished wall, while transition pieces resolve changes between flooring materials or room edges.
- Architectural upgrades: Wainscoting, chair rail, wall paneling, coffered-ceiling details, reveal trim, and shadow gaps are optional layers. They can give a dining room, foyer, hallway, or primary suite stronger character without making every bedroom equally formal.
A basic interior trim remodel in Longboat Key might include new baseboards, consistent casing at replaced doors, and the transitions needed after flooring work. A broader whole-home finish-carpentry scope may also address every window opening, crown in selected public rooms, built-up feature walls, custom returns, and coordinated details around cabinets or fireplace surrounds. The difference is not simply more molding; it is a room-by-room plan for where added detail supports the architecture and where restraint looks better.
For example, a living area may benefit from casing, a proportionate crown profile, and a carefully detailed flooring transition, while a compact bath may need only durable baseboard, casing, and clean jamb alignment. Listing each room and opening prevents assumptions during trim installation in Longboat Key: identify which openings receive casing, where crown starts and stops, which walls receive paneling, and how new trim meets existing elements that remain.
Choose Trim Materials for Longboat Key’s Coastal Conditions
Material choice becomes especially important at the edges of a remodel: near baths, laundry areas, exterior doors, and openings where humid air, wet cleaning, condensation, or salt-air exposure can place more demand on trim.
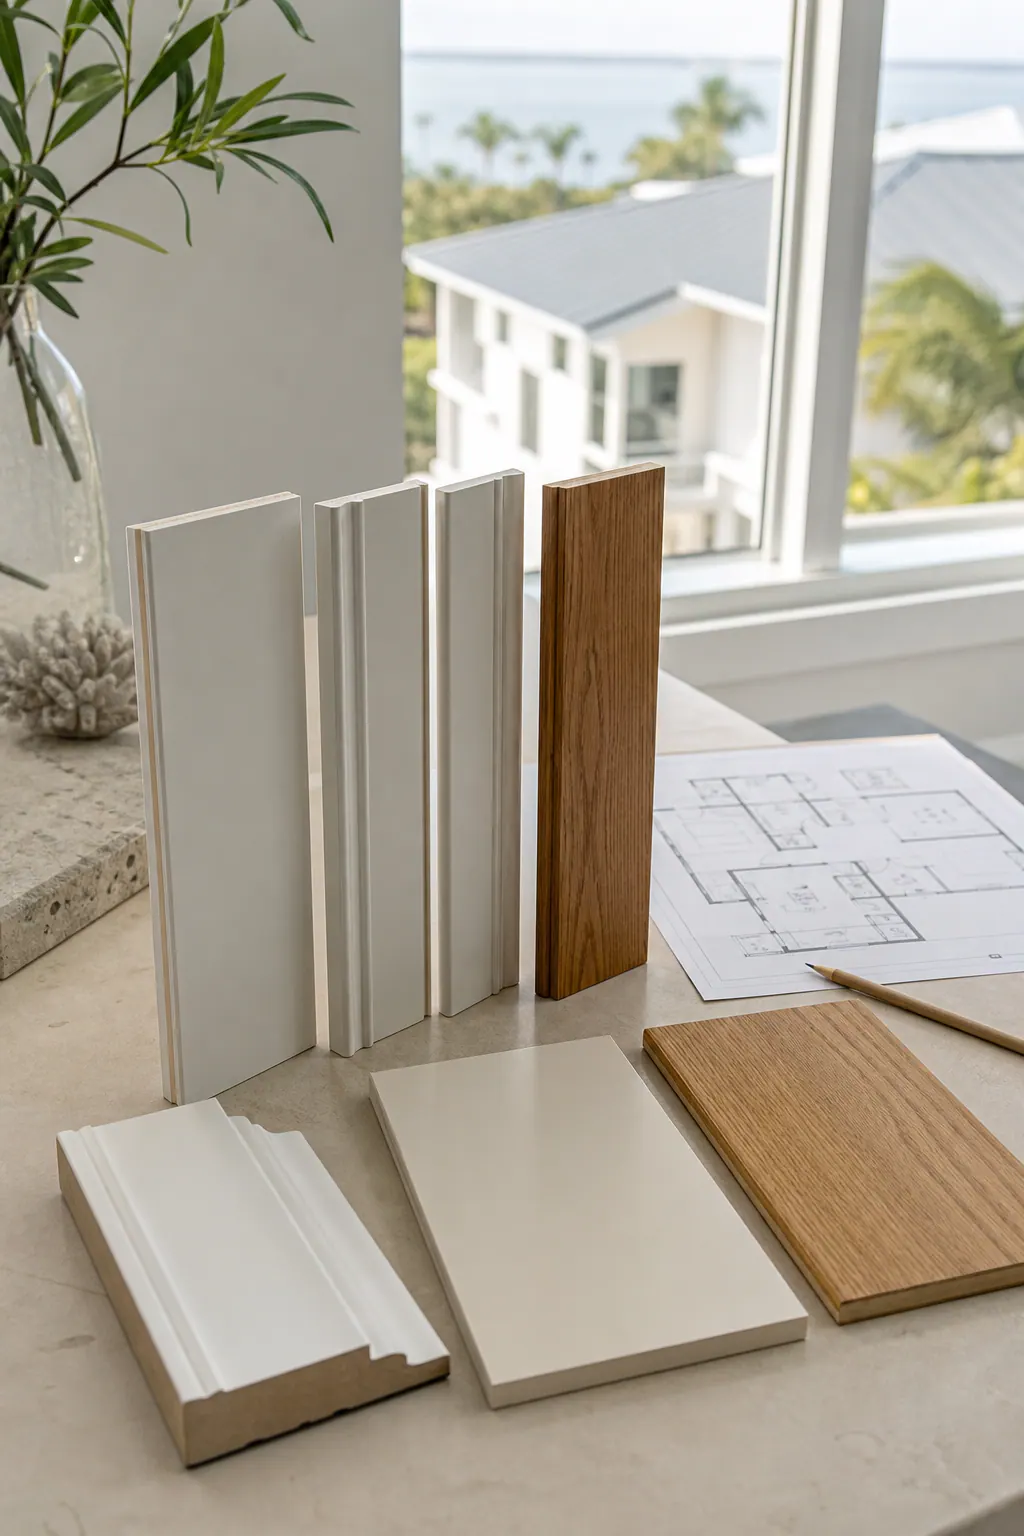
Solid wood is the natural choice when the goal is a visible grain and a true stain-grade appearance. It can be shaped into detailed profiles and repaired or refinished over time, but wood can move with changing conditions. A well-planned installation allows for that movement rather than forcing rigid joints that may open or shift. It is best suited to locations where the desired stained look outweighs the added attention to material selection, acclimation, and finish maintenance.
Moisture-resistant MDF is a dense, smooth engineered board commonly used for painted interior baseboards, casings, and crown. In a conditioned living room, bedroom, or hallway, it can create crisp paint-ready profiles without the grain pattern that would show through a painted wood finish. It is not a substitute for managing active moisture, though; edges, cuts, and joints need a complete coating system, particularly where routine damp cleaning or occasional condensation is possible.
PVC and composite trim are worth considering where conditions are more demanding, such as exterior-adjacent openings, semi-exposed spaces, or areas with recurring moisture risk. These products can be practical for paint-finished work, but their fastening, joint treatment, expansion allowance, and coating requirements differ from wood-based stock. A clean result depends on using the material as a system rather than treating it like interchangeable lumber.
For trim replacement in Longboat Key, begin with the finish goal and room conditions together. Stain-grade stock needs an attractive, consistent face because the material remains visible; paint-grade stock prioritizes a smooth surface beneath the coating. A good checkpoint is simple: specify where every material changes, seal exposed cut ends and joints, and avoid placing a stain-grade expectation on a product selected primarily for paint performance.
Select Profiles That Fit the Home, Ceiling Height, and Existing Details
Profile scale is where otherwise good selections can start working against one another. Baseboard height should feel proportionate to the ceiling and substantial enough to finish the floor edge without competing with it. Flooring thickness also matters: a new floor can change the visible baseboard height or leave an awkward gap if that transition is not planned. Casings should relate to the door slab, window size, and cabinet lines rather than appearing noticeably heavier or lighter than every nearby element.
For a contemporary interior, square-edge and eased-edge profiles keep the visual line calm. A square edge reads crisp and architectural; an eased edge has a small softened corner that is less severe while remaining simple. These profiles pair naturally with flat-panel doors, streamlined cabinetry, and minimal hardware. In a classic coastal or transitional home, stepped or beveled casing creates more shadow and depth, while a proportionate crown can give taller living areas a more finished ceiling line.
More detail is not automatically more refined. Layered crown or tall paneling can overpower a compact room or make a lower ceiling seem busier and closer. A restrained baseboard-and-casing combination is often the stronger choice in bedrooms, baths, or corridors. Conversely, a larger open room with generous ceiling height may carry a built-up crown or paneled feature wall when its scale is echoed in the doors, windows, and cabinetry.
Existing millwork sets an important decision point for Longboat Key remodel trim. Matching it preserves continuity through adjoining rooms; intentionally updating it can work when the change is clearly bounded, such as a remodeled primary suite or a new kitchen-living area. Mixing a narrow colonial casing with stark modern baseboards and unrelated crown profiles throughout the same sightline is a weak signal unless the contrast is deliberately designed.
Before installation, place profile samples beside the door, cabinet finish, flooring, and wall color, not on a showroom rack alone. A simple room elevation or wall mockup also shows whether the baseboard, casing, and crown have a balanced relationship at actual ceiling height. That review turns Longboat Key trim packages from a collection of individual boards into details that belong together.
What Quality Finish Carpentry Looks Like During a Remodel
The difference becomes most visible at the joints and edges. Remodel finish carpentry in Longboat Key begins with layout: casing legs sit on a shared line, head pieces land level, and the reveal, the narrow, intentional strip of jamb left visible around an opening, stays consistent. Tight miters create crisp outside corners; coped inside corners are often the better choice where adjoining walls are not perfectly square. At uneven walls or floors, a scribed fit follows the surface instead of leaving a conspicuous gap.

Look closely at how parts meet. Baseboard should terminate cleanly at door casing, cabinets, tile, flooring transitions, and built-ins rather than ending with an improvised sliver or a broad bead of caulk. Fasteners should be discreet, nail holes filled smoothly, and caulk lines narrow and controlled. Caulk can soften a hairline paintable joint; it should not be used to disguise poor alignment, open miters, or a casing that does not sit flat.
Sequencing protects those details. Drywall repairs generally need to be complete before final trim fitting. Flooring height, cabinet placement, countertops, door jambs, and hardware locations all affect where trim lands, so the installation order is coordinated around the specific scope. Trim is commonly installed before final paint, allowing nail fill, caulk, priming, and touch-up to become one finish-ready process.
Replacement is often the cleaner decision when existing trim has persistent swelling, rot, repeated paint failure, renovation damage, or a profile that cannot relate convincingly to the new work. Patching can suit a small, isolated defect; widespread repairs can leave inconsistent lines and finishes. A written scope for trim replacement Longboat Key should assign demolition, wall repair, installation, preparation, painting, and final touch-ups so those handoffs do not become visible in the completed rooms.
Choose Painted or Stained Trim Based on Style and Maintenance Goals
Finish is the layer that gives the installed profile its final personality. Painted trim supports a broad palette: soft warm white, sand, pale gray, or a cabinet-matched accent can be more convincing than default bright white. Paint-grade MDF, wood, PVC, and composite can all be considered where the chosen primer and topcoat system is intended for that substrate. Use a lower-sheen satin or eggshell look for a softer transition to walls, or a more noticeable semi-gloss finish when crisp, washable definition is the goal.
Stained trim takes a different level of selection. Because the substrate remains visible, pieces need a deliberately consistent wood species, grain character, and color range before stain is applied. A weak stain-grade package mixes boards with distracting grain, uneven color, or obvious patches; a strong one is laid out so the casings, baseboards, and nearby cabinet or flooring tones feel related rather than identical. Clear finish and stain samples should be viewed beside floors and cabinets in both daylight and the home's interior lighting.
Preparation affects either direction. Paint-grade work needs smooth filling, careful sanding, sealed end grain, and a primer that fits both the trim material and finish coat. Stained wood needs equally controlled sanding and test pieces, since stain can emphasize variation rather than conceal it. Near sunlit openings and humid areas, include coating selection and future touch-up expectations in the finish conversation; exposure can influence how a finish looks over time without making any coating maintenance-free.
Plan Your Longboat Key Trim Installation or Replacement Scope
Bring the decisions into one working scope before materials are ordered or walls receive their final coats. A simple room-by-room worksheet should identify each room, door and window opening, trim being retained, visible moisture concerns or damage, selected profile, paint or stain direction, flooring edge, cabinet finish, and specialty details such as paneling, built-ins, or stair parts. This makes a useful distinction between a room needing a full replacement package and one that only needs new baseboard or a carefully matched casing.
At the consultation, place material, profile, paint, and stain samples beside the actual flooring, cabinetry, doors, and wall colors. Review the scope room by room, including which items install before flooring, cabinets, painting, or final hardware. Ask for a detailed proposal that separates components, materials, finish preparation, exclusions, and installation assumptions so a crown return, transition strip, or retained piece is not left to interpretation.
For trim packages Longboat Key homeowners can act on, share photos and measurements early, including elevator, stair, parking, and occupied-home access conditions. Material lead times, site access, project requirements, and any permitting or association considerations are specific to the remodel and should be addressed with the trim professional, the Town of Longboat Key, and the applicable association before work is finalized.
Plan the next step
Compare the broader Remodel Trim Packages service.
Review the Longboat Key, FL service area for local planning context.
When you are ready, request a free estimate with the rooms, trim goals, city, and available photos.
FAQs
What is included in a remodel trim package in Longboat Key?
Most remodel trim packages include baseboards, door and window casing, and flooring transitions. Optional upgrades include crown molding, shoe molding, jamb extensions, wall paneling, chair rail, coffered ceilings, and custom built-up surrounds.
What trim materials work best in Longboat Key’s coastal climate?
Moisture-resistant MDF works well for painted trim in conditioned living rooms, bedrooms, and hallways. PVC and composite trim are better choices near exterior doors, semi-exposed spaces, or recurring moisture, while solid wood is best when a visible stain-grade grain is required.
What should quality finish carpentry look like during a remodel?
Quality finish carpentry has level head casings, consistent jamb reveals, tight outside miters, coped inside corners, and scribed fits where walls or floors are uneven. Baseboards should terminate cleanly at casings, cabinets, tile, and transitions, with narrow caulk lines and smoothly filled nail holes.
How do I choose the right baseboard and crown molding profile?
Choose profiles based on ceiling height, room size, door and window scale, flooring thickness, cabinetry, and retained millwork. Square-edge or eased-edge trim suits contemporary interiors, while stepped or beveled casing and proportionate crown fit classic coastal or transitional spaces; tall layered crown can overwhelm low ceilings.
Should I choose painted or stained trim for a coastal home remodel?
Choose painted trim for a smooth, flexible finish using paint-grade MDF, wood, PVC, or composite with the correct primer and topcoat system. Choose stained trim when visible wood grain is a priority, using consistently selected wood species, grain, and color so it coordinates with nearby flooring and cabinetry.