
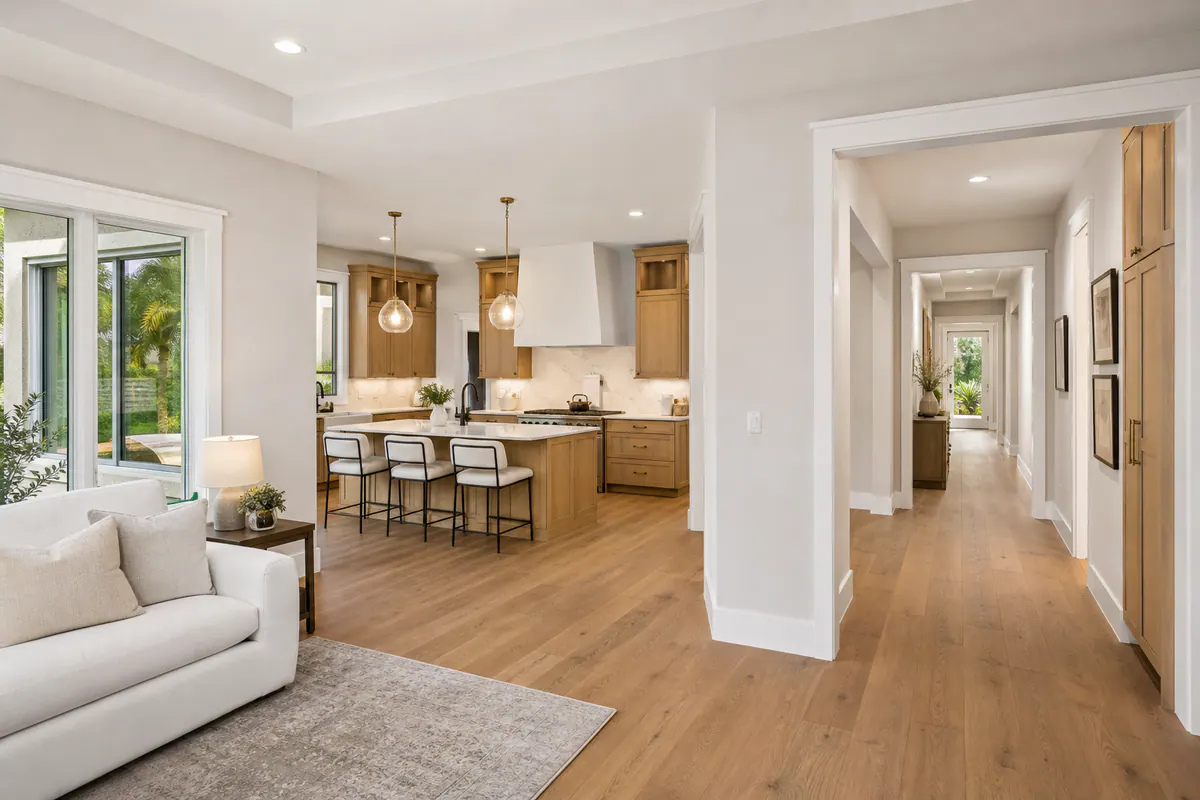
That polished, pulled-together look comes from treating trim as a finishing system, not a last-minute baseboard choice. In a kitchen, bath, flooring replacement, or opening change, the baseboard has to meet the new floor cleanly, casing has to relate to door and window proportions, and paint lines need to bring walls, cabinets, and trim into the same visual direction.
An otherwise updated room can still feel unresolved when a taller new baseboard stops awkwardly at an old narrow casing, flooring edges lack a planned transition, or replacement doors carry a different profile from the surrounding openings. Those are small details individually, but they sit at eye level and along the room's perimeter, where inconsistencies are easy to notice.
For remodel trim in Palmer Ranch, the useful starting point is to map the full set of surfaces being changed before final flooring, cabinetry, doors, and paint are installed. A coordinated scope can account for baseboards, casing, crown or wall detail where it suits the room, plus the returns, joints, wall repairs, and paint-ready finishing that make those pieces read as one composition. The goal is not to add ornament everywhere; it is to give each transition a deliberate, proportional finish.
What a Cohesive Interior Trim Package Can Include
A well-written trim scope separates the essentials from the details that are only useful in the right room. Baseboards finish the wall-to-floor perimeter; door and window casing frames openings and covers the joint between wall and frame. Together, these are the core of many interior trim packages, and their heights, widths, and profiles should relate rather than look selected one piece at a time.
- Shoe molding or quarter round is a small flexible-looking trim at the baseboard's bottom edge. It can finish a narrow gap where flooring meets the wall, especially when replacing the floor without removing existing baseboards. It is not automatically needed when the baseboard itself can be installed cleanly to the finished floor.
- Window stools and aprons create the finished interior sill and the trim directly below it. Jamb extensions bring a window or door frame flush with a thicker wall surface so casing has a proper surface to land on.
- Returns turn an exposed trim edge back to the wall instead of leaving a raw end. They matter at open-ended baseboards, wall projections, and selected casing conditions. Transition details resolve changes in flooring, wall depth, or adjoining trim so the change appears planned rather than patched.
- Crown molding finishes the wall-to-ceiling line, while optional wall paneling adds structured detail across a larger wall area. Both change the room's visual weight, so they suit some ceiling heights and architectural directions better than others.
For trim packages Palmer Ranch homeowners can keep simple, a consistent baseboard and casing profile, properly finished openings, and planned floor transitions may be the strongest choice. A larger renovation may also call for crown, built-up window treatment, or paneling where those details support the cabinetry, ceiling height, and room scale. Adding every available element can make a restrained space feel overworked.
The practical checkpoint is to identify every visible ending condition: where base meets casing, where casing meets a deeper wall, where flooring changes at a doorway, and where trim stops at an open passage. A cohesive scope names those conditions before installation, along with the intended profile family and paint-ready wall repairs, rather than leaving the finishing decisions to improvised fixes at the end.
Decide Whether to Match Existing Trim or Create a Deliberate New Look
The most important choice is whether the renovated area should disappear into the home's established trim language or mark the beginning of a new one. Matching favors continuity: retain the existing baseboard height, casing width, profile shape, and paint appearance when the surrounding trim is in good visual condition and the room connects directly to unchanged spaces. This approach is especially persuasive when a hallway, foyer, or open living area keeps old and new openings in the same sightline.
A site measure should capture more than nominal dimensions. Comparing a short offcut or profile sample against the existing baseboard and casing helps identify face width, thickness, edge shape, stepped details, and how the pieces meet at doors. Exact matching is a practical direction when a compatible profile can be obtained and the existing trim does not carry conspicuous damage, heavy paint buildup, irregular edges, or prior alterations. The scope should also note paint sheen and the condition of the wall beside the trim; a close profile match can still look disconnected when one room has crisp new paint edges and the adjoining room has rough, aged interfaces.
Replacement is often the cleaner design decision when a remodel changes several connected openings, flooring areas, or cabinet lines, or when future phases will extend the update. In an interior trim remodel Palmer Ranch homeowners may choose a single new baseboard and casing family throughout the affected zone, then establish a purposeful stopping point at a doorway, cased opening, or other natural break. The weak alternative is a narrow old casing beside a wider new one, or a tall squared baseboard that abruptly meets an ornate existing profile in an open-plan view. Thoughtful trim replacement in Palmer Ranch does not require changing every room at once; it requires making the boundary between retained and updated work look intentional rather than accidental.
Coordinate Trim With Flooring, Cabinetry, Openings, and Paint Before Work Begins
Once the updated-zone boundary is chosen, the next task is to map the work that can change trim dimensions before any pieces are ordered or cut. Remodel finish carpentry in Palmer Ranch works best when demolition, drywall repair, flooring selection, cabinet layout, door changes, and paint are treated as connected decisions rather than separate finish items.
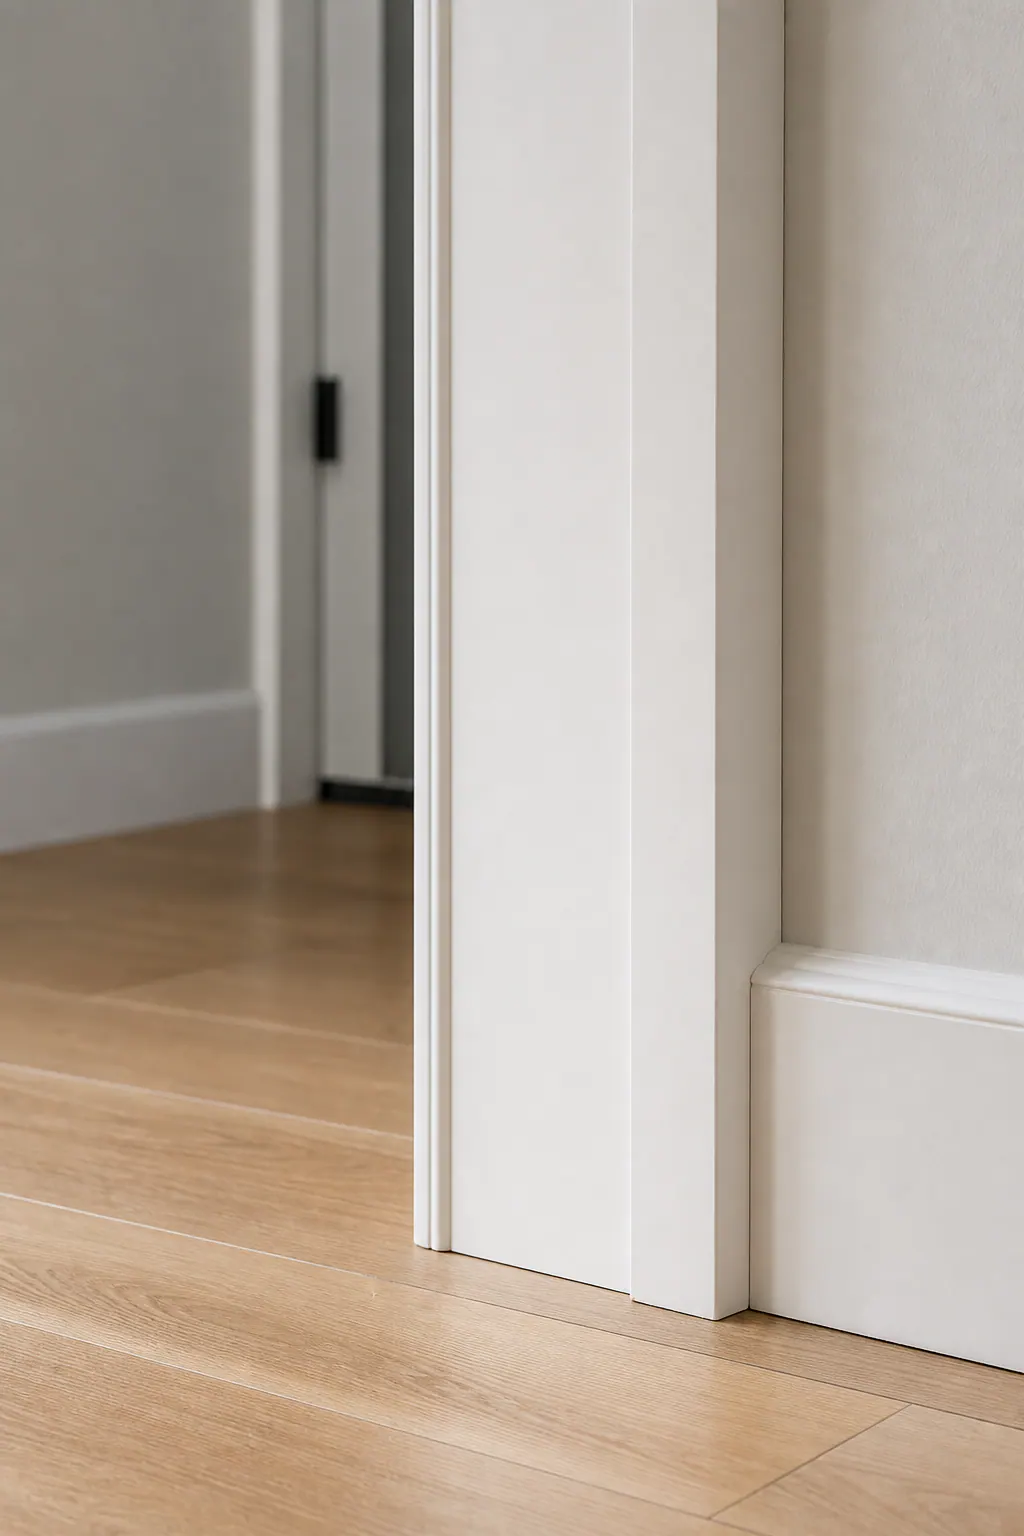
- Record the planned finished-floor height at each room, doorway, and transition. That height affects how the baseboard meets the floor and whether shoe molding, a small flexible-looking trim piece at the baseboard's lower edge, is part of the intended look. Installing baseboards after the finished floor can create a direct, controlled fit; in other project designs, the flooring system and trim sequence call for a different detail. The scope should name the chosen approach rather than leave a gap-covering decision until the end.
- Measure cabinet runs, appliance panels, island ends, and toe kicks before selecting nearby baseboard. A toe kick is the recessed space below a cabinet face; it may continue cleanly into an adjacent trim run, stop at a planned return, or meet a finished island panel. A weak result is baseboard simply colliding with a cabinet side or an island detail changing height without a deliberate ending point.
- Re-measure every altered opening after framing and drywall work. A deeper wall or repositioned door can leave the jamb short of the finished wall face. Jamb extensions bring the jamb flush with that surface so new casing can sit flat; replacement casing may also be needed when the opening proportions or wall condition have changed.
Drywall repairs deserve the same early attention. Wide casing can cover a rougher opening edge than narrow casing, but it cannot make a bowed wall or damaged corner disappear. The paint scope should identify wall patching, caulked trim-to-wall lines, primer where needed, and whether walls and trim receive coordinated final coats. For finish carpentry for remodels in Palmer Ranch, the useful pre-work checkpoint is a room-by-room field measure that records floor elevations, jamb depth, cabinet clearances, repair areas, and selected paint finish, then sets the sequence around the actual remodel rather than a universal timeline.
Select Profiles, Scale, and Materials for the Room and Finish Level
Proportion is what keeps new trim from looking either undersized or overly formal for the room around it. In a typical-height bedroom or hallway, a restrained baseboard paired with casing that has enough face width to frame the opening can feel balanced without crowding the walls. Taller ceilings, larger open rooms, and substantial cabinetry can support a taller baseboard, wider casing, or a layered assembly. The useful test is the full sightline: a narrow casing beside a broad new door or a tall baseboard terminating at a slight casing often reads as an unplanned mismatch.
Profile shape establishes the design direction. Square or lightly eased edges, the small softened roundover on an otherwise simple edge, fit clean-lined cabinetry, flat-panel doors, and a contemporary update. A more detailed ogee profile, built-up casing, or crown molding adds shadow lines and visual weight, making more sense where the existing architecture already has traditional detail or the room needs a more formal finish level. Custom trim work should repeat the same profile language across connected openings rather than introduce a different decorative shape at every doorway.
Finish and material decisions follow the intended appearance and location. Paint-grade MDF is an option for painted trim packages when straight, consistent runs and a smooth painted presentation are priorities. Wood is the appropriate direction when the trim will be stained and its grain is meant to remain visible; it may also be selected where the scope calls for greater resistance to everyday contact at exposed edges. In humid or wet-adjacent Florida interiors, material selection should be made for the specific exposure rather than carried automatically from a dry living room into every area.
A finish-carpentry scope should name the baseboard height, casing width, profile family, crown or built-up details, paint or stain finish, and material by room. It should also identify where a simpler profile intentionally transitions to a more detailed one. That gives the team a clear visual standard before installation and prevents a polished cabinet, upgraded floor, and new trim package from competing with one another.
The Finish-Carpentry Details Homeowners Can See Every Day
The eye lands first on the small lines around an opening. A consistent reveal, the narrow, even gap between a door or window jamb and its casing, makes the frame look square and deliberately placed. Casing legs should align at the same height and sit evenly on the floor or sill; a leg that is visibly shorter or spaced differently from its mate makes an otherwise updated opening feel off.
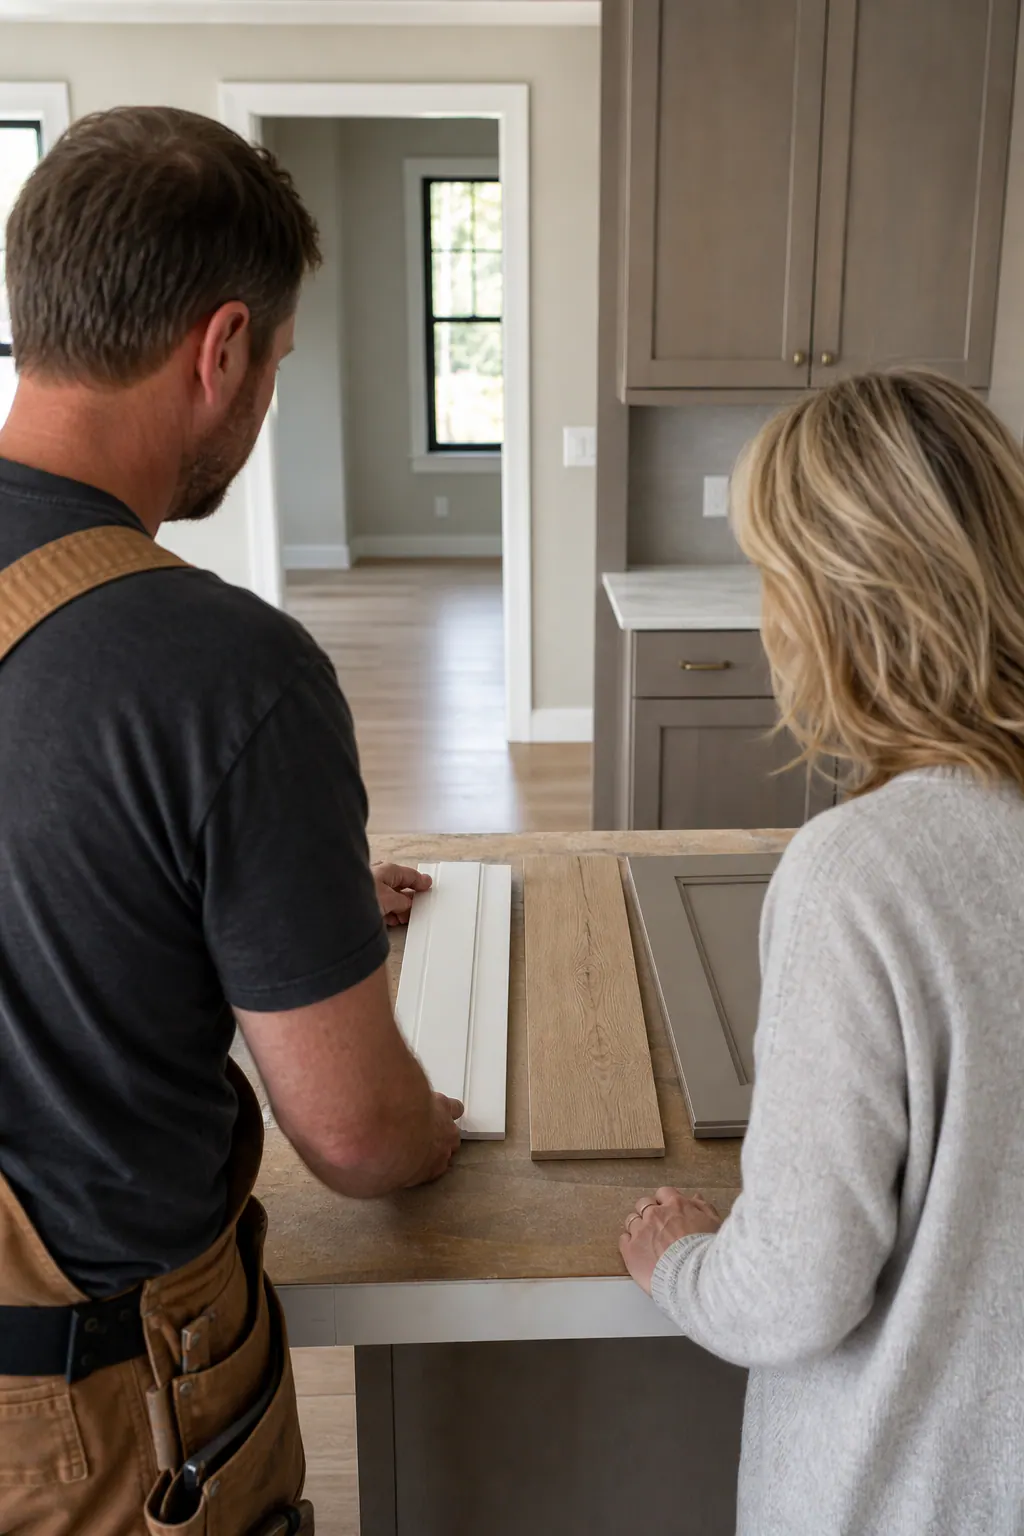
Joint treatment is just as visible up close. Outside corners typically meet with miter joints, cut on an angle so the profile continues around the corner. Inside corners may be coped, meaning one piece is shaped to fit the face of the other; this can create a tighter-looking joint where walls are not perfectly square. Returns matter at exposed trim ends: rather than leaving a raw cut, the profile turns back into the wall or adjacent surface. Open miters, gaps hidden under heavy caulk, and trim that simply dies into open space are common rushed-work signals.
Real remodel conditions require fitting, not forcing stock pieces into place. Uneven floors can call for careful scribing at the baseboard bottom, while bowed walls may need repair or thoughtful adjustment so the trim-to-wall line stays controlled. At thresholds, baseboard, flooring, and transition pieces should resolve without an awkward floor-edge gap or a bulky interruption at the casing. Tight joints, restrained caulk lines, filled nail holes, sanded surfaces, and smooth wall interfaces leave the installation paint-ready, details that give remodel finish carpentry in Palmer Ranch its finished, intentional appearance.
Plan a Trim Scope That Supports the Remodel Now and Future Updates Later
A useful first conversation starts with a visual map, not a trim order. Bring photos of each affected room and the hallways, foyers, or open spaces that connect to it; note approximate measurements, planned flooring, door or window changes, and inspiration images that show the finish level you want.
- Mark the rooms being remodeled now and the sightlines to rooms that will remain unchanged.
- Identify existing baseboard and casing profiles worth retaining, including their height, face width, paint color, and condition.
- Choose whether the goal is a straightforward paint-ready replacement scope or added details such as crown, paneling, upgraded window treatment, or built-up openings.
- List demolition, wall repair, flooring thickness, new thresholds, changed openings, material selections, and access constraints that can affect installation.
- Review every doorway and flooring change before final installation so returns, casing-to-base connections, and transition pieces have a defined resolution.
For phased work, a written profile and paint strategy helps the next room relate to the first. For example, a homeowner may update a kitchen and adjoining living area now, then carry the same baseboard height, casing family, and trim color into bedrooms later rather than creating a different visual language at each phase.
A project-specific evaluation is especially useful when only damaged trim is being replaced, when a partial upgrade meets original rooms, or when a larger remodel needs one consistent plan. Discuss your remodel trim Palmer Ranch project with photos, room priorities, and planned finish changes to shape a scope around what will actually be visible when the work is complete.
Plan the next step
Compare the broader Remodel Trim Packages service.
Review the Palmer Ranch, FL service area for local planning context.
When you are ready, request a free estimate with the rooms, trim goals, city, and available photos.
FAQs
What is included in a remodel trim package in Palmer Ranch?
A remodel trim package typically includes baseboards and door or window casing, plus planned returns, joints, wall repairs, and paint-ready finishing. Depending on the room, it can also include shoe molding, jamb extensions, window stools and aprons, flooring transitions, crown molding, or wall paneling.
Can new baseboards be installed after new flooring?
Yes, installing baseboards after the finished floor can create a direct, controlled fit at the wall-to-floor edge. Shoe molding or quarter round is useful for a narrow gap, especially when flooring is replaced without removing existing baseboards, but it is not automatically required.
How do you match new trim to existing baseboards and door casings?
Match the existing baseboard height, casing face width, thickness, edge shape, profile details, paint sheen, and color. Compare a profile sample or short offcut against existing trim, especially where old and new openings remain in the same hallway, foyer, or open-room sightline.
What trim material is best for painted interiors in Florida?
Paint-grade MDF is a strong option for painted interior trim when smooth finishes and straight, consistent runs are priorities. Wood is the better choice for stained trim with visible grain and may be selected for exposed edges that need greater resistance to everyday contact; humid or wet-adjacent spaces require material selection based on the specific exposure.
Should you match existing trim or replace it with a new profile during a remodel?
Match existing trim when it is in good condition and renovated rooms connect directly to unchanged spaces. Replace trim with a coordinated new baseboard and casing family when several openings, flooring areas, or cabinet lines are changing, then create an intentional transition at a doorway, cased opening, or other natural break.