
Shiplap Installation Designed for Lakewood Ranch Homes
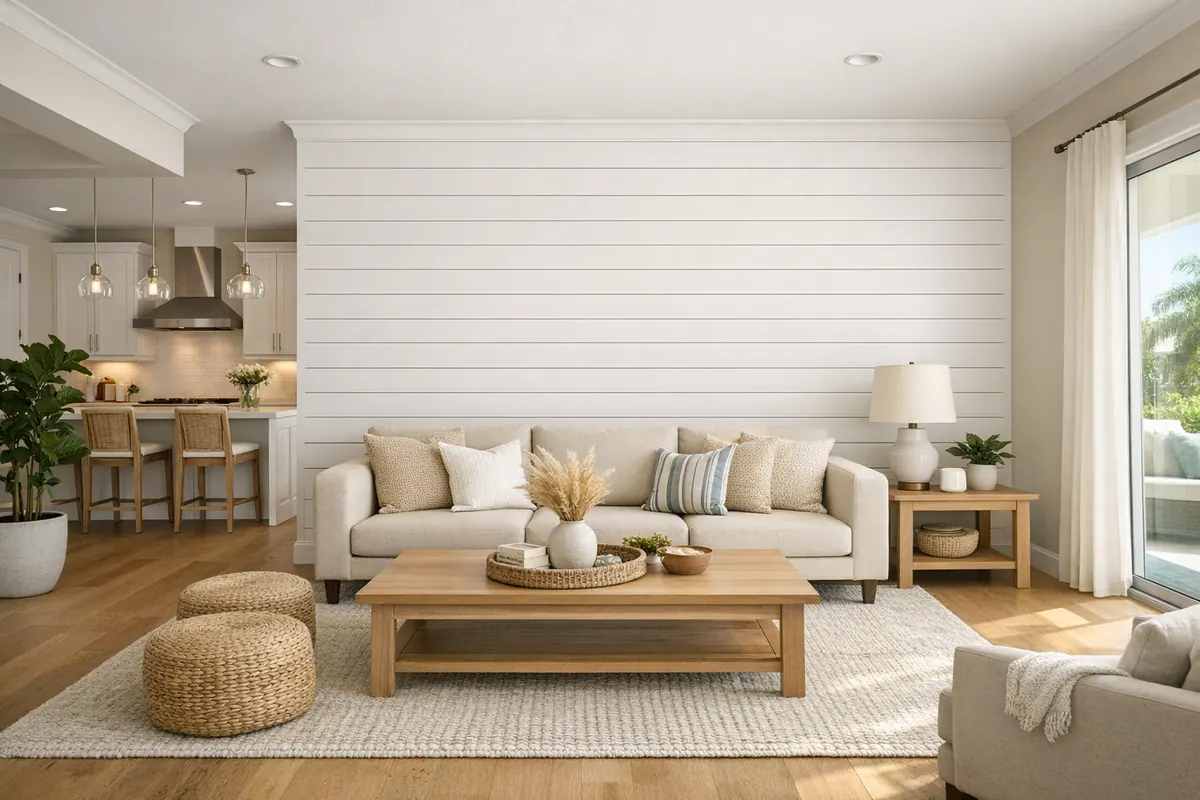
In a newer Lakewood Ranch home, shiplap works best as a measured architectural detail, not a blanket farmhouse layer. The right design can complement open sightlines, calm neutral finishes, and clean-lined trim with a modern coastal or transitional feel. Our approach to shiplap installation in Lakewood Ranch starts with the room's proportions and the details already in place.
Feature walls, ceilings, and fireplace features each call for a different visual strategy. A wall may use long horizontal courses to emphasize width, while vertical boards can give an entry or bedroom wall more height. On a ceiling, the same material becomes a plane that frames lighting, vents, and perimeter trim. At a fireplace, it should read as part of a deliberate surround composition rather than decorative paneling applied around an appliance.
The finished look depends on more than boards. Profile selection determines the shadow line between courses; board direction changes the room's perceived scale; and paint-grade or stain-grade material sets the tone. Crisp painted reveals, aligned seams, clean trim transitions, precise outlet cutouts, and secure fastening are the details that separate custom shiplap walls in Lakewood Ranch from a superficial overlay.
Planning the Right Profile, Material, and Board Direction
A small profile sample can prevent a big visual mismatch. Traditional shiplap uses overlapping board edges, producing a more pronounced recessed joint. Nickel-gap paneling uses square-edged boards installed with a deliberately narrow, even reveal, creating a crisp linear shadow that often suits transitional rooms. Tongue-and-groove boards interlock at their edges; their joint can read tighter and more continuous, depending on the selected profile. These names are not interchangeable: the joint geometry changes the shadow line, the spacing rhythm, and the finished character of the surface.
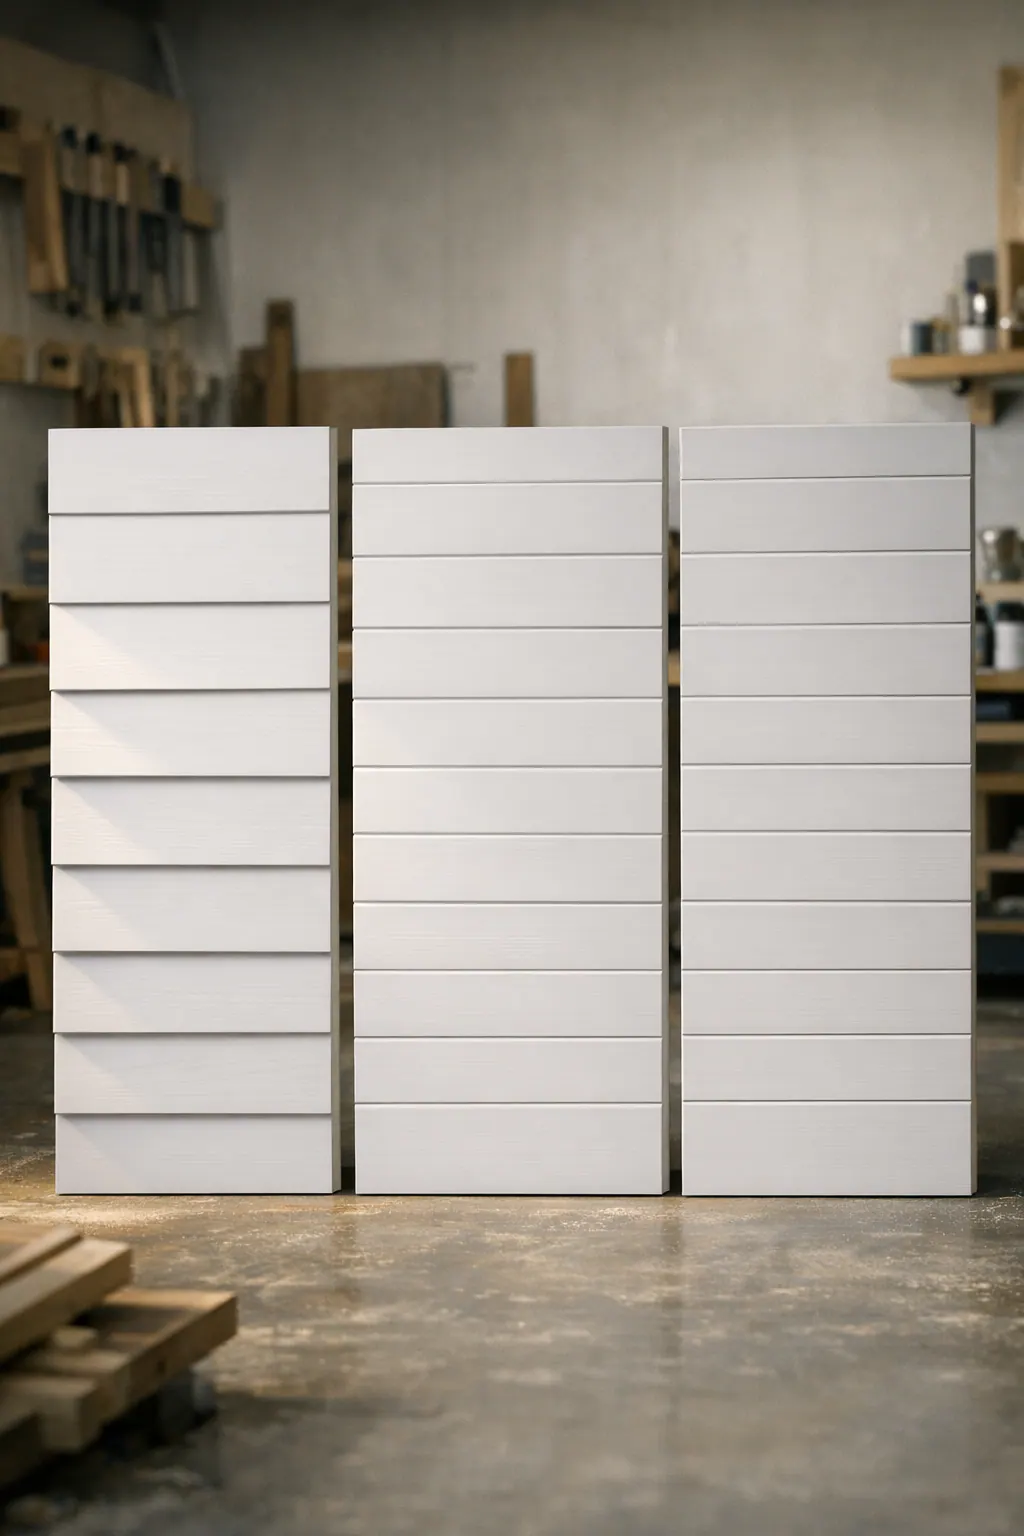
Direction should follow the elevation, not a default. Horizontal shiplap can visually stretch a broad living-room wall or make a compact bedroom feel wider. Vertical paneling draws the eye upward, making it a strong choice for an entry, a narrow focal wall, or a room with a ceiling height worth emphasizing. A simple elevation sketch helps establish where full boards begin and end, how seams will land, and whether the pattern relates cleanly to nearby doors, windows, and trim.
Board width matters just as much. Wide boards with deep reveals can overwhelm a small wall, while very narrow courses may look busy across a tall, open surface. For custom shiplap in Lakewood Ranch, the goal is a scale that feels intentional beside the room's ceiling height, cabinetry, and existing millwork, not a repetitive stripe pattern competing with them.
Finish samples should be viewed beside the flooring, paint, cabinetry, and trim before a selection is made. Painted, paint-grade boards keep the emphasis on clean reveals and a unified architectural color; stain-grade wood brings grain and tonal variation forward. A soft white or muted coastal color can keep nickel-gap work restrained, while a clear or lightly toned wood finish is most successful when its grain complements the other wood elements already in view.
Shiplap Feature Walls That Add Structure Without Overwhelming the Room
The strongest wall is usually the one already holding the room together: the living-room elevation behind a sofa or TV, the dining wall visible from the main approach, the bed wall, a contained entry niche, or the back of a built-in. Rather than paneling every available surface, choose the elevation that has the clearest sightline and enough uninterrupted area to read as deliberate. A wall chopped up by several doors, mismatched windows, and competing trim can make the board rhythm feel fragmented; a well-framed backdrop gives it a reason to be there.
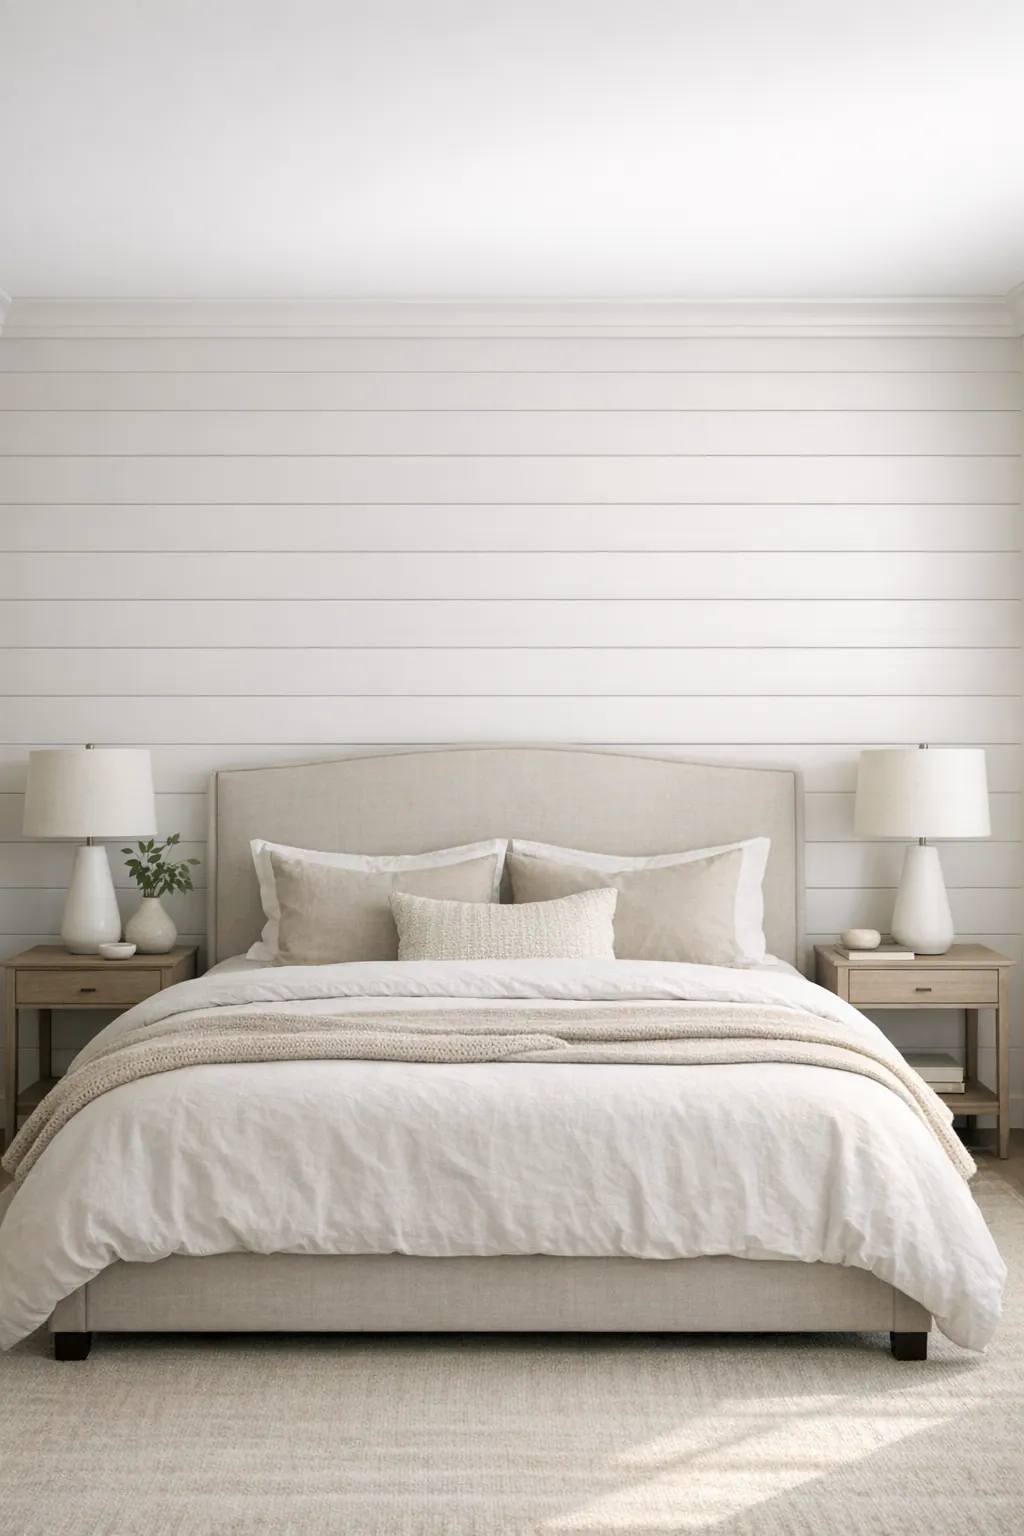
Furniture and fixed elements should drive the drawing before boards are ordered. A television, mantel, console, outlet, switch bank, window, or built-in changes where courses, seams, and edge details will be seen. On shiplap walls in Lakewood Ranch living rooms, for example, a centered TV or low console can support a calm, symmetrical layout. In a bedroom, the headboard wall can carry the detail while the remaining walls stay quiet. A dining-room feature wall works best when it frames the table rather than competing with nearby cabinetry or large openings.
Refined work begins from a level reference line and is laid out so the top and bottom courses feel balanced, not like a narrow leftover strip was forced in at the ceiling or baseboard. Where seams are needed, they should follow a planned pattern or land where built-ins and architectural breaks make them inconspicuous. Outlet and switch openings need clean, close-fitting cuts with cover plates sitting flat; ragged openings and inconsistent reveals are the quick visual tells of basic paneling.
Edges deserve the same attention as the field of boards. A finish carpenter in Lakewood Ranch can decide whether the paneling terminates cleanly into existing baseboards and crown, receives a slim trim return, or is integrated with window and door casings. Corners, outside edges, and built-in transitions should look resolved from normal viewing distance, with straight lines and a finish that matches the room's trim strategy. That restraint is what lets a feature wall add structure without taking over the room.
Using Shiplap on Ceilings for Warmth and Architectural Definition
Overhead paneling has more presence than a wall treatment because it sits across the room's entire field of view. It can be especially effective inside a tray ceiling, along a vaulted bedroom ceiling, at a covered transition between connected interior spaces, or over a defined seating area in an otherwise open living room. In each case, the surrounding border helps the ceiling read as an intentional plane rather than a surface that was simply covered.
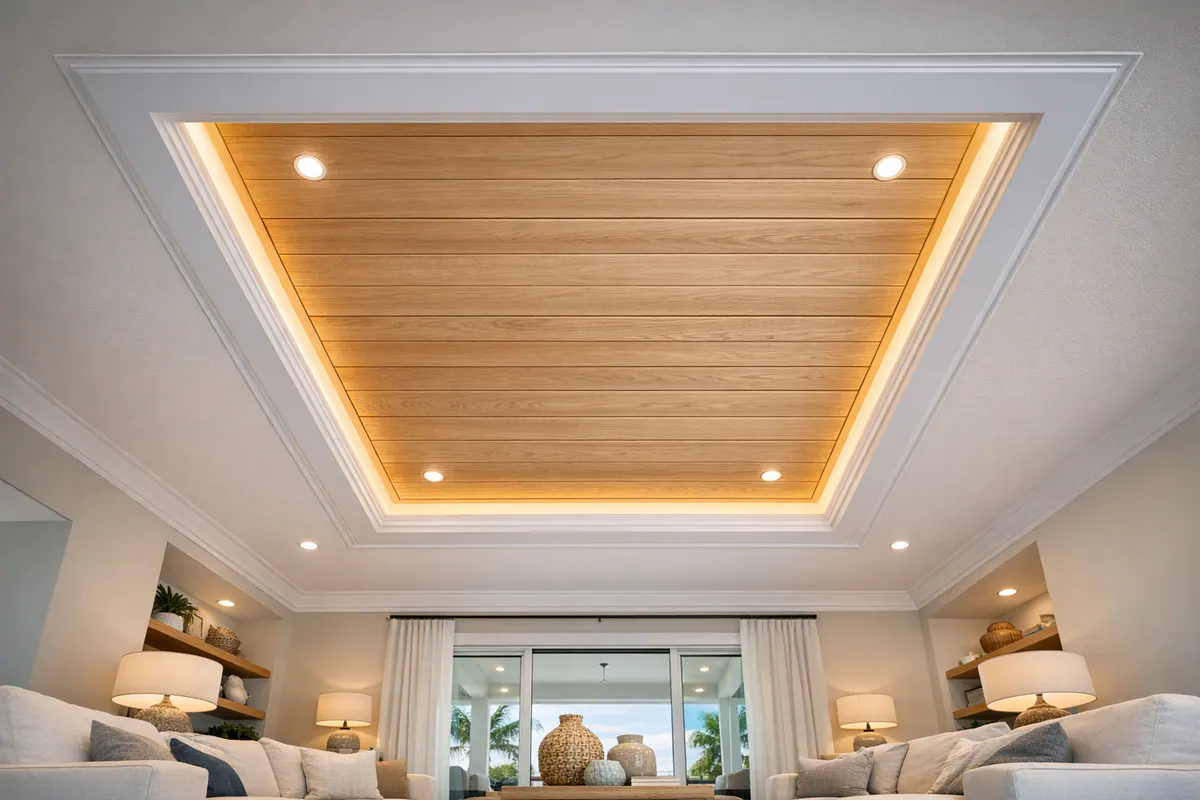
Height, daylight, and footprint should make the call. A generous vaulted ceiling can carry boards running with the slope to emphasize its length, while boards running across a narrower space can make that space feel broader. In a low-ceilinged or dim room, however, a full ceiling treatment may feel visually heavy. Holding full-size samples overhead, or reviewing a simple room-scale layout, helps reveal whether the direction strengthens the room's proportions before materials are ordered.
A light painted finish with a crisp nickel-gap reveal keeps shiplap ceiling installation in Lakewood Ranch homes aligned with an airy modern coastal interior. The narrow, consistent shadow line gives definition without turning the ceiling into a rustic focal point. Dark stains, deep grooves, and heavily textured boards draw the plane downward visually, so they are better reserved for rooms with substantial height, strong natural light, and a deliberate contrast elsewhere in the design.
The layout needs to be resolved before the first board goes up. Recessed lighting, supply vents, speakers, smoke alarms, and ceiling fans affect both the board rhythm and the location of seams. A polished installation centers or balances these elements where possible, uses clean cutouts, and avoids an awkward short board beside a fan canopy or vent. Attachment planning also needs to suit the selected board system and the ceiling framing, so the finished field stays straight and securely supported.
At the perimeter, the same restraint matters: a clean meeting at crown, a tray return, or a drywall transition makes the ceiling feel integrated with the home's existing trim rather than added on afterward.
Shiplap Fireplace Features: Design Intent, Heat Clearances, and Finishing Details
A fireplace elevation has to resolve more competing elements than a typical feature wall: the firebox opening, mantel, television, outlets, viewing height, and adjacent finishes all share one focal plane. A scaled drawing makes those relationships visible before panel lines are committed, preventing a TV bracket, outlet cover, or mantel from landing awkwardly across a reveal.
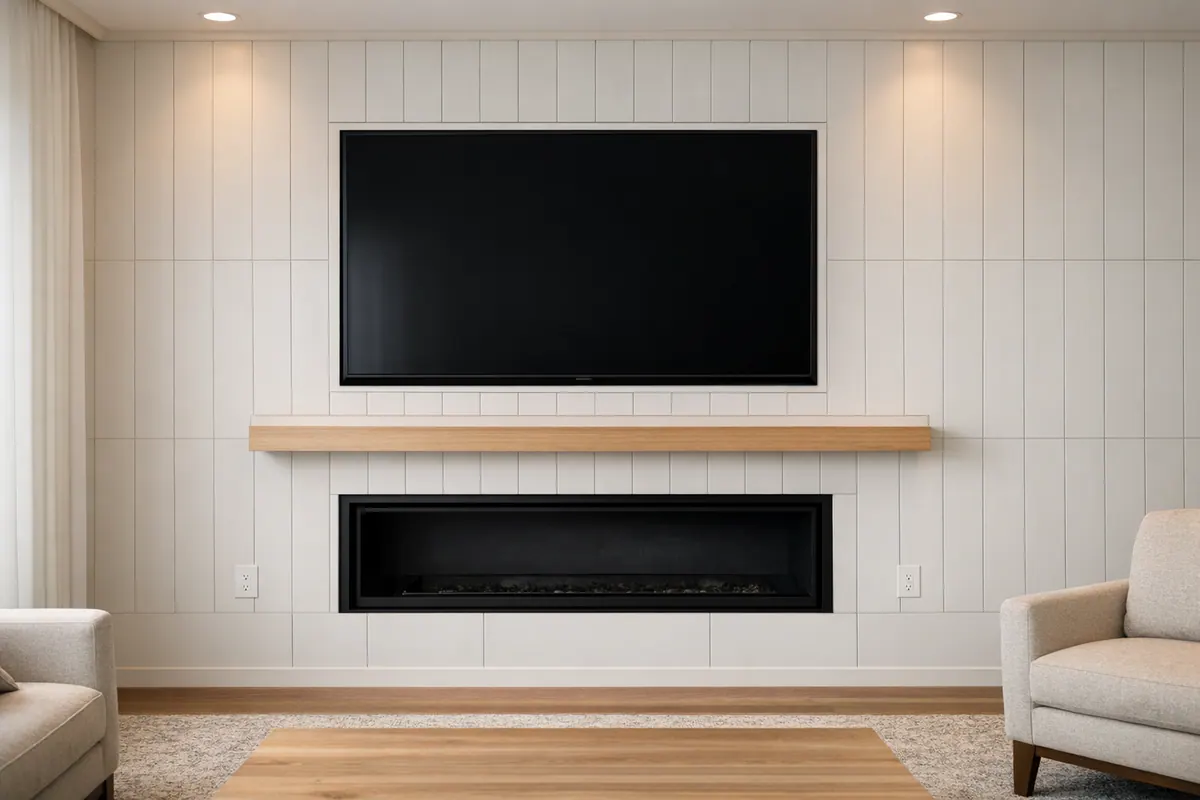
For a restrained shiplap fireplace wall in Lakewood Ranch, one effective approach is painted vertical paneling above a properly detailed mantel, with tile, stone, or smooth plaster handling the area nearest the opening. Vertical lines add height and give a modern coastal room a tailored backdrop; the change in material at the mantel keeps the wood treatment from reading as an automatic fireplace surround. A full-height treatment can also work when its board rhythm is balanced with a substantial non-wood base material rather than carried indiscriminately around the firebox.
The fireplace type changes the available design options. Gas, electric, and wood-burning appliances can have different instructions for facing materials, heat exposure, mantel depth and placement, and the zone that may need noncombustible material. Decorative wood paneling should not be installed wherever heat exposure or required clearances make it unsuitable. The appliance manufacturer's installation instructions should guide the individual layout, along with applicable project requirements.
A polished result keeps the transitions intentional: a mantel that appears proportioned to the elevation, straight panel lines that terminate cleanly, and adjacent tile or plaster edges that do not rely on bulky cover trim. If a television belongs above the mantel, its final location, wiring path, and viewing angle should be settled before installation, not cut into an otherwise finished field of boards.
Material and Finish Considerations for Florida Humidity
Material choice becomes especially visible when a crisp painted field meets a humid bath or laundry area. Paint-grade boards are selected for a smooth, uniform painted appearance; they keep attention on the reveal rather than grain, but their cut edges and nail treatment need to be finished carefully for a clean result. Stain-grade wood makes natural grain part of the design, bringing warmth and variation but also making color matching, board selection, and expected wood movement more noticeable.
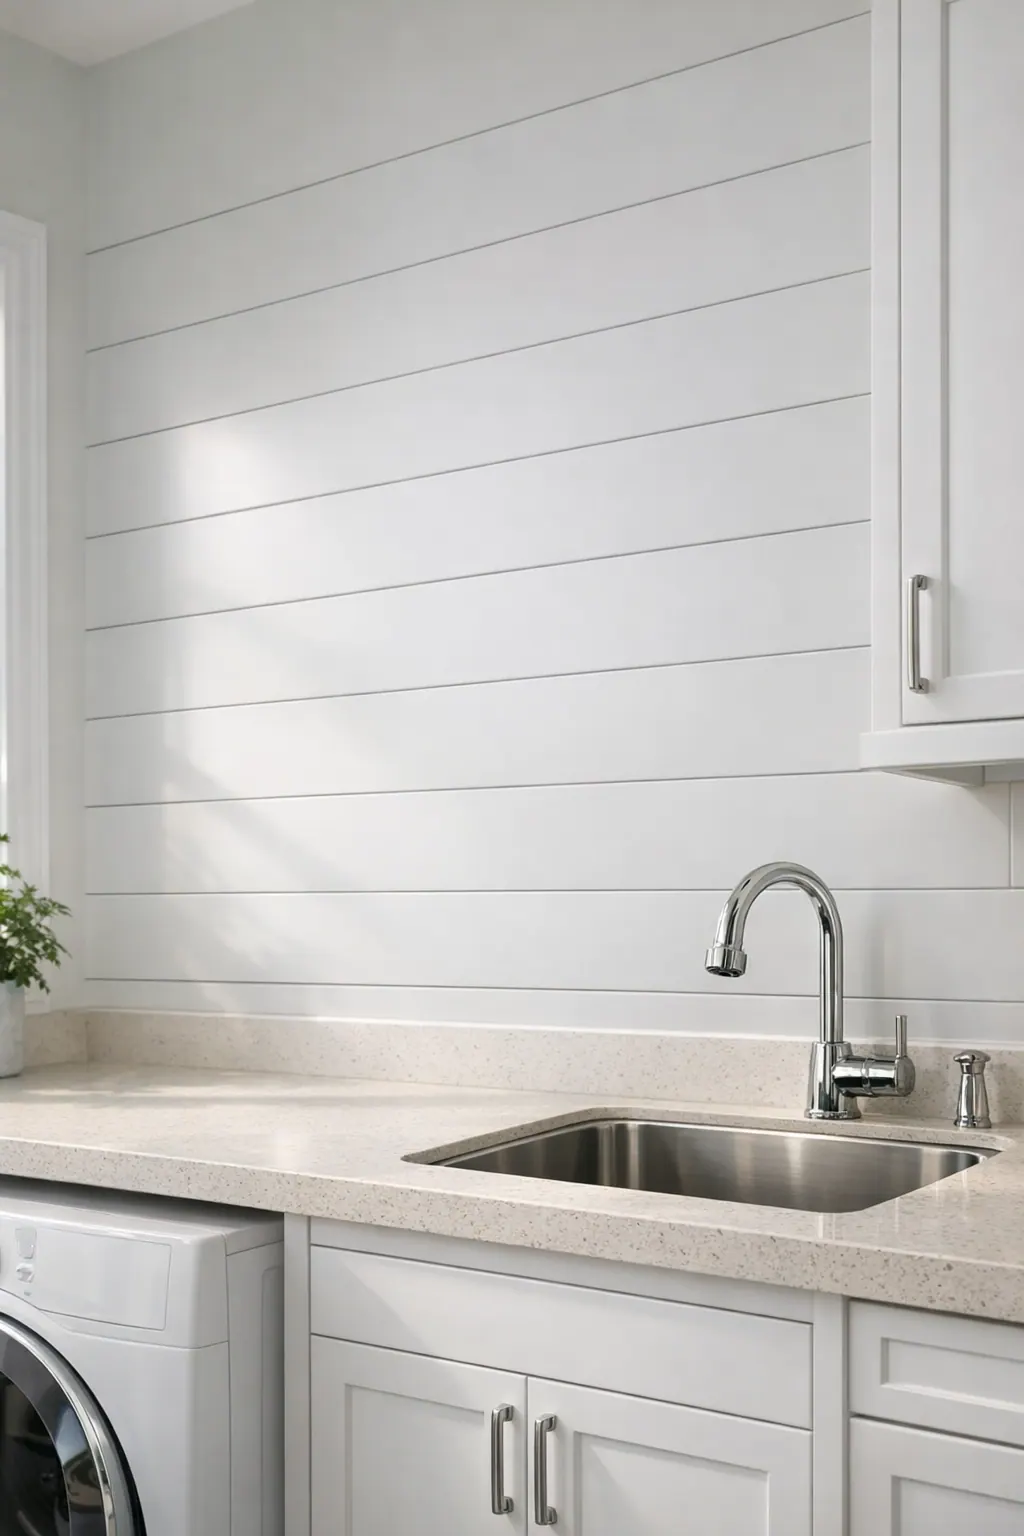
Moisture-resistant engineered options can suit a painted, tailored look where a stable, consistent face is the priority. Decorative MDF-based panel products can also paint beautifully and create a very even contemporary surface, yet their exposed edges deserve particular attention and they are not a casual choice for spaces with repeated moisture exposure. In bathrooms, laundry rooms, and similar humid areas, the wall condition, ventilation, and chance of direct splashing should shape the material decision rather than treating the room like a dry living area.
Before installation, boards should be allowed to adjust to the home's conditioned interior environment in keeping with the selected product's requirements. That helps the finished courses behave more predictably once installed. A deliberate nickel-gap or shiplap reveal gives the surface a consistent shadow line while allowing the assembly to avoid a forced, overly tight appearance. Sealing exposed edges where the finish system calls for it, and choosing humidity-resistant materials when the location warrants them, helps preserve a polished result at corners, cutouts, and trim transitions.
What a Professional Shiplap Installation Process Should Include
A polished installation begins before the first board is cut. The scope should record the selected profile, direction, material, color, and edge treatment, then relate those decisions to the existing baseboards, crown, windows, built-ins, lighting, and outlets. For a fireplace feature, the drawing should also establish the appliance-specific material and clearance constraints before the panel layout is finalized.
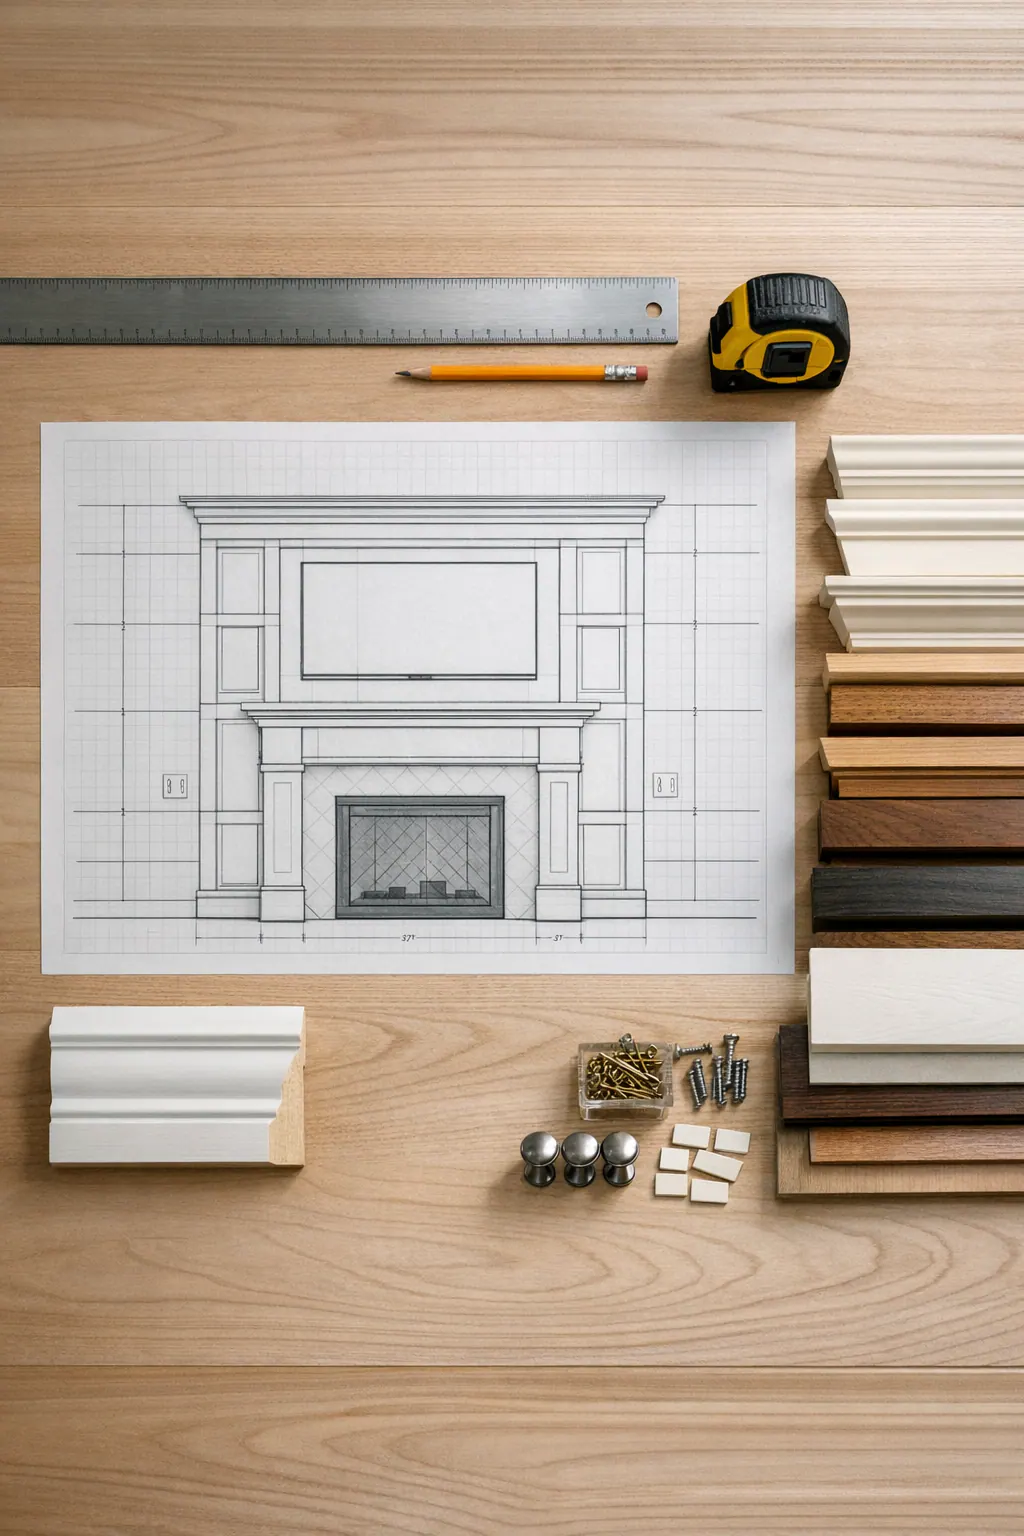
Next comes a site measure and surface inspection. A finish carpenter marks level reference lines, locates framing or suitable fastening points, and maps board courses around doors, windows, switches, vents, and ceiling fixtures. This step prevents a narrow orphan board at an edge or an outlet landing across a reveal. Walls or ceilings are prepared so the new field has a sound, even base.
Installation should keep each reveal consistent, boards straight, and fastening secure without leaving a distracting pattern of visible repairs. The finishing sequence matters just as much: trim returns and corners are fitted, joints and fastener holes are filled as appropriate, edges are caulked where a painted transition calls for it, and the surface is sanded and finished for the room.
A final visual review is the practical quality checkpoint. Look across the field for aligned courses, even gaps, accurate cutouts, clean joints, crisp trim transitions, and a uniform finish, not just whether boards cover the surface. If you are considering a custom wall, ceiling, or fireplace feature, speak with a Lakewood Ranch finish carpenter about the layout and detailing before work begins.
Plan the next step
Compare the broader Shiplap Installation service.
Review the Lakewood Ranch, FL service area for local planning context.
When you are ready, request a free estimate with the rooms, trim goals, city, and available photos.
FAQs
Is shiplap still in style in Lakewood Ranch homes?
Yes. In Lakewood Ranch, shiplap looks current when used as a measured feature on one wall, ceiling plane, or fireplace composition rather than covering every surface. Crisp painted reveals, clean trim transitions, and modern coastal or transitional colors keep the look tailored.
What is the difference between shiplap and tongue-and-groove paneling?
Traditional shiplap has overlapping board edges that create a more pronounced recessed joint. Tongue-and-groove boards interlock at their edges for a tighter, more continuous joint, while nickel-gap paneling uses square edges with a narrow, even reveal.
Should shiplap run horizontally or vertically?
Horizontal shiplap visually stretches a broad wall and can make a compact room feel wider. Vertical boards draw the eye upward, making them a strong choice for entries, narrow focal walls, bedrooms, and spaces where ceiling height should be emphasized.
Can shiplap be installed on a ceiling?
Yes, shiplap can be installed on ceilings, especially in tray ceilings, vaulted rooms, and defined seating areas. The layout should account for recessed lights, vents, speakers, smoke alarms, ceiling fans, framing, and balanced board seams before installation begins.
What material is best for shiplap in Florida humidity?
For a painted, stable finish in humid areas, moisture-resistant engineered boards can be a strong option. MDF-based panel products can create an even painted surface but need protected edges and are not ideal for repeated moisture exposure, while boards should acclimate to the conditioned interior before installation.