
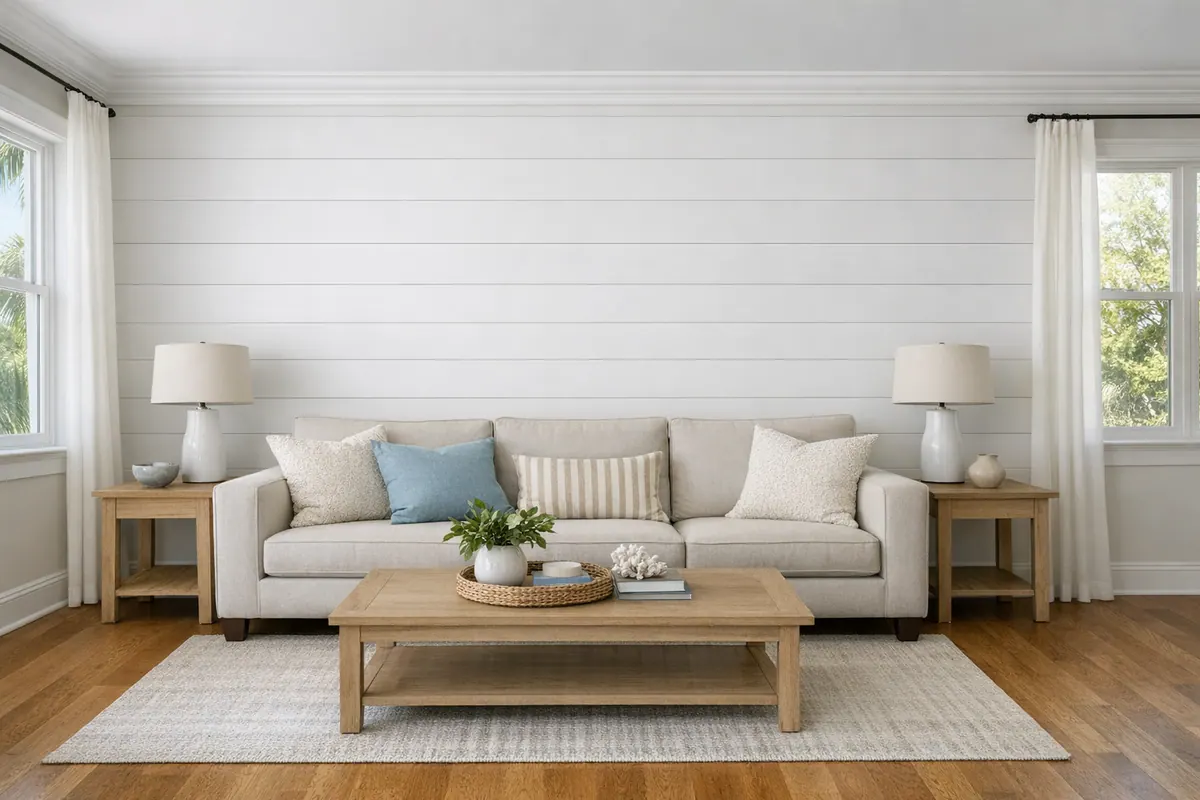
For homeowners seeking shiplap installation in Laurel, FL, custom paneling can turn an ordinary surface into a deliberate architectural detail. A living-room focal wall, welcoming entry, restful bedroom backdrop, or finished ceiling gains texture and definition when the boards, edges, and surrounding trim are planned as one composition, not treated as a generic wall covering.
Shiplap creates a clean-lined paneled look with visible spacing between boards. Tongue-and-groove uses interlocking board edges for a more continuous, integrated surface. Finish trim completes either option by framing the installation at ceilings, baseboards, corners, windows, and door openings. The right combination depends on whether the room needs a crisp accent, a warmer wood-forward feel, or a more traditional built-in appearance.
Professional finish carpentry is especially valuable where walls are uneven, outlets interrupt the layout, or an existing casing and baseboard need to transition cleanly into the new treatment. Thoughtful planning keeps board lines intentional, aligns details around openings, and makes paint or stain feel connected to the rest of the room. From shiplap walls in Laurel, FL, to paneled ceilings and tailored trim, the goal is a finish that looks designed for your home.
Shiplap vs. Tongue-and-Groove: Choosing the Right Panel Profile
The joint profile determines how the finished wall reads from a few feet away. Shiplap boards use rabbeted edges that lap over one another, creating a consistent recessed reveal between courses. That shadow line makes every board visible, so horizontal shiplap gives a wide living-room wall or entry wall a deliberately linear, graphic pattern. Tongue-and-groove boards use a projecting tongue captured by a matching groove; their faces sit closer together, producing a tighter seam and a more integrated field of boards.
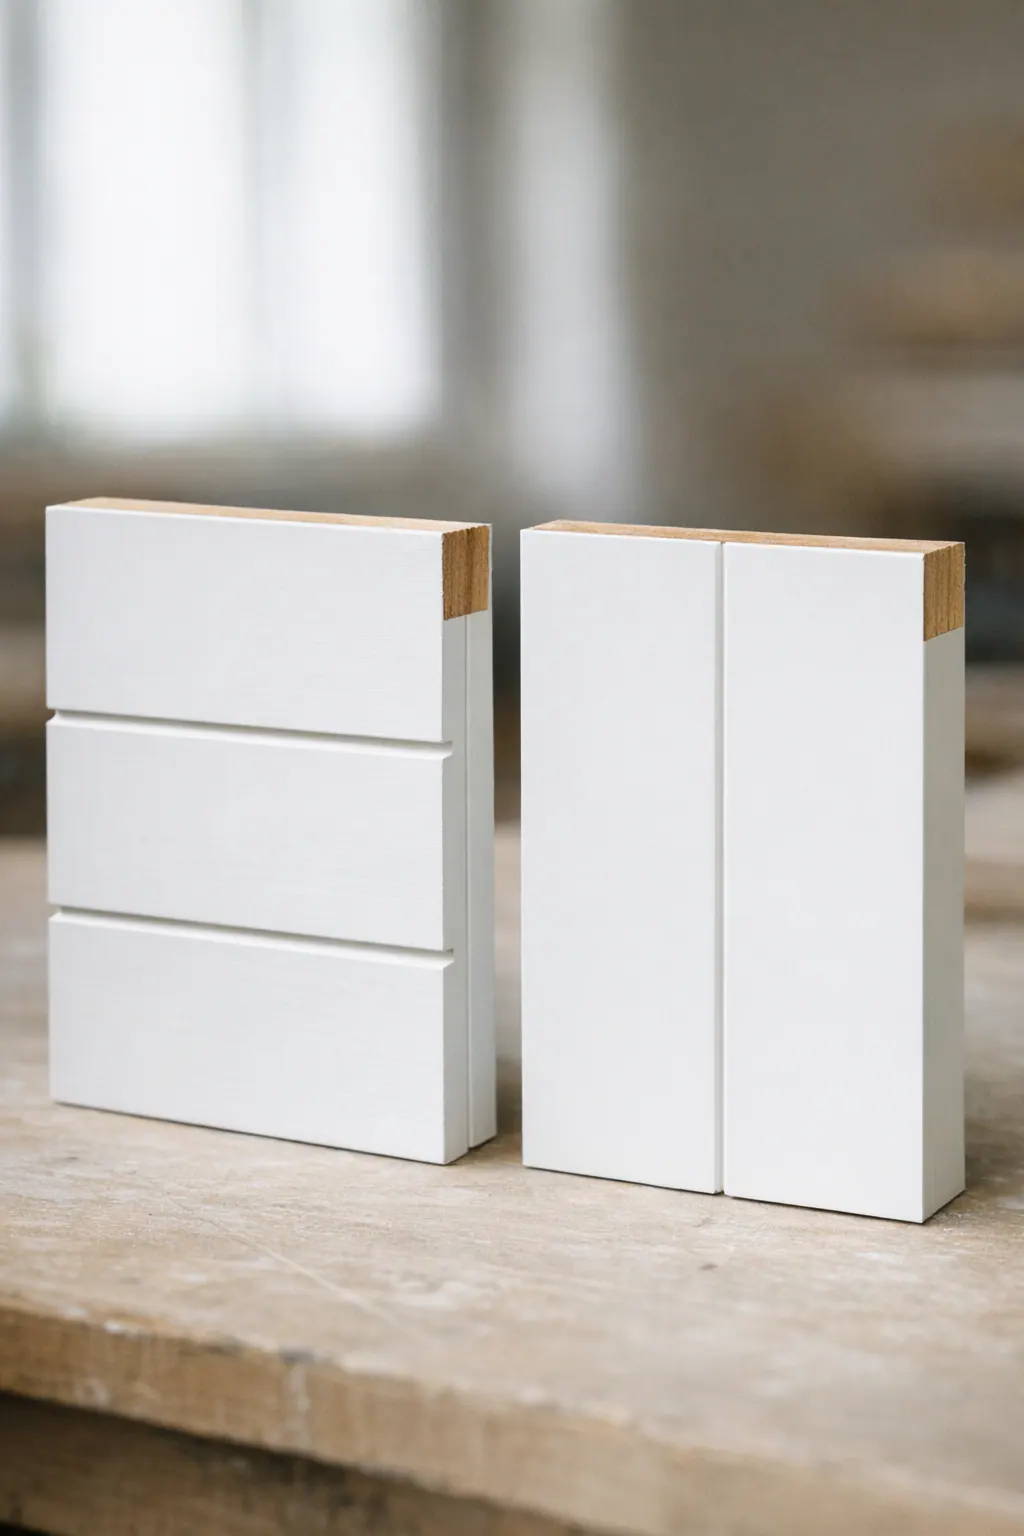
For a painted feature wall, shiplap's open reveal remains part of the design even after the boards receive the same color. Tongue-and-groove can read as quieter under paint because the joint is narrower, while a clear coat or stain lets the individual wood boards and grain take more of the visual lead. Tongue-and-groove is often a strong ceiling choice when the goal is an orderly, continuous plane overhead; shiplap better suits a ceiling or wall where a deeper, intentional groove is the point of the finish.
Material and location change the installation approach. Solid-wood boards can expand and contract across their width as indoor conditions change, so the starting course, end details, and perimeter transitions must accommodate that movement without turning it into irregular gaps. With tongue-and-groove boards, each tongue must fully engage the next groove so a partially seated joint does not telegraph as a raised or wandering seam. With shiplap, consistent overlap and reveal matter just as much: a board that drifts out of level makes the shadow line visibly uneven across the wall.
Openings create another practical difference. Board courses should be planned so the lines meet door casing, window trim, outlets, and inside corners in purposeful locations rather than leaving narrow filler pieces or mismatched seams. Whether the finish is painted MDF, primed engineered material, or natural wood, clean cut ends and coordinated trim determine how polished the profile looks. For tongue and groove Laurel FL projects, the useful choice is straightforward: select shiplap when the visible reveal is central to the design, and choose tongue-and-groove when a closely joined board surface better supports the room, material, and finish plan.
Where Shiplap and Paneling Work Best in Laurel Interiors
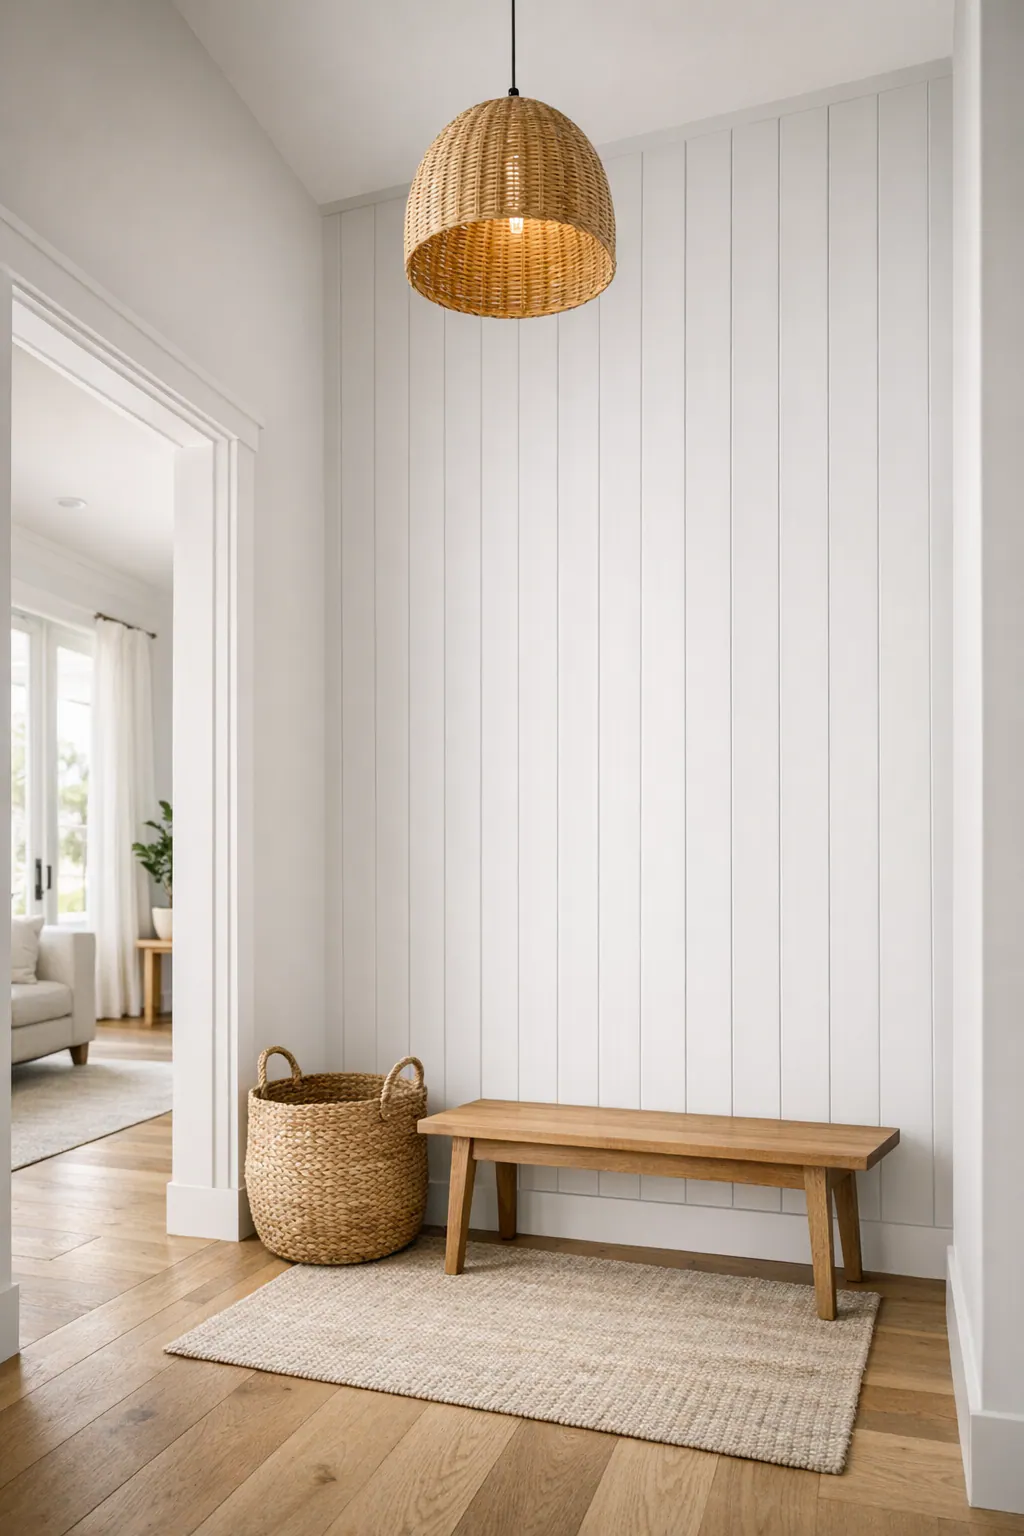
Start with the surface the eye naturally lands on when entering or using the room. In a living room, that may be the wall behind seating, a fireplace surround wall, or the area that anchors built-ins; in an entry, paneling can give a short transition wall more purpose without crowding the whole space. A feature wall works best when it has enough uninterrupted width for the board pattern to read clearly rather than competing with multiple doors, windows, or large furnishings.
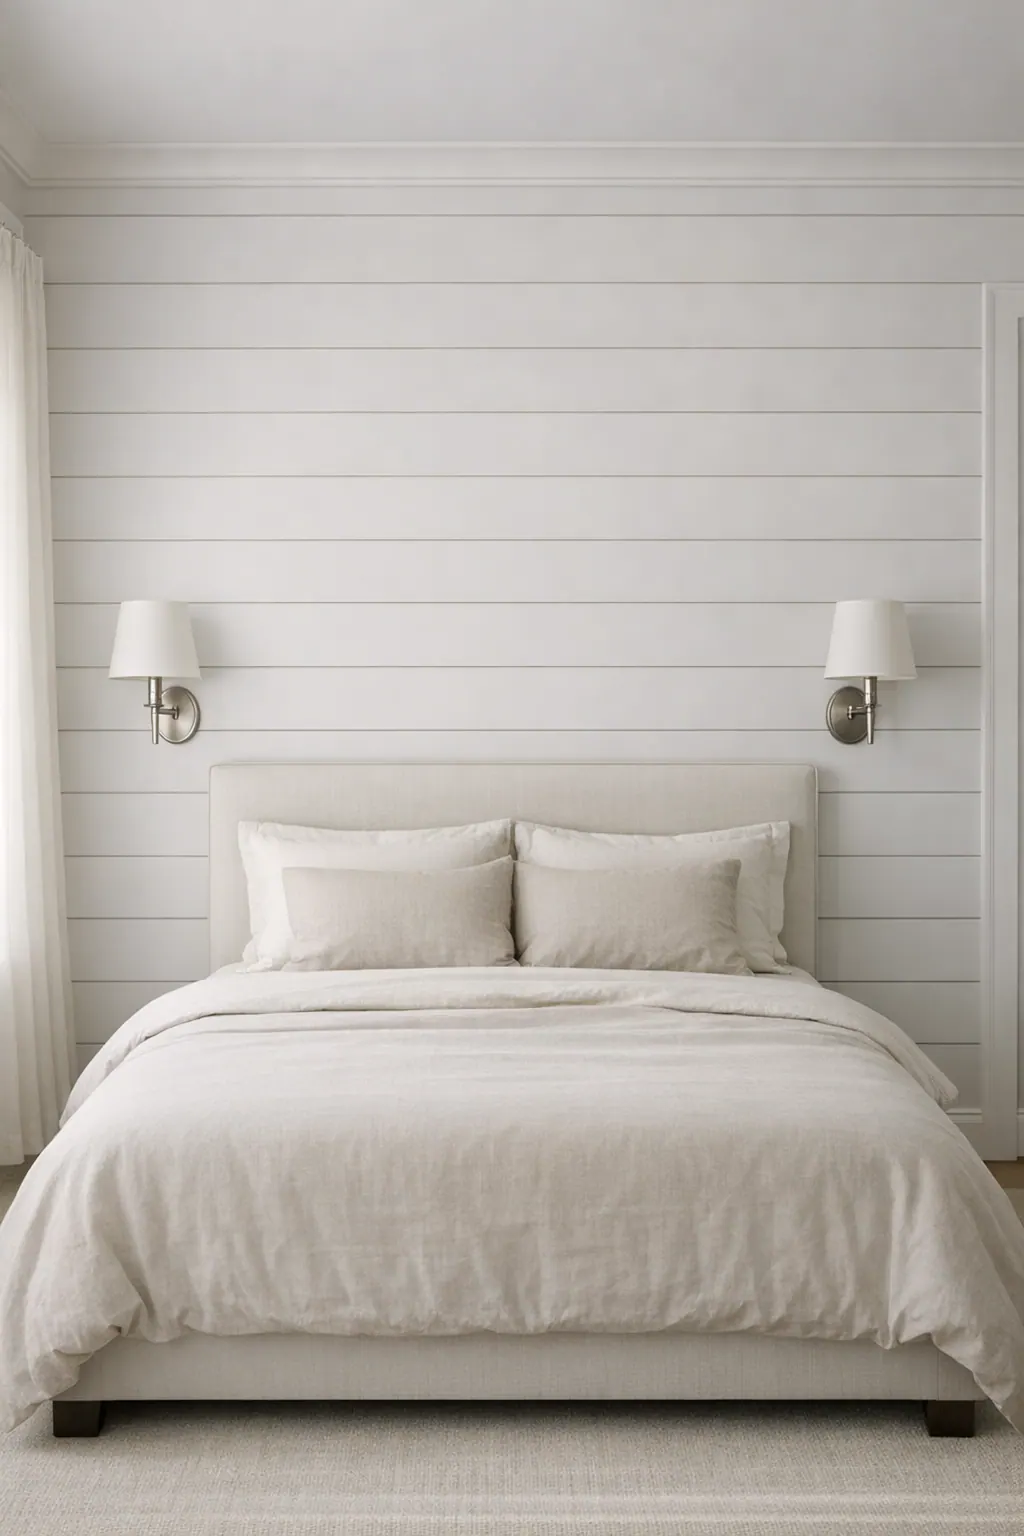
Bedrooms and dining areas offer a quieter opportunity for texture. A paneled wall behind the bed can act as a headboard-like backdrop, while a dining-room treatment can define the gathering area and transition neatly into existing casing or chair-height trim. In laundry rooms, a smaller expanse can make a practical space feel finished, though shelves, cabinets, hooks, and appliance connections should be considered before the board layout is chosen. Professional shiplap wall installation in Laurel, FL helps keep those interruptions intentional instead of visually scattered.
Ceiling planks are especially effective where an overhead plane feels blank or disconnected from the rest of the room. Tongue-and-groove can create a more continuous ceiling field, while shiplap brings stronger line definition. A painted finish can keep a lower or dimmer room feeling light; a stained or wood-forward finish makes the ceiling a more prominent design element. Existing light placement, ceiling transitions, fans, and access points all influence how the finished pattern will read.
Bathrooms and other humid spaces call for a more selective approach. Splash exposure, ventilation, the condition of the wall behind the paneling, and the finish's expected cleaning routine should shape the material and location choice. A dry accent wall away from direct water is a different situation from a shower-adjacent surface. Before selecting boards and paint or stain, plan for the room's actual moisture conditions and choose a product intended for that interior application.
Layout, Materials, and Wall Trim That Shape the Finished Look
Line direction is one of the fastest ways to change a room's proportions. Horizontal shiplap carries the eye side to side, making it a natural choice when a narrow wall needs a broader, more relaxed feel. Vertical shiplap pulls the view upward instead, lending a height-emphasizing rhythm to an entry, bedroom wall, or ceiling transition. Wider boards read simpler and more contemporary; narrower boards create a finer, more detailed pattern. The reveal matters, too: a deeper shadow line makes each course more graphic, while a tighter gap produces a quieter surface.
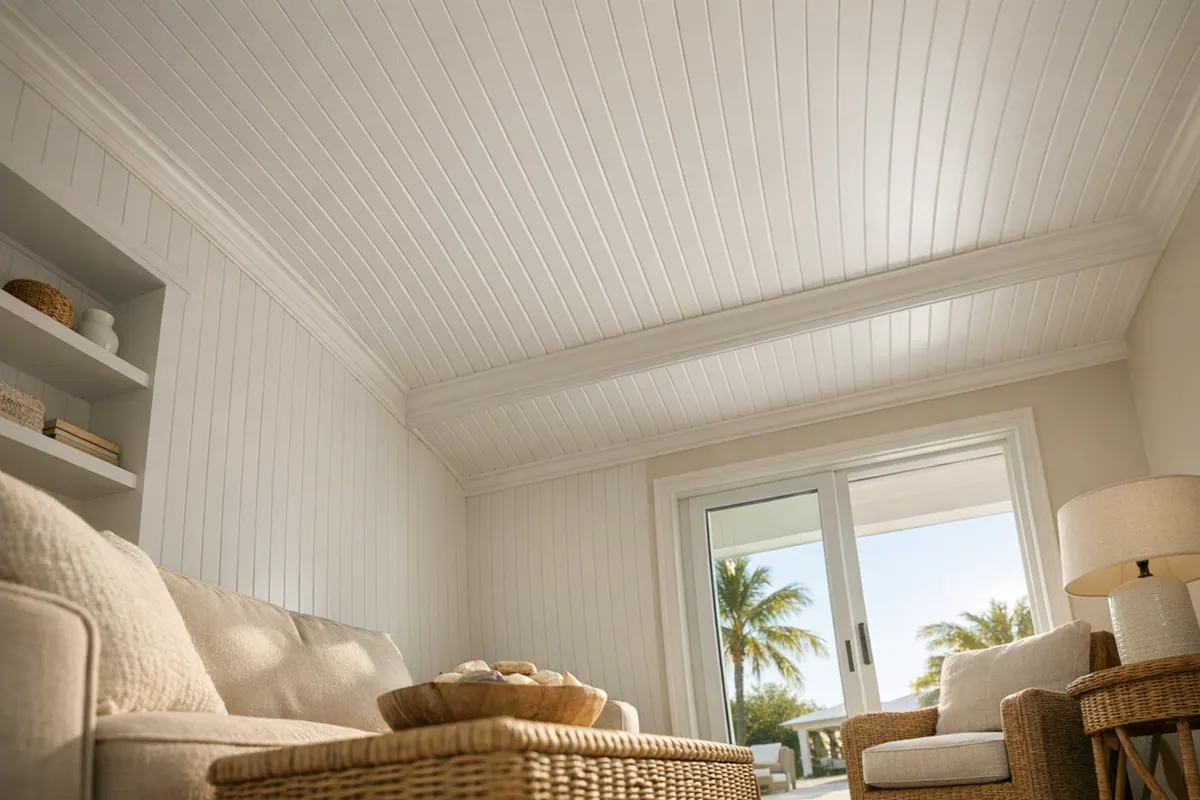
Finish selection determines how prominently the boards themselves appear. Paint-grade paneling is intended to become an even, color-led field, making it useful when the goal is to match a wall color, existing cabinetry, or crisp white trim. Stain-grade wood paneling leaves grain, knots, and tonal variation visible, so it suits a warmer, more natural focal point but calls for boards whose character looks good across the entire installation. MDF paneling offers a smooth, uniform paint-ready face for dry interior applications, whereas solid or engineered wood can provide the grain and texture desired for a stained treatment.
Trim gives the paneling a deliberate stopping point rather than an unfinished edge. Baseboards can either remain as the visual foundation or be replaced to meet the new wall plane cleanly. Crown molding can cap a full-height installation and tie it to an established traditional room; casing keeps door and window openings visually consistent. At exposed ends, a narrow edge trim, outside-corner detail, or return piece conceals board ends and creates a clean perimeter. A well-planned transition is especially important where paneling meets drywall, tile, built-ins, or a change in ceiling height.
For wall trim Laurel FL projects, bringing photos of nearby molding, flooring, and paint colors helps turn a preferred inspiration image into a coordinated finish. The strongest result does not rely on the paneling alone: board scale, reveal, finish sheen, and trim profile should all read as parts of the same room.
Why Professional Preparation Matters for Shiplap Walls and Ceilings
A refined paneling job begins before the first board goes up. A finish carpenter assesses whether the drywall is flat enough to receive the treatment cleanly, whether framing is available where fastening support is needed, and whether a ceiling has dips or transitions that will show once parallel board lines are installed. A sound-looking wall can still need layout adjustments; ignoring those conditions can leave inconsistent reveals or boards that appear to wander across the surface.
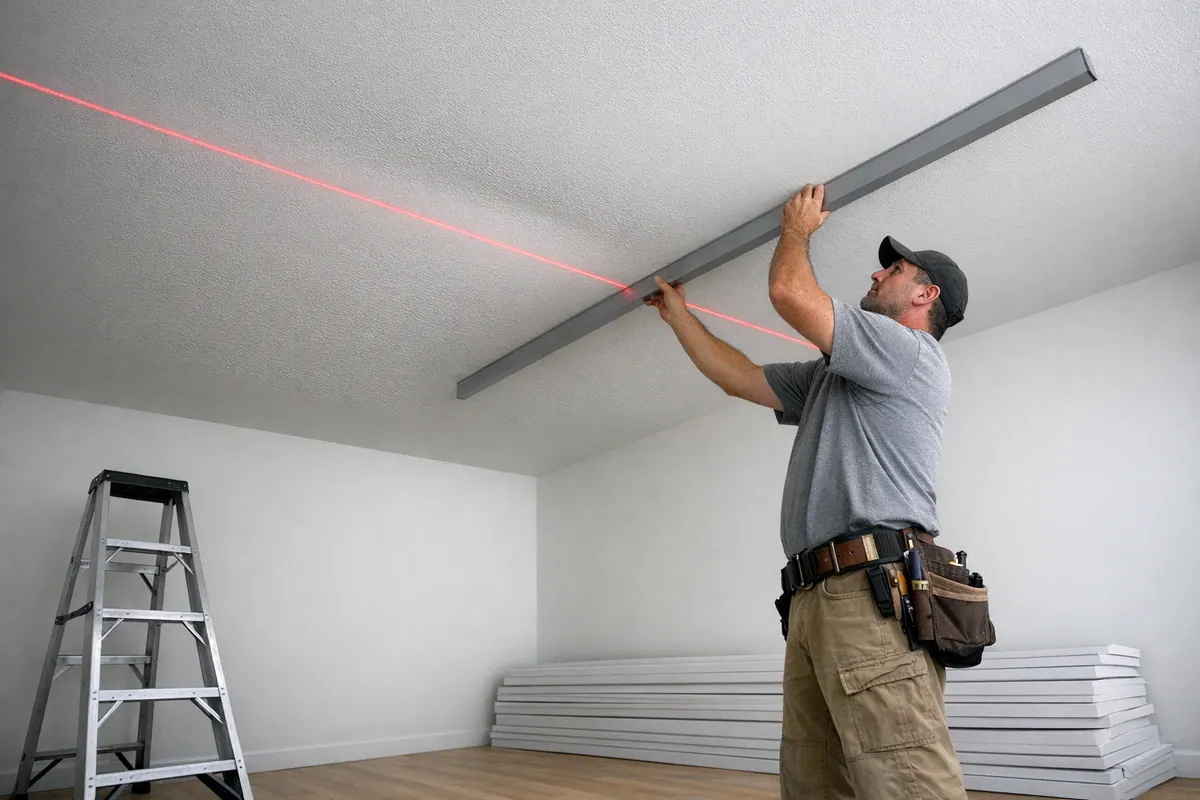
The starting line is a visual control point, not simply the nearest edge of the wall. It is planned so the board pattern lands well at ceilings, baseboards, doors, and windows instead of ending in a noticeably thin strip. Outlets, switches, vents, and wall-mounted fixtures also require measured cutouts and a plan for how their covers will sit against the new finished wall plane. On ceilings, fixture locations, seams, and the direction of framing can add another layer to the scope.
Corner work is where careful preparation becomes especially visible. Inside corners may need scribed or carefully fitted boards to avoid a widening gap, while outside corners need a clean detail that protects and conceals exposed board ends. Existing casing, baseboard, crown, and built-ins are evaluated together so the new paneling does not create awkward offsets or incomplete transitions. The selected product matters here as well: board thickness, edge profile, and paint-grade or stain-grade finish all affect how edges can be treated.
A shiplap contractor in Laurel, FL can define those decisions in a written scope: the paneling material, affected surfaces, trim approach, cutout details, and whether caulking, paint, or stain is included. That upfront work helps reduce unsupported boards, uneven lines, distracting cut edges, and the small unfinished gaps that can keep shiplap walls or tongue-and-groove ceilings from looking truly built in.
Start Your Laurel Shiplap or Tongue-and-Groove Project
Good estimate conversations start with a clear picture of the room and the result you want to create. For a Laurel home, send a few wide photos of the wall or ceiling along with close-ups of corners, doors, windows, outlets, vents, and any existing molding. Approximate height and width measurements are useful too; they establish the scale of the treatment before a project-specific review.
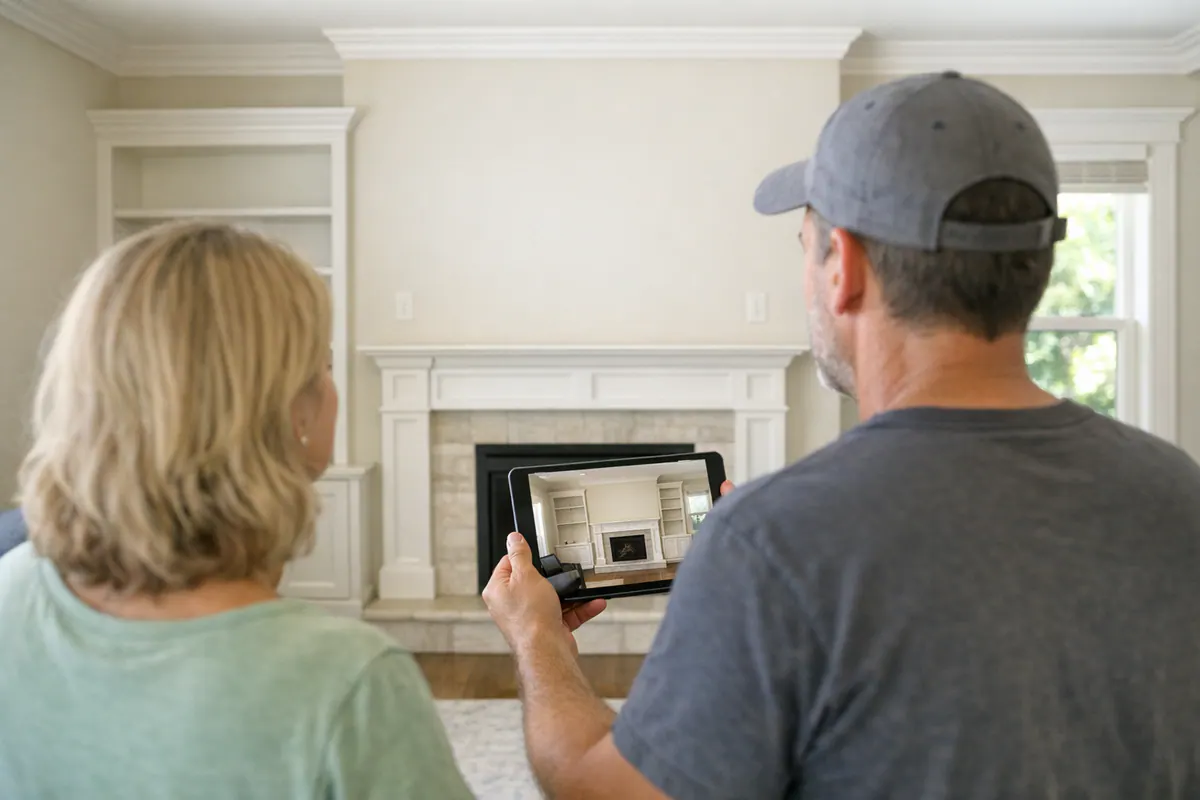
It also helps to describe how the room is used. A living-room focal wall, a bedroom backdrop, an entry detail, and a ceiling each call for a different visual emphasis. Include inspiration images, but note what you like about them: pronounced horizontal lines, a vertical height effect, a smoother tongue-and-groove appearance, natural wood character, or a clean painted finish.
- Share your preferred board direction, even if it is only a starting preference. Horizontal courses emphasize width, while vertical boards draw attention upward.
- Identify whether you envision paint or stain. Paint can make the panel pattern read as one composed surface, while stain keeps more of the wood tone and variation in view.
- Point out trim updates under consideration, such as new baseboard, a cap rail, casing adjustments, or a transition into crown molding. These details determine how the paneling ends and connects to the rest of the room.
An on-site or project-specific review provides the opportunity to look at the actual surface, surrounding details, and layout constraints before settling on a direction. It is the right time to compare shiplap, tongue-and-groove, and complementary wall trim options, then define a tailored scope for your Laurel project. Reach out to begin the conversation about professional shiplap installation in Laurel, FL, with photos, measurements, and your preferred contact method ready.
Plan the next step
Compare the broader Shiplap Installation service.
Review the Laurel, FL service area for local planning context.
When you are ready, request a free estimate with the rooms, trim goals, city, and available photos.
FAQs
What is the difference between shiplap and tongue-and-groove?
Shiplap uses rabbeted board edges that overlap to create a consistent recessed reveal and visible shadow line. Tongue-and-groove uses interlocking edges for a tighter, more continuous surface with narrower seams.
Can shiplap be installed over drywall?
Yes, shiplap can be installed over drywall when the surface is flat enough and framing or other fastening support is available where needed. A finish carpenter should check for uneven walls, dips, and layout issues before installation so board reveals stay consistent.
Should shiplap run horizontally or vertically?
Horizontal shiplap draws the eye side to side and can make a narrow wall feel broader and more relaxed. Vertical shiplap emphasizes height, making it a strong option for entries, bedroom walls, and ceiling transitions.
What trim works best with shiplap walls?
Baseboards, crown molding, door and window casing, edge trim, outside-corner details, and return pieces can create clean transitions around shiplap. The best trim approach matches the board thickness and connects the paneling cleanly to drywall, tile, built-ins, ceilings, and existing molding.
How do I choose between shiplap and tongue-and-groove for a Laurel, FL ceiling or wall?
Choose shiplap when a pronounced recessed groove and graphic board lines are central to the design. Choose tongue-and-groove for a closely joined, orderly surface, especially for ceilings or wood-forward finishes where a more continuous plane is preferred.