
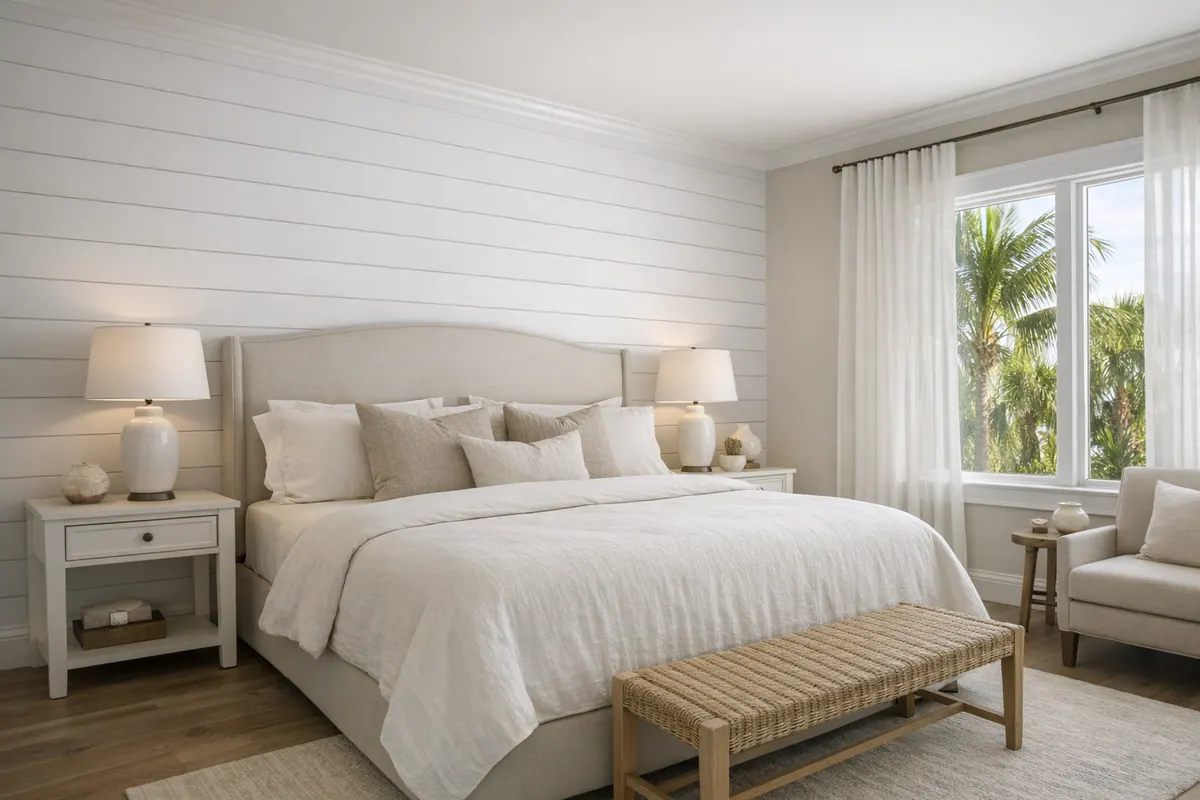
Shiplap can give a Nokomis home a crisp focal point: a clean accent wall behind a bed, subtle linear detail across a ceiling, or a tailored surround that frames a fireplace wall. The difference between an architectural finish and a collection of boards is in the carpentry. Professional shiplap installation in Nokomis, FL begins with a deliberate layout so courses run straight, seams land intentionally, reveals stay even, and edges meet nearby doors, windows, outlets, and trim cleanly.
Fastening and finish work matter just as much as the paneling itself. Boards should sit securely and align from one course to the next; trim should look coordinated rather than added as an afterthought. A paint-ready result also depends on tidy cuts, consistent joint treatment, and transitions that make the wall or ceiling read as one finished surface.
For coastal-area interiors, the room helps guide the choice. Material, paint sheen, and panel profile can be selected around the space's humidity, light, use, and maintenance expectations. Shiplap-style boards create a visible shadow-line gap, while tongue-and-groove boards interlock for a more continuous paneled appearance. Both can look refined when their proportions and finish details suit the surrounding room.
Shiplap Walls, Accent Features, Ceilings, and Fireplace Details
A full-room treatment and a single feature wall solve different design problems. Full-room shiplap walls can give a bedroom, entry, or living area a more tailored envelope, but they need a plan for every door casing, window return, outlet, switch, and terminating edge. A feature wall concentrates the detail behind a bed, dining area, or media wall while leaving the rest of the room quieter. In either case, shiplap walls in Nokomis work best when the paneling meets baseboards, crown, and adjacent finishes with an intentional stopping point, not a narrow filler strip or an awkwardly interrupted course.
Ceilings use the same linear detail in a different way. Shiplap ceiling installation can define a porch-like sitting area, add depth above a kitchen island, or make a vaulted ceiling feel more finished. The direction of the boards should relate to the room's shape and sightlines, while the layout must account for recessed lights, vents, fans, access panels, and perimeter trim. A strong result keeps board spacing visually consistent around those penetrations rather than making them appear cut in after the fact.
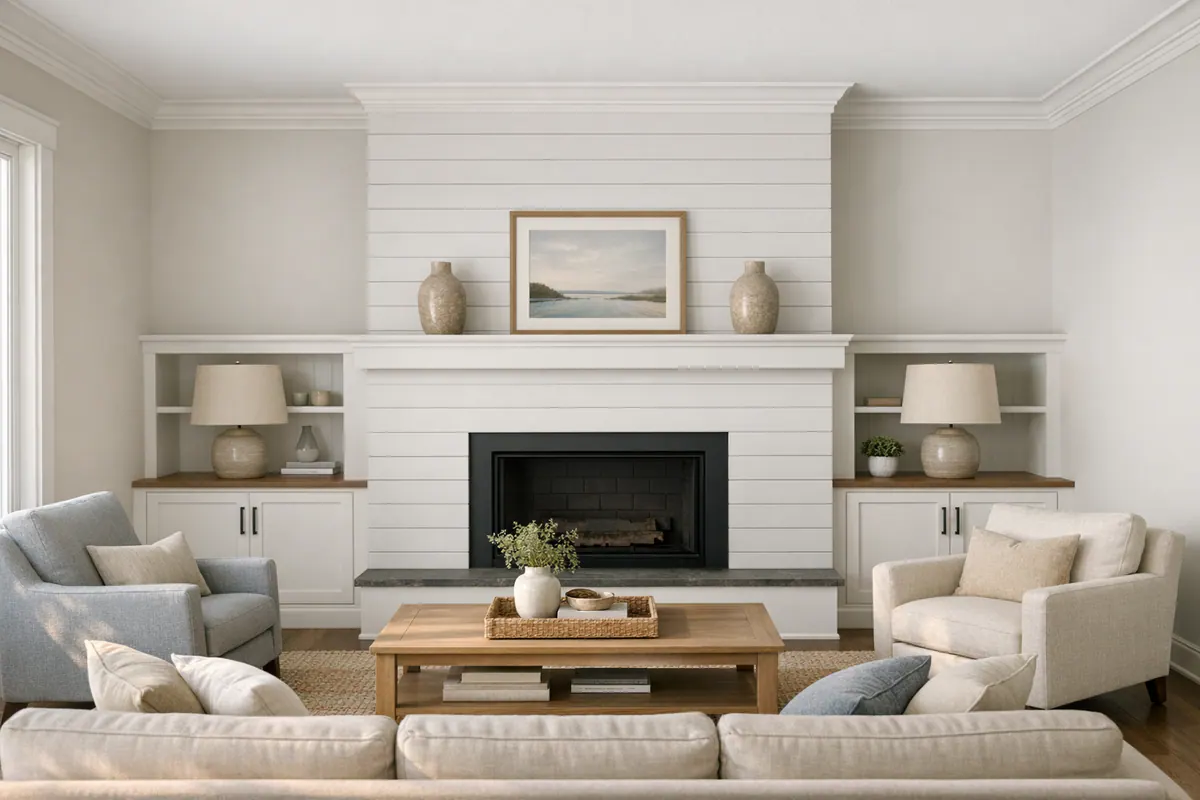
Fireplace shiplap is most successful when it belongs to the entire elevation: mantel proportions, hearth material, television location, side trim, and the wall surfaces beside it all affect the composition. Paneling may be used as a decorative facing above or around a fireplace, but it is not a one-size-fits-all finish. The specific appliance, facing area, substrate, heat exposure, required clearances, and the selected product's manufacturer instructions determine whether a proposed finish and layout are appropriate.
Before selecting the scope, the installation area should be evaluated for a sound, usable substrate, the condition of existing finishes, access for fastening, and the details that must be removed, extended, or wrapped. That assessment turns shiplap installation in Nokomis, FL into a coordinated finish-carpentry project, whether the right answer is one precise accent wall, a ceiling treatment, or a carefully framed fireplace feature.
Choosing Shiplap Materials for Coastal Interiors and Humid Rooms
Material selection starts with the conditions at the wall, not just the color of the paint. In a dry bedroom, living room, or finished hallway, paint-grade wood shiplap brings a solid, traditional board feel and can be filled, caulked, primed, and painted for a tailored finish. MDF shiplap is another paint-grade option: its smooth, uniform face can suit an interior feature where a crisp painted appearance matters more than visible wood grain.

Bathrooms, laundry rooms, and other humid spaces call for a more cautious conversation. Everyday humidity, limited ventilation, splash zones, and the condition of the substrate all change the material decision. Painted wood or MDF may still fit a location outside direct water exposure when the room conditions and product rating support it, while an appropriate PVC trim product or another manufacturer-rated paneling material may be a stronger candidate for a more moisture-conscious detail. The important distinction is that a humid room is not automatically a wet-area installation.
The finish system should be planned as one system: board material, compatible primer, flexible paintable caulk at trim transitions, and a finish paint chosen for the room's use. A clean sample helps establish whether the selected profile, sheen, and caulk line produce the smooth look you expect. This is especially useful when coastal trim in Nokomis needs to meet existing casing, baseboards, or crown without a distracting change in texture.
Painted paneling can look durable and refined, but it is not a zero-maintenance surface. Gentle periodic cleaning and occasional touch-up at high-contact edges, around switches, or near laundry equipment are realistic parts of keeping the finish looking fresh. Selecting the board and coating around the room's actual conditions creates a better long-term result than treating every wall as the same project.
Shiplap vs. Tongue-and-Groove Paneling: Which Look Fits Your Space?
The edge profile, not the label on the product, is what sets the rhythm of the finished wall or ceiling. Shiplap-style boards are installed with a deliberate open reveal, creating the narrow shadow line that gives each course definition. Nickel-gap paneling produces a similarly crisp, consistent reveal, but its milled profile is designed around that small gap. Both work well when the goal is visible linear detail rather than a fully blended surface.
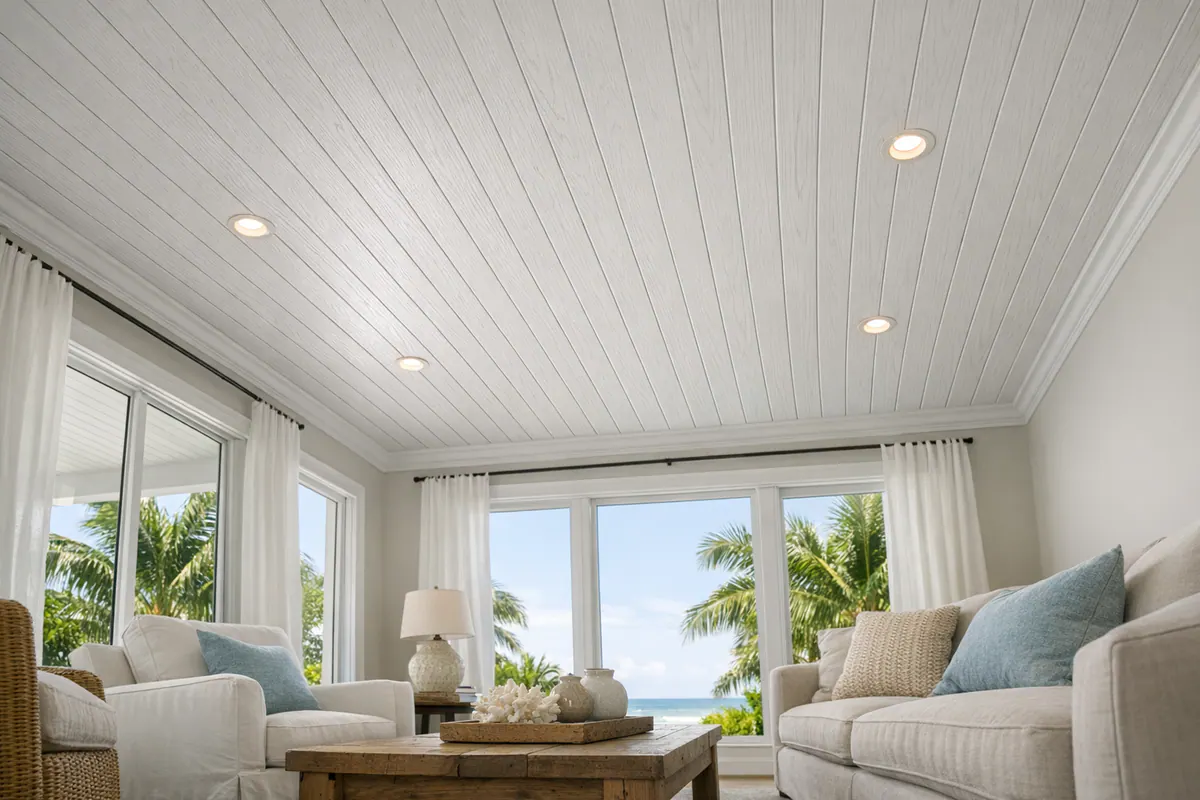
Tongue-and-groove boards use an interlocking tongue on one edge and groove on the other. That connection creates a more continuous plane, with the face profile determining whether the joints read as a fine line or nearly disappear under paint. For tongue and groove in Nokomis homes, this can be a strong fit for a ceiling or a quieter wall treatment where individual boards should feel connected instead of deeply separated.
A sample held beside the room's existing trim makes the choice more tangible. A pronounced shiplap reveal can complement simple square casings and a clean mantel, while a finer nickel-gap or tongue-and-groove profile may sit more comfortably beside detailed crown molding. The finish plan matters too: paint can emphasize a shadow line, soften a narrow joint, or make a continuous paneling field feel especially tailored.
Movement and transitions deserve the same attention as the face profile. Board direction, perimeter spacing, and the way paneling terminates at baseboards, casings, crown, and a mantel all affect whether the result looks intentional. A strong installation has even reveals, aligned seams, and purposeful edge treatment, not thin strips or irregular gaps introduced to make the layout work.
For a ceiling, tongue-and-groove boards can offer a composed, plank-like appearance, while shiplap-style boards make the ceiling lines more graphic. Neither is automatically the better choice. The right detail is the one that suits the desired reveal, paint finish, surrounding trim, and the particular wall or ceiling it must meet.
Why Layout, Fastening, and Trim Detail Define a Professional Result
A paneling layout should make the room feel composed before the first board is secured. Horizontal shiplap draws the eye across a wall and can make a narrow elevation feel broader; vertical shiplap pulls the eye upward and can give a lower ceiling a taller visual read. The choice also changes where seams, cut boards, and trim interruptions will fall, so it is decided in relation to the whole wall rather than from a single starting corner.
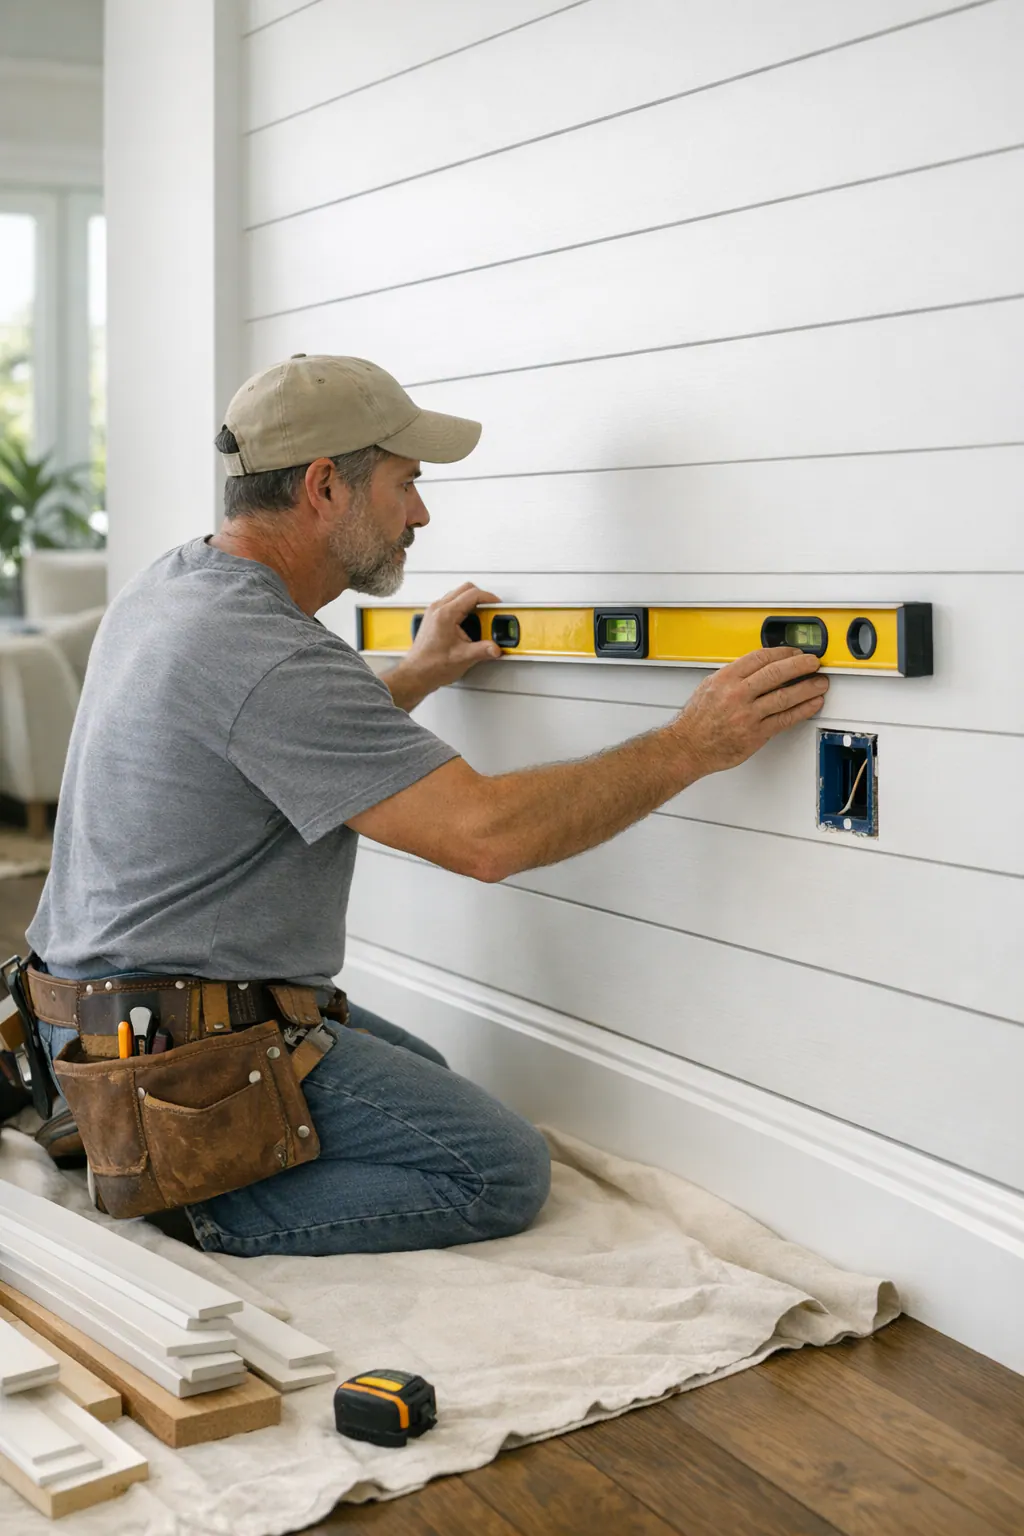
Strong work begins by assessing whether the wall or ceiling is true enough for a clean field of boards, then establishing a level reference line. Courses should remain level, reveals should stay consistent, and seams should be planned to avoid a random, stair-stepped appearance across a larger span. Secure stud fastening, or fastening to other suitable backing where the assembly calls for it, helps keep boards firmly supported instead of relying on a face that may not hold them well.
Windows, doors, outlets, vents, and corners are not details to solve after the field is installed. Their locations guide the layout so cuts are balanced and outlet covers sit against neatly fitted openings rather than ragged gaps. A polished shiplap installation in Nokomis, FL also considers how boards end at an outside corner, return into a window opening, or meet an existing casing. Tight, deliberate transitions are a better signal than thin filler pieces added simply to finish a row.
Finish carpentry brings the paneling into the rest of the room. Baseboards may be retained, replaced, or detailed to receive the boards cleanly; crown can cap the treatment without uneven ends; and a mantel connection should read as one intentional junction instead of competing layers. Caulk, filling, sanding, priming, and paint preparation come last to refine small paintable transitions and fastener treatment. Those finishing steps should preserve the intended reveal while allowing for the material's movement needs and the selected product's installation instructions.
Planning Your Nokomis Shiplap Project and Requesting an Estimate
A useful estimate starts with a clear picture of the room, not a one-size-fits-all number. The size and location of the installation matter, but so do the conditions behind the proposed paneling. A straightforward bedroom accent wall is a different scope from a ceiling with limited access, an uneven existing surface, or a fireplace elevation that requires coordinated mantel and trim changes.

For shiplap wall installation in Nokomis, the material and design decisions also shape the scope. Paint-grade boards and tongue-and-groove paneling create different edge details; horizontal and vertical layouts change the cut plan; and retaining existing baseboards differs from replacing or extending trim to receive the new finish. Electrical boxes, switches, vents, window returns, paint preparation, and finish coats should be identified up front so the completed surface has intentional transitions rather than last-minute workarounds.
When contacting a shiplap installer in Nokomis, FL, share a few wide room photos, approximate wall or ceiling dimensions, inspiration images, and notes about the existing finish, trim, mantel, outlets, and vents. A consultation is the time to settle the visual direction, look at access and substrate conditions, compare appropriate material options, and define exactly what preparation, carpentry, and paint work belong in the installation scope.
Bring Clean, Custom Paneling Detail to Your Home
The best finished paneling feels built into the room, not added on afterward. Shiplap gives a more pronounced lined reveal; tongue-and-groove creates a tighter plank effect; and ceiling planks carry that detail overhead. The right choice should suit the room's scale, light, existing finishes, and the amount of visual texture you want.
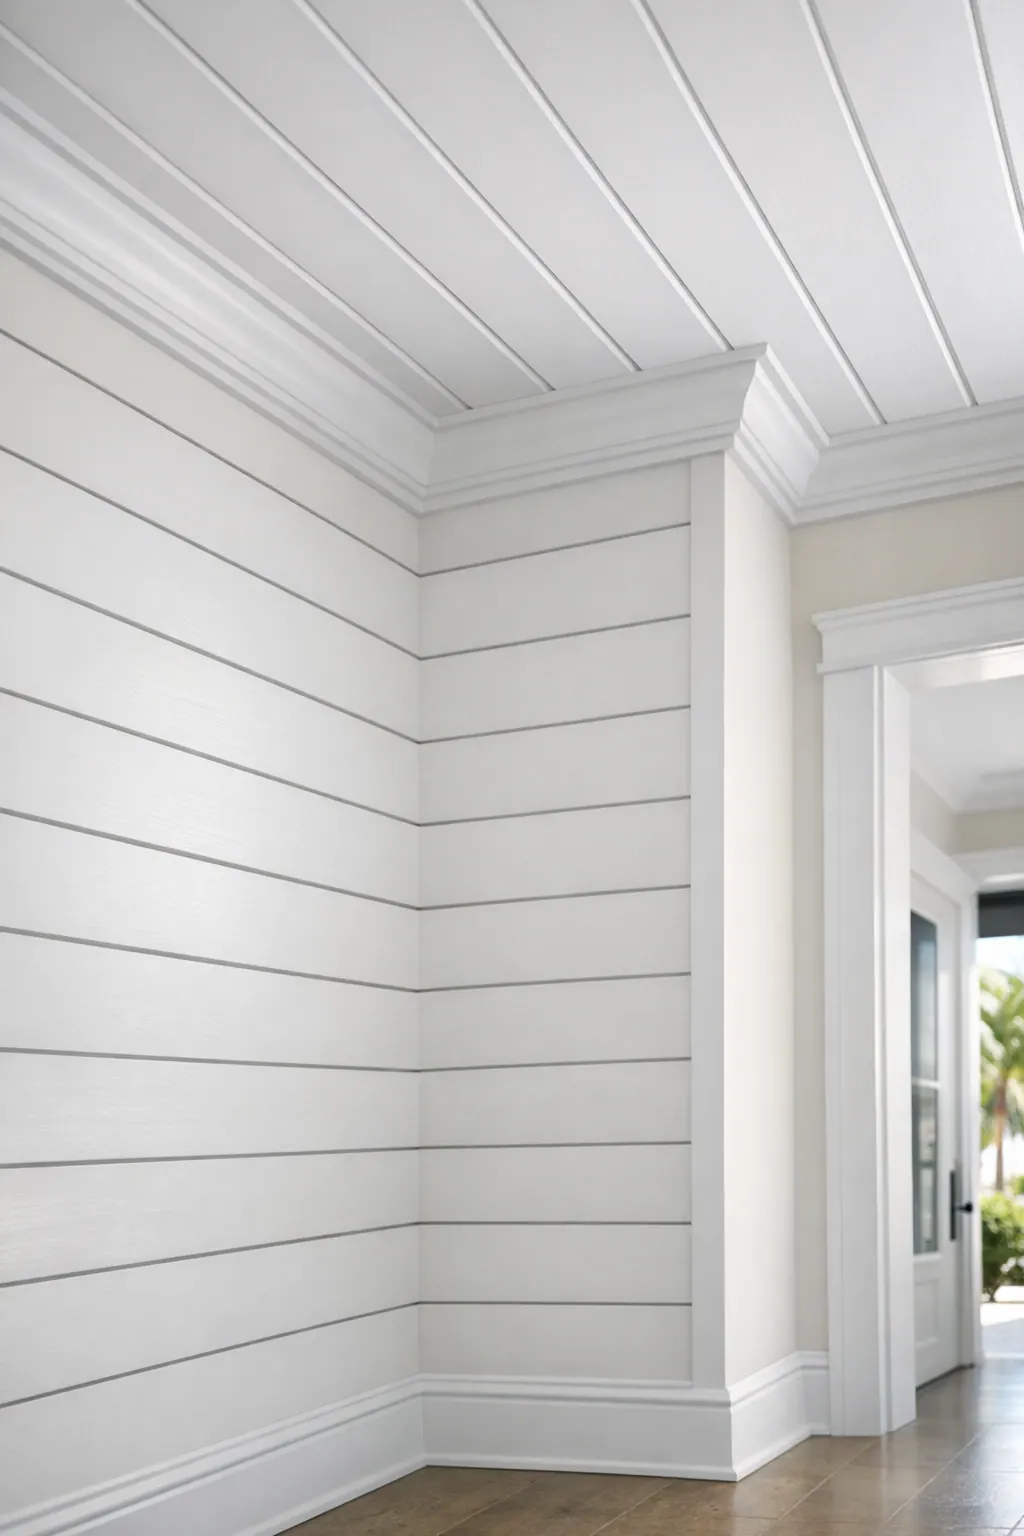
For shiplap installation in Nokomis, FL, thoughtful finish carpentry is what makes the difference visible: balanced board layout, even reveals, aligned seams, clean outlet cuts, secure attachment, and trim that meets the paneling without awkward gaps. Existing baseboards, crown, window casings, mantels, and coastal trim details can all be incorporated into one intentional composition.
Ready to shape the room? Request a consultation or estimate for your Nokomis home. Bring your room photos and inspiration, then discuss the paneling style, paint or stain finish, wall or ceiling location, and any trim or fireplace details that need to work with the new design.
Plan the next step
Compare the broader Shiplap Installation service.
Review the Nokomis, FL service area for local planning context.
When you are ready, request a free estimate with the rooms, trim goals, city, and available photos.
FAQs
What is the difference between shiplap and tongue-and-groove paneling?
Shiplap-style boards use a deliberate open reveal that creates visible shadow lines between courses. Tongue-and-groove boards interlock at their edges, creating a more continuous paneled surface with finer or less visible joints.
Can shiplap be installed on ceilings in Nokomis homes?
Yes, shiplap can be installed on ceilings to add linear detail above kitchen islands, sitting areas, or vaulted rooms. The layout should account for recessed lights, vents, fans, access panels, perimeter trim, and consistent spacing around each opening.
Can shiplap be installed around a fireplace?
Shiplap can be used as a decorative facing above or around a fireplace when the appliance, substrate, heat exposure, required clearances, and product instructions allow it. The paneling layout should also coordinate with the mantel, hearth, television location, side trim, and adjacent wall finishes.
What material is best for shiplap in a bathroom or humid space?
Painted wood or MDF can work outside direct water exposure when room conditions, ventilation, and product ratings support their use. For more moisture-conscious details, a manufacturer-rated PVC trim product or other rated paneling material may be the better option.
Should shiplap run horizontally or vertically?
Horizontal shiplap draws the eye across the wall and can make a narrow elevation appear broader. Vertical shiplap pulls the eye upward and can make a lower ceiling feel taller, but the final direction should also accommodate seams, trim, doors, windows, outlets, and vents.