

Shiplap installation in North Port, FL can give a builder-grade room a more finished architectural focal point, provided it is treated as a deliberate finish detail rather than a default for every surface. A single horizontal feature wall behind a sofa, a clean entry-wall backdrop, or a modest tray-ceiling treatment can add definition without making the room feel busy.
Material and detailing shape the result. Traditional shiplap uses boards with overlapping edges that create a visible shadow line; tongue-and-groove boards interlock for a more tightly joined, often subtler profile. The right choice depends on whether the room needs crisp graphic reveals or a quieter paneled finish, as well as how the existing trim, openings, and paint scheme will meet the new work.
Clean finish carpentry begins with a straight layout, consistent reveals, secure fastening into suitable backing, and carefully finished edges at outlets, windows, baseboards, and corners. For a fireplace accent, the surround design should be planned around the specific fireplace or insert requirements before material is selected. In North Port's humid climate, choosing an interior-appropriate material and finish also helps the detail remain intentional-looking over time.
Where Shiplap Makes the Strongest Design Impact
The most successful projects give the eye one clear place to land. In a living room, that may be the wall behind the sofa or television; in an entry, the short wall visible from the front door. A shiplap accent wall in North Port can also bring welcome definition to a dining nook or create a calm backdrop behind a bed, especially when the remaining walls stay simple.

Ceilings deserve a lighter touch. A tray ceiling, its recessed center framed by a dropped border, can handle a restrained shiplap treatment that emphasizes its shape without turning the entire room into paneling. A fireplace wall can work the same way: use the boards to frame the composition of the room rather than compete with a mantel, tile, art, or built-ins. The chosen scope should leave enough plain surface for furnishings and architectural details to breathe.
Scale is the deciding factor. Broad shiplap walls in North Port tend to read best when a room has a long, uninterrupted wall and relatively clean trim. In a low-ceilinged room, a visually busy space, or one with ornate crown molding, multiple doors, and heavily detailed casings, wall-to-wall boards can crowd the architecture. One focal treatment is usually stronger than carrying the same pattern through every bedroom, hallway, and common area. Before settling on a location, consider what will sit in front of it: a feature wall largely hidden by tall furniture or layered with busy décor loses the crisp effect that makes the detail worthwhile.
True Shiplap, Tongue-and-Groove, MDF Panels, and Faux Treatments
The profile at each joint changes the finished look as much as the board width. True shiplap uses overlapping rabbeted edges, so one board laps the next and creates a shadow line. Tongue-and-groove uses a projecting tongue that fits into a matching groove, producing a more interlocked, often tighter-looking surface. Neither is simply a different name for the other: choose true shiplap for a pronounced layered reveal, or choose tongue and groove in North Port when a more continuous, tailored plane suits the room.
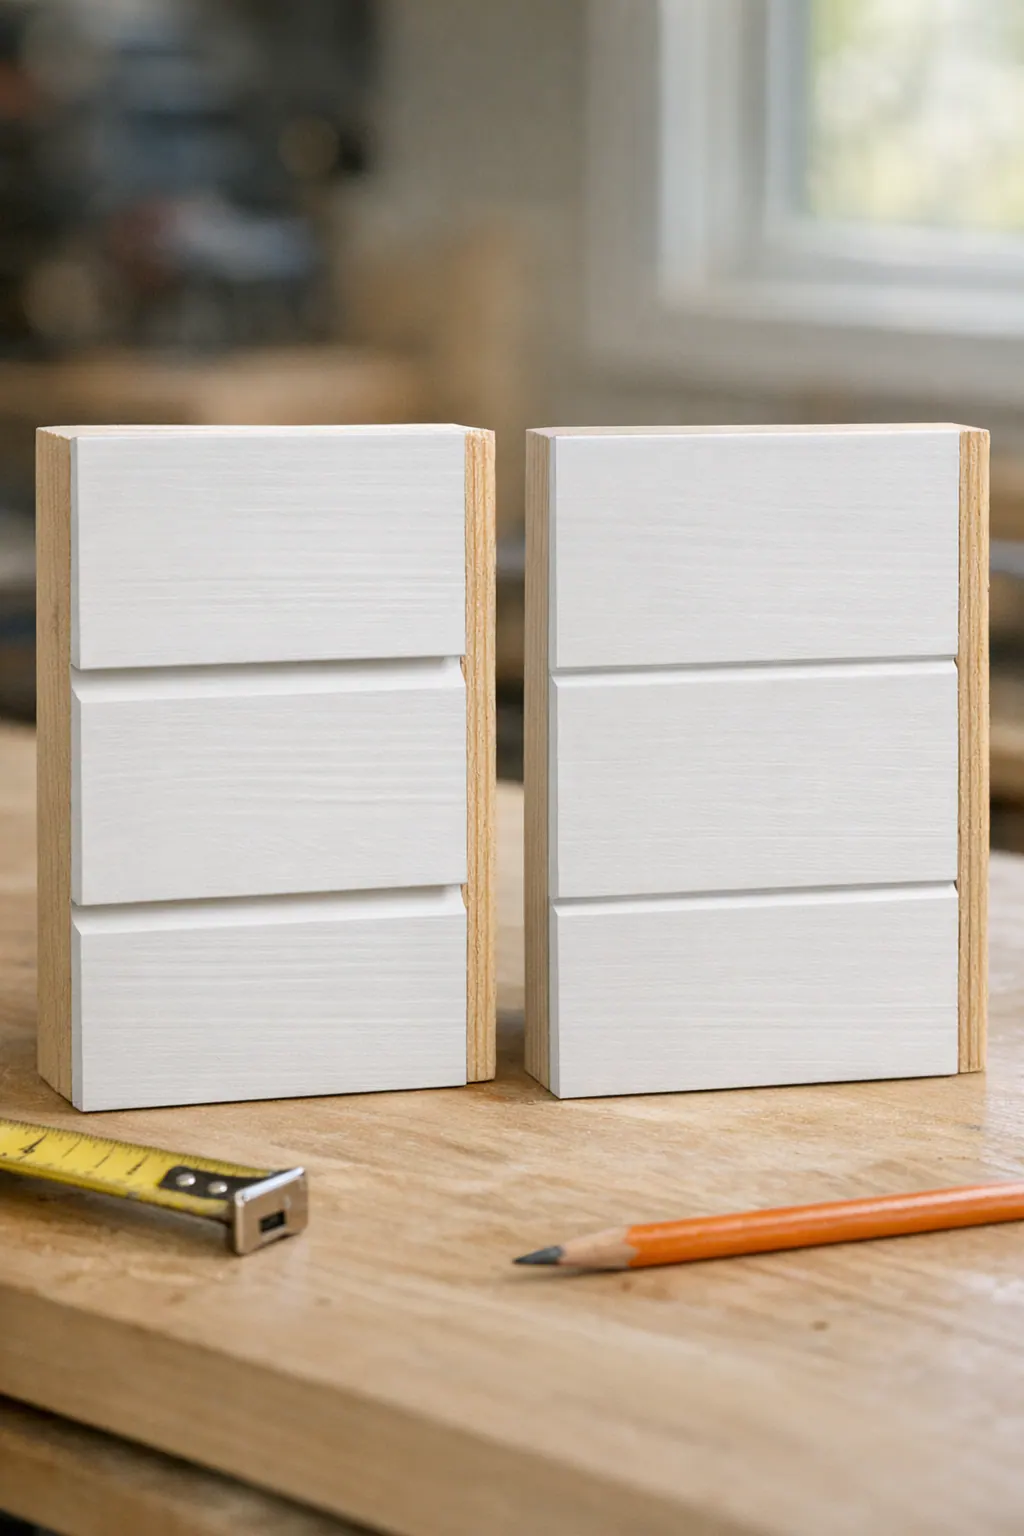
Nickel-gap paneling is another paint-grade option. Its boards are designed to leave a deliberate, uniform narrow reveal, commonly around the visual width of a nickel, rather than relying on improvised spacers between plain boards. That controlled line can look especially crisp on a contemporary feature wall or ceiling. The practical takeaway is to select the profile for the shadow line you want to see, not just the broad label on the product.
Material matters, too. Wood shiplap can be painted or stained, allowing grain and natural variation to remain part of the design when a stain-grade finish is the goal. For an opaque painted wall, MDF shiplap panels and individual MDF boards can create a smooth, consistent face with fewer grain-related variables. MDF is best reserved for dry interior locations; rooms with regular moisture exposure call for a product and finish system suited to those conditions, rather than assuming every paint-grade panel performs the same way.
Thin faux-shiplap treatments, often flat strips applied over a wall, can suggest the pattern without recreating a true overlapping or interlocking joint. They may be appropriate when a shallow build-out is essential, but inconsistent strip thickness, uneven spacing, or exposed ends can quickly make the wall read as an applied pattern instead of finish carpentry. A full-profile board or panel system gives the installer a clearer path to consistent reveals, clean edges, and a paint finish that feels intentional.
Why Layout, Reveals, and Trim Transitions Matter
A polished shiplap wall is established before the first board goes up. The orientation is the first visual decision: horizontal shiplap carries the eye side to side and can make a narrow wall feel broader, while vertical shiplap draws the eye upward and can give a lower room more apparent height. The choice should follow the wall's proportions, nearby trim, and the direction that best supports the room, not a trend applied everywhere.
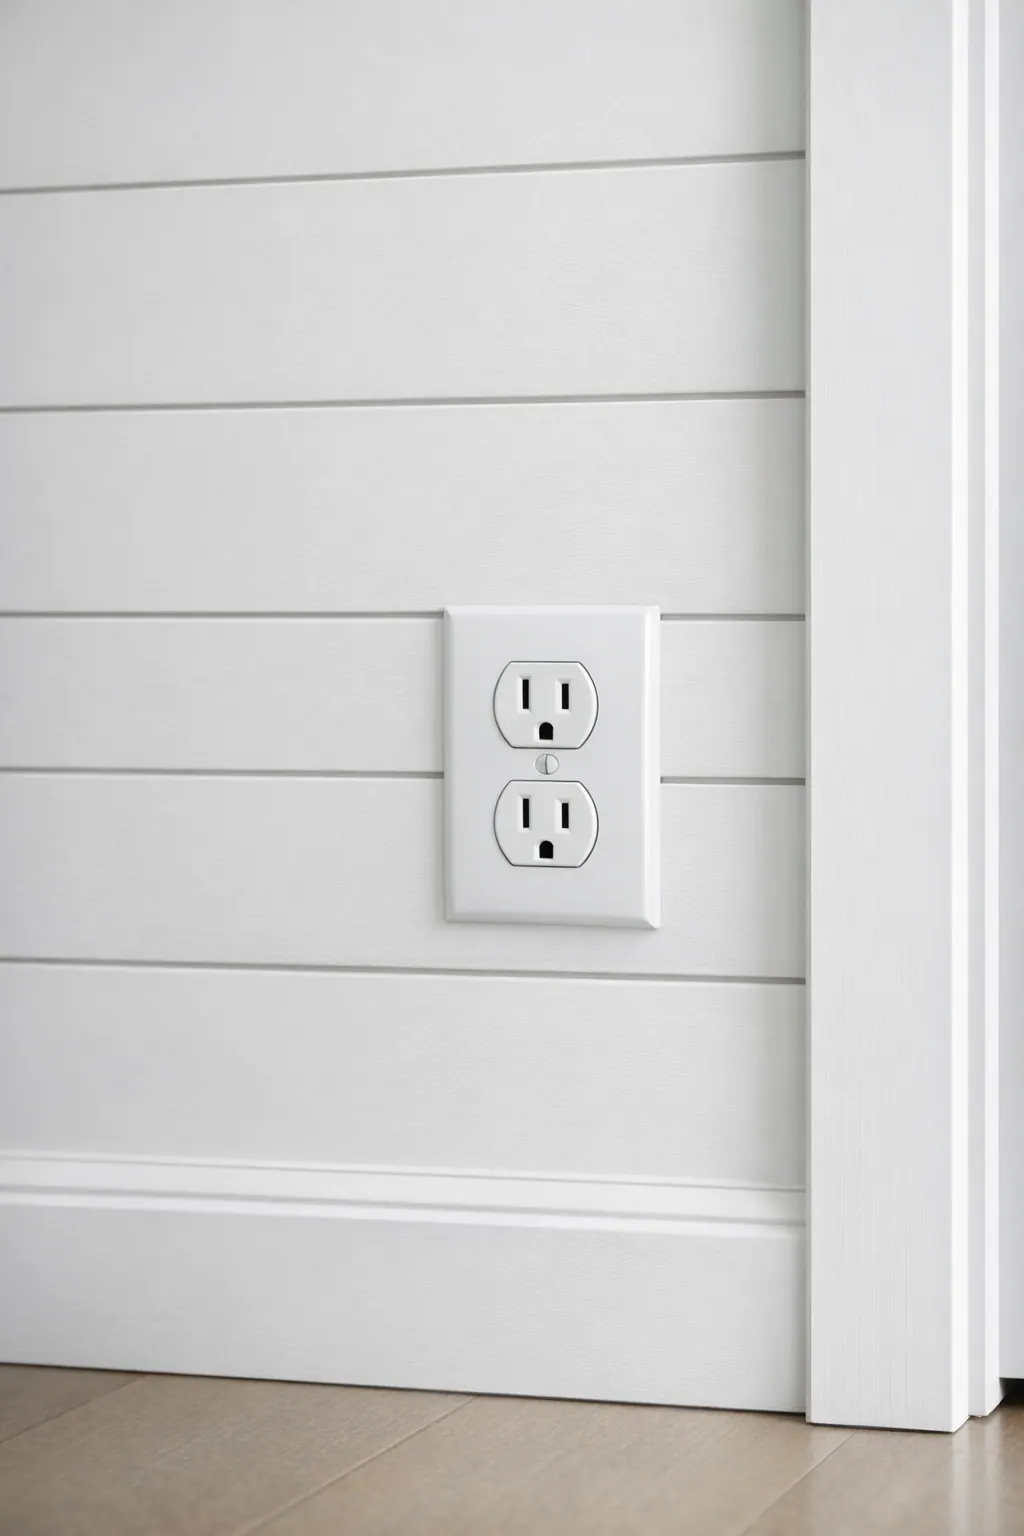
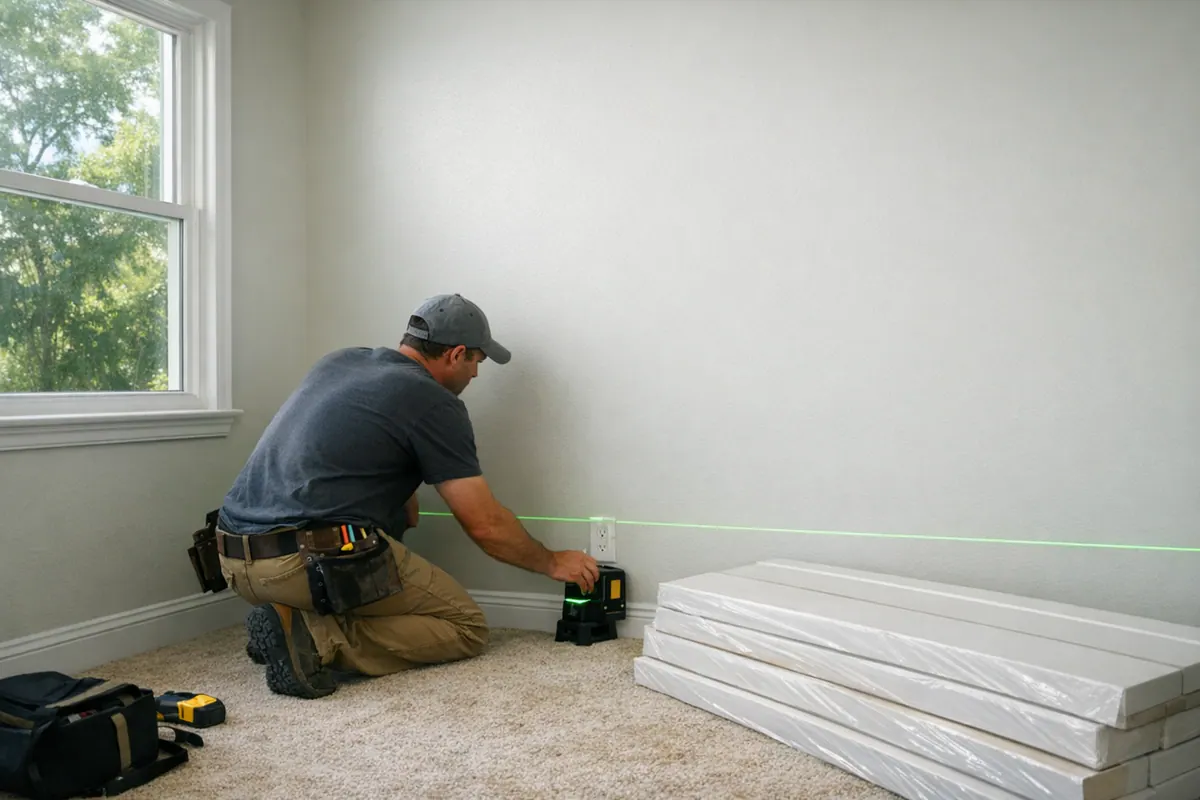
Layout turns that choice into a clean result. A finish carpenter in North Port starts from a dependable level line rather than assuming the ceiling, floor, or existing baseboard is perfectly straight. Courses are planned around stud locations or appropriate backing so boards can be fastened securely, with board lengths, seams, and the first and last rows considered before cuts begin. The visible goal is simple: straight courses and an even reveal from one side of the wall to the other. Uneven gaps are difficult to overlook once paint creates contrast in every shadow line.
Openings are where installation quality becomes especially visible. Outlet and switch cutouts should be measured and cut so device covers sit cleanly over the finished surface rather than concealing ragged edges or awkwardly interrupted reveals. At inside corners, boards should meet in a deliberate line; at outside corners, the finish needs a crisp, protected edge instead of exposed board ends. A clean end condition may use a narrow trim piece, a return, or a planned board termination, depending on the profile and surrounding architecture.
Existing details deserve the same attention. Shiplap can die neatly into baseboard or crown, or those trim elements can be removed and reinstalled for a more integrated result. Window and door casing should read as an intentional border, not as an obstacle with uneven slivers of board crowded beside it. After joints and transitions are treated with paintable caulk where appropriate, careful filling, sanding, priming, and painting help the wall read as one finished assembly. Those small decisions are what separate boards fastened to drywall from finish carpentry that belongs in the room.
Shiplap on Ceilings, in Humid Rooms, and Around Fireplaces
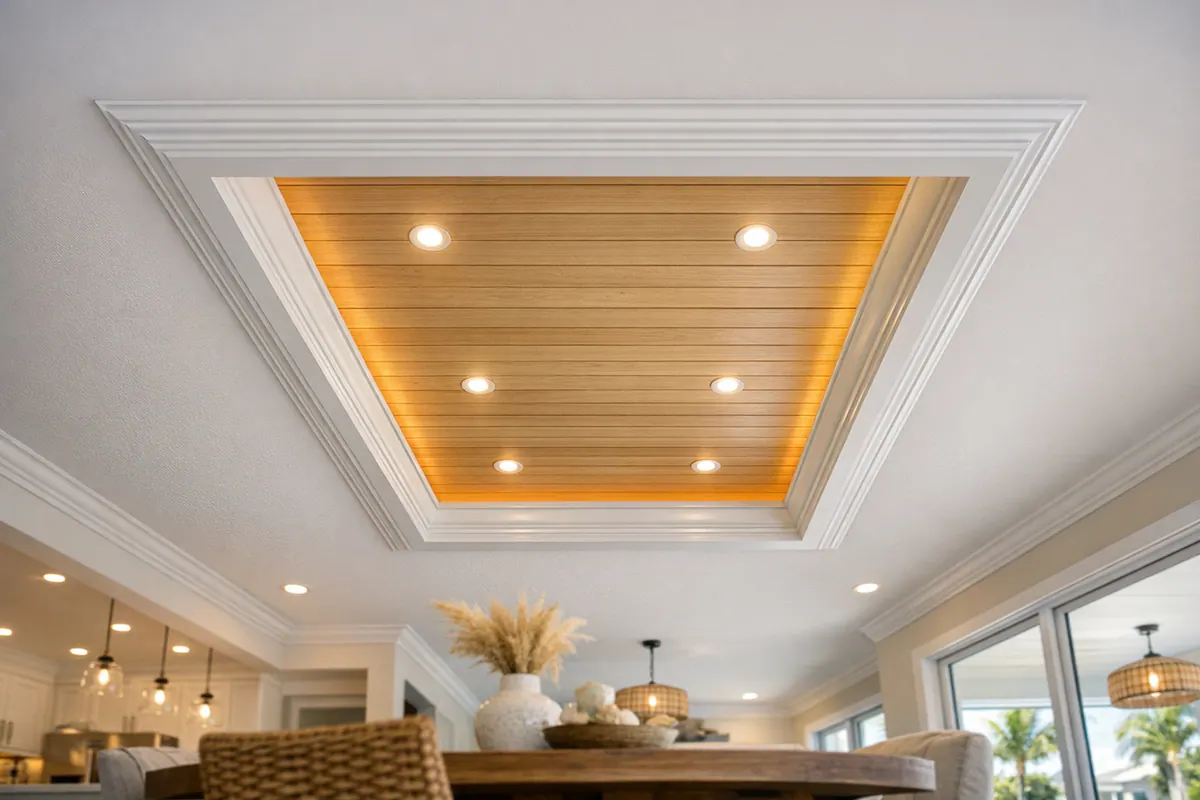
A ceiling treatment needs to earn its visual presence. A shiplap ceiling in North Port can bring warmth to a tray ceiling, distinguish a dining area within an open plan, or give a covered interior transition a more finished character. Keeping the treatment inside the recessed tray or another clearly defined ceiling zone is often the stronger choice; running pronounced boards across a low, already-busy ceiling can make the room feel more enclosed. Board direction, color, lighting locations, and the way the ceiling meets crown or perimeter trim should be resolved together.
Bathrooms, laundry rooms, and other humid spaces call for a more selective material-and-finish conversation. Moisture-resistant materials are chosen for their ability to better suit recurring humidity than a standard interior paint-grade board, but the practical tradeoff may be a different surface appearance, profile selection, or finishing approach. Careful priming and coating of exposed faces, edges, cutouts, and board ends helps create a more complete finish. A well-considered bathroom detail also avoids trapping a narrow, hard-to-paint edge beside tile, a vanity backsplash, or a shower-adjacent transition.
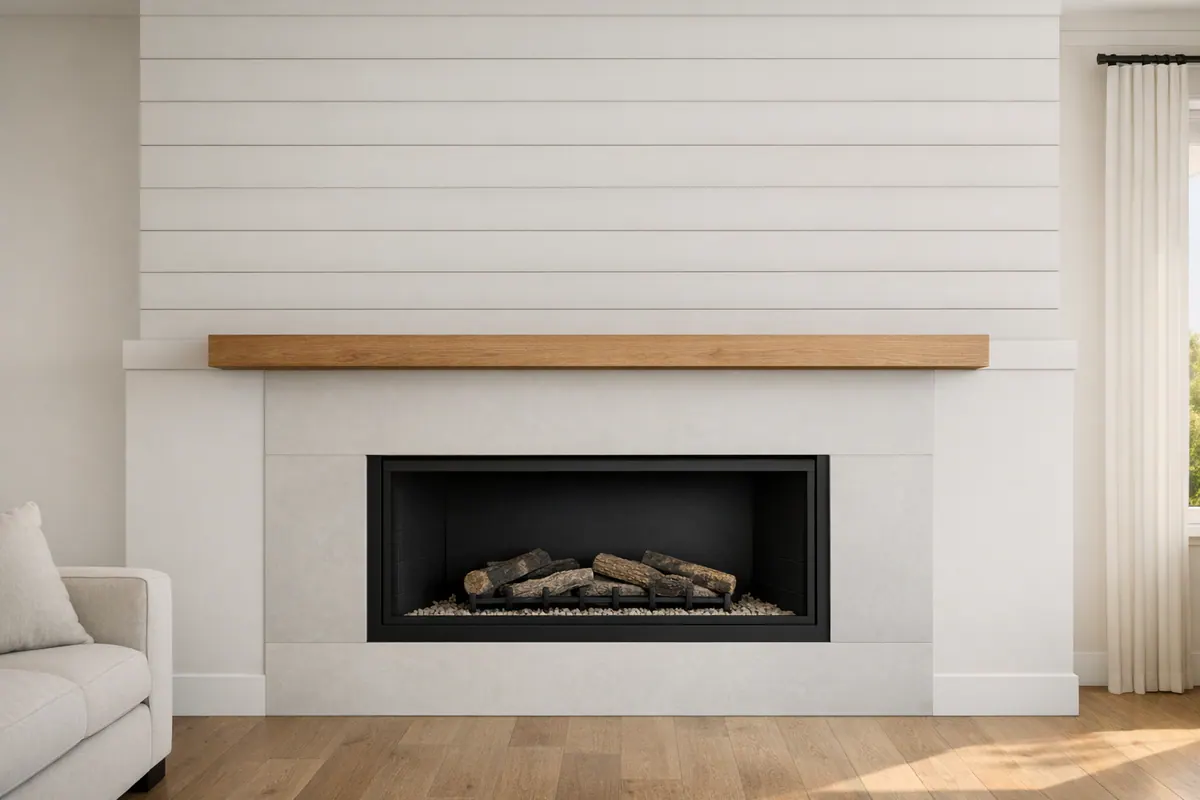
A shiplap fireplace wall deserves its own design review rather than a copied wall treatment. Heat exposure, the fireplace or insert's specified clearances, the facing material, and the selected shiplap product all affect where paneling can begin and how it should terminate. Stone, tile, or another non-panel finish may provide the visual break needed immediately around the opening, while shiplap can frame the wider feature wall above or beside it. Before work begins, the fireplace or insert manufacturer instructions and applicable local requirements should guide the final layout; the goal is a surround that looks composed without assuming one detail suits every unit.
What to Expect From a Shiplap Installation Project
The best time to solve visual problems is before materials enter the room. A shiplap installer in North Port, FL should begin by measuring the wall or ceiling, noting bows or damage, locating framing or suitable backing, and mapping outlets, switches, vents, lighting, windows, and doors. The conversation should also settle the board profile, direction, starting line, end-board placement, and whether baseboards, crown, or casings will remain in place, be removed, or receive a new transition detail.
Before installation, ask for a clear picture of what the chosen product can and cannot hide. A thin panel treatment may preserve more clearance at casings but can leave less room for a substantial trim return; thicker boards create more depth but may require extensions at electrical boxes or openings. A small layout mockup can show whether the first and last boards will look balanced rather than leaving an awkward narrow strip at the ceiling or beside a door.
On work day, careful finish carpentry includes protecting floors and nearby furnishings, establishing a level or plumb reference line, and fastening boards into framing or appropriate backing. Openings should be cut cleanly, reveals kept consistent, and board ends finished with intentional trim or a planned termination, not caulked over as an afterthought. The final scope should identify who handles patching, caulking, priming, paint or stain, and cleanup, along with any coordination needed for electrical devices, lighting, or fireplace-related details. A shiplap contractor in North Port should leave the surface ready for its agreed final coating, not merely covered in boards.
Plan a Shiplap Feature That Fits Your North Port Home
Bring a few practical pieces to the conversation: photos of the room from several angles, wall or ceiling dimensions, inspiration images, and a sense of whether you prefer a pronounced shiplap reveal, a tighter tongue-and-groove look, or a shallow paint-grade panel treatment. Those details help turn a general idea into a feature sized for the space.
A finish carpenter in North Port can evaluate the intended location alongside humidity exposure, board direction, existing baseboards and casings, electrical locations, and the final paint or stain direction. The goal is not to apply a pattern everywhere, but to make one wall, ceiling zone, or fireplace detail feel like it belongs to the home. For fireplace projects, the specific insert or fireplace requirements should guide where the finish begins and ends.
If you are considering shiplap installation in North Port, FL, reach out to discuss the room and the finish you want to achieve. A measured plan, balanced layout, and clean trim transitions are what separate an intentional architectural detail from generic paneling.
Plan the next step
Compare the broader Shiplap Installation service.
Review the North Port, FL service area for local planning context.
When you are ready, request a free estimate with the rooms, trim goals, city, and available photos.
FAQs
What is the difference between true shiplap and tongue-and-groove paneling?
True shiplap has overlapping rabbeted edges that create a visible shadow line between boards. Tongue-and-groove uses an interlocking tongue and groove joint for a tighter, more continuous-looking surface.
Can shiplap be installed on a ceiling in a Florida home?
Yes, shiplap can add definition to a tray ceiling, dining zone, or other clearly defined ceiling area. It works best when confined to a recessed tray or similar zone, since pronounced boards across a low or busy ceiling can make the room feel enclosed.
What type of shiplap is best for a bathroom or humid area?
Humid rooms need moisture-resistant materials and a finish system suited to recurring moisture exposure. Prime and coat all exposed faces, edges, cutouts, and board ends, and avoid standard MDF in regularly damp locations.
Can shiplap go around a fireplace, and what should I look for before installation?
Shiplap can frame a fireplace feature wall, but the fireplace or insert manufacturer’s clearance requirements must determine where paneling begins and ends. Use stone, tile, or another non-panel material immediately around the opening when needed, then plan shiplap around the wider composition.