
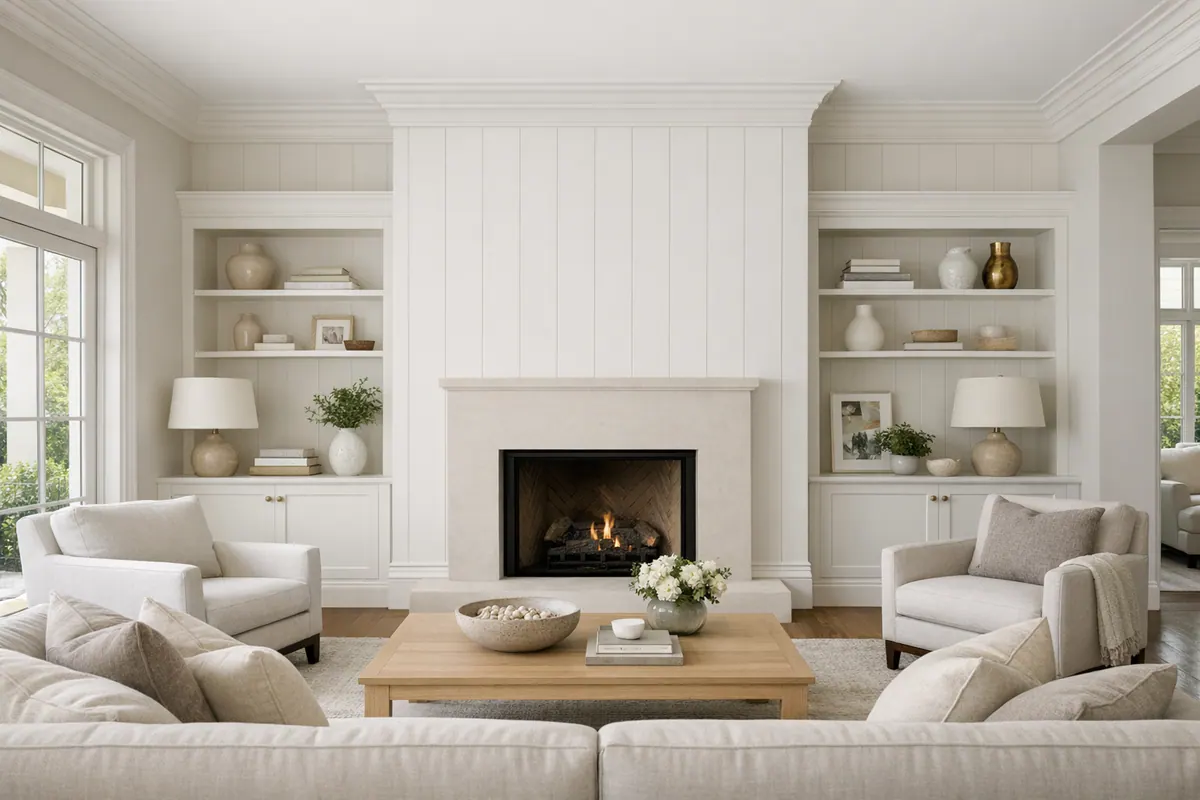
Refined Shiplap Installation for Palmer Ranch Homes
Shiplap installation in Palmer Ranch works best when it is treated as finish carpentry: a deliberate architectural layer that belongs with the room's casing, crown, baseboards, and built-ins. In established homes with open living areas, the goal is not to cover a wall with a decorative pattern, but to give a fireplace surround, dining-room wall, foyer, bedroom backdrop, vaulted ceiling, or tray-ceiling inset a composed, permanent presence.
A refined result begins with proportion and integration. Board lines should land thoughtfully at openings and corners, reveals should remain even from one end of the feature to the other, and seams should align rather than drift across the wall. Trim is part of that composition, too. A clean perimeter detail that relates to existing molding looks designed in; an awkward narrow end board, mismatched casing, or abrupt transition makes the paneling feel added afterward.
The panel profile also sets the character. Traditional shiplap uses overlapping edges, while nickel-gap-style boards create a controlled, narrow shadow line and tongue-and-groove panels interlock for a more continuous plank surface. Each can suit shiplap walls in Palmer Ranch, but the right choice depends on the home's existing details and the crispness or texture the room needs. Smooth paint preparation, resolved corners, and coordinated trim are what turn those boards into an intentional finish rather than trend-driven decoration.
Start With the Room, Light, and Existing Trim
A broad, uninterrupted wall gives paneling room to read as an architectural surface; a narrow wall broken by doors, windows, switches, and return corners may need a more selective treatment. A fireplace wall, bed wall, or dining-area focal point can support a full-height composition when the board field has clear edges and relates to the furniture below it. By contrast, a partial-height application can establish a useful visual boundary behind a banquette or in a hallway without competing with nearby openings.
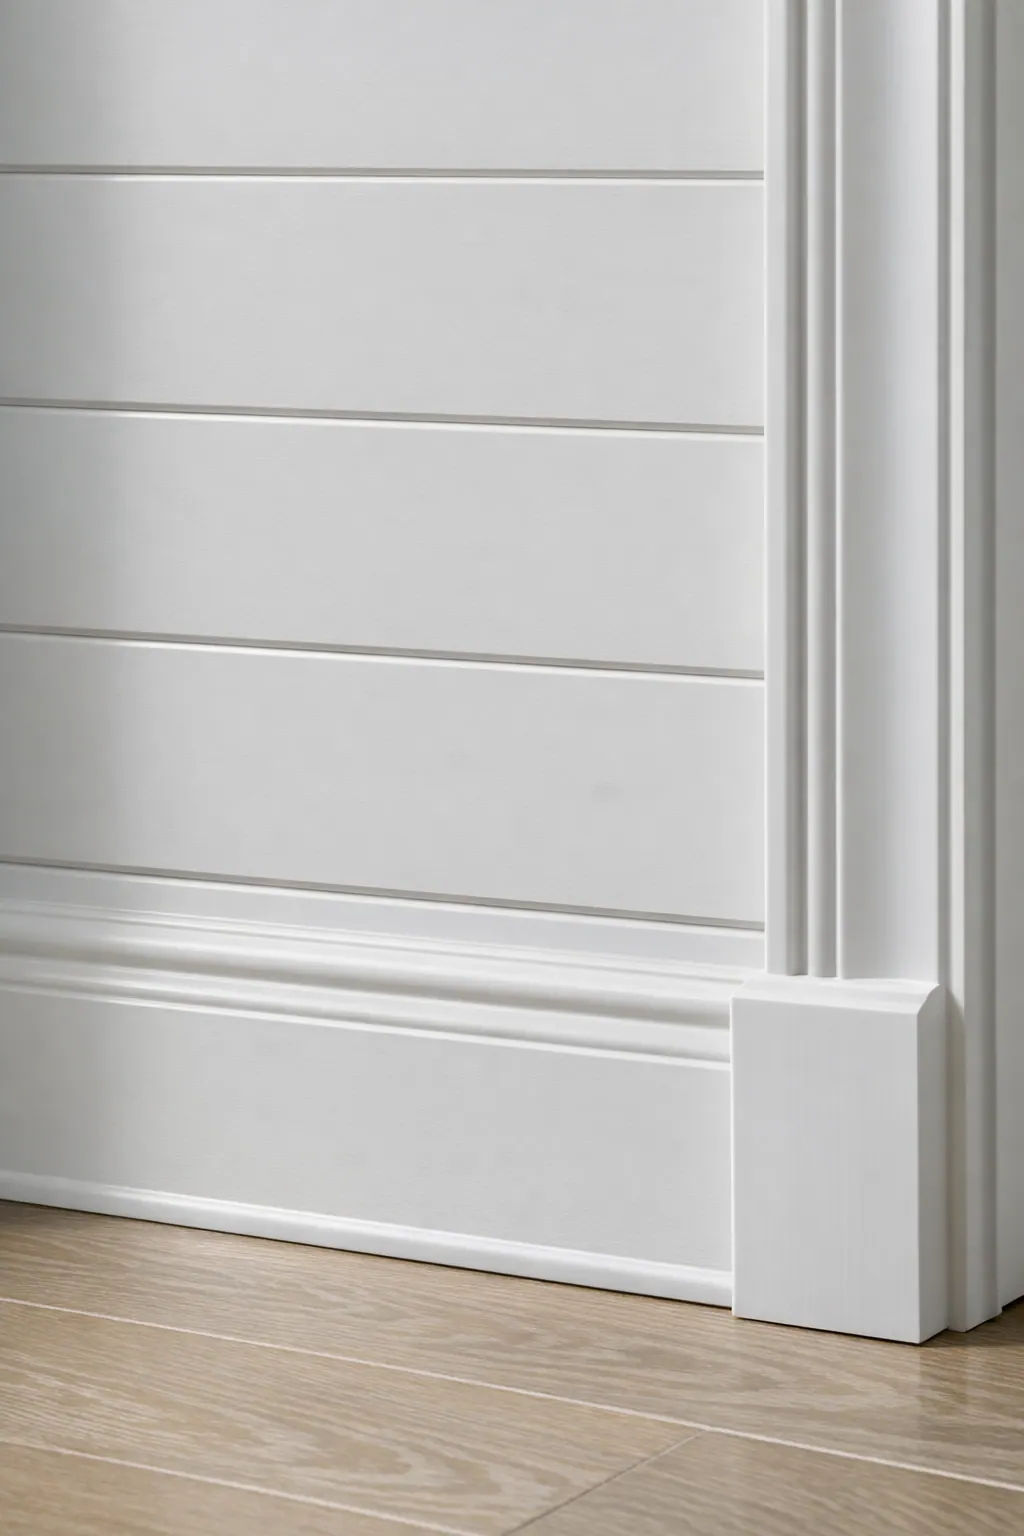
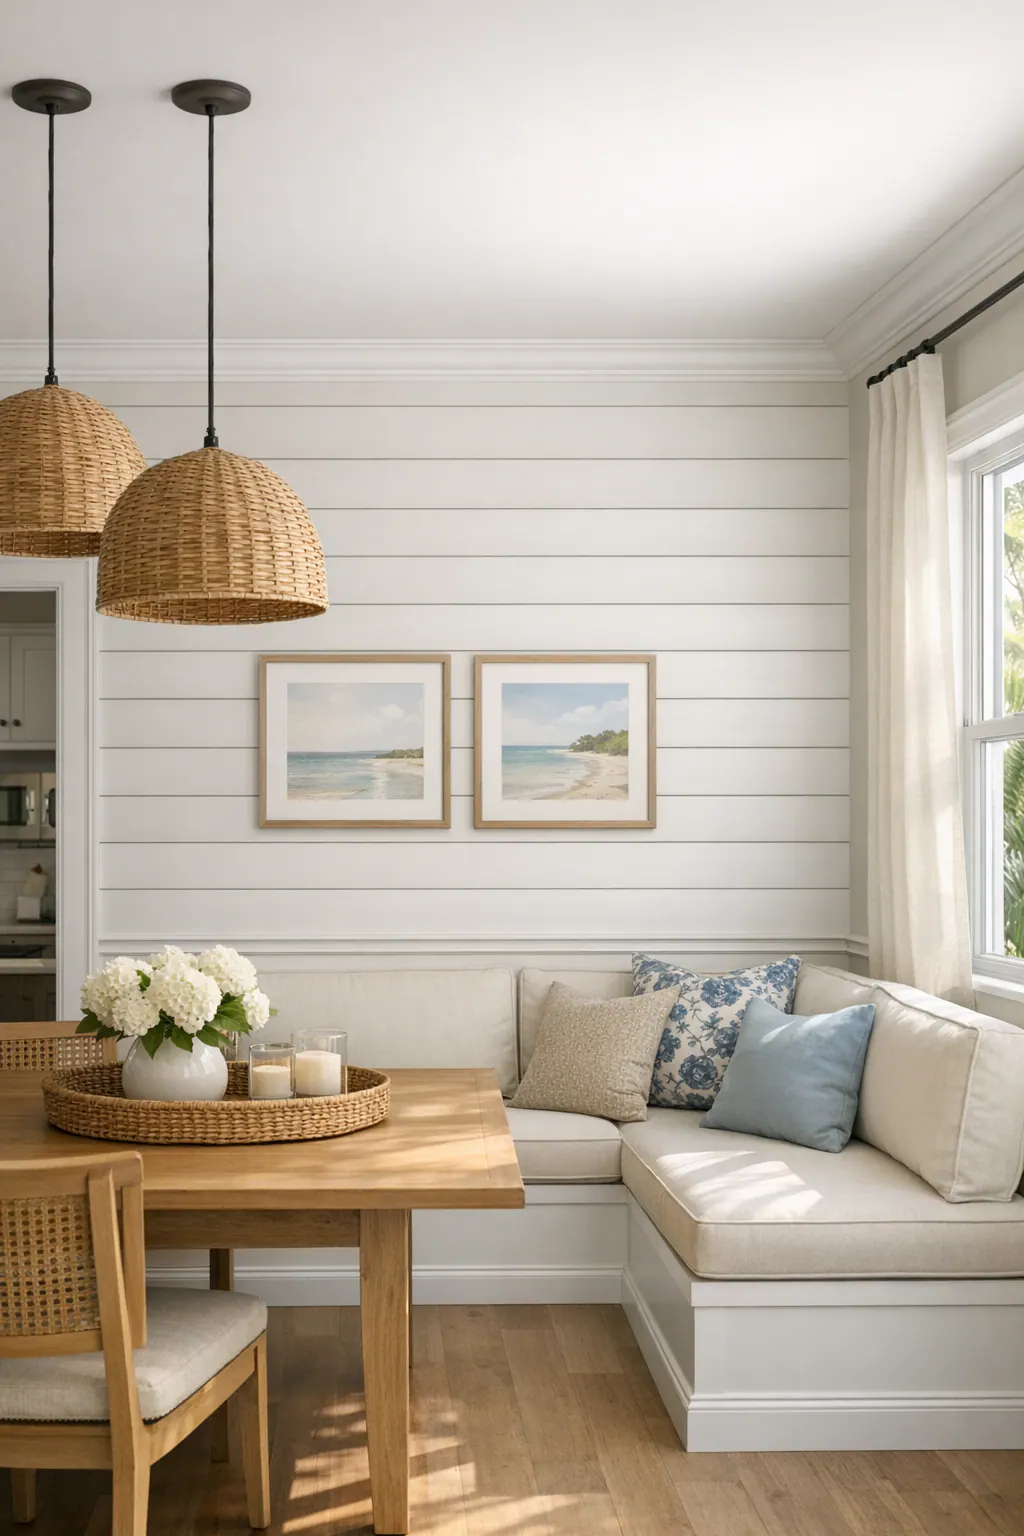
Light and proportion guide the scale. Strong side light makes every reveal more visible, so a crisp, restrained layout often suits bright rooms. In a lower ceiling area, a feature that stops abruptly beneath heavy crown can feel compressed; on a tall wall, an undersized panel field can look isolated. Furniture matters as well: a console, headboard, or built-in should appear intentionally centered within the composition rather than leaving a thin, unexplained strip of paneling at one side.
A finish carpenter in Palmer Ranch also reads the details already in place. Simple square casing can pair comfortably with a clean, contemporary board treatment, while ornate casing beside a rough-looking or oversized plank profile can make the two finishes seem unrelated. Built-ins, shelving, and fireplace surrounds need resolved meeting points so the feature has a deliberate start and finish rather than a cut-around appearance.
Before selecting materials, the wall itself deserves a close look. Outlet locations, wall flatness, framing positions, opening dimensions, and the condition of the paint-grade surface all affect where boards can begin, end, and break. In baths, laundry areas, or other spaces with regular moisture exposure, the intended product and edge treatment should suit that environment. The strongest signal of custom shiplap in Palmer Ranch is simple: balanced perimeter pieces, a focal point that remains clear, and trim that makes the new surface feel native to the room.
Choose the Right Profile: Shiplap, Nickel-Gap, or Tongue-and-Groove
The line between boards is doing much of the visual work. True shiplap has rabbeted, overlapping edges: each board laps the next, creating a recessed joint and a more pronounced shadow. A nickel-gap profile uses a deliberate, narrow reveal between boards, often formed by the board profile itself. That controlled line reads crisp and even once painted, making it a strong choice for a fireplace wall, dining room, or ceiling where the finish should feel architectural rather than heavily textured.
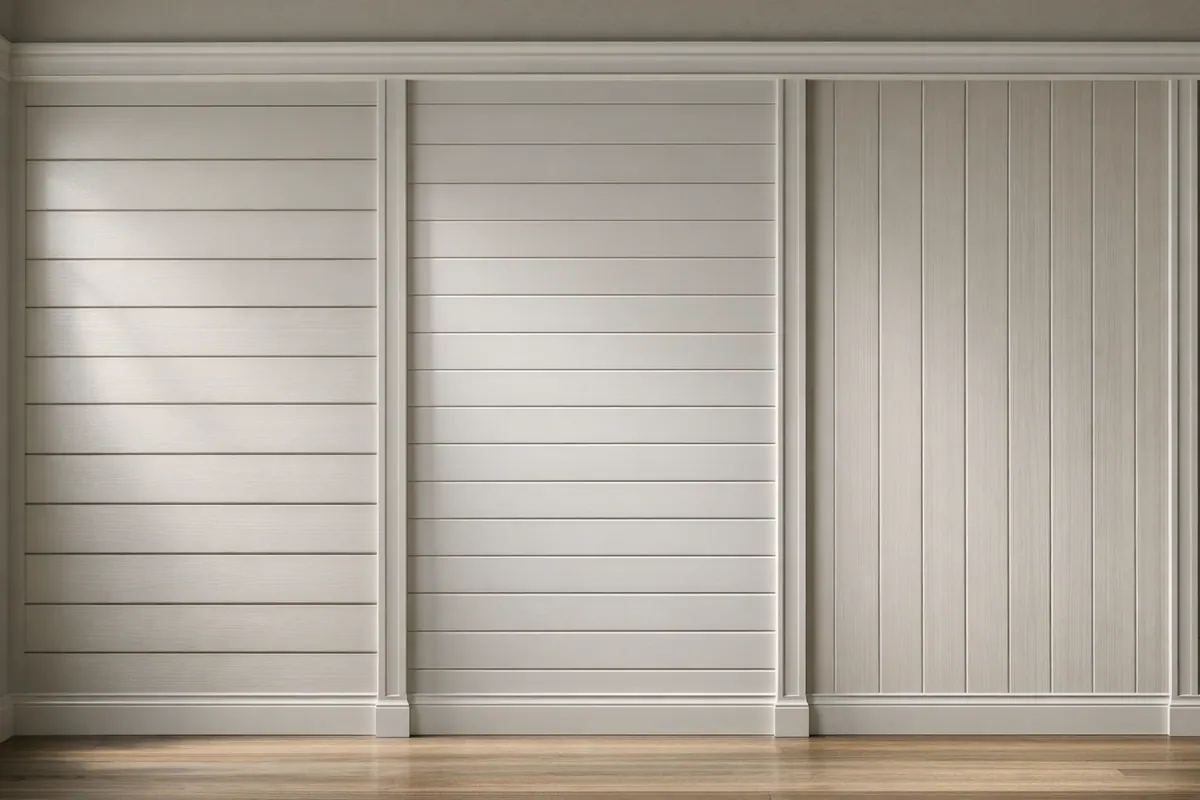
Square-edge boards have straight, flat edges. Their final gap depends on the spacing created during installation, so even a small variation can become obvious in raking light or after paint. They can produce a clean, minimal field when the layout is exceptionally disciplined, but they do not build the reveal into the profile. For homeowners who want the most repeatable shadow line, a nickel-gap profile generally gives the installer a clearer visual target from the first board to the last.
Tongue-and-groove-inspired paneling uses a projecting tongue and receiving groove so adjacent boards interlock. The joint can appear tighter and more continuous than shiplap, with the face reveal determined by the product's edge shape. This makes tongue and groove Palmer Ranch applications appealing where a quieter plank rhythm is wanted, especially overhead. A shallow reveal and smooth paint finish tend to look tailored; a deeper groove creates stronger stripes and a more casual effect.
Paint also changes how a profile reads. Smooth, paint-grade boards with consistent edges let the shadow lines become the feature, while knotty, wire-brushed, rough-sawn, or visibly grained wood keeps attention on the material itself. That textured look can be appropriate for a secondary sitting area or a room built around natural wood finishes, but it may compete with formal casing, polished built-ins, or detailed crown. For a composed result, select one consistent profile, carry its reveal cleanly through the field, and avoid mixing board edges that cast different shadows on the same wall.
Horizontal Walls, Vertical Paneling, and Ceiling Planks
Orientation sets the rhythm of the entire field. A horizontal layout carries the eye across a wall, which can make a broad fireplace wall, dining wall, or bed wall feel more expansive. Vertical paneling draws the eye upward instead, making it a natural fit for a shorter wall, a room that needs more visual lift, or a narrow surface between openings. Neither direction is inherently better: the useful choice is the one that supports the room's proportions and the lines already established by windows, doors, and trim.
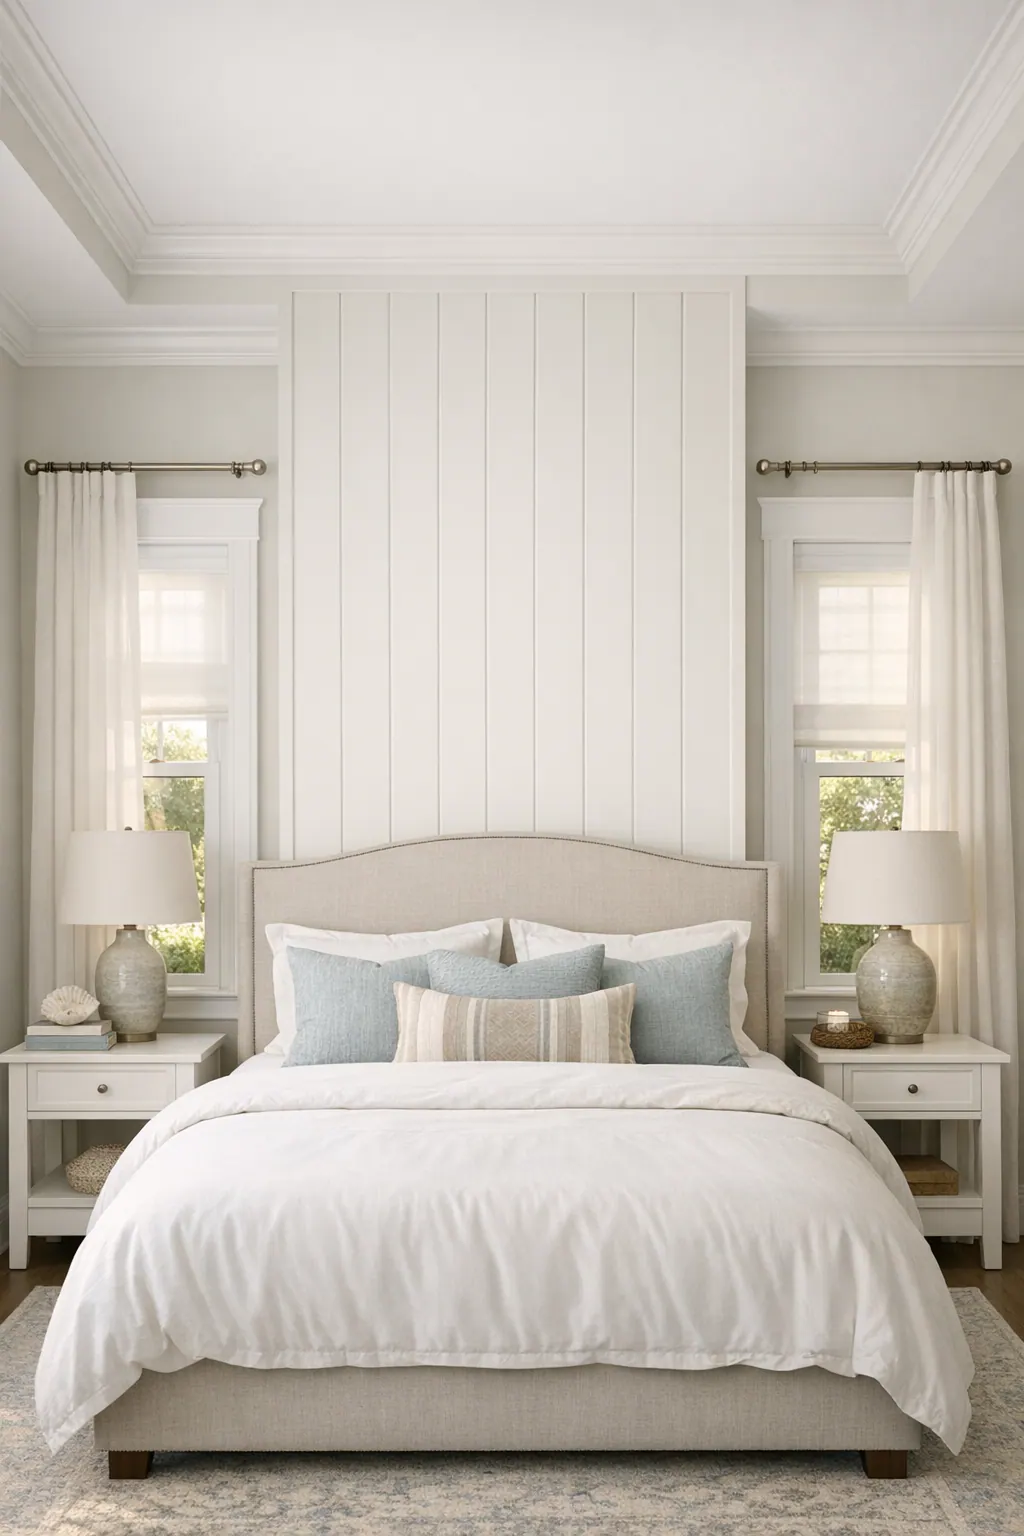
Layout should be drawn out before the first board goes up. The installer establishes a level reference, considers where the pattern meets casing or crown, and plans both end cuts rather than allowing a thin strip to appear at one side. A strong horizontal layout has balanced terminal pieces and board breaks that feel deliberate around a centered fireplace, window, or built-in. Tiny end pieces, seams clustered in one area, or a reveal that ignores the room's focal point make even quality material look improvised.
Board length matters as much as direction. Longer runs reduce visual interruption, while staggered seams prevent repeated joints from forming an unintended vertical ladder. The stagger should look composed rather than random, particularly on a feature wall viewed from an adjacent living area. On vertical work, the starting and ending widths deserve the same attention; a full or near-full panel at one edge and a sliver at the other rarely reads as intentional.
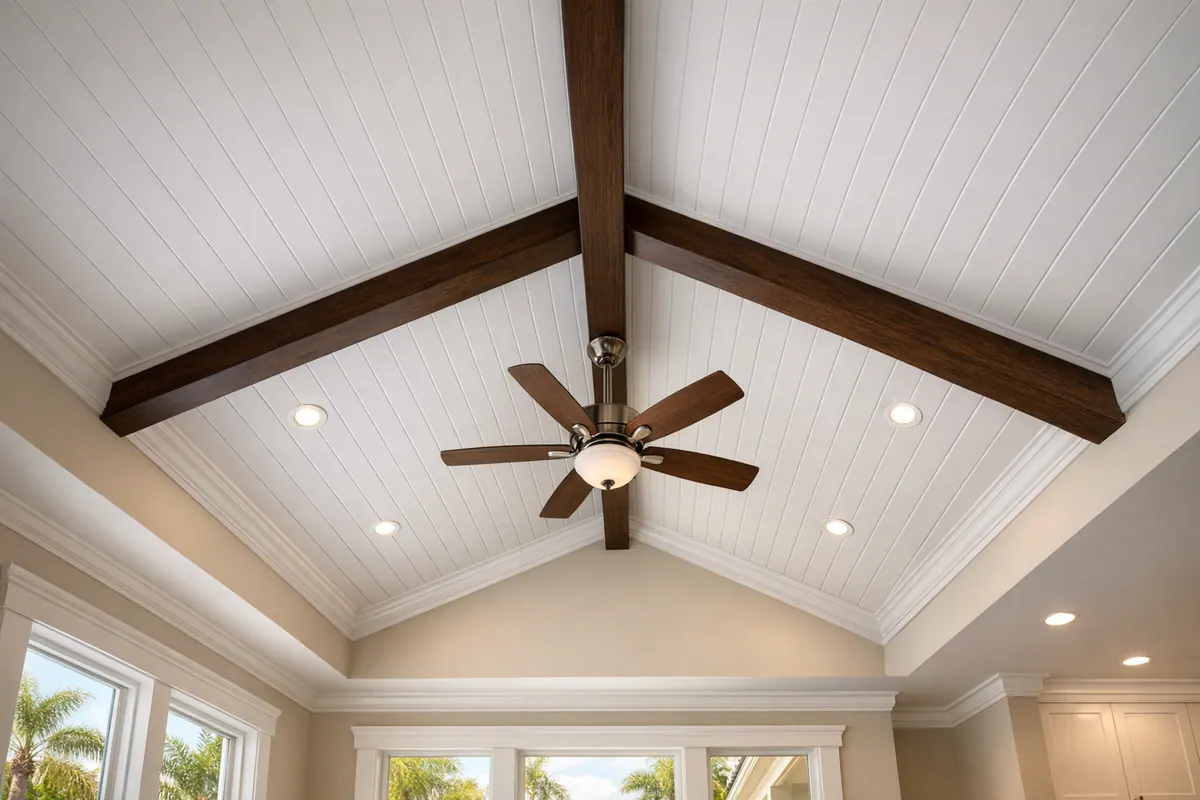
For shiplap ceiling installation Palmer Ranch homeowners should consider the room from its primary sightline before selecting plank direction. Ceiling boards can run with the room's length to reinforce depth or across it to emphasize width, but their alignment also needs to resolve around beams, recessed lights, vents, fans, and changes in ceiling height. Centering a plank field on a fan or a prominent window wall, then distributing the remaining cuts evenly, produces a calmer result than simply beginning at the nearest edge. Those decisions are difficult to correct after installation has started, which is why a measured ceiling plan comes first.
Material and Paint Choices for Florida Interior Conditions
Material choice affects more than the first coat of paint. MDF shiplap offers a smooth, uniform face and crisp machined edges, so it suits a painted feature wall or ceiling where a clean, low-texture finish is the priority. Its tradeoff is edge durability around unmanaged moisture: cut ends, bottom edges, and penetrations need particular attention in rooms that see damp air or occasional splashing.
Wood shiplap brings natural grain variation, small color shifts, and a more tactile surface. It can be a strong fit when the design calls for stain, a limed finish, or visible character rather than an entirely uniform painted field. Wood also responds to changing interior conditions, so the layout should allow the boards to move without forcing joints open, crowding a perimeter, or disrupting the intended reveal.
Bathrooms, laundry rooms, and similar humid interiors call for a product-specific moisture plan. A moisture-resistant material may offer a more appropriate paint-grade starting point than standard MDF, but it is not a substitute for resolving the wall condition, wet-zone exposure, cut edges, and transitions at counters, tubs, or flooring. A good signal is a panel system selected for the room and finished continuously at vulnerable edges; a weak one is an absorbent exposed edge hidden behind caulk.
Paint preparation is where the paneling begins to read as one composed surface. Sealing freshly cut edges, using a primer suited to the board material, filling fasteners cleanly, and sanding between coats keep the face from showing fuzzy edges or uneven absorption. Caulk belongs at controlled trim-to-panel transitions, not across intended shadow lines. For sheen, matte or eggshell usually softens minor wall irregularities, while satin gives more wipeable definition but can make seams, patches, and uneven substrate more visible.
The Finish Details That Make Shiplap Look Built In
The first board is not the real starting point; the wall is. A finish carpenter in Palmer Ranch checks the substrate for bows, dips, and loose areas, then maps the stud layout and any blocking needed for reliable fastening. That preparation keeps courses straight instead of letting the paneling follow an uneven wall. It also allows board breaks to be planned around doors, windows, outlets, and fireplace openings rather than landing as arbitrary short pieces.
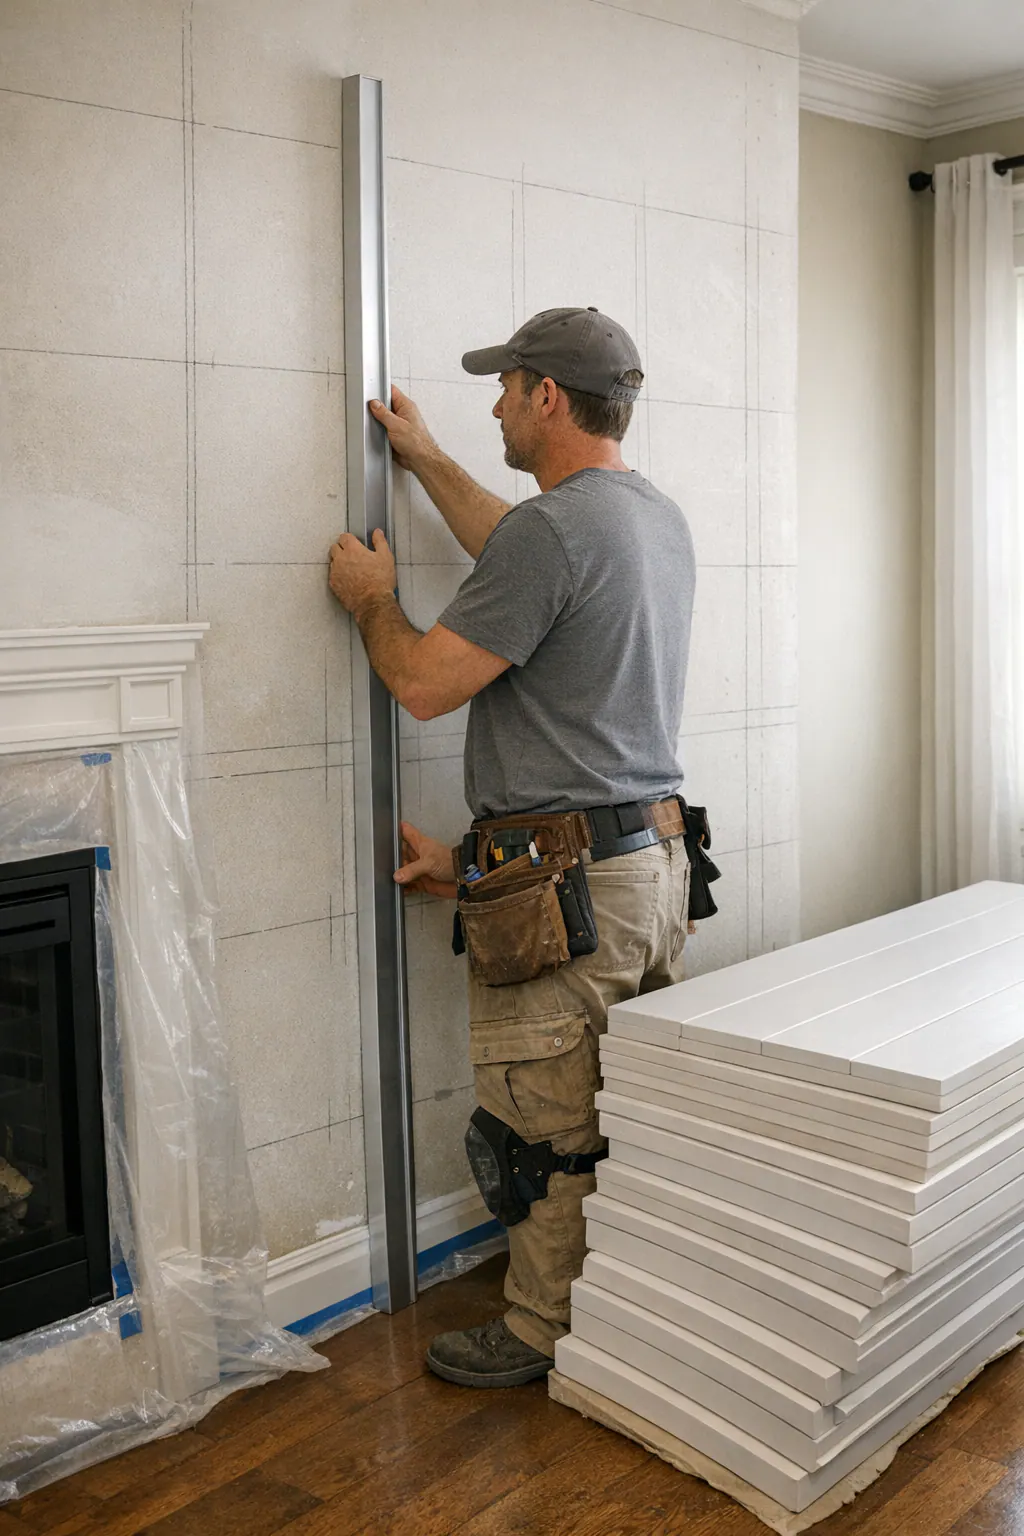
Fastening should support the field without becoming its most visible detail. Boards are secured at dependable locations, with adhesive used only where the wall and product call for it, and fastener concealment is handled through placement, clean filling, sanding, and paint preparation. The quality checkpoint is simple: reveals stay even from one end of the wall to the other, courses remain level, and filled fasteners disappear into the finished face. Wavy gaps, drifting lines, proud nail heads, and a caulk-filled intended reveal make an otherwise good profile look improvised.
Corners and openings need a deliberate ending. An outside corner can be wrapped with boards for a continuous visual flow, mitered for a crisp paint-grade edge, or finished with a small trim cap when it suits the room's existing millwork. Inside corners may be tightly resolved, scribed to an irregular return, or covered by a purposeful trim detail; the choice should look consistent with the casing and baseboard nearby. At a window or door, balanced cuts and aligned reveals matter more than forcing every board to be the same length.
Trim decisions are what keep the feature from looking applied over drywall. Existing baseboards and crown can remain when the panel field terminates neatly against them; replacing them may be cleaner when their projection, profile, or condition conflicts with the new wall thickness. Door casing can frame the paneling, while a window return carries the finish into the opening for a more complete result. At built-ins or a fireplace, the boards should meet a defined edge or trim reveal rather than disappear behind a guessed caulk line. The strongest shiplap installation Palmer Ranch projects make every transition feel chosen: paneling, casing, base, crown, and adjacent drywall all read as one composed finish.
Plan a Shiplap Project Around the Details That Matter
A productive in-home conversation starts with a clear picture of the room, not a generic square-foot number. For a wall, share straight-on and wider room photos, overall width and height, and close-ups of baseboards, crown, casing, outlets, built-ins, and the edges where the paneling will stop. For a ceiling, include ceiling height, beams, fans, vents, recessed lights, and the room's main sightline.
- Bring a few inspiration images, then identify what you respond to: the narrower shadow line, vertical rhythm, painted smoothness, or a particular trim treatment.
- Have a paint direction in mind, whether the paneling should match the wall, contrast with it, or coordinate with cabinetry, because color changes how strongly the reveals read.
- Note the desired profile and material preference, along with any moisture exposure or existing finishes that the new work must meet cleanly.
A Palmer Ranch shiplap installation should be scoped around the actual substrate, access, selected product, ceiling or wall conditions, and coordination with surrounding millwork. Those details affect the material plan, transition work, schedule, and price. If an applicable community rule affects the project, verify the association's current requirements for your home rather than assuming an approval path.
Request an in-home assessment or design-focused estimate to turn those photos and preferences into a layout and finish plan that feels resolved before work begins.
Plan the next step
Compare the broader Shiplap Installation service.
Review the Palmer Ranch, FL service area for local planning context.
When you are ready, request a free estimate with the rooms, trim goals, city, and available photos.
FAQs
What is the difference between shiplap and tongue-and-groove paneling?
True shiplap has rabbeted overlapping edges that create a recessed joint and a more pronounced shadow line. Tongue-and-groove panels interlock with a projecting tongue and receiving groove, creating a tighter, more continuous plank surface with a quieter reveal.
Can shiplap be installed over existing drywall?
Yes, shiplap can be installed over existing drywall when the substrate is checked for bows, dips, loose areas, framing positions, and needed blocking. Boards should be fastened at dependable locations so the courses stay level instead of following an uneven wall.
Should shiplap run horizontally or vertically on an accent wall?
Horizontal shiplap carries the eye across the wall and suits broad fireplace, dining, and bed walls. Vertical paneling draws the eye upward, making it a better choice for shorter walls, narrow surfaces between openings, or rooms that need more visual height.
What material is best for painted shiplap in humid Florida interiors?
MDF provides a smooth, uniform painted finish with crisp machined edges, but its cut ends and bottom edges need protection from moisture. In bathrooms, laundry rooms, and other humid spaces, use a moisture-resistant product with sealed edges, appropriate primer, and resolved transitions at wet-zone surfaces.
How should shiplap meet baseboards, crown molding, and window trim?
Shiplap should terminate neatly against existing baseboards and crown when their profile and projection work with the added wall thickness. At doors, windows, built-ins, and fireplaces, use balanced cuts and a defined trim edge or reveal instead of relying on an uneven caulk line.