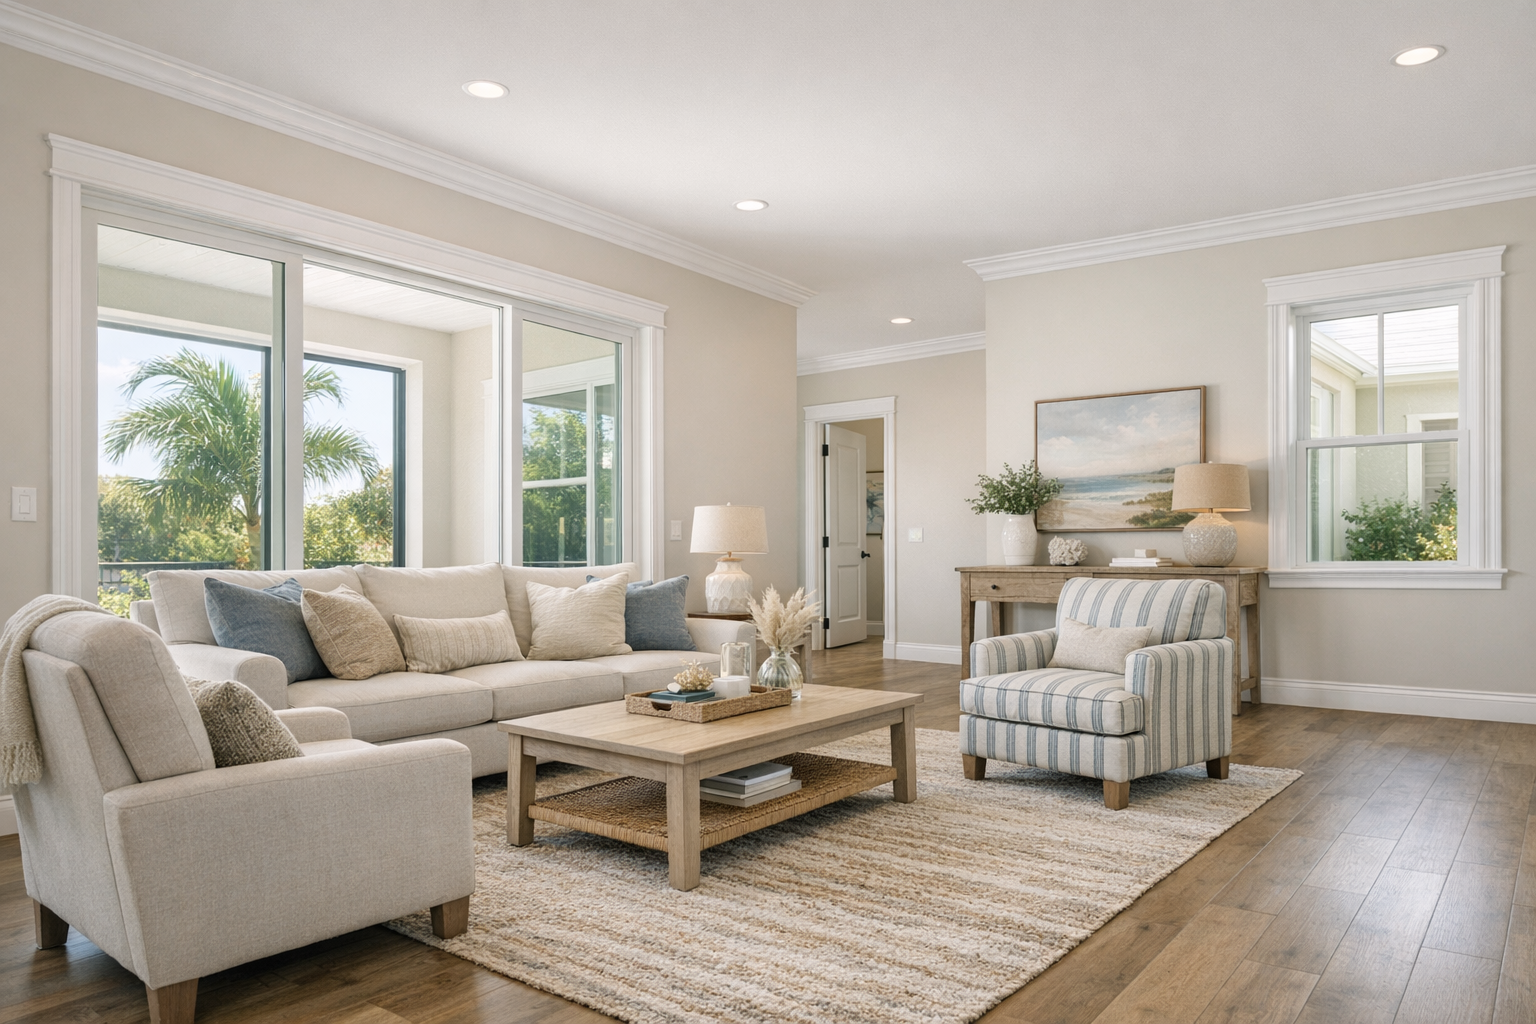
A fresh floor, crisp paint color, or repaired wall can make old baseboards and casing look unfinished by comparison. That is where Palmer Ranch trim installation comes in: trim frames the room, covers transitions, defines edges, and gives walls, floors, doors, and windows a cleaner finished look.
Trim work often becomes the next step after a visible home update. New flooring may need fresh baseboards or shoe molding, recently painted rooms can make older casing stand out, remodeling can leave unfinished edges, and damage repairs may require matching or replacing sections so the room looks intentional again.
This page focuses on hiring help for interior trim installation in Palmer Ranch, not walking you through a do-it-yourself carpentry project. The goal is to explain what trim services can include, why careful installation affects the final appearance, and what to expect when you request help for baseboards, molding, casing, or other finish carpentry details in your home or property.
Trim Work Available for a Cleaner, More Finished Interior
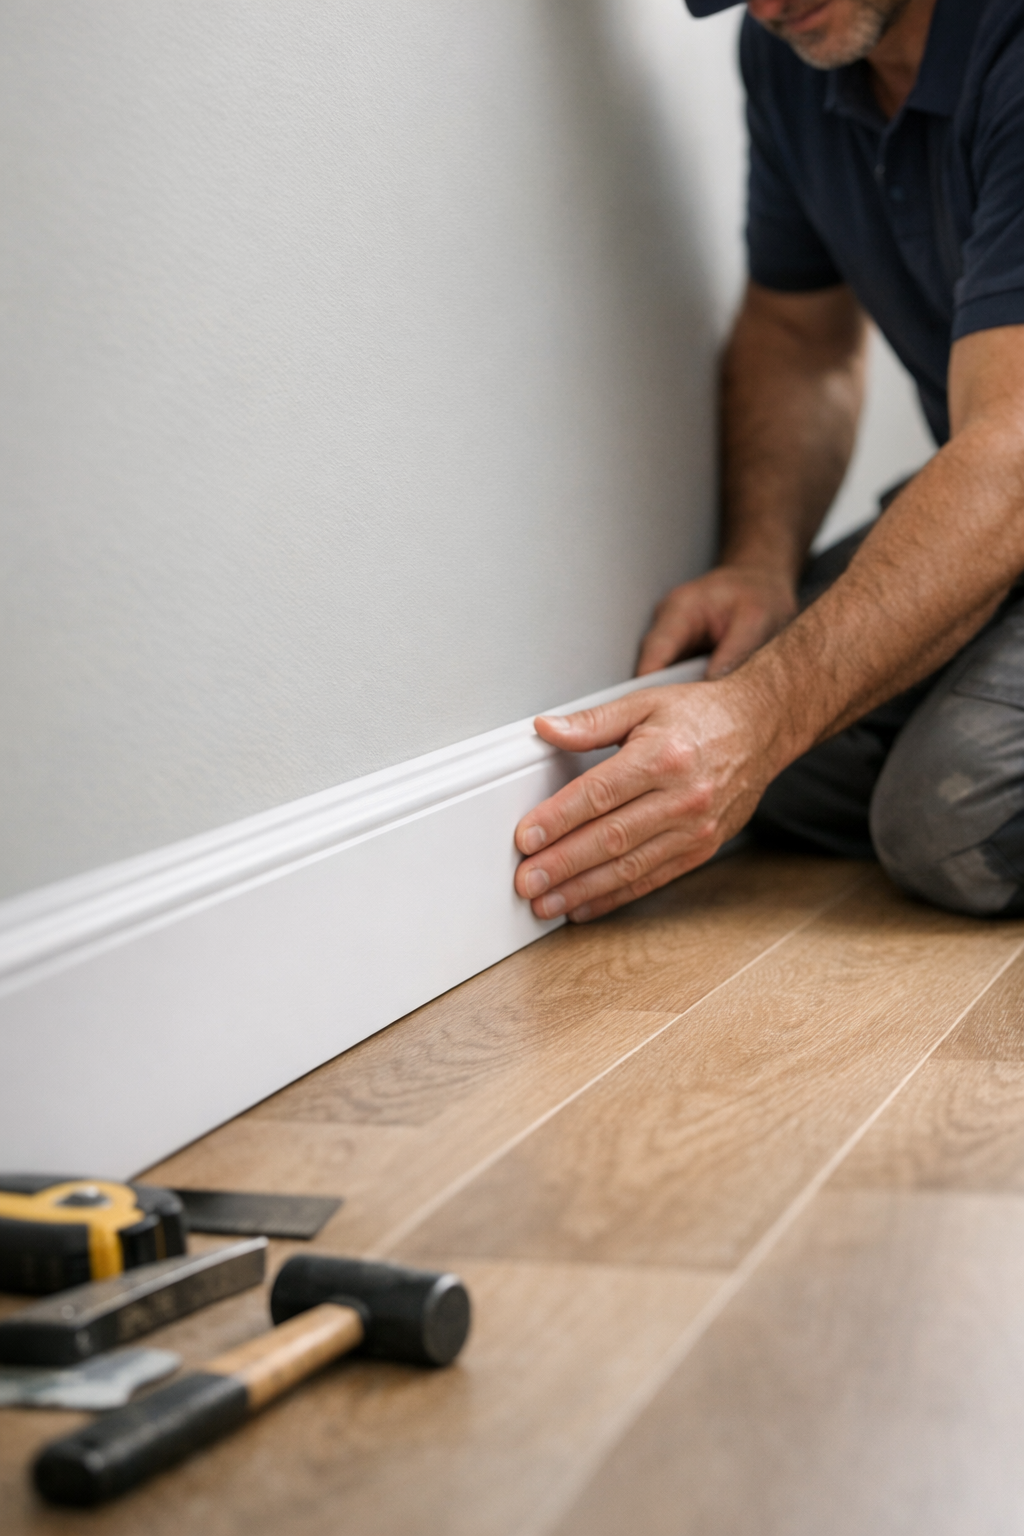
A trim project can be focused on one room or coordinated across several spaces, depending on what needs to look cleaner and more consistent. For many homeowners, the starting point is baseboard installation Palmer Ranch service: baseboards run along the bottom of the wall, hide the wall-to-floor transition, and give flooring a more finished edge.
Shoe molding and quarter round are smaller pieces used near the floor, often where flooring meets existing baseboards. Shoe molding has a slimmer, more flexible look, while quarter round has a fuller rounded profile; both can help cover narrow gaps without replacing all of the baseboard. The practical choice usually comes down to how much gap needs to be covered and how subtle you want the finished edge to appear.
Crown molding installation Palmer Ranch service focuses on the upper edge of the room where walls meet the ceiling. Crown molding adds a more dressed-up transition and can make living rooms, dining rooms, bedrooms, and entry areas feel more intentional. Simpler profiles tend to look clean and understated, while larger or more detailed profiles create a more formal effect.
Door casing installation covers the trim around interior doors. Casing frames the opening, hides the joint between the wall and door jamb, and helps doors look built into the room rather than simply placed in the wall. Window trim works in a similar way, giving windows a defined border and helping the wall surface around the opening look complete.
Smaller finish carpentry details can also be part of a trim installation in Palmer Ranch, including chair rail, accent molding, repaired trim sections, or matching new trim into an existing room. These details are not just decorative; they affect proportion, sight lines, and whether a remodeled area blends with the rest of the home. The best scope is the one that fits the room's style without making the trim feel heavier than the space can carry.
When It Makes Sense to Update or Replace Trim
The right time to call for trim installation in Palmer Ranch is often when another update makes the old edges stand out. New flooring can expose flooring gaps, leave baseboards looking too short, or create uneven wall transitions that need a cleaner finish. In some rooms, a smaller added molding may be enough; in others, replacing the trim gives the floor line a more intentional, consistent look.
Trim replacement also makes sense when the existing pieces are dated, chipped, swollen, poorly patched, or mismatched from earlier repairs. A partial replacement can work when the goal is to blend one damaged section into the surrounding room, while a full-room update is usually the better choice when the profile, height, or finish no longer fits the space.
Painting projects can reveal the same issue around doors and windows. Fresh wall color often makes old casing, rough caulk lines, and uneven corners more noticeable. Updating the casing after painting helps the opening look crisp instead of leaving the room with newly finished walls and tired trim around them.
For Palmer Ranch and nearby Sarasota homeowners, these projects are usually triggered by practical changes: a remodeled bedroom, a refreshed living area, flooring replacement, minor repair work, or preparing a property to feel more polished before listing or renting. The key question is whether the existing trim still supports the finished look you want.
Why Professional Trim Installation Matters
A baseboard gap, a wavy caulk line, or a corner that misses by even a little can pull attention away from an otherwise updated room. The difference between "installed" and "finished" usually shows up in the cuts, seams, reveals, and transitions, not in one dramatic feature.
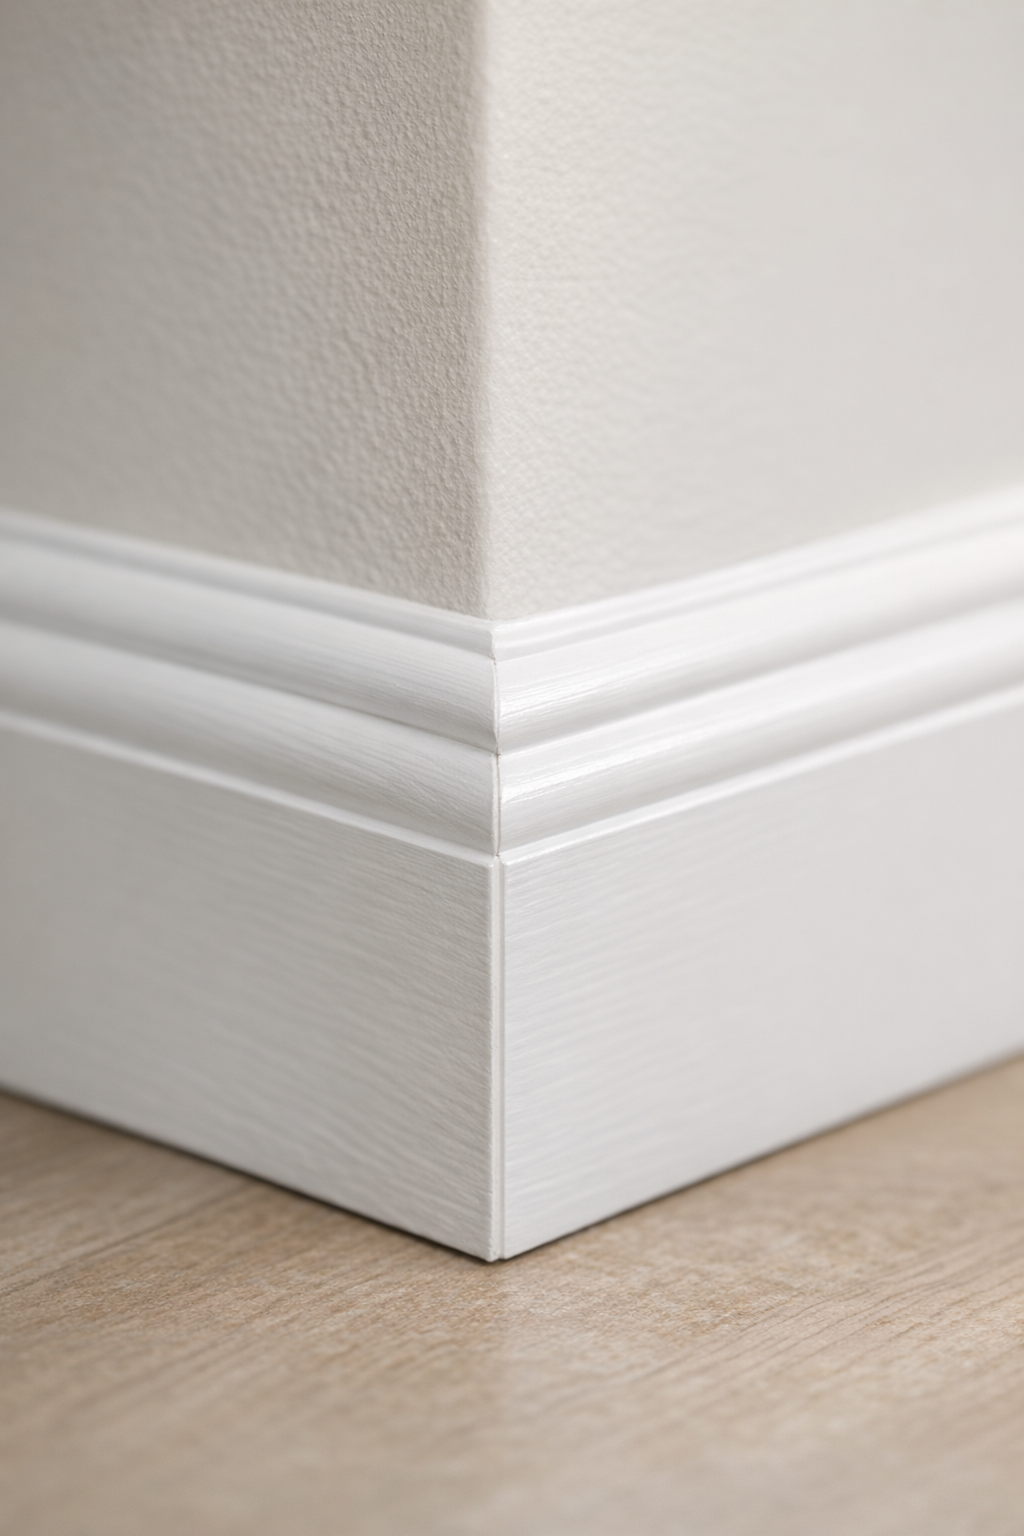
Good trim work starts with clean cuts and tight seams. Mitered corners are angled cuts that meet at a corner, often used where trim turns around an outside edge or where a clean finished intersection is needed. Coping joints are different: one piece is shaped to fit the face of the other, which can help inside corners look tighter when walls are not perfectly square. The practical takeaway is simple: different corners call for different joinery, and choosing the right approach affects how polished the room looks.
Consistent reveals are another quality marker. A reveal is the narrow, even margin you see where casing sits around a door or window. When that margin changes from one side to the other, the opening can look crooked even if the door or window itself is fine. A careful trim installer in Palmer Ranch pays attention to those sight lines so casing, baseboards, and adjoining pieces feel balanced from across the room.
Professional installation also matters because real homes rarely have perfectly flat walls, square corners, or level floors. The work may require careful fitting, proper fastening, smooth caulk lines, and clean transitions where one trim profile meets another. Hiring an experienced trim contractor in Palmer Ranch helps reduce the visible gaps, rough joints, and mismatched transitions that can make new flooring, paint, or remodeling work feel unfinished.
Choosing Trim Materials and Profiles That Fit the Room
Before measurements are finalized, one useful checkpoint is whether the room needs a painted, stained, or moisture-tolerant finish. MDF trim is a smooth, paint-ready option often considered for interior baseboards and casing when the goal is a clean painted finish. Wood trim is chosen when the natural grain matters, especially for stained finishes or when matching existing woodwork. PVC trim and other moisture-resistant options may be considered in spots where standard interior trim is not the right fit for the room conditions.
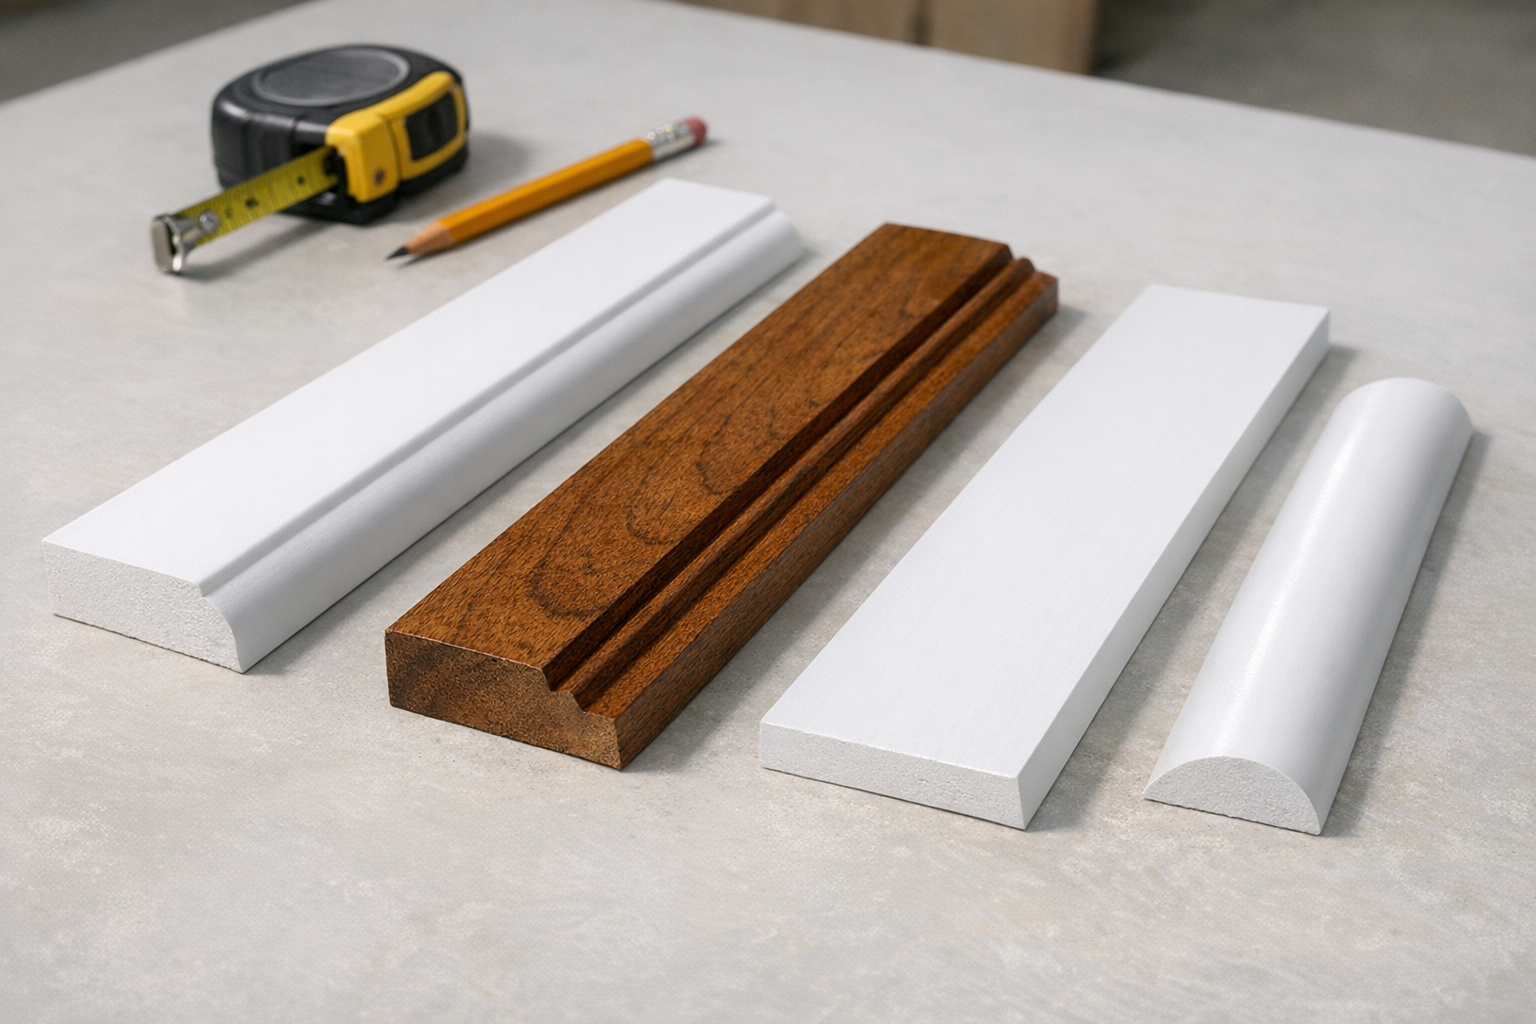
Paint-grade and stain-grade are two different finish directions. Paint-grade trim is meant to be caulked, filled, primed, and painted so the profile reads as one smooth surface. Stain-grade trim needs more attention to grain, color, and visible joints because the finish does not hide as much. The takeaway for homeowners is that the desired final appearance should guide the material, not just the profile on the shelf.
Profile style matters just as much as material. A simple modern profile has cleaner lines and usually works well in refreshed rooms with flat-panel doors, newer flooring, or a lighter contemporary look. More decorative molding has curves, steps, or layered details that can fit traditional rooms, formal living areas, or spaces where crown molding and casing are meant to stand out. A good selection should feel connected to the doors, flooring, cabinet style, and existing trim instead of looking like a separate upgrade pasted onto the room.
Trim height and scale should also match the space. Taller baseboards can give a room more presence, but they may look heavy beside low ceilings, narrow door casing, or small rooms. Thinner shoe molding can solve a floor-edge transition without replacing the whole baseboard, while matching an existing profile can help a repaired or remodeled area blend into the rest of the home. During an estimate, these choices can be reviewed room by room so the finished trim supports the overall interior rather than competing with it.
What to Expect During a Trim Installation Project
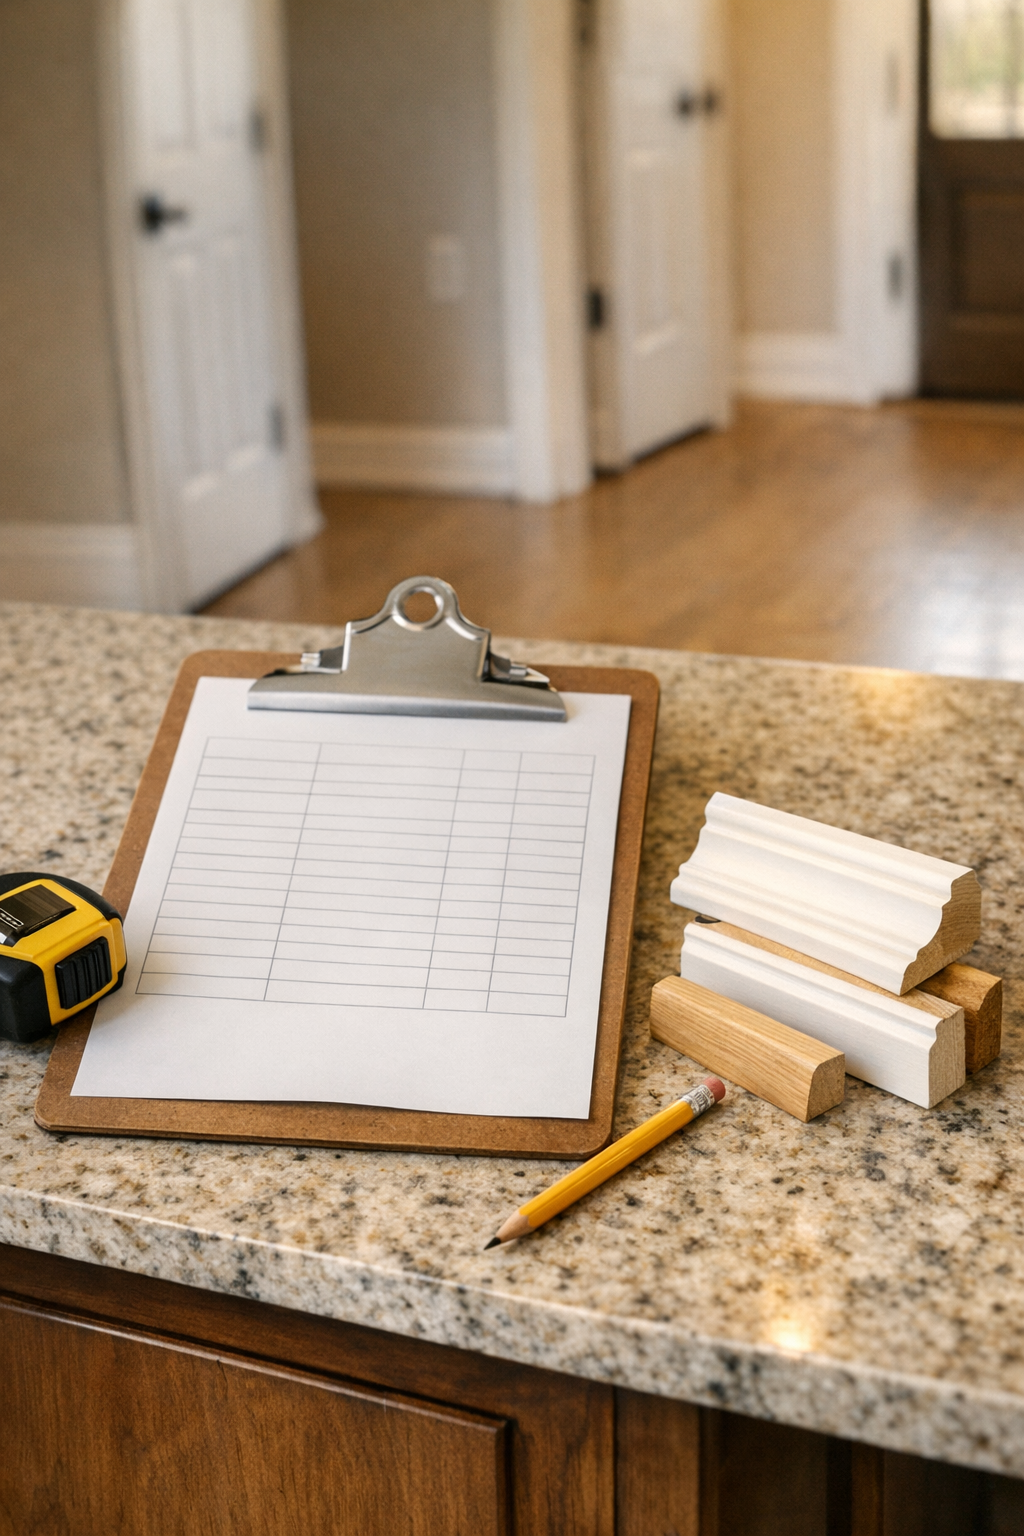
The first useful checkpoint is the room-by-room scope: which walls, doors, windows, or floor edges need attention and which pieces should stay. Homeowners may be asked whether existing trim is being removed, whether the work follows flooring, painting, repair, or remodeling, and whether any areas need to match trim already installed elsewhere. Photos can help start the conversation, but measurements and an in-person look may be needed before the scope is clear.

Material planning is one of the main checkpoints. Some projects use new material selected for the job, while others need to match trim already installed elsewhere in the home. Paint-ready trim, stain-grade pieces, baseboards, shoe molding, crown, or door casing installation can each affect how much material is needed and what finishing steps should be planned.
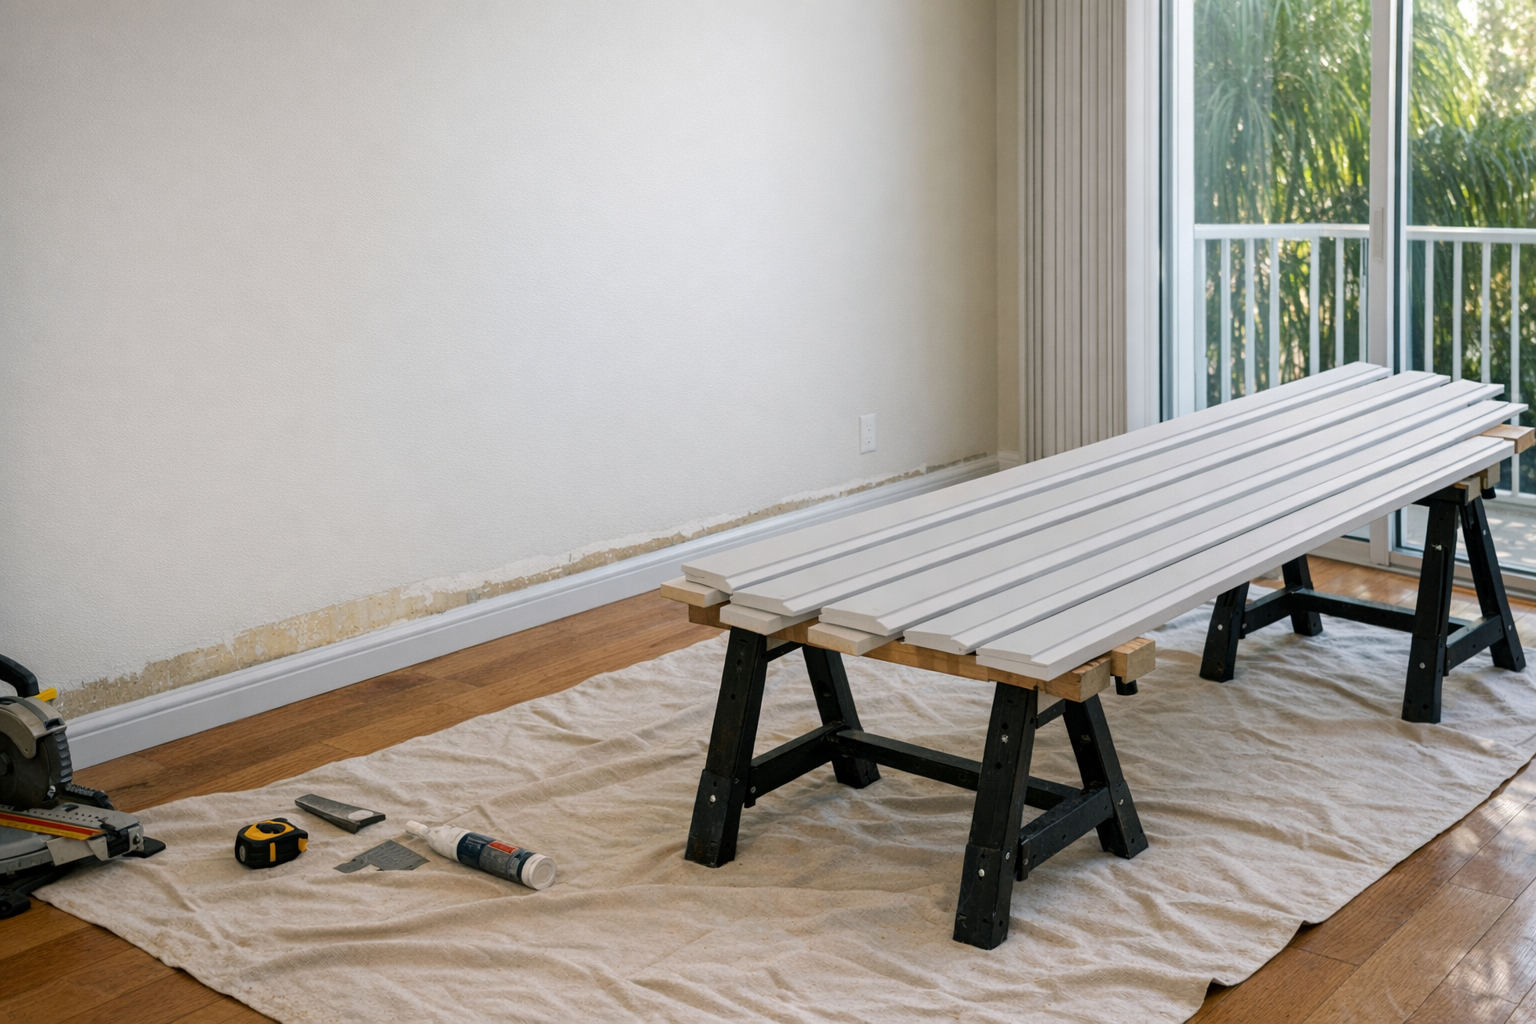
Scheduling works best when trim is coordinated with nearby trades. If new flooring is being installed, baseboards or shoe molding are often planned after the floor is down so the bottom edge can be fitted cleanly. If painting is part of the project, it helps to decide whether trim will arrive pre-primed, be painted after installation, or be finished as part of a larger room refresh.
Before installation day, homeowners can make the work area easier to access by moving small furniture, wall décor, floor items, and fragile belongings away from the trim locations. In Palmer Ranch condos, gated communities, or HOA-managed properties, it is also helpful to share parking, elevator, entry, noise, or work-hour requirements before the appointment is scheduled.
During installation, the work generally focuses on fitting, fastening, filling nail holes, caulking paint-grade seams, and leaving clean transitions where trim meets walls, floors, doors, and corners. The project review should also clarify whether painting, staining, disposal of removed trim, and final cleanup are included in the same scope or handled separately. Cleanup may include collecting offcuts, removing loose debris, and reviewing the finished areas so any visible touch-up needs can be discussed before the project is wrapped up.
Getting a Clear Estimate for Your Trim Project
For an estimate, the first question is how many linear edges and finish conditions are actually part of the job. The scope may change based on room count, project size, whether the work involves baseboards, casing, crown, shoe molding, or a mix of pieces, and whether existing trim needs to be removed before new material is installed.
Material and finish choices also affect the conversation. Paint-grade trim is planned differently than stain-grade trim, and a straightforward baseboard installation Palmer Ranch project is usually less complex than work with many inside corners, outside corners, door transitions, uneven walls, or profile changes from one area to another.
For the clearest quote, share photos, room counts, approximate measurements, and notes about painting or staining needs when contacting a trim contractor in Palmer Ranch. An in-person look may still be the best way to account for wall conditions, flooring transitions, and finish expectations, so it is better to request an estimate than rely on a flat price that may not fit the actual project.
Request Trim Installation Help in Palmer Ranch
Ready to move from planning to a finished edge? Homeowners, condo owners, property owners, managers, and listing-prep customers in Palmer Ranch can request help with baseboards, crown molding, door or window casing, shoe molding, chair rail, custom trim details, or replacement pieces that need to blend into an existing room.
For a smoother first conversation, share the room count, trim type, photos of the areas involved, and approximate measurements if you have them. Also mention whether the trim follows new flooring, painting, repairs, remodeling, move-in plans, or a property listing timeline.
If access matters, include gate details, condo requirements, parking notes, pet concerns, or vacant-property instructions. Then request trim installation in Palmer Ranch and ask for the next step to review your project.
Plan trim installation in Palmer Ranch, FL
Compare the broader Trim Installation service details, then use the Palmer Ranch, FL service area page if you want the local overview. When you are ready, request a trim installation estimate with the rooms, trim goals, and photos that help explain the scope.
FAQs
What types of trim can be installed in a Palmer Ranch home?
Interior trim installation in Palmer Ranch can include baseboards, shoe molding, quarter round, crown molding, door casing, window trim, chair rail, accent molding, and repaired or matched trim sections. These pieces finish transitions around floors, walls, ceilings, doors, and windows.
Can new baseboards be installed after new flooring?
Yes, baseboards or shoe molding are often installed after new flooring is down so the bottom edge can be fitted cleanly. New flooring can expose gaps, make old baseboards look too short, or create uneven wall transitions that need a finished edge.
Do I need to paint trim before or after installation?
Trim can be planned as pre-primed, painted after installation, or finished as part of a larger room refresh. Paint-grade trim is typically caulked, filled, primed, and painted so the profile looks like one smooth surface.
Can damaged trim be replaced to match existing molding?
Yes, damaged trim can be replaced as a partial repair when the goal is to blend one section into the surrounding room. Matching the existing profile, height, finish, and nearby transitions helps the repaired area look intentional.
Should I choose MDF or wood trim for interior trim installation?
MDF trim is a smooth, paint-ready option commonly used for interior baseboards and casing when a clean painted finish is desired. Wood trim is the better choice when natural grain matters, especially for stained finishes or matching existing woodwork.