
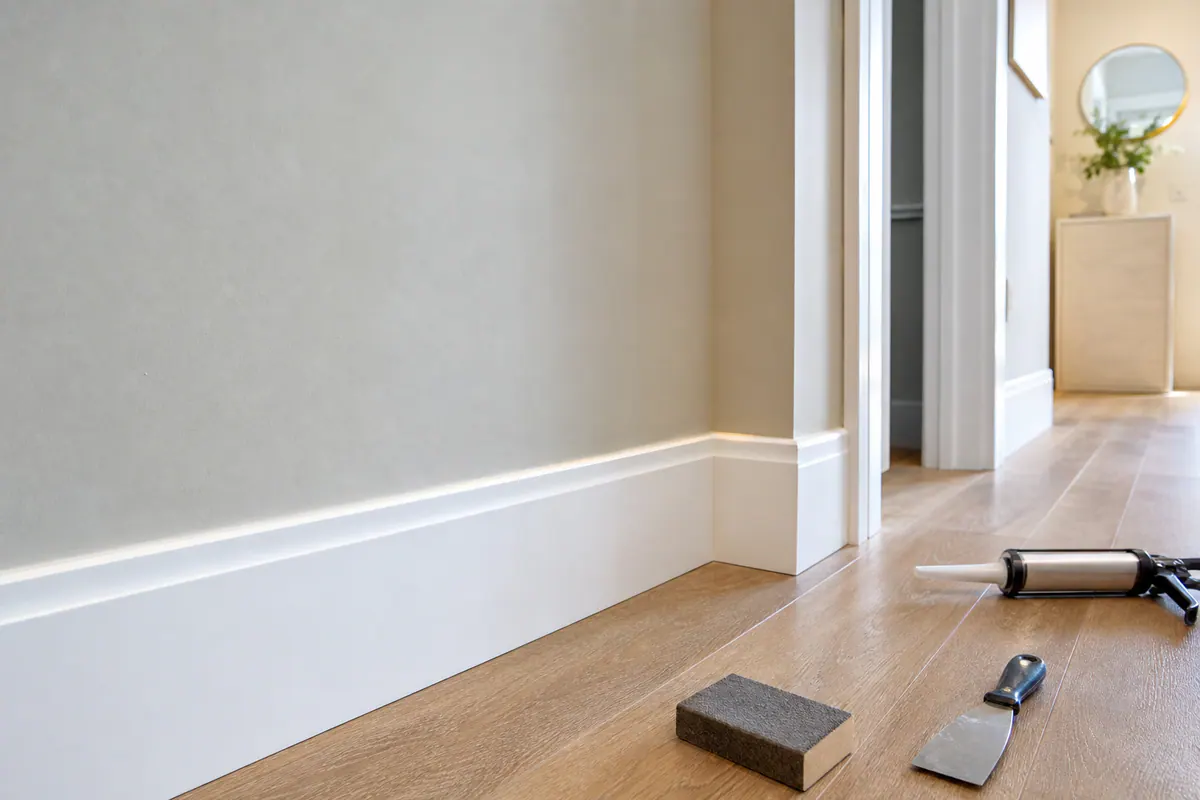
Interior Trim Repair and Replacement for Laurel, FL Homes
For trim repair in Laurel, FL, the first step is separating a finish problem from a material problem. Chipped baseboards, small dents in chair rail, nail holes, and a cracked caulk line can make an otherwise solid room look neglected, yet they may be corrected without removing every piece. Loose door or window casing, separated miter joints at corners, and gaps where molding meets the wall need a closer look because the visible opening may reflect movement, failed attachment, or an uneven surface behind the trim.
Water changes the decision. A baseboard that is merely scuffed can usually be filled, sanded, and prepared for paint; one that has swollen, softened, split, or pulled apart after a spill, plumbing leak, or wet-area exposure may not provide a sound surface for a lasting cosmetic repair. The condition behind the molding matters too: covering ongoing moisture or a damaged wall edge only leaves the underlying problem in place.
Baseboards protect the wall-to-floor transition, casing frames doors and windows, crown molding finishes the ceiling line, and decorative pieces create the smaller visual details that tie a room together. Replacement pieces should match the existing profile, the shaped face of the trim, as well as thickness and scale, so a new section does not look abruptly different beside older work.
The intended finish also guides the approach. Paint-grade trim can often accept careful filling, sanding, flexible paintable caulk at appropriate seams, and a smooth paint-ready surface. Stained wood requires a closer visual match in species, grain, color, and sheen, making a patch more difficult to hide. The next step is deciding whether the existing piece remains stable enough to repair or is too compromised to blend cleanly.
When Interior Trim Can Be Repaired, and When Replacement Is the Better Choice
A sound piece of trim is often worth preserving, especially when its profile already blends with the rest of the room. Small nail holes, shallow dents, light gouges, and a short opening at a seam are localized defects: the material underneath is still firm, and the repair can be shaped to disappear under paint. A practical repair stabilizes any loose edge, fills the damaged spot, sands it flush, corrects the fit at the joint, and uses flexible paintable caulk only where a paint-finished seam needs a clean transition.
That approach has limits. Caulk can close a narrow cosmetic gap between casing and wall, or at a crown joint, but it is not a structural fix for a joint that keeps pulling apart. Repeated movement may point to loose attachment, shifting at the wall surface, or a condition that needs correction before the trim is refinished. Likewise, filler can restore a shallow impact mark in a baseboard or decorative molding detail; it cannot make a deep split or crumbling edge reliably solid again.
- Repair is usually the sensible path when damage is confined to one small area and the trim is dry, firm, straight, and securely attached. Keeping an intact run of casing or crown molding can avoid the challenge of blending a new profile into older pieces.
- Replacement is generally the stronger choice when MDF has swollen, wood is soft or rotten, a piece is deeply split, warped, missing, or damaged across much of its length. Replacing unstable material provides a stable edge for fitting, filling minor installation marks, caulking appropriate seams, and creating a paint-ready finish.
Moisture changes the order of work. A leak, persistent dampness, or wet wall area should be resolved before damaged trim repair in Laurel begins; otherwise, new or repaired molding can swell, separate, or deteriorate again. For trim replacement in Laurel, FL, the goal is not simply to cover the affected area, but to remove failed material, restore a sound transition, and fit a replacement piece that aligns cleanly with the surrounding trim.
Baseboard, Shoe Molding, and Quarter Round Repair
Baseboards take the daily abuse at floor level: vacuum scuffs, furniture dents, kicked corners, loose ends, and joints that open where two pieces meet. A short damaged area can often be tightened, filled, sanded, and blended into a paint-ready run. The better result is not merely a filled mark; the baseboard should sit securely against the wall, meet adjoining pieces evenly, and keep a consistent top edge through door openings and corners.
Gaps deserve a closer look before they are caulked. An uneven wall may leave a narrow irregular shadow line that flexible paintable caulk can finish neatly. A gap that appeared after new flooring, seasonal movement, or a loosened board may call for refastening or refitting first. At the floor line, the goal is a clean transition without using caulk to disguise a board that is bowed, detached, or poorly aligned.
Shoe molding and quarter round are the small pieces installed along the bottom of a baseboard to cover the floor-perimeter edge. Quarter round has a pronounced quarter-circle face, while shoe molding is typically a lower-profile alternative. Either can help bridge a modest flooring gap without removing otherwise sound baseboards. For baseboard repair in Laurel, FL, a broken or scuffed short length of shoe molding can usually be replaced on its own when its profile, height, and finish still match the rest of the room.
A whole baseboard run becomes the more coherent replacement choice when several sections are warped, repeatedly loose, badly split, or impossible to match at corners and flooring transitions. Matching thickness and profile matters: a near match can still leave visible steps at door casing or an awkward change in the wall line. Replacement should leave clean seams, filled fastener holes, sanded repairs, and appropriate caulk lines ready for paint.
Swelling, soft edges, staining, or crumbling material near bathrooms, kitchens, entry doors, and plumbing-adjacent walls is not a cosmetic-only concern. The moisture source needs attention before baseboard replacement in Laurel, FL; otherwise, a new lower-wall trim piece may repeat the same failure.
Door Casing, Window Casing, Crown Molding, and Decorative Details
Door and window openings draw the eye because their trim creates a deliberate frame. Door casing often picks up impact damage from moving furniture, swinging doors, pets, or hardware; a shallow dent or small chipped edge may blend after filling and sanding if the casing is still firmly attached. A split stile, crushed corner, or casing leg that has pulled away from the wall is more noticeable and may call for a new section or a fuller replacement so the frame reads as one continuous detail.

For door casing repair in Laurel, FL, the corner where the side casing meets the header is an important checkpoint. A miter is the angled joint that makes those two pieces meet at a finished corner. A tight miter has aligned faces and a crisp point; an opened miter leaves a dark V-shaped line that caulk alone cannot make structurally sound. The joint and attachment should be corrected before small surface defects are filled and the painted seam is finished.
Window casing adds another fit issue: it must meet the wall cleanly while maintaining an even reveal around the window. A narrow, stable seam at the wall can be made paint-ready with flexible paintable caulk. A widening gap, loose board, or visibly uneven casing needs refitting or secure attachment first. Window trim repair in Laurel, FL is most convincing when the top and side pieces remain aligned, corners meet cleanly, and any replacement matches the existing profile, width, thickness, material, and paint finish.
Crown molding and decorative wall details make imperfect corner work especially visible because they sit at eye level or along the ceiling line. Crown molding repair in Laurel, FL may involve tightening a loose length, closing a separated joint, or replacing a cracked piece, but a repair should not hide a section that remains loose against the wall or ceiling. Replacement pieces need more than a similar face shape: their projection, thickness, curve or stepped profile, and corner returns must blend with older molding. Paint-grade trim offers more latitude for filled and sanded repairs, while stained wood makes grain, color, and sheen differences harder to conceal.
Matching Materials and Handling Water-Damaged Interior Trim
Material choice determines how convincingly a repaired section will blend and how it should be handled after damage. Wood molding has natural grain and can sometimes be stabilized, patched, sanded, and refinished when the surrounding fibers remain firm. MDF trim has a smooth, uniform paint-grade face, but a water-swollen edge, soft area, or crumbling profile usually will not return to a crisp shape; replacement is often the cleaner choice.
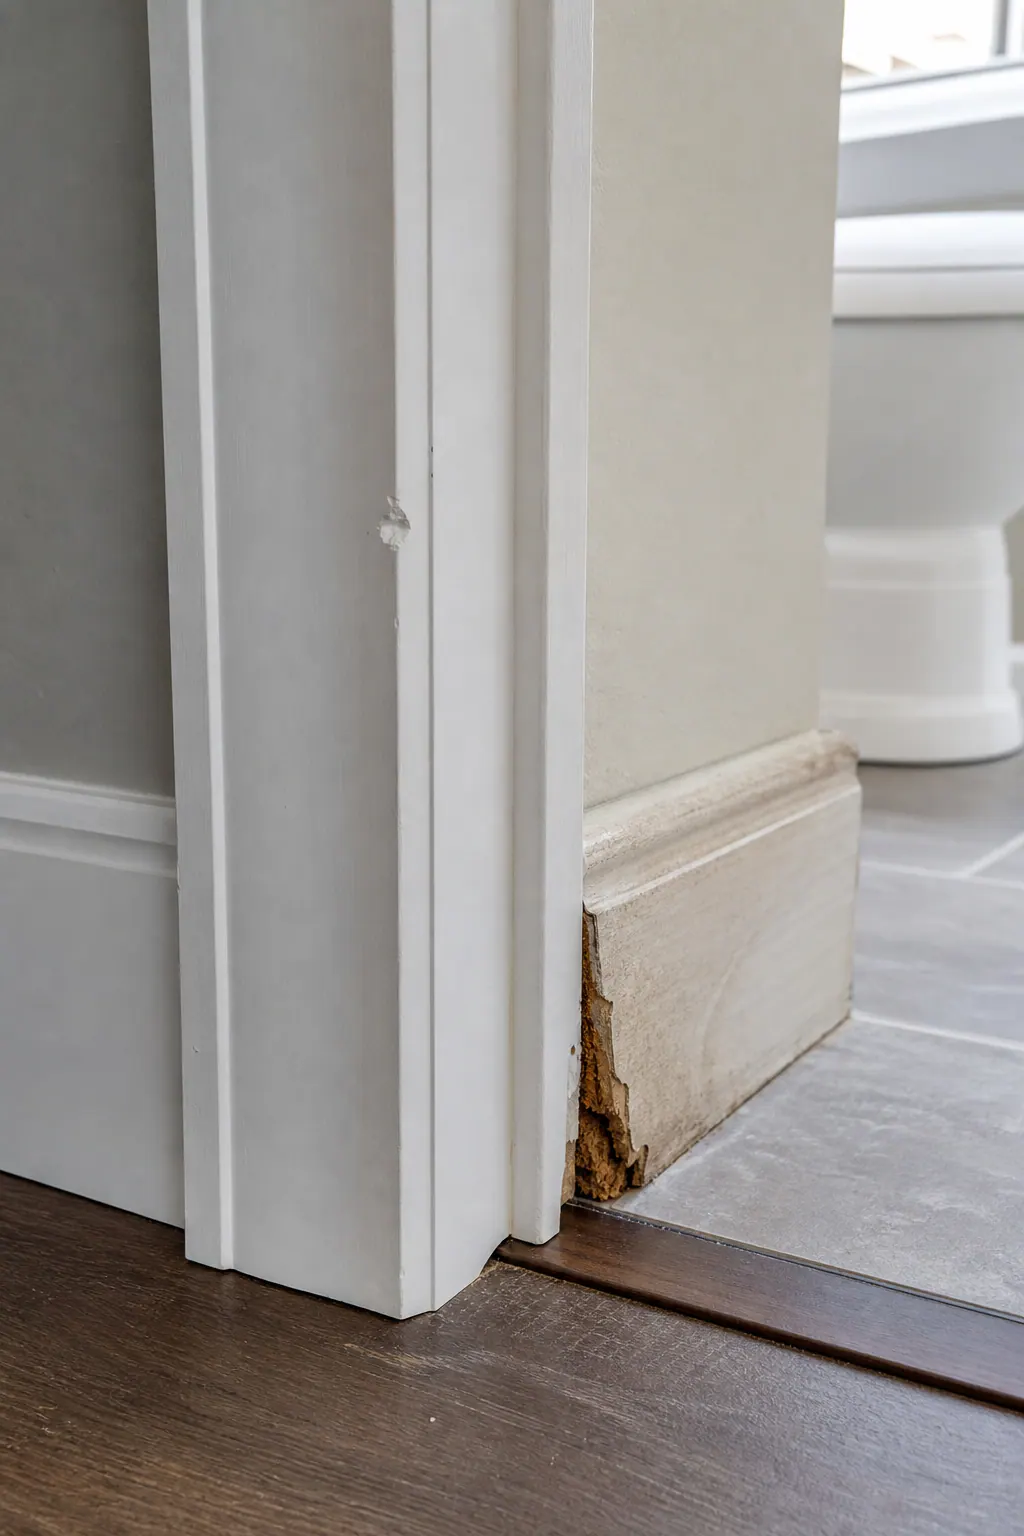
PVC trim is a moisture-tolerant alternative for locations where repeated dampness is a concern, although its profile, thickness, and finish need to suit the surrounding interior work. Paint-grade trim gives more room to blend filled defects beneath paint. Stained wood is less forgiving: a replacement must work with the existing species, grain pattern, color, and sheen, or the difference can remain visible even when the fit is good.
Staining, bubbling or recurring paint failure, softness, swelling at joints, and darkened edges all call for more than a cosmetic cover-up. The moisture source should be corrected and the area allowed to dry before new material is installed; otherwise, a repaired or replacement piece may fail in the same location.
For trim replacement in Laurel, FL, the match begins with the molding's face profile, width, thickness, and projection from the wall. A standard profile may be available, a close match may need to be milled, or replacing a longer continuous run may create the least noticeable transition. The intended paint or stain finish then determines how exact that match needs to be.
What Paint-Ready Trim Repair Should Include
A repair disappears into the room only when the trim reads as one clean, continuous line rather than a collection of patched spots. Baseboards, casing, crown, and small decorative details should sit firmly in place, with no loose edge, proud corner, or abrupt change in alignment where old and new work meet.
Finish trim repair in Laurel starts with fit. Joints should close neatly, outside corners should meet evenly, and the trim-to-wall transition should be controlled instead of wavy. Flexible paintable caulk is useful for a narrow, stable seam at a wall or ceiling; it is not a substitute for reattaching loose molding or hiding a substantial gap created by movement or an uneven surface.
Nail holes, shallow dents, and small gouges need filling with a material that can be sanded level. After sanding, the repaired area should feel smooth to the touch and keep the surrounding profile crisp. A weak finish often shows up as a raised filler spot, a rounded-over edge, visible sanding scratches, or a caulk line that varies in width.
Coordinating interior trim repair in Laurel, FL before painting lets primer and paint cover the filled areas, sanded transitions, and caulked seams as one finish system. The trim should be clean and free of loose material before primer goes on, then ready for paint without telegraphing the repair through the final coat.
Paint-grade molding is generally the more forgiving option because paint can unify a carefully prepared repair. Stained wood demands a higher visual match: color, grain direction, species, and sheen all remain visible. Even a well-fitted replacement can stand out if those characteristics do not blend with the surrounding trim.
Plan a Trim Repair or Replacement Assessment in Laurel
When you request an assessment, a few details make it easier to define the right scope. Note the room and trim location, such as a hallway baseboard, bathroom window casing, entry-door casing, crown molding, or a decorative wall detail, along with the damage you see: chips, open joints, loose sections, swelling, stains, or missing pieces.
- Estimate the affected length, even if it is only a short section or one corner.
- Share photos of the damaged area, the molding face profile, nearby corners or joints, and an undamaged matching piece when possible.
- Mention any past leak, dampness, plumbing issue, or recurring paint failure near the trim.
- Clarify whether your priority is a localized repair, a matching replacement, or paint-ready preparation.
A condition review separates a cosmetic trim repair Laurel FL request from work that may require damaged material to be removed after the underlying moisture issue is addressed. It also helps determine whether a close profile match can be blended into the existing run or whether a longer replacement section will create the cleaner result. Reach out to plan an evaluation of your interior trim and a practical path toward a finished, paint-ready room.
Plan the next step
Compare the broader Trim Repair and Replacement service.
Review the Laurel, FL service area for local planning context.
When you are ready, request a free estimate with the rooms, trim goals, city, and available photos.
FAQs
Can damaged baseboards be repaired instead of replaced in Laurel, FL?
Yes, baseboards with small nail holes, shallow dents, light gouges, scuffs, or short stable seam openings can usually be filled, sanded, refastened, and prepared for paint. Replacement is the better option when the material is warped, deeply split, repeatedly loose, swollen, soft, rotten, or damaged across much of its length.
How do you fix gaps between baseboards and walls?
First determine whether the gap is a narrow, stable seam or is caused by a loose, bowed, or poorly aligned board. Flexible paintable caulk can finish a narrow stable wall gap, but trim that has moved or detached should be refastened or refit before caulking.
Can water-damaged interior trim be repaired?
Water-damaged trim can be repaired only when the material remains dry, firm, and structurally sound after the moisture source is corrected. Swollen MDF, soft wood, crumbling edges, staining, bubbling paint, and separated joints usually require replacement after the area has dried.
What is included in paint-ready trim repair?
Paint-ready trim repair includes securing loose edges, correcting joint fit, filling nail holes and shallow dents, sanding repairs flush, and applying flexible paintable caulk at narrow stable seams. The finished trim should have clean joints, even corners, smooth sanded surfaces, and no loose material before primer and paint.
Can new trim be matched to existing molding in an older Laurel home?
Yes, replacement trim should be matched by face profile, width, thickness, projection from the wall, and intended paint or stain finish. Paint-grade molding is more forgiving for blended repairs, while stained wood needs a close match in species, grain, color, and sheen; replacing a longer continuous run may create a less noticeable transition.