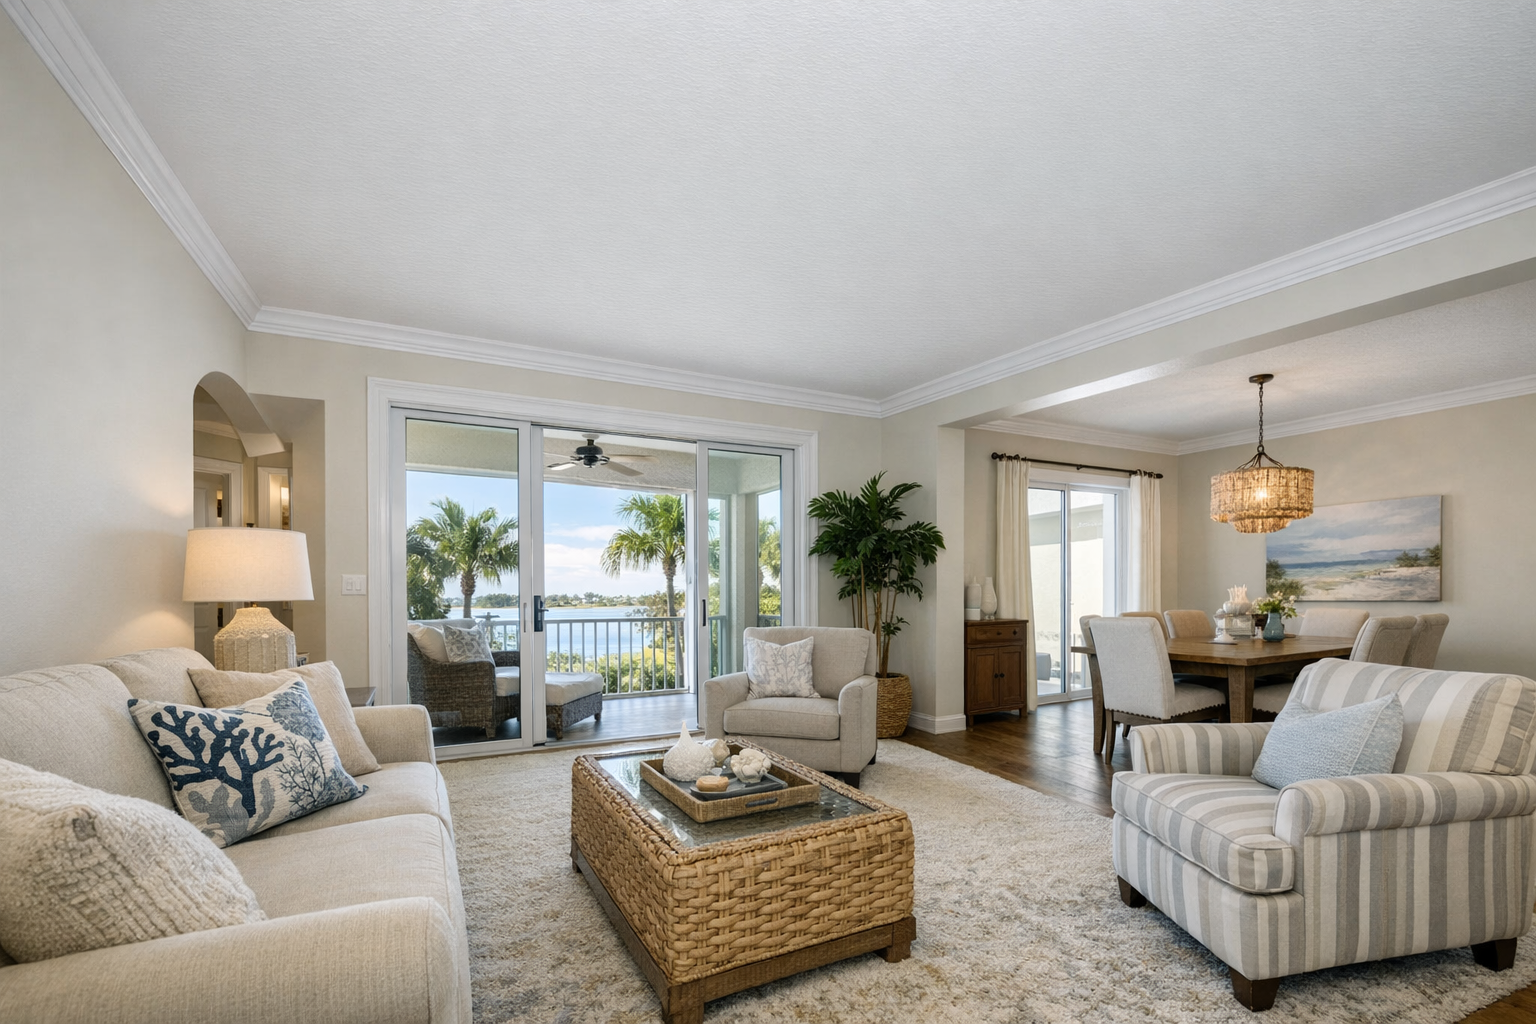
For property owners looking for crown molding installation in Englewood, FL, the service starts with more than simply attaching trim where the wall meets the ceiling. Crown molding creates a finished transition that can make living rooms, bedrooms, dining areas, entryways, condos, and rental properties feel more complete, especially when the molding is sized and fitted to the actual room instead of treated as a one-size-fits-all add-on.
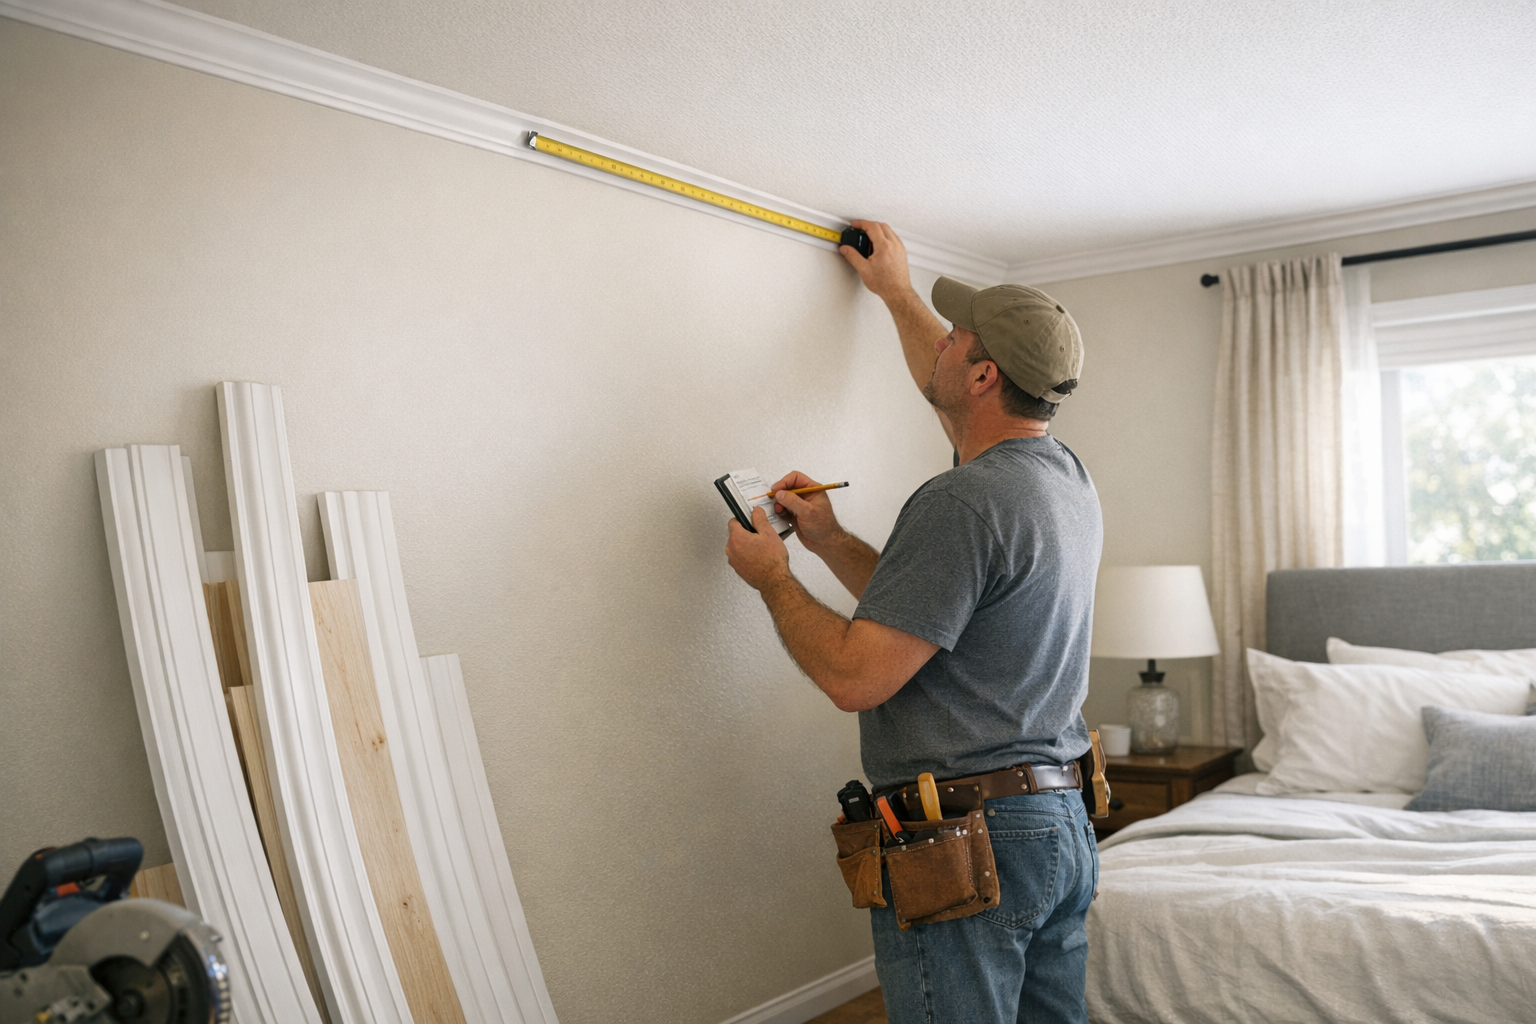
A professional installation includes measuring the room, reviewing ceiling height, helping choose a molding profile, discussing suitable materials, planning the layout, cutting corners, fitting each run, fastening the trim securely, and preparing the surface for paint or stain. The profile is the shape and projection of the molding; a smaller profile keeps a lower ceiling from feeling crowded, while a larger profile can give taller rooms a more substantial finished edge.
The reason professional crown molding installation matters is visible in the details: corners should meet cleanly, reveal lines should look consistent, and the finished trim should feel integrated with the room rather than patched onto it. If you are updating an existing home, preparing a rental, or finishing a remodel, an estimate request is the practical next step because room size, layout, material choice, and finishing expectations all affect the scope of the work.
What the Crown Molding Installation Service Includes
A good service visit turns the room into a working plan before any trim is installed. For Englewood crown molding installation, that means taking room dimensions, looking at ceiling height and wall-to-ceiling transitions, reviewing the profile you want, and matching the molding choice to the way the space will be finished. The practical takeaway is simple: the installer is not just measuring length; they are planning how the molding will sit, meet at corners, and look once the finish coat is applied.
The installation scope can be sized to the project: one feature room, several connected areas, a whole-home trim update, a remodel nearing completion, or an occupied home where work needs to be staged neatly. It can also include replacing damaged or outdated crown molding when the old trim no longer matches the room or has gaps, poor joints, or a dated profile.
- Layout and material planning: the installer customer feedback the room shape, ceiling height, molding profile, and finish goal so the selected trim fits the space instead of looking too small, too heavy, or mismatched.
- Cutting, fitting, and fastening: each run is cut and fitted to the room, then fastened so the crown sits cleanly along the wall and ceiling line.
- Finish preparation: caulking, nail hole filling, and surface prep help create a smooth base for paint or stain. Final painting or staining should be discussed as part of the estimate so everyone knows whether it is included, optional, or handled separately.
- Old molding questions: if existing crown has to come down, ask whether removal and disposal are included in the project scope, especially in remodels or replacement work.
- Material supply: some projects are planned around installer-supplied molding, while others may use customer-purchased material. The important point is that the profile, quantity, and finish plan should be settled before installation begins.
When you contact a crown molding installer in Englewood, FL, the most helpful starting details are the rooms involved, approximate room dimensions if you have them, ceiling height, whether old molding is present, and whether you want the trim paint-ready or stain-ready.
Why Professional Installation Makes a Visible Difference
A slightly open inside corner can cast a shadow or leave a visible notch in an otherwise clean room. Tilted pieces, uneven reveals, and pinched seams can stand out as soon as light travels across the trim. At the wall-to-ceiling transition, those small mistakes are easier to notice than many flaws lower on the wall, so a polished result depends on layout, fitting, fastening, and finish prep working together instead of being treated as separate steps.
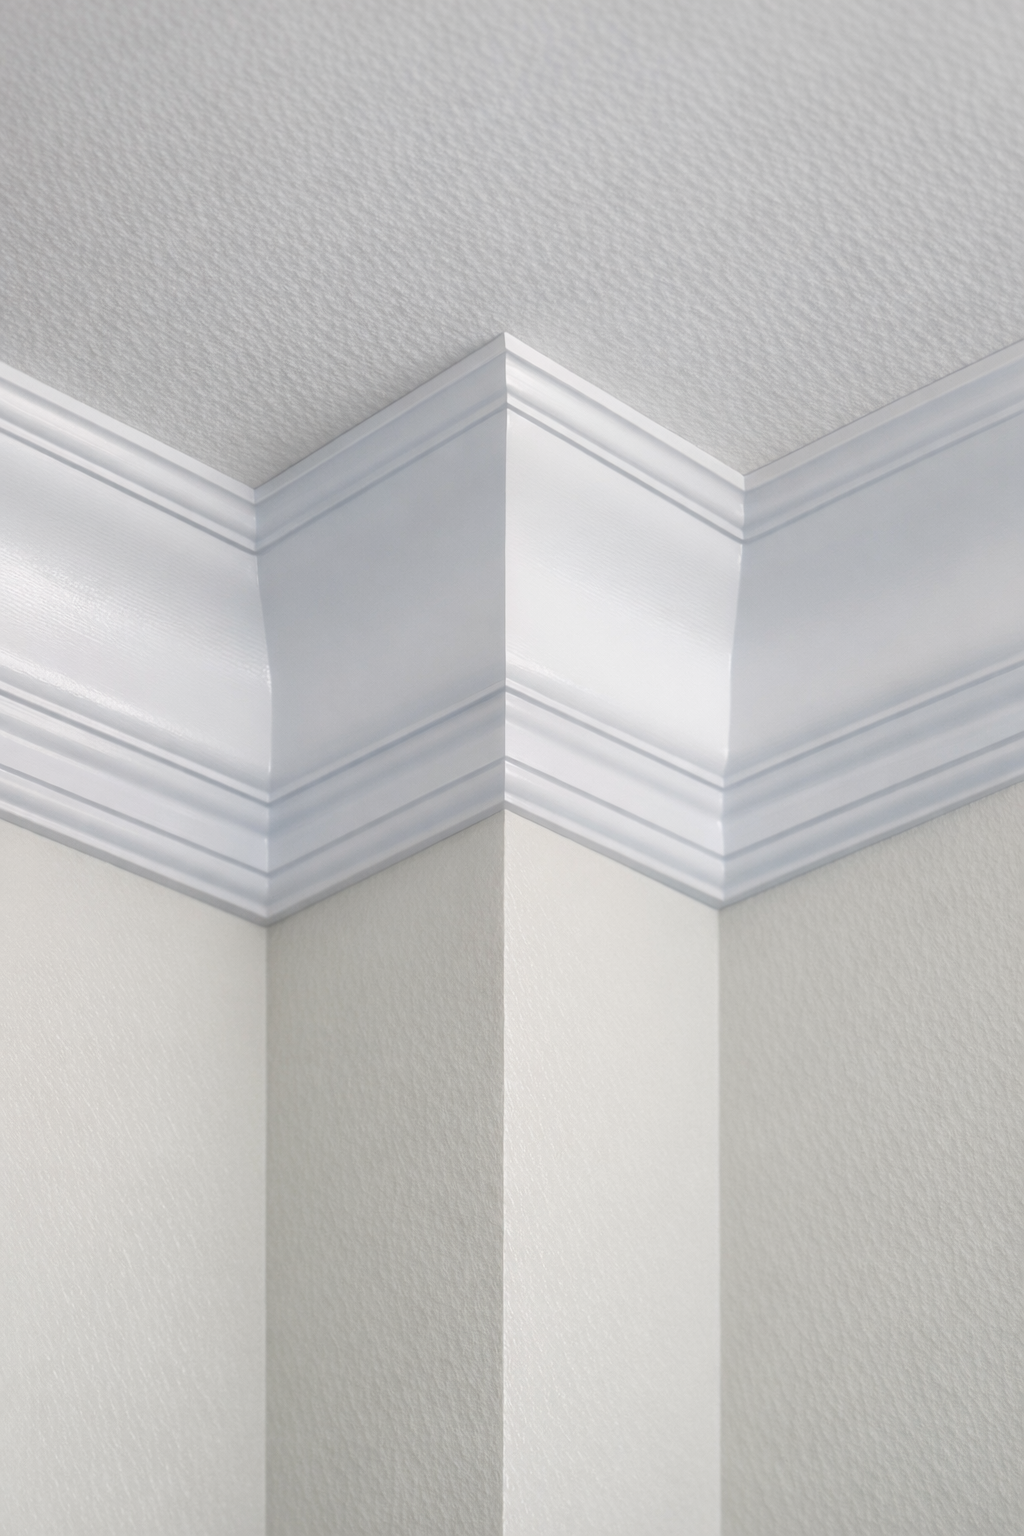
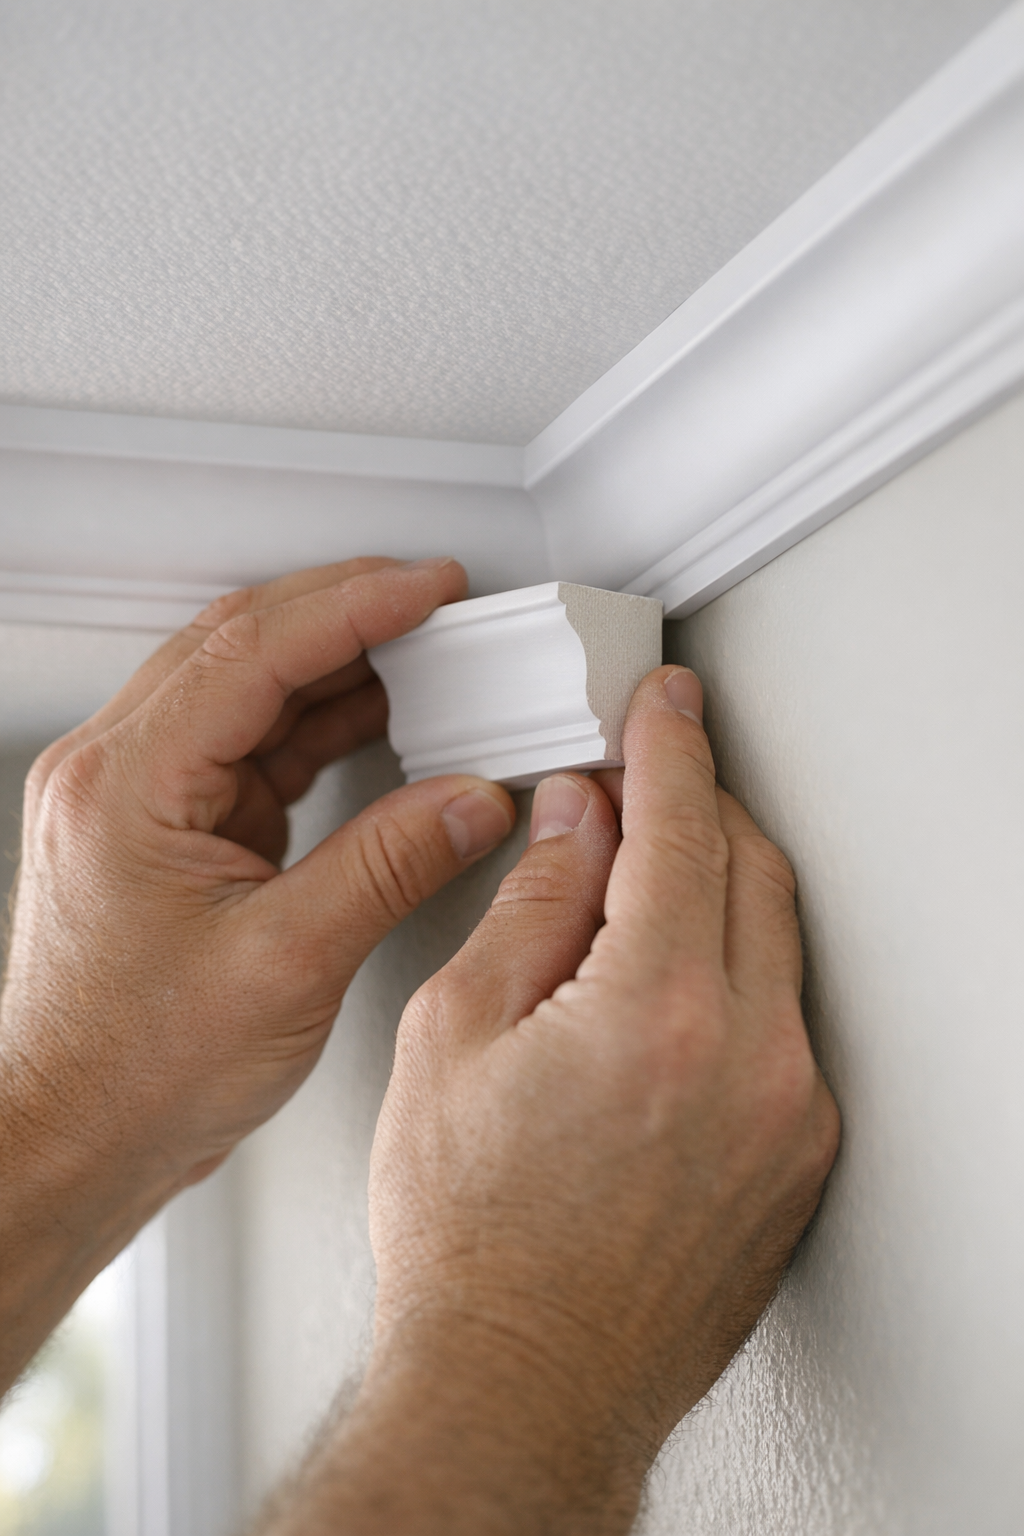
The biggest difference usually shows at the corners. Outside corners often rely on clean miter cuts, where two angled ends meet to form a crisp point. Inside corners may be mitered or coped; a cope joint is shaped so one piece follows the face profile of the other, which can help the joint look tighter when walls are not perfectly square. The homeowner takeaway is simple: the method matters less than the finished result, and corners should meet neatly without bulky caulk lines trying to hide poor fitting.
Straight runs matter too. A qualified crown molding contractor in Englewood pays attention to how the molding tracks along the ceiling line, especially in existing homes where ceilings, drywall, and texture may not be perfectly even. A strong installation keeps the visual line steady, blends minor irregularities carefully, and avoids wavy seams that draw attention across the room.
Before hiring, look for finished examples that show close-up corners, long ceiling line transitions, and rooms with real-world conditions such as textured ceilings or slightly uneven walls. Those details reveal more about installation quality than a photo taken from across the room.
Crown Molding Materials and Profiles for Florida Homes
Material choice shapes both the look of the room and the way the installer plans the finish. MDF is a smooth engineered option often used when the molding will be painted; it gives a clean surface for simple, crisp profiles, but it is best suited to dry, climate-controlled interiors. Paint-grade molding is a broader category that can include MDF, finger-jointed wood, or other trim meant to be painted rather than stained. The practical takeaway: if you want a white or color-matched crown, paint-grade options usually give you the most flexibility without paying for decorative wood grain you will cover.
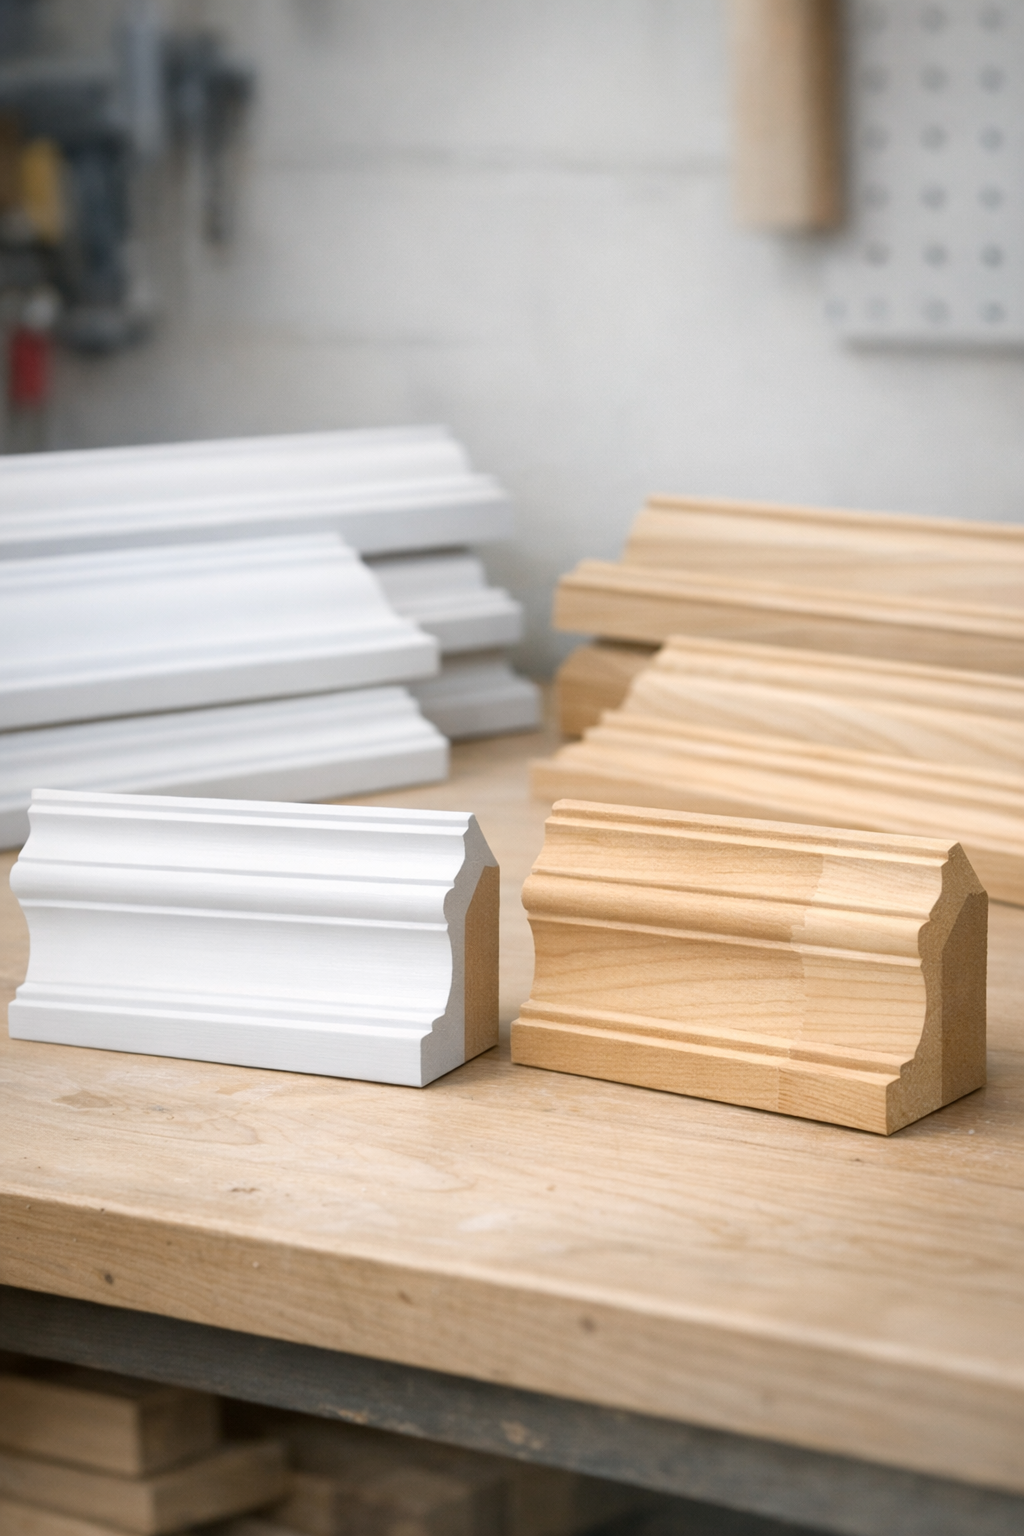
Stain-grade wood is different because the grain is part of the finished design. It makes sense when the crown needs to coordinate with wood cabinets, doors, beams, or built-ins, and it requires cleaner material selection because knots, color variation, and seams remain visible after staining. Polyurethane crown molding is a lightweight molded option that can work well for detailed profiles and areas where moisture-resistant materials are useful, such as certain coastal homes, bathroom-adjacent areas, or rooms where humidity is a recurring concern.
Profile size should fit the ceiling height and room scale. A smaller, simpler crown can look balanced in an 8-foot room because it adds a finished edge without crowding the wall. Taller ceilings can usually carry a wider or more layered profile because there is more vertical space for shadow lines and detail. In open living areas, dining rooms, or primary bedrooms, a more decorative profile may feel appropriate; in condos, guest rooms, or rental updates, a clean primed molding with fewer curves may be the better fit.
There is no single "best" crown molding material for every Englewood home. The right choice depends on the room, finish plan, humidity exposure, ceiling height, and how formal or subtle you want the trim to feel. A professional installer can help narrow the options before cutting begins so the molding style, material, and finish prep all support the same finished result.
Installing Crown Molding in Existing Rooms, Remodels, and Textured Ceilings
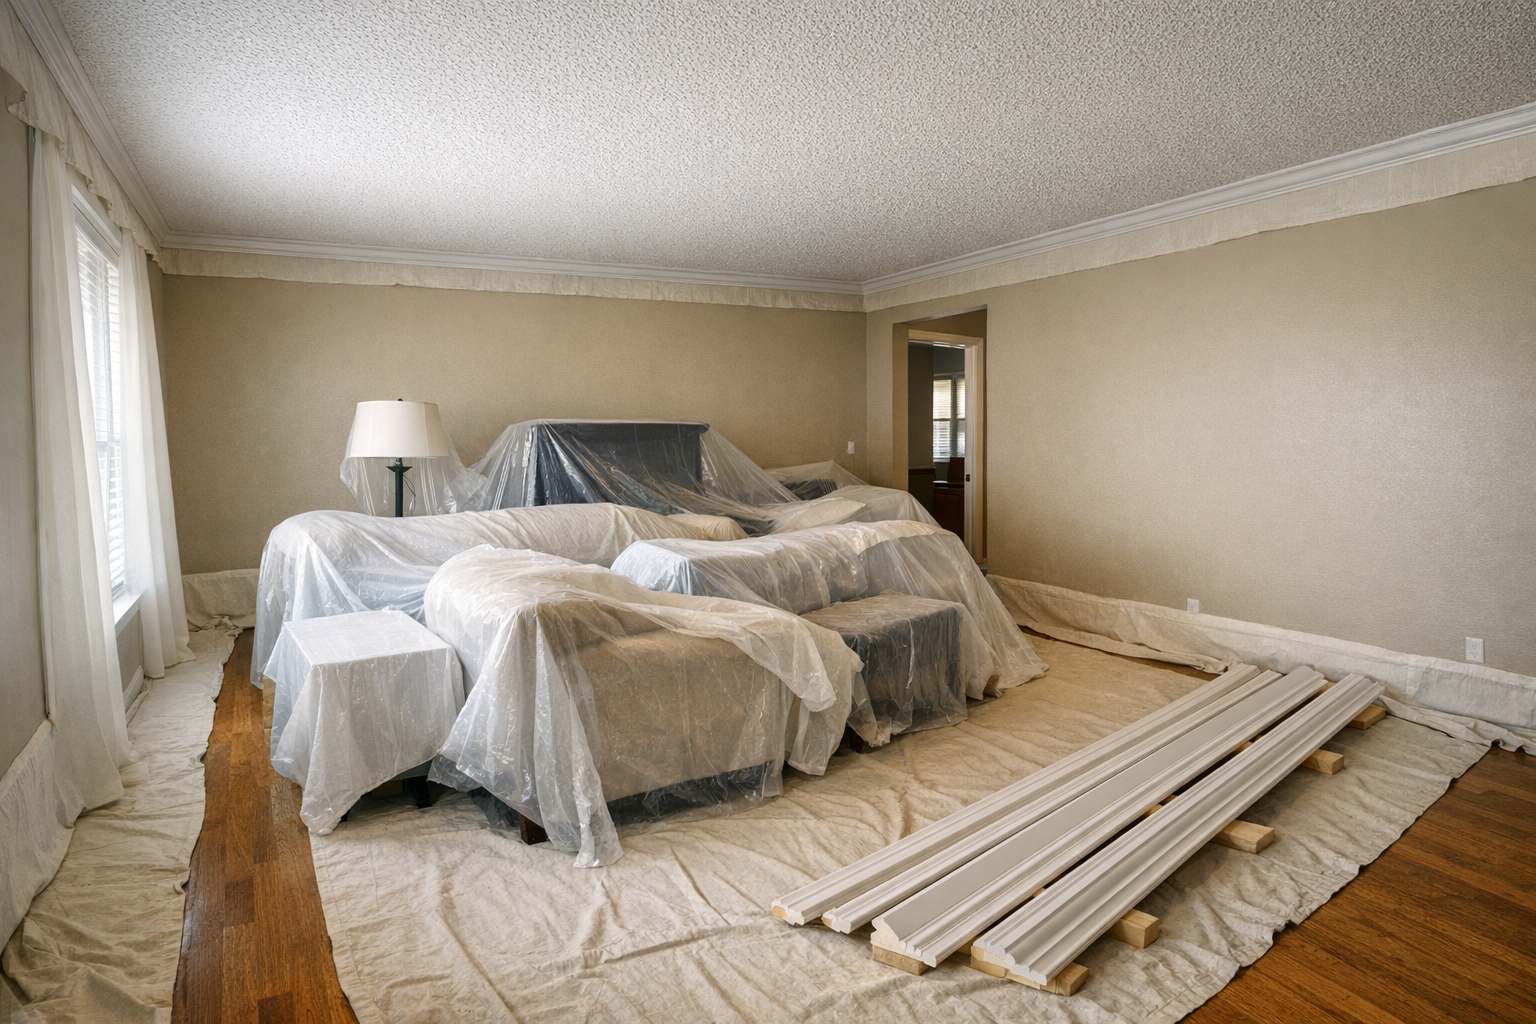
Before trim is ordered or cut, look at what is already in the room: finished walls, flooring, furniture, ceiling texture, and trim that may stay or come out. In occupied homes, the estimate should spell out how the room will be prepared, whether small furniture moving is included, what the customer should clear in advance, and how nearby surfaces will be protected during cutting, fastening, caulking, and paint prep.
Textured ceilings add another decision point. The molding still needs a clean visual line where it meets the ceiling, but heavy texture can create small shadows or uneven contact if it is ignored. A careful installer will look at the texture depth, the straightness of the wall-to-ceiling line, and the molding profile before deciding how to fit and finish that transition. A good result looks intentional; a weak one leaves random gaps that draw attention along the ceiling edge.
Replacement projects have their own prep concerns. Removing damaged or outdated crown may reveal torn paint, old adhesive, uneven drywall, or nail holes from the previous installation. Light surface prep may fit naturally into the finishing workflow, while larger drywall or ceiling repairs may need to be handled as a separate repair before new molding goes up. That distinction matters because new trim can improve a room, but it should not be used to hide active damage or a failing surface.
If the room is being repainted or remodeled, crown molding is easiest to coordinate before final wall and ceiling paint. The practical sequence is simple: settle the profile and layout, install and finish the molding, then complete touch-ups or final coats so the trim, wall, and ceiling read as one clean upgrade.
What Affects Cost and Project Timeline
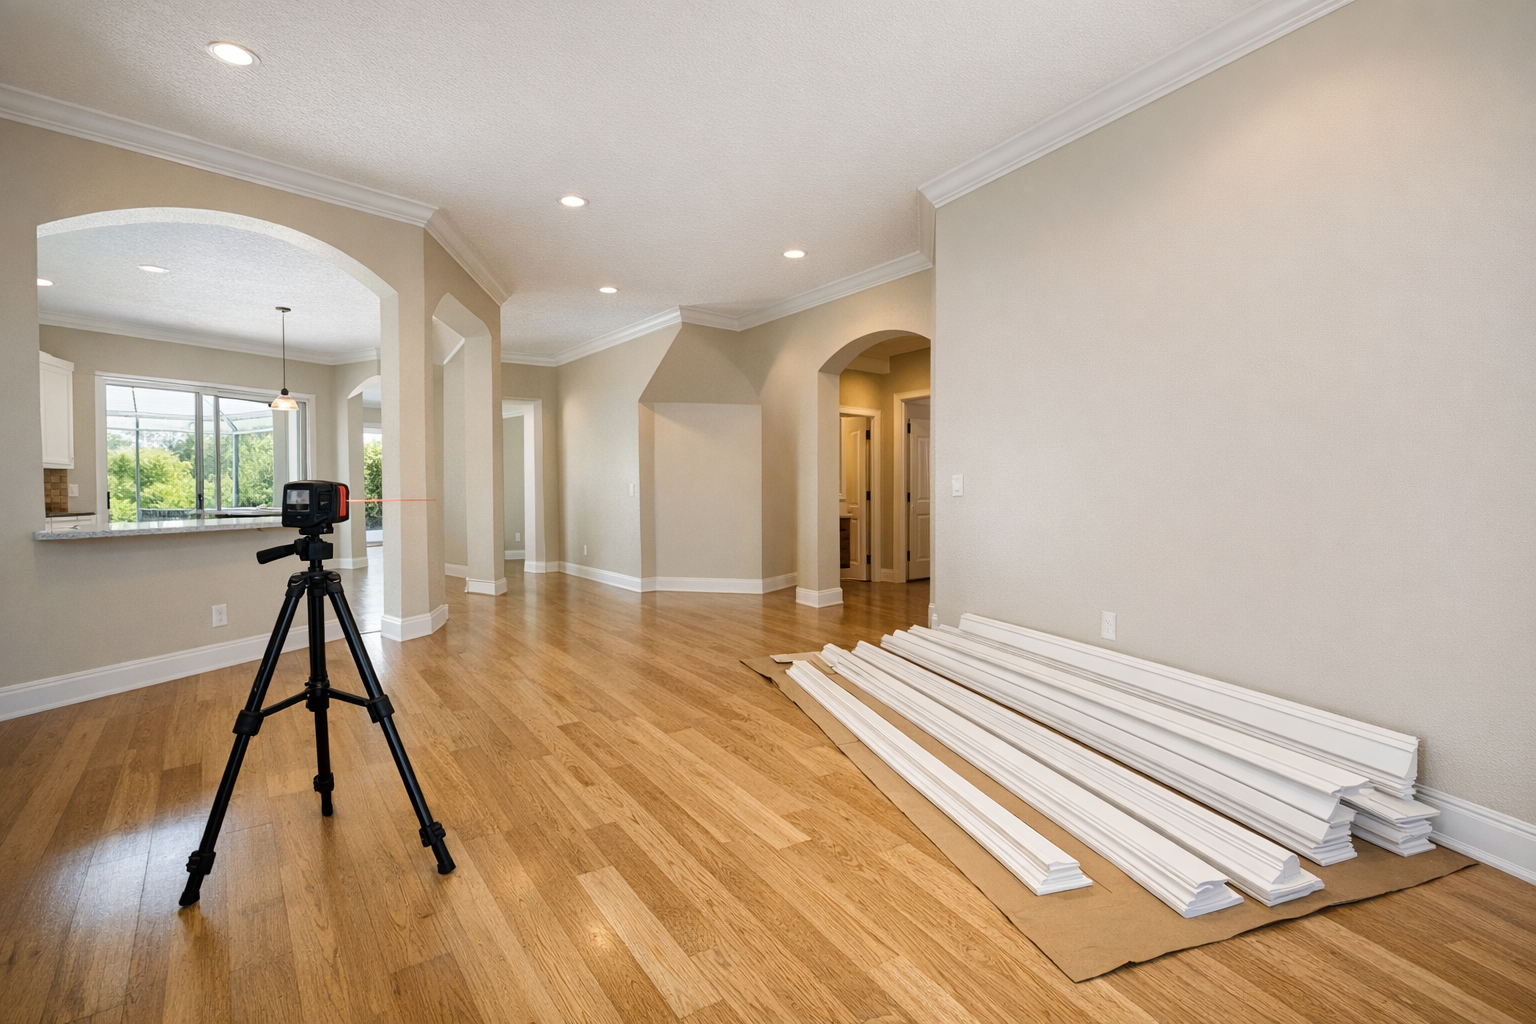
The estimate usually becomes clearer once the room is broken into measurable parts. The number of rooms sets the overall scope, while linear footage shows how much molding is needed around the wall-to-ceiling perimeter. Room dimensions matter because a simple square bedroom is different from an open living area with alcoves, angled walls, or connected transitions.
- Ceiling height affects both appearance and labor. Taller ceilings often call for a larger or more detailed profile so the molding does not look undersized, and larger profiles can take more time to cut, fit, fasten, caulk, and finish cleanly.
- Corners influence layout time. Inside corners are where two walls meet inward, while outside corners wrap around a projecting edge; each one adds cutting and fitting detail, especially when walls are not perfectly square.
- Material choice changes the work plan. MDF, paint-grade trim, stain-grade wood, and polyurethane each handle cutting, fastening, filling, and finishing differently, so the estimate should reflect the product being installed rather than treating every profile the same.
- Profile complexity matters because simple crown has fewer lines to align, while layered or decorative molding needs more careful fitting at joints and corners. The takeaway: a more ornate look can be worth it, but it may require more finish time.
- Removal of old molding, paint or stain preparation, and wall or ceiling condition can also affect scope. Clean, flat surfaces move faster; torn paint, gaps, old adhesive, or uneven drywall may require prep before the new trim can look finished.
Many crown molding projects can be completed efficiently, but the timeline depends on the number of rooms, finishing requirements, material availability, access to the work areas, and how the installation fits into painting or remodeling schedules. The most useful estimate is based on actual project details rather than a one-size-fits-all price or timeline.
How to Request a Crown Molding Installation Estimate in Englewood
To make the estimate useful from the start, share the property location, which rooms you want trimmed, approximate room dimensions if you know them, and the ceiling height. Add photos of the wall-to-ceiling lines, corners, existing trim, and any textured areas so the installer can better understand the room conditions.
It also helps to note whether you prefer MDF, wood, polyurethane, or a specific profile, whether old molding needs to be removed, and whether you want painting or stain preparation included. For a practical local quote, request an estimate for crown molding installation in Englewood, FL and include as many of those details as you can.
Plan crown molding installation in Englewood, FL
Compare the broader Crown Molding Installation service details, then use the Englewood, FL service area page if you want the local overview. When you are ready, request a crown molding installation estimate with the rooms, trim goals, and photos that help explain the scope.
FAQs
Can crown molding be added to an existing home in Englewood, FL?
Yes, crown molding can be installed in existing homes, occupied homes, remodels, condos, rentals, or single feature rooms. The installer measures the room, customer feedback ceiling height, checks wall-to-ceiling transitions, and plans how the molding will sit before installation.
Can crown molding be installed in rooms with textured ceilings?
Yes, crown molding can be installed with textured ceilings, but the installer must account for texture depth and the straightness of the wall-to-ceiling line. Heavy texture can create small shadows or uneven contact if the transition is not fitted and finished carefully.
How long does crown molding installation usually take?
The timeline depends on the number of rooms, linear footage, material availability, finishing requirements, access to work areas, and whether the work is part of a painting or remodeling schedule. A simple square bedroom is faster than an open living area with alcoves, angled walls, connected transitions, or many corners.
What affects the cost of crown molding installation in Englewood, FL?
Cost is affected by the number of rooms, linear footage, ceiling height, corner count, material choice, profile complexity, old molding removal, and wall or ceiling condition. Taller ceilings, ornate profiles, stain-grade wood, uneven drywall, torn paint, old adhesive, and textured transitions can all increase the work required.
What type of crown molding is best for Florida homes?
The best crown molding depends on the room, finish plan, humidity exposure, ceiling height, and desired style. MDF works well for smooth painted interiors, stain-grade wood is best when visible grain must match cabinets or built-ins, and polyurethane is a lightweight option for detailed profiles or moisture-prone areas.