
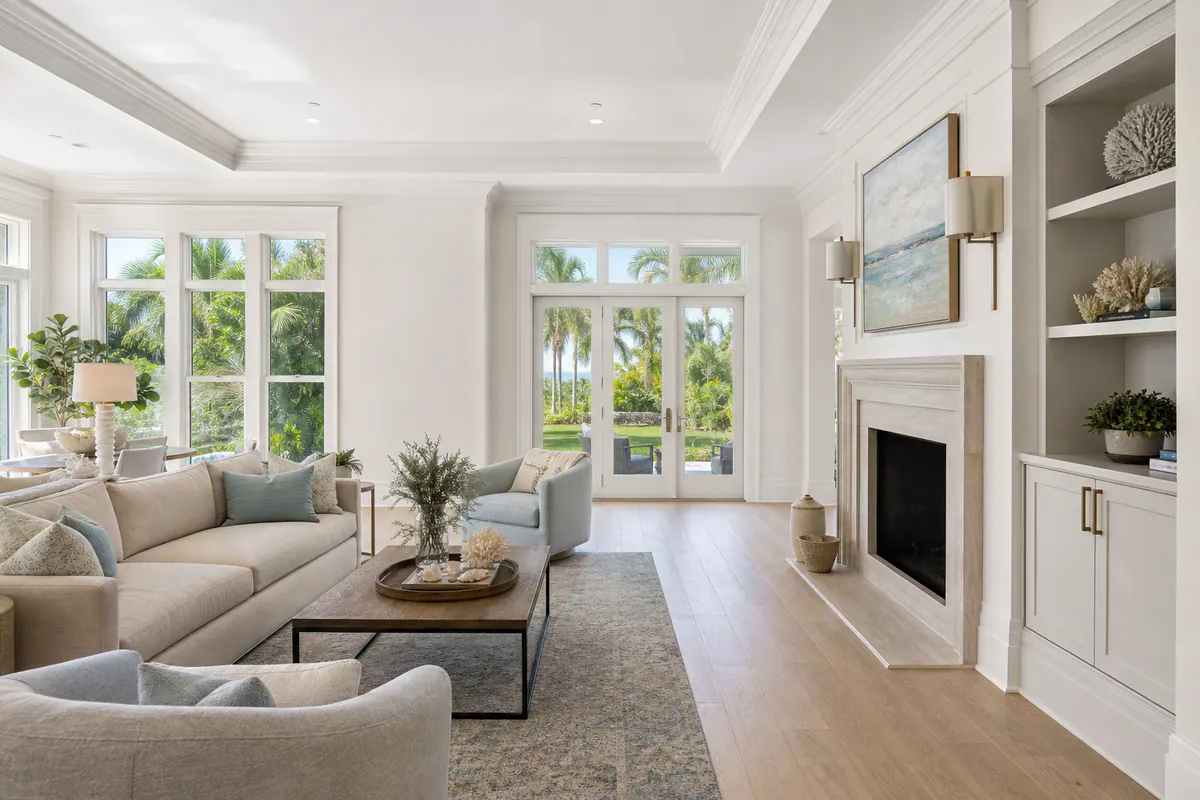
Look closely at a door opening: the casing should hold an even reveal, meet the baseboard cleanly, and align with nearby openings. That level of resolution is what separates custom finish carpentry in Siesta Key from simply attaching decorative molding after construction. It addresses wall-to-floor and wall-to-ceiling edges, window and door framing, cabinetry transitions, and details sized to belong in the room.
The scope can include baseboards, casings, crown, paneling, ceiling treatments, built-up openings, cabinetry trim, and custom millwork. Decorative trim is one added profile; architectural detailing is the planned relationship among those pieces. A wider casing can balance a tall opening, for example, while a panel layout aligned to a long wall can make the space feel ordered rather than busy.
The difference shows in close-up work: even reveals around doors, profiles meeting at the same height, tight returns at exposed ends, clean scribes against uneven surfaces, and caulked, finish-ready transitions instead of gaps hidden under heavy paint. Layout, material selection, fitting, and surface preparation matter as much as the molding sample. In humid coastal interiors affected by salt air and changing air-conditioning cycles, details should be fitted and finished with the room's location and intended use in mind.
Custom Trim for Better Proportion, Cleaner Transitions, and Cohesive Rooms
A trim package works best when it is drawn from the room outward: ceiling height, opening size, cabinet lines, flooring, and the views across connected spaces all influence the scale. In a room with tall ceilings or oversized openings, narrow stock molding can appear to float without visual weight. Custom trim in Siesta Key homes can give those larger surfaces an appropriate border, while a lower-ceiling bedroom may benefit from a simpler, slimmer profile that keeps the room open rather than overworked.
Baseboards establish the visual foundation at the floor, and their height should feel related to the door casing above rather than chosen in isolation. Casing frames doors and windows, covering the drywall-to-jamb transition while giving repeated openings a common language. Crown molding performs the same joining role overhead, softening the wall-to-ceiling line and helping a room feel complete. When these elements share compatible widths, profile depth, and paint treatment, an open living area reads as one composition even when the kitchen, dining, and seating zones serve different purposes.
Custom sizing is especially useful where construction leaves awkward conditions: a window set close to a corner, two openings at mismatched heights, a wide passage with little drywall return, or cabinetry that stops short of an adjacent wall. A window stool creates a finished horizontal ledge at the bottom of the opening; the apron beneath it adds visual depth and can tie the window to nearby cabinetry or baseboards. Reveal details, intentional narrow shadow gaps between trim, wall panels, or cabinet faces, offer a cleaner, more contemporary alternative to adding another decorative profile. The strongest result has centered profiles, consistent sightlines from room to room, and transitions that look planned rather than patched around existing edges.
Architectural Millwork and Specialty Layouts for Refined Coastal Interiors
A paneled wall or integrated built-in can carry the same visual language farther into the room than casing and baseboard alone. Architectural millwork Siesta Key homeowners choose is custom-built or custom-fabricated work that extends beyond standard perimeter trim: designed wall systems, cabinetry surrounds, fireplace treatments, ceiling features, and storage that becomes part of the architecture. Trim establishes the edges; millwork gives broad wall and ceiling surfaces structure, depth, and a deliberate focal point.
Wall paneling can be quiet and tailored rather than ornamental. Wainscoting protects and defines the lower portion of a wall, while board and batten uses repeated vertical battens to introduce height and rhythm. Shiplap uses horizontal boards and expressed joints for a more linear effect; it is often most effective as a contained feature wall or ceiling treatment rather than carried indiscriminately through every room. In an open living area, a paneled dining-wall backdrop, a ceiling beam layout, or a built-in media wall can distinguish one zone from another without closing off sightlines.
The layout determines whether these details look composed or improvised. Panel widths should be measured from the room's fixed conditions, door casings, windows, corners, cabinetry, and fireplace openings, so narrow leftover panels are not stranded at one end. Outlet boxes, switches, vents, and access panels should land within a panel field or align intentionally with rails and stiles instead of interrupting a prominent joint. Around a cabinet run or fireplace surround, a tailored transition can return cleanly into a wall panel, terminate at a deliberate vertical stile, or continue as a consistent reveal.
Good architectural millwork has a readable rhythm across connected spaces: aligned top rails, balanced panel spacing, seams that fall where the design expects them, and feature walls that stop at an architectural break rather than an arbitrary point. The result can be as restrained as a simple painted built-in with flush surrounding panels, or as dimensional as a coffered ceiling and layered fireplace wall. Either approach should make the room feel resolved, not simply more decorated.
Why Built-Up Details and Precise Joinery Create a More Polished Result
Layering is often what gives a focal detail enough presence to hold its own against tall ceilings, wide openings, or substantial cabinetry. A single-piece crown profile is a clean, economical border between wall and ceiling, and it can be the right choice in a compact room or where the architecture calls for restraint. Built-up crown molding combines separate components, often a wall backer, a crown profile, and a small lower or upper accent, to create deeper shadow lines and a profile sized specifically for the room.
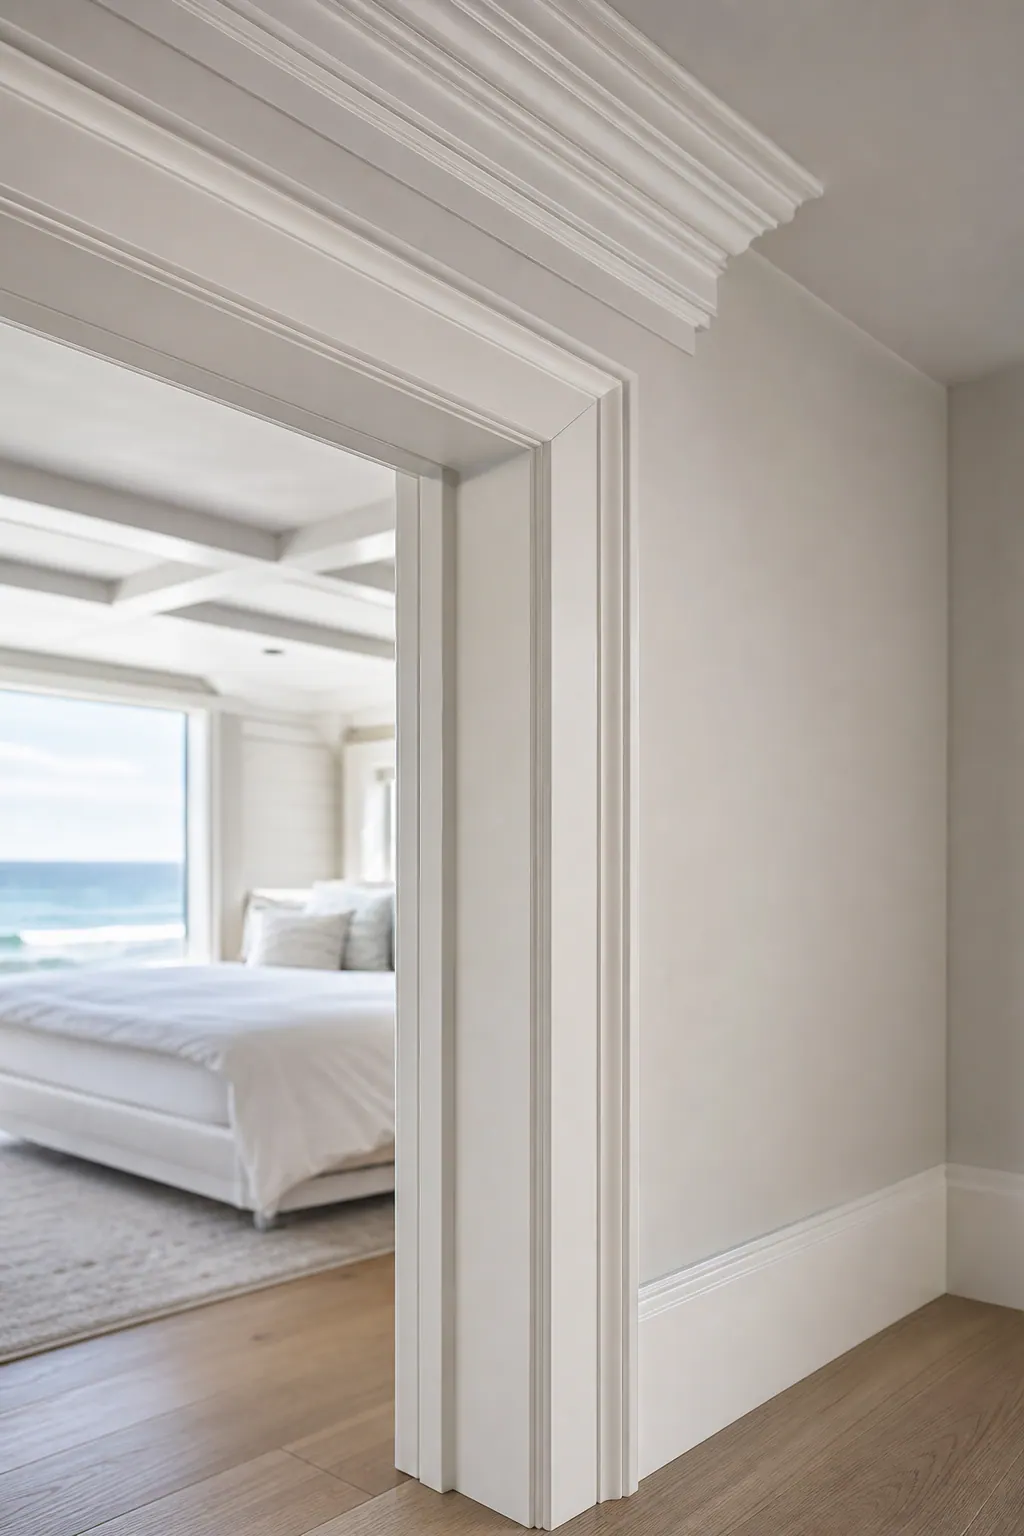
The same approach can make a wrapped opening feel intentional rather than oversized. Flat backers can widen the visual frame, layered casing can add relief, and a custom return can turn an exposed trim end neatly back into the wall instead of leaving a raw cutoff. On paneled walls, rails, stiles, cap details, and base components can be assembled to match nearby casing or a cabinet surround, so the feature reads as part of one composition.
More pieces do not automatically mean better work. A low ceiling, narrow hallway, or minimal interior may look sharper with one well-scaled profile and fewer seams. Layered assemblies earn their place when they establish proportion, bridge an awkward transition, or connect a major architectural element to the rest of the trim package without making the room feel heavy.
Close-up fitting determines whether the finished depth looks crisp. Accurate miter joints meet without open corners; consistent reveals keep layered edges evenly spaced; and scribe fitting follows an uneven wall, ceiling, or floor rather than forcing a straight board to leave a visible gap. Returns should be planned where trim terminates, particularly at a shallow drywall return or beside cabinetry. Before paint, joints should be secured, surfaces sanded smooth, nail holes filled, and caulk lines kept narrow and even, ready to disappear into a clean painted finish rather than compensate for poor fit.
Material and Finish Choices for Siesta Key’s Humid Coastal Environment
Material selection should follow the room's finish, its exposure to moisture, and how much natural variation the design can accommodate. Paint-grade solid wood is useful where a painted profile needs crisp machining and a carpenter can manage normal seasonal movement. Stain-grade wood is selected for its visible grain and richer depth, but boards should be matched thoughtfully because color and grain vary from piece to piece. A stained mantel, floating shelf, or cabinet surround benefits from that character; a large painted wall treatment often does not need it.
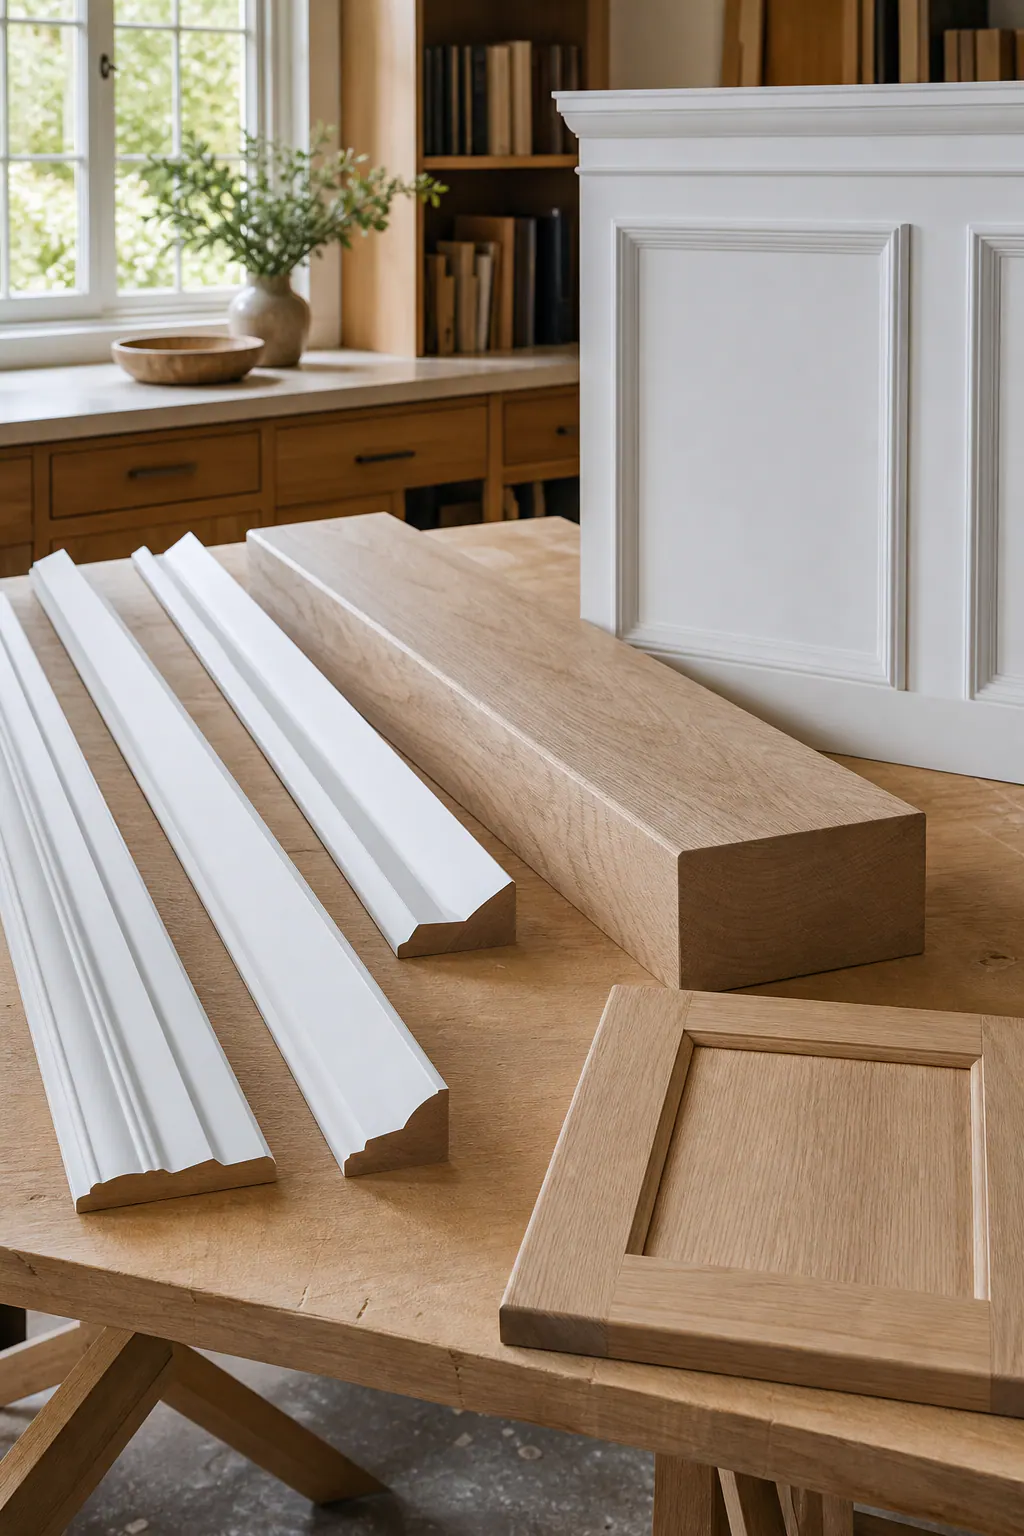
MDF provides a smooth, uniform painted surface for interior casing, baseboard, and panel components in dry, climate-controlled rooms. Moisture-resistant MDF is a better fit for painted trim near kitchens, laundry areas, or powder rooms where occasional humidity is expected, but it is not a solution for repeated splashing or standing water. PVC trim does not offer wood grain for a stained finish, yet its moisture tolerance can make it a practical painted choice at vulnerable locations such as an exterior-adjacent entry or a bath-area detail kept outside the wet zone.
For coastal finish carpentry Siesta Key homes, humidity, air-conditioning cycles, and salt carried indoors can make seams and finishes work harder over time. Wood should be allowed to acclimate before fitting where appropriate. Cut edges on paint-grade products need thorough sealing, and trim at floors, sinks, tubs, or doors should not sit where it repeatedly absorbs water. Suitable fasteners and adhesives, restrained caulk joints, and small planned movement allowances help assemblies stay orderly rather than relying on a thick finish to hide stress.
A strong finish begins with smooth sanding, filled fastener holes, sealed end grain, and a coating chosen for the material. Look for clean edges and joints that remain defined, not swollen corners, cracked finish lines, or caulk used as a substitute for a properly fitted connection.
Planning a Coordinated Trim and Millwork Package
Good planning starts by gathering the visual references already in the home: photos and dimensions of interior doors, cabinet door profiles, flooring edges, window treatments, ceiling heights, paint colors, and any detail worth preserving. Include a note about the desired level of detail, quiet square-edge trim, a softened traditional profile, or layered built-up work, because a profile that suits a formal entry may feel too heavy in a simple bedroom.
A finish carpenter in Siesta Key can use those references to either match the existing language or create a deliberate contrast. Matching might mean repeating the cabinet's narrow shaker proportion in wall panel spacing. Complementing might mean pairing flat-panel doors with a restrained stepped casing rather than copying every line. Physical profile samples are more useful than a small online image: hold them beside cabinet fronts, flooring, and paint swatches to judge depth, shadow, scale, and how the pieces read in the room's light. For a feature wall, wrapped opening, or cabinetry surround, a small mockup and room-by-room wall elevation turn an idea into measurable panel widths, rail heights, and stopping points.
Sequence protects that planning. Finalize cabinet locations, finished openings, appliance surrounds, and window-treatment decisions before field measurements; each one changes available trim width and alignment. Measure after those fixed elements are in place, then coordinate installation around finished flooring, wall preparation, and painting. Baseboards need the final floor height, while casings and built-ups need clear decisions about paint order and where finished surfaces meet. A coordinated custom trim Siesta Key package should leave the installer working from approved profiles and elevations, not adjusting the design one wall at a time.
What to Look for in a Siesta Key Finish Carpenter
A portfolio should hold up at arm's length, not only in a wide room photograph. Ask to see close-ups of inside and outside corners, mitered returns, seams in built-up assemblies, panel spacing around outlets and openings, and the points where trim meets cabinetry, flooring, or drywall. Strong work reads as intentional at these transitions: profiles align, reveals stay even, joints are fitted before caulk is applied, and painted surfaces look smooth rather than thickened to hide defects.
- Ask how materials will be chosen for each location. The answer should distinguish a dry painted wall treatment from a stained focal piece or an area more affected by humidity and frequent air-conditioning changes.
- Ask to approve full-size profile samples and, where the layout is significant, a small mockup or elevation. A sample shows the actual depth and shadow; an elevation establishes panel widths, alignment, and where the detail begins and ends.
- Request a scope that identifies the profiles, materials, areas included, preparation expected before paint, and who handles final touchups. "Install trim" is not the same as fitting custom returns, scribing irregular walls, coordinating with cabinetry, and leaving a finish-ready surface.
The right finish carpenter Siesta Key homeowners choose brings design awareness to the measuring stage and precision to the installation stage, then gives practical advice about caring for painted and wood surfaces in a coastal home. If you are considering custom finish carpentry in Siesta Key, a project discussion can turn your reference ideas into a clear, buildable trim and millwork scope.
Plan the next step
Compare the broader Custom Finish Carpentry service.
Review the Siesta Key, FL service area for local planning context.
When you are ready, request a free estimate with the rooms, trim goals, city, and available photos.
FAQs
What is included in custom finish carpentry for a Siesta Key home?
Custom finish carpentry can include baseboards, door and window casings, crown molding, wall paneling, ceiling treatments, built-up openings, cabinetry trim, and custom millwork. The work also includes precise fitting details such as even reveals, scribed edges, clean returns, and paint-ready joints.
What is the difference between custom trim and architectural millwork?
Custom trim finishes edges and transitions with elements such as baseboards, casing, crown, stools, and aprons. Architectural millwork extends the design into larger features, including paneled walls, built-ins, cabinetry surrounds, fireplace treatments, storage systems, and ceiling layouts.
Is MDF a good choice for interior trim in a Siesta Key coastal home?
MDF is suitable for painted casing, baseboards, and panel components in dry, climate-controlled rooms because it provides a smooth, uniform surface. Moisture-resistant MDF works better near kitchens, laundry areas, and powder rooms, but it should not be used where repeated splashing or standing water occurs.
How do built-up crown molding and standard crown molding differ?
Standard crown is a single-piece profile that creates a clean wall-to-ceiling border and suits compact or restrained rooms. Built-up crown combines separate components, such as a wall backer, crown profile, and accent molding, to create deeper shadow lines and more visual scale for tall ceilings or wide openings.
What should homeowners look for when hiring a finish carpenter in Siesta Key?
Review close-up portfolio photos of mitered corners, returns, panel spacing, seams, and transitions where trim meets cabinetry, flooring, or drywall. Request full-size profile samples, elevations or mockups for significant layouts, and a written scope identifying materials, profiles, preparation, included areas, and final touchup responsibilities.