

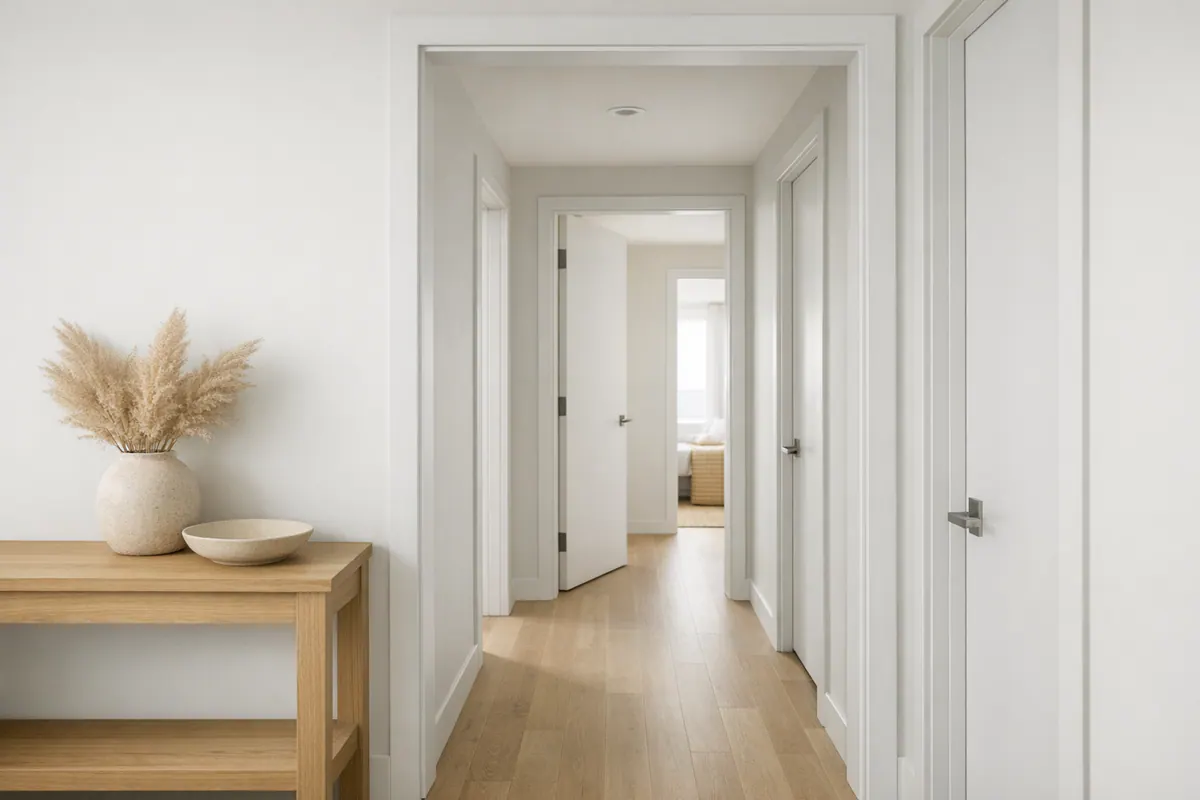
A casing line that stays even around the jamb gives an opening a deliberate edge and prevents it from reading as a break in the wall. It creates the transition from jamb to wall surface and can carry the same visual language from one room to the next. In a refined interior, that continuity helps baseboards, openings, and other millwork feel composed together.
For Casey Key homes, this work begins as finish carpentry, not a last-minute add-on. A clean, square-edge casing gives a coastal-modern room a quiet, tailored outline; a built-up casing with a defined head detail adds depth to a more traditional interior. The choice changes the room's character, while its relationship to existing millwork keeps it from looking imported from another space.
Good work is visible in the details: straight runs, even margins around the jamb, crisp corners, and transitions that meet adjoining baseboard with purpose. Weak results tend to show up as uneven gaps, misaligned heads, profiles that clash with nearby trim, or casing that feels too heavy for the opening.
Interior trim carpentry in Casey Key should start with the room itself: ceiling height, opening scale, wall condition, existing profiles, and whether the final look will be painted or stained. That early review gives homeowners, designers, and builders a workable direction for custom casing and finish-ready millwork that belongs in the broader interior.
Proportion, Alignment, and Reveals Make Trim Look Intentional
Scale is the first decision. A narrow casing can keep a modest window or lower-ceiling room light and tailored, while a wider casing gives a tall opening or more generous wall plane enough visual presence. Neither is automatically more refined: trim that is too slight can disappear against a substantial baseboard, while oversized casing can crowd an opening and make the ceiling feel lower. The right width responds to the opening, the available wall space, and the other millwork already carrying weight in the room.

A reveal, the deliberately even strip of jamb left visible between the opening and its casing, creates the disciplined margin that makes custom work read clearly. It should remain consistent along both side jambs and beneath the head casing. The head should sit level and relate evenly to the side pieces; side casing should appear balanced rather than pulled off-center by an uneven wall or rushed layout. Small inconsistencies become conspicuous when daylight hits painted trim or when repeated doors and windows line the same sightline.
Door casing in Casey Key homes also needs a planned ending point. A simple, coordinated transition can let casing meet baseboard without an abrupt step or awkward sliver of wall; where crown molding is present, the vertical and horizontal elements should share a considered hierarchy rather than compete for attention. A casing profile with more layers adds shadow lines and formality, while a square-edge profile keeps the outline quieter. In either case, mixing unrelated widths or profiles within one room makes even well-cut individual openings feel disconnected.
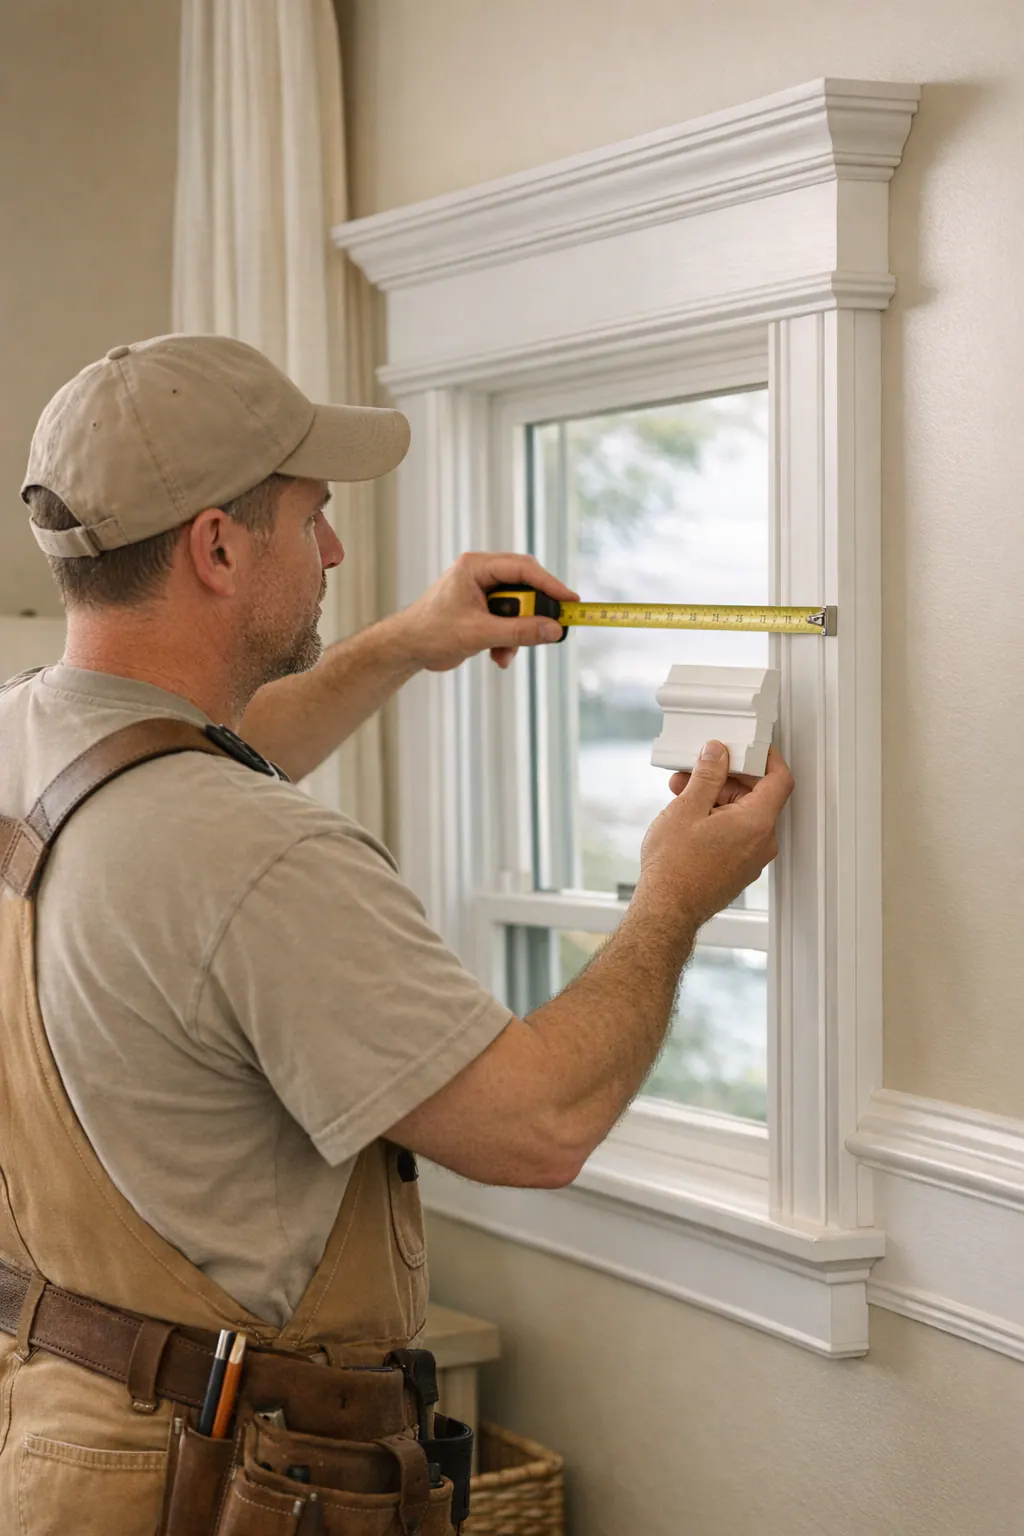
That is why field measurements should extend beyond each jamb. Reviewing ceiling height, neighboring openings, baseboard height, crown details, wall returns, and furniture sightlines allows the casing layout to work as a room-wide composition. Elevation sketches or full-size sample layouts can resolve head alignment and transition details before installation, giving the finished trim a calm, intentional rhythm.
Select a Casing Style That Supports the Home’s Interior Architecture
Profile is where trim begins to express the room's character. Flat-stock casing uses a plain, broad board face with little or no ornament; square-edge versions keep the perimeter especially crisp. Both suit coastal-modern and contemporary interiors because they frame openings without introducing extra shadow lines. A slim eased edge can soften that clean outline while preserving the same restrained effect. These approaches are strongest beside simple slab or lightly detailed doors, streamlined cabinetry, and uncluttered wall planes.
Traditional and transitional rooms can carry more visual depth. A stepped profile builds outward in measured layers, giving the opening a more formal frame. A backband, a smaller molding applied around the outside edge of casing, adds another shadow line and can make a substantial opening feel appropriately finished. Plinth blocks at the base create a deliberate termination for vertical casing, while a window stool projects into the room as a finished sill and an apron dresses the wall beneath it. Together, these details create a built-up assembly rather than a single flat border.
The distinction is not simply modern versus traditional. Layered casing is effective when nearby crown, baseboard, paneled doors, or cabinetry already establish a similar level of detail. In a room with quiet painted walls, low ceilings, or minimal furnishings, however, a wide stepped build-up and ornate backband can make the opening appear heavier than the architecture around it. The better choice may be a clean flat profile with carefully resolved transitions.
For custom millwork Casey Key homes, profile samples and elevation drawings help make the comparison tangible before cuts are made. Placing a proposed casing beside the existing baseboard, crown, cabinet finish, and interior door style reveals whether the assembly belongs to the same visual family, or looks like an unrelated decorative addition.
Choose Materials and Finishes for Appearance, Stability, and Maintenance
The finish direction narrows the material choice. Paint-grade trim is selected for an opaque painted surface, allowing the casing profile, corner work, and shadow lines to carry the visual effect rather than visible grain. It can suit clean flat-stock assemblies as well as layered traditional builds, provided the finished surface is smooth and the paint color and sheen relate to nearby doors, cabinetry, and wall color.
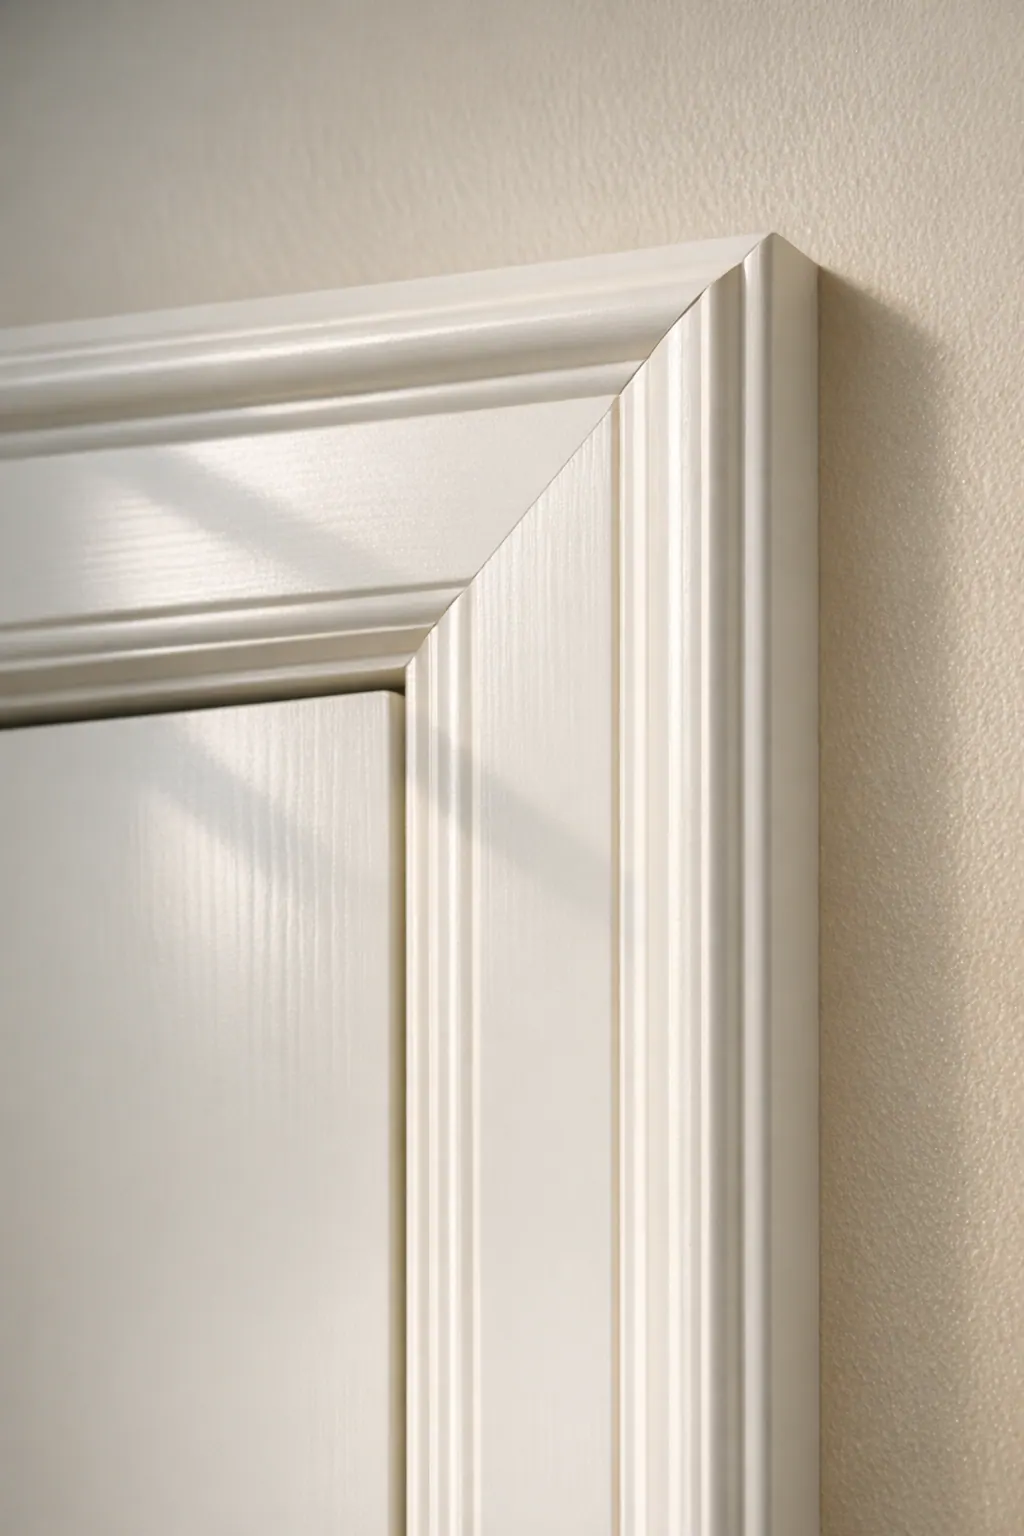
Moisture-resistant MDF can be a considered option for painted interior casing where its available profiles and uniform face support the design. Finger-jointed wood offers a paintable wood-based alternative, while solid wood may be chosen when its grain, edge detail, or relationship to existing woodwork matters. No category is automatically the right answer: room conditions, the desired profile, exposed edges, and the surrounding millwork should direct the selection.
Stain-grade wood makes the wood itself part of the composition. Grain direction, color variation, and how boards meet at a head casing or miter become visible design decisions, not details concealed by paint. Sample boards are useful here: a stain that looks restrained on one species can read much warmer or darker on another, and unmatched grain can make an otherwise careful assembly feel pieced together.
In Casey Key interiors, humidity, air conditioning patterns, and an opening's proximity to baths, exterior entries, or other moisture-prone areas deserve attention before fabrication. Material should arrive in a condition suited to the interior environment, and joint placement should anticipate a finished assembly rather than a temporary dry fit. A premium result also sets realistic maintenance expectations: painted surfaces may need occasional touch-up, while stained trim benefits from finish choices that make normal wear easier to manage without obscuring the wood's character.
Precise Finish Carpentry Is What Makes Custom Casing Read Cleanly
Before a casing is cut, the opening has to be read as it actually is. A finish carpenter measures the jamb, checks whether the wall plane is proud or recessed, notes floor variation, and looks for openings that are out of square. Those conditions determine where each casing leg begins and how the head casing will sit. A dry fit is particularly useful for custom profiles, wide assemblies, and intersections with baseboard or crown because it exposes awkward gaps before fastening makes them harder to correct.

The visual discipline comes from carrying the same reveal around the opening while keeping the head and side pieces balanced. When an opening is slightly irregular, the goal is not to force it into an imaginary square; it is to make measured adjustments that preserve a composed appearance from normal sightlines. Clean miter joints meet tightly at outside corners, while scribing trims an edge to follow a wall that is not flat. Coping is used where profiled pieces meet so the visible contour fits the adjoining profile rather than leaving a blunt seam.
For door and window trim installation in Casey Key, fastening and finish preparation deserve the same attention as the layout. Properly placed fasteners hold casing without telegraphing through the face; filled holes, sanded joints, restrained caulk lines, and smooth edges give paint or stain a finish-ready foundation. Across a corridor or a room with several openings, a finish carpenter in Casey Key also works from shared reference lines. Casing heads that drift, uneven leg lengths, or reveals that change from opening to opening can make otherwise attractive millwork feel unsettled. Straight runs, consistent margins, tight corners, and deliberate transitions are the quieter signals that make custom casing read cleanly.
Custom Trim for Existing Doors, Windows, and Established Millwork
In a renovation, the surrounding millwork becomes the reference point, not a photograph or a guess at a catalog profile. A careful review records the casing's face width, thickness, edge shape, backband or bead details, head-casing build-up, and its relationship to nearby baseboard. Photos of the room help preserve context, but physical samples and field measurements show the shadow lines and dimensions that determine whether new work will belong.
Replication makes sense when original trim has a clear architectural language worth carrying through an addition or a newly opened wall. Thoughtful simplification can be the stronger choice when an older assembly is overly busy beside a cleaner renovation: a layered casing might become a flatter, proportionally related profile that retains the same width and visual weight. The weak result is a near-match, similar color but the wrong edge detail, or a new head casing that ignores the established baseboard transition.
Finish intent needs the same scrutiny. A painted casing may be blended through color and sheen, while a stained assembly must account for species, grain direction, existing tone, and how readily old and new surfaces can read together. For window casing Casey Key updates, wall depth, jamb extensions, flooring changes, and baseboards that are taller or thicker than the original trim can all require a tailored transition rather than a forced standard detail.
When an off-the-shelf molding cannot reproduce the needed contour or dimensions, custom fabrication creates a more convincing match. It can combine a milled profile with flat stock, adjust thickness to meet an uneven jamb, or produce a head detail that aligns with adjacent openings. That level of resolution is what makes custom trim installation in Casey Key feel integrated with an established interior rather than newly applied.
Plan Door and Window Trim With a Casey Key Finish-Carpentry Team
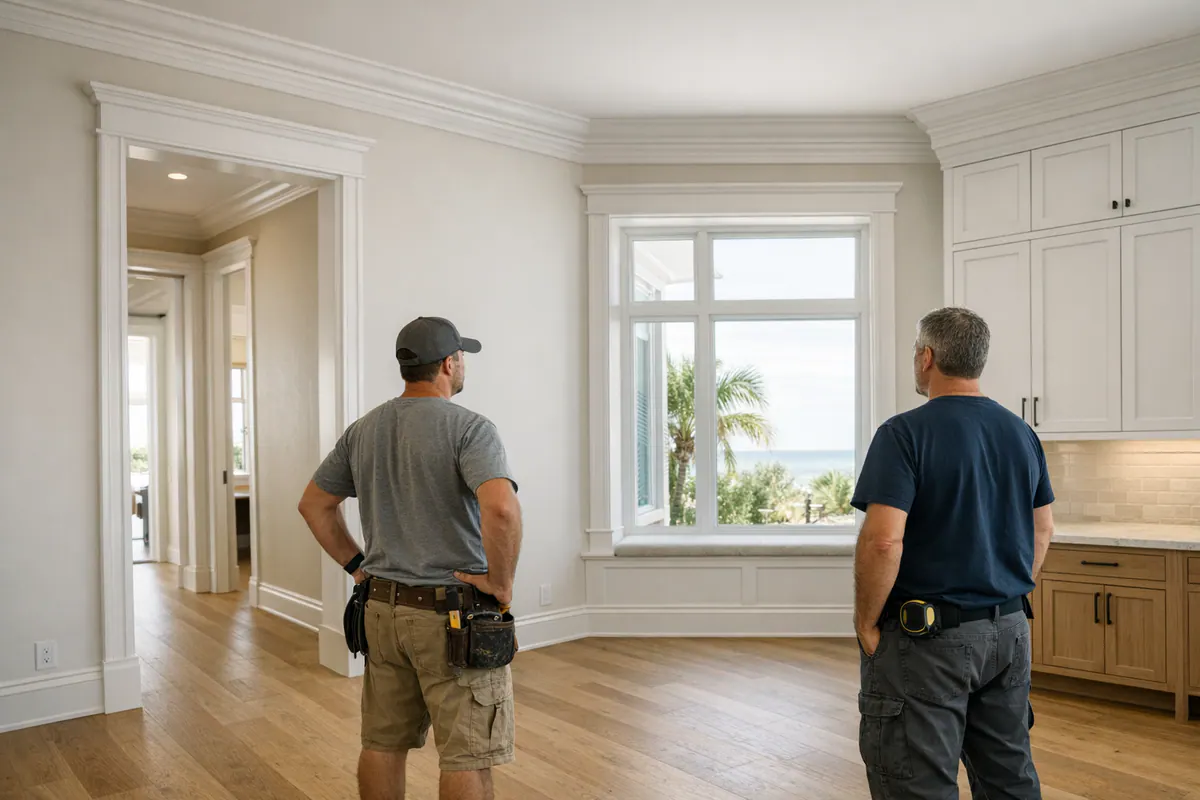
A productive trim consultation begins by defining the openings and adjoining elements in scope: doors, windows, jamb extensions, baseboard returns, head details, and any crown or cabinetry intersections. The room review then sets a proportion and profile direction that fits the architecture, rather than treating every opening as a standard package. A slim, square-edged casing may keep a clean new-construction interior composed; a layered assembly may better continue a more traditional renovation.
Material and finish decisions should be made alongside that visual direction. Paint-grade components support a continuous color field and crisp profile, while stain-grade selections place more emphasis on grain, species, and tone. For interior door and window trim in Casey Key, the intended room conditions and finish expectations should inform that choice before fabrication and installation begin.
Coordination keeps the detail from being undone by adjacent work. Designers can approve samples and sightlines; painters need finish-ready faces, joints, and caulk lines; flooring installers, cabinetmakers, and builders need known termination points and clear sequencing around thresholds, built-ins, and wall finishes.
A final walkthrough should review casing width and alignment across related openings, consistent reveals, tight miters and joints, purposeful transitions, and surfaces ready for the selected finish. Whether the work is part of new construction, a focused interior update, or a renovation, a tailored door and window trim Casey Key plan keeps the scope focused on the details that make the room feel resolved. Arrange a site review to establish that direction before installation begins.
Plan the next step
Compare the broader Door and Window Trim service.
Review the Casey Key, FL service area for local planning context.
When you are ready, request a free estimate with the rooms, trim goals, city, and available photos.
FAQs
What type of door and window trim works best in a Casey Key home?
Flat-stock or square-edge casing suits coastal-modern interiors by creating a clean, quiet outline around openings. Layered or stepped casing with backband and defined head details works best when nearby crown, baseboard, cabinetry, and doors already have a more traditional level of detail.
How wide should door casing be in a luxury coastal interior?
Casing width should match the opening scale, ceiling height, available wall space, and surrounding millwork. Narrow casing keeps modest openings and lower ceilings light, while wider casing gives tall openings and substantial baseboards enough visual presence without crowding the opening.
What should I look for in quality door and window trim installation?
Look for consistent reveals along both jambs and beneath the head casing, level head pieces, straight runs, tight miter joints, and balanced side casing. Quality installation also includes purposeful baseboard transitions, filled fastener holes, sanded joints, restrained caulk lines, and finish-ready edges.
How does coastal humidity affect interior wood trim in Casey Key?
Humidity, air-conditioning patterns, and proximity to baths or exterior entries should be considered before fabrication because they affect material stability and joint performance. Moisture-resistant MDF can work for painted interior casing, while solid wood or finger-jointed wood may be selected based on exposed edges, grain requirements, and surrounding millwork.
Can new window casing be matched to existing trim and millwork?
Yes, new casing can be matched by recording the existing face width, thickness, edge shape, backband details, head-casing build-up, and baseboard relationship. When stock molding cannot reproduce the needed contour or dimensions, custom fabrication can mill the profile, adjust thickness for uneven jambs, and align new head details with adjacent openings.