

Start at the joint where the jamb meets the wall: swelling, open caulk lines, or an uneven transition after a remodel are practical signals that an opening needs closer attention. Near exterior-facing openings and in moisture-prone rooms, those details can be especially important in Englewood homes.
Humidity, aging paint, and wind-driven rain that reaches an opening can leave visible clues: soft material, recurring stains, chipped finishes, loose joints, or a profile that no longer fits the room. Casing covers the joint between the jamb and wall, creating a deliberate visual transition and concealing small installation gaps, but it cannot correct an active leak, condensation issue, or movement behind it.
A useful assessment separates cosmetic wear from material failure, then matches the repair or replacement approach to the location and intended finish. Clean finish carpentry shows up in even reveals, stable casing, tight corners, and smooth caulk transitions, not oversized caulk beads masking uneven gaps. The next steps are to define the parts of the opening, assess what can be repaired, select materials for the conditions, and finish the update so it belongs with the rest of the interior.
What Door and Window Trim Work Includes
A trim update starts by separating the parts that frame an opening from the opening itself. Door or window casing is the face trim on the wall; the jamb is the inside surface of the opening where a door closes or a window sits. When the wall is thicker than the jamb, an extension jamb bridges that depth so the casing has a flat, properly positioned surface to meet.
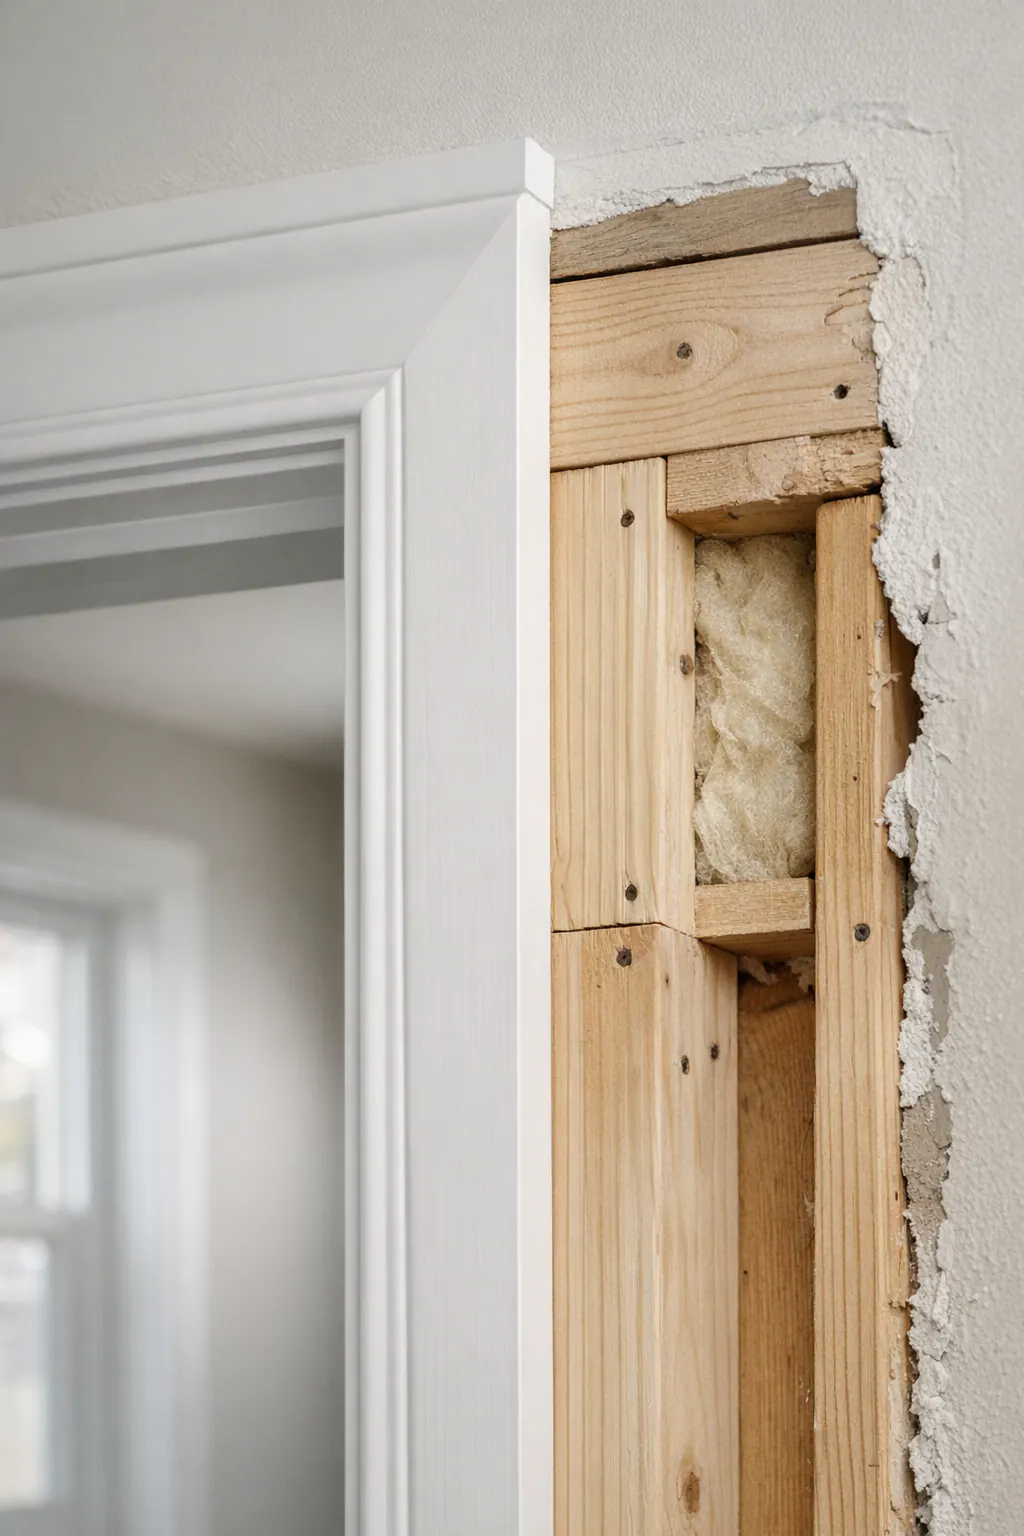
Visible layout details matter just as much. A reveal is the narrow, intentional strip of jamb left showing beside the casing; keeping it even prevents one side from looking crowded while another looks unfinished. Returns turn a trim edge back toward the wall where a profile ends, creating a finished termination. On some interior windows, the stool forms the horizontal shelf at the bottom, while the apron is the trim directly beneath it. Properly sized window casing in Englewood should suit the opening and room instead of overwhelming a small wall area or leaving awkwardly narrow gaps.
The work itself can include removing failed casing, reviewing the wall edge and jamb for damage or movement, fitting replacement pieces, and aligning new trim with nearby baseboards, paint lines, and existing profiles. Tight miters or coped joints, stable attachment, narrow caulk lines, and a smooth paint or stain finish are the details that make door casing look intentional rather than patched in. Caulk closes minor paintable gaps at the wall; it should not be used as a bulky filler for an uneven opening. If removal exposes active water entry, a damaged window installation, or deteriorated framing, those underlying conditions need correction before new trim is installed.
When to Repair Casing and When Replacement Is the Better Choice
A small flaw does not always justify removing an entire run of casing. Shallow dents, small nail holes, worn paint, a hairline caulk split, or a scrape limited to the face of otherwise firm trim can often be filled, sanded, recaulked, and refinished. A good repair leaves the casing solidly attached, its profile intact, and the surrounding paint transition smooth rather than visibly built up.
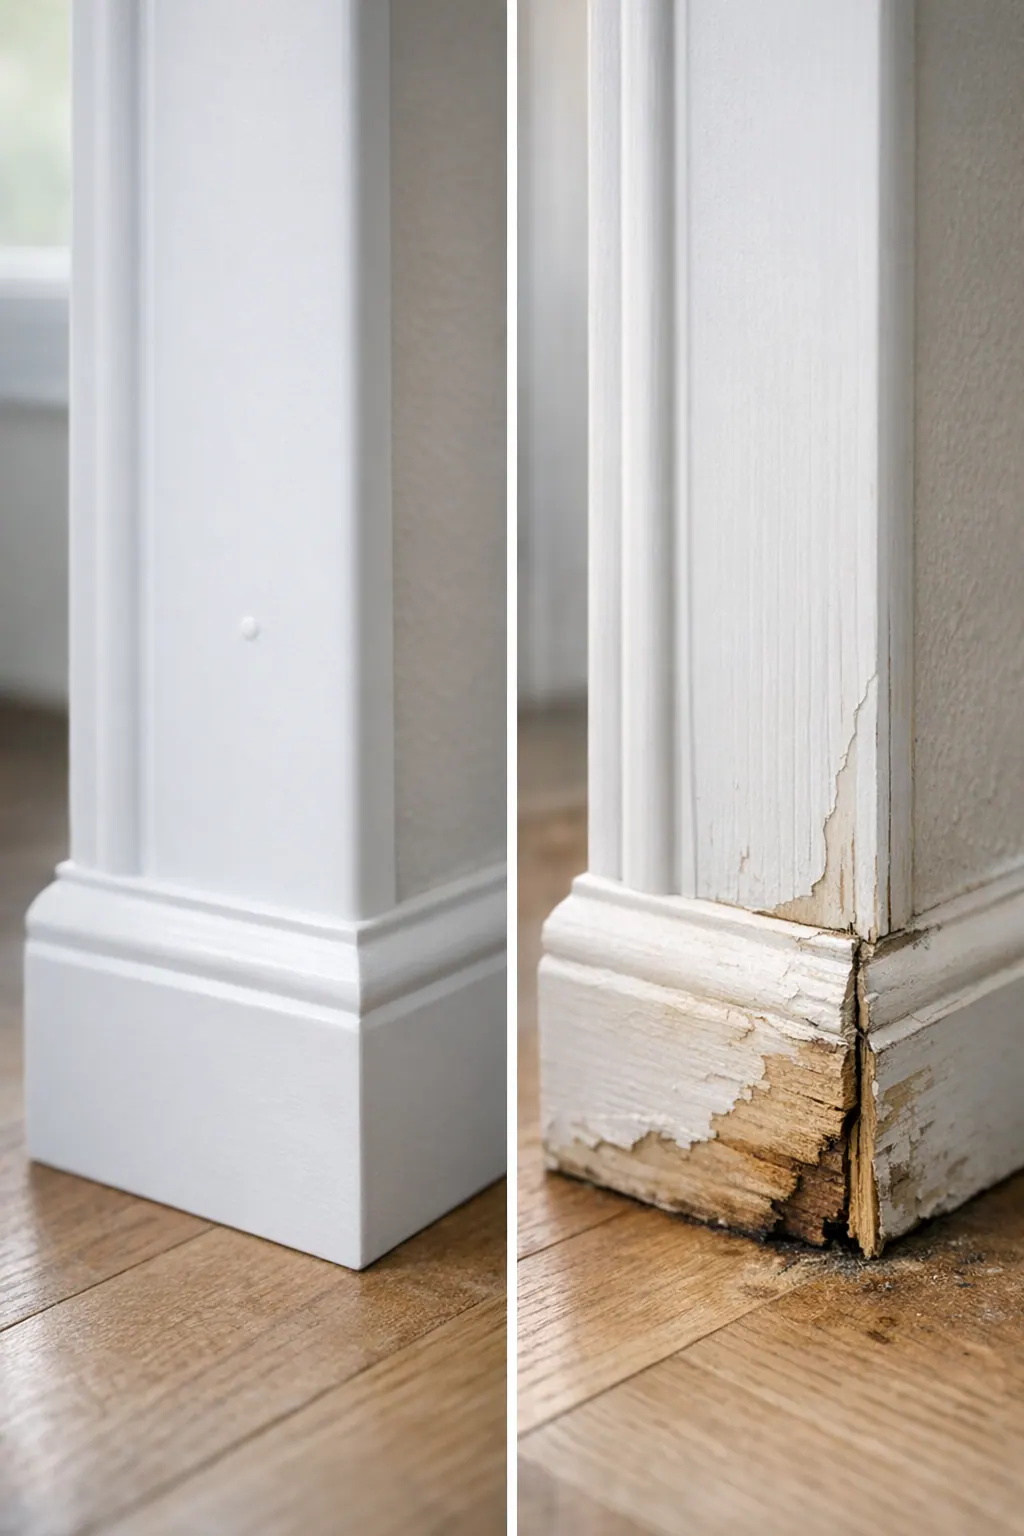
Replacement becomes the more reliable choice when the material itself has changed shape or lost strength. Swollen edges, soft wood fibers, crumbling MDF, separated corners that return after caulking, loose casing, or staining that repeatedly comes back point beyond a surface-level finish problem. The same is true when removal reveals deteriorated jamb edges or damaged drywall beside the opening; fresh casing cannot create a durable, crisp line over an unstable backing.
Before interior trim replacement in Englewood, the affected opening should be traced for the reason moisture reached it. Look at the nearby wall surface, jamb material, sealant condition, and the pattern of any stain. Condensation, a failed seal at the opening, or water entering from outside can each leave similar-looking marks, but simply covering them with new trim leaves the underlying issue in place.
For damaged window trim repair in Englewood, a useful dividing line is whether the defect stays isolated after preparation. If the surrounding material is dry, firm, and stable, a localized repair may preserve the existing profile. If discoloration, swelling, or movement extends into adjacent pieces, replacing the affected casing, and correcting the moisture source first, provides a cleaner foundation for the finished interior.
Choosing Trim Materials for Humidity, Exposure, and Finish Goals
Once an opening is dry and stable, the best casing material depends less on a single "best" product than on where it will sit and how it needs to look.
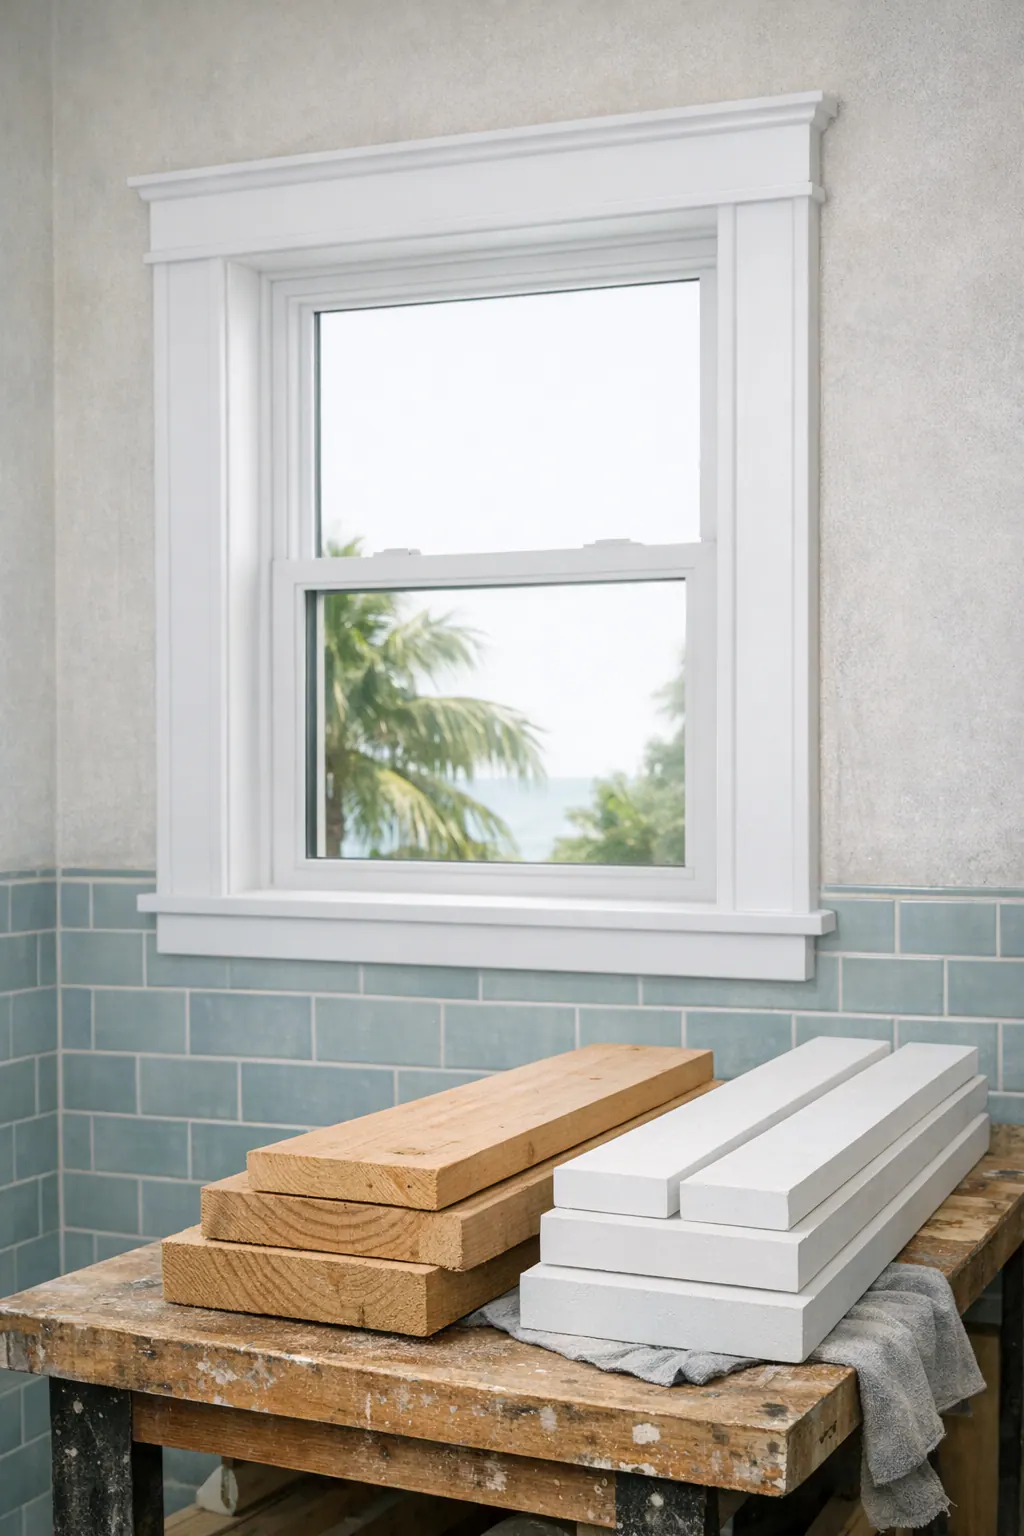
- MDF is a manufactured fiberboard commonly chosen for painted interior casing. Its uniform face and consistent profiles can produce a very smooth, crisp paint-grade result, especially for clean-lined remodels. The tradeoff is location: MDF is a poor fit where the trim may face repeated moisture, since exposed edges can swell or break down.
- Finger-jointed pine is made from shorter pine sections joined into longer boards. It is widely used for paint-grade work and offers a wood-based alternative to MDF. It can suit ordinary interior openings, but humidity-related movement, dents, knots, and the quality of its primer or paint finish all affect the final appearance.
- Solid wood brings natural grain and traditional character that can make sense for stain-grade door trim or window trim. Stain highlights the wood rather than hiding it, so board selection, grain matching, sanding, and complete finishing matter more. Wood can also expand and contract with changing humidity, making thoughtful joint layout and finish coverage important.
- PVC is a nonwood option often considered around exterior-adjacent openings or other high-moisture locations. It does not offer a stain-grade wood look, but it can be painted when the chosen product and coating system are suited to one another. Its profile selection, fastening approach, and allowance for movement should fit the particular installation.
- Composite trim covers several engineered products that aim to balance durability, workability, and a finished appearance. Some options may be useful where moisture-resistant trim in Florida is a priority, but profiles, cut-edge treatment, paint compatibility, and impact resistance can vary substantially by product.
Paint-grade and stain-grade are finish goals, not just color choices. Paint can create a unified look across MDF, finger-jointed pine, and selected wood or synthetic products; stain depends on an attractive, consistent natural surface. A painted bath-adjacent window may call for a different material than a stained interior doorway or a low-exposure bedroom opening.
For window trim in Englewood, FL, a practical selection considers the opening's exposure, nearby moisture, desired profile, and the rest of the room's finishes. Material should support the location, not force every doorway and window into the same solution.
Clean Installation Details for Older Openings and Coastal Conditions
Older openings rarely give a carpenter perfectly straight reference lines. A careful layout begins by setting an even reveal, the narrow, intentional strip of jamb left visible beside the casing, so the door or window reads as balanced even when a wall leans, bows, or falls out of square. Rather than forcing every piece to follow a flawed wall, a trim carpenter in Englewood, FL can tailor the layout to keep the visible lines consistent and the transition into a remodeled room clean.
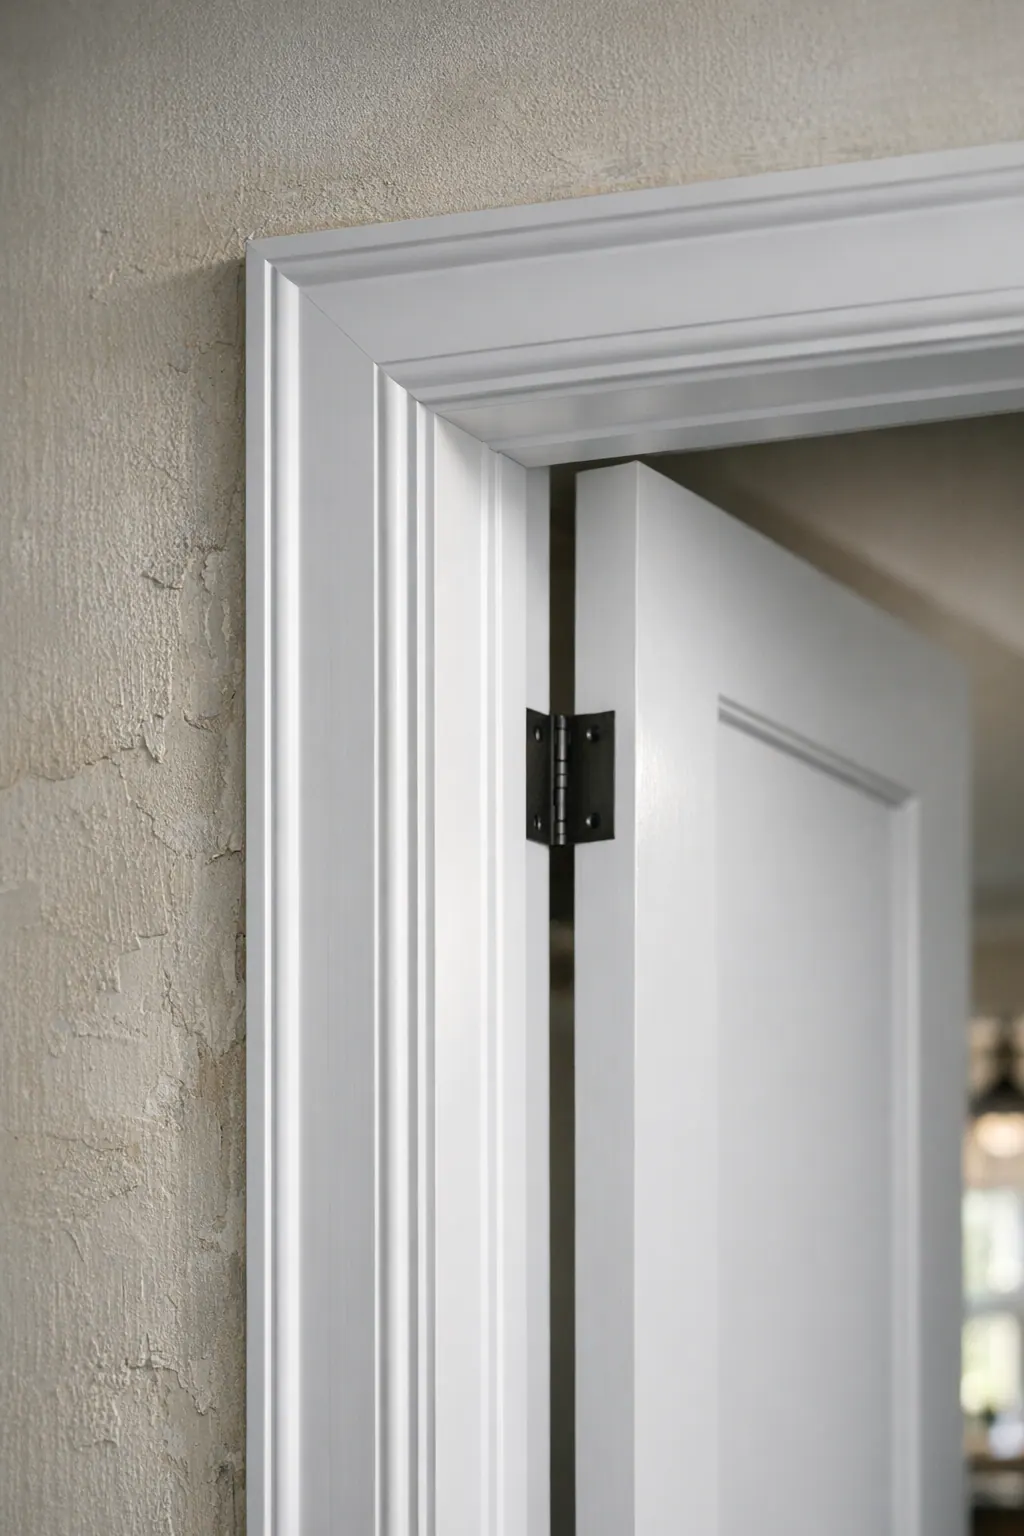
Where casing meets an uneven wall, scribing means shaping its back edge to follow that surface instead of leaving a broad gap to fill with caulk. Small shims can support a jamb or casing where the framing needs adjustment, but they should create stable backing rather than compensate for loose or deteriorated material. A jamb that sits too far back from the finished wall may need an extension jamb: a fitted piece that brings the jamb face out flush so casing has a sound, even surface to land on. This detail is especially important when new drywall, tile, or wall finishes have changed the opening depth.
Corner work reveals the difference between a deliberate installation and a patched-looking one. Outside casing corners should meet in tight miters; inside corners can be coped, meaning one profile is cut to nest against the other for a closer-fitting joint. Fasteners should hold the casing securely without splitting the profile or leaving prominent nail damage. After filling and sanding, a controlled caulk line can soften the small wall-to-trim transition; a thick, irregular bead is a warning that gaps were hidden rather than addressed.
Near baths, exterior-facing windows, and other moisture-prone locations, preparation comes first. Soft material, recurring staining, damp wall edges, or an active leak need to be resolved and allowed to dry before new trim closes the area back in. Clean surfaces, properly prepared cut edges where applicable, and stable attachment give the finished casing a better chance of remaining crisp through changing indoor humidity and coastal conditions.
Updating Trim to Create a Cohesive Interior
A remodel can feel unfinished when refreshed walls and flooring meet casing from a different design era. For door and window casing in Englewood, a coordinated plan gives each opening a shared visual language instead of making trim a last-minute patch.

Start with profile and width. Simple square-edge casing keeps the outline quiet and works well in streamlined rooms; craftsman-inspired trim uses flatter, more substantial boards for a grounded look; colonial-style profiles add curves and shadow lines for a more traditional feel; and modern minimal casing reduces ornament so the wall plane takes focus. Door and window casing does not need to be identical in every room, but openings visible from the same space should generally share a compatible width, thickness, and profile shape.
Matching existing trim can make sense when nearby baseboards, built-ins, and casing are in good condition. Compare the profile, face width, thickness, wood grain, paint sheen, and the visible reveal at the jamb, not just the color. Weathered finishes or discontinued profiles may make a convincing exact match impractical. In that case, replacing all casing within one room or connected sightline with an intentionally updated profile often looks more resolved than inserting one nearly matched piece.
Painted trim can unify mixed materials when the sheen and color remain consistent from doors to windows. Stained casing needs closer attention to grain and tone, since even similar species can read differently beside older woodwork. A clean transition has aligned profiles, balanced proportions beside baseboards, and finish lines that look deliberate rather than heavily caulked to disguise a mismatch.
Plan Your Door and Window Trim Project in Englewood
Before requesting an on-site assessment, make a short opening-by-opening list. Include photos, the room location, whether the issue is a surface flaw or involves staining, swelling, softness, or separated joints, and any pattern such as damage beneath a window or beside a bath. Note the finish you want, paint for a uniform color and sheen, or stain when visible grain is part of the design, and save a photo of the profile you prefer.

A trim carpenter in Englewood, FL can use that information to evaluate the jamb, wall edge, exposure, and surrounding finishes in person. The goal is a scope that fits the actual condition: repair firm casing with isolated cosmetic wear, replace only affected pieces when the rest of the room remains compatible, or update connected openings together when mismatched trim would remain noticeable. For door and window trim in Englewood, FL, resolving moisture concerns before closing the opening with new casing keeps the finish decision grounded in the condition behind it.
Plan the next step
Compare the broader Door and Window Trim service.
Review the Englewood, FL service area for local planning context.
When you are ready, request a free estimate with the rooms, trim goals, city, and available photos.
FAQs
Can swollen or water-damaged window casing be repaired?
Localized repairs work when the surrounding trim is dry, firm, stable, and the damage is limited to shallow dents, nail holes, worn paint, or small caulk splits. Swollen edges, soft wood fibers, crumbling MDF, recurring stains, and loose casing require replacement after the moisture source is corrected.
What is the best window trim material for humid Florida homes?
PVC or a suitable composite trim is often the better choice near exterior-facing windows, baths, and other high-moisture locations because MDF can swell or break down when exposed to repeated moisture. MDF and finger-jointed pine are better suited to dry, painted interior openings, while solid wood is commonly selected for stain-grade finishes.
How do trim carpenters make clean joints around uneven walls and older openings?
Carpenters set an even reveal along the jamb, scribe casing edges to uneven walls, and use extension jambs when wall finishes make the jamb sit too far back. Tight mitered outside corners, coped inside corners, stable fastening, and narrow caulk lines create a finished appearance without using bulky caulk to hide gaps.
Should I repair, replace, or match door and window trim during an interior remodel?
Repair firm casing with isolated cosmetic damage, replace affected pieces when material has softened, swollen, or become unstable, and update connected openings when a near-match would remain noticeable. Match profile, face width, thickness, paint sheen, wood grain, and jamb reveal when existing trim is in good condition; otherwise, use one intentional profile across the room or connected sightline.